Dake Corporation
724 Robbins Road
Grand Haven, MI 49417
www.dakecorp.com
974315 7 REV112019
•All internal and/or internal operation, maintenance or repairs, must be performed in a
well-lit area or where there is sufficient light from extra sources so as to avoid the risk id
even light accidents.
•It is forbidden to disconnect the “man present” device, known more correctly as the
“safety switch with hold-down action”.
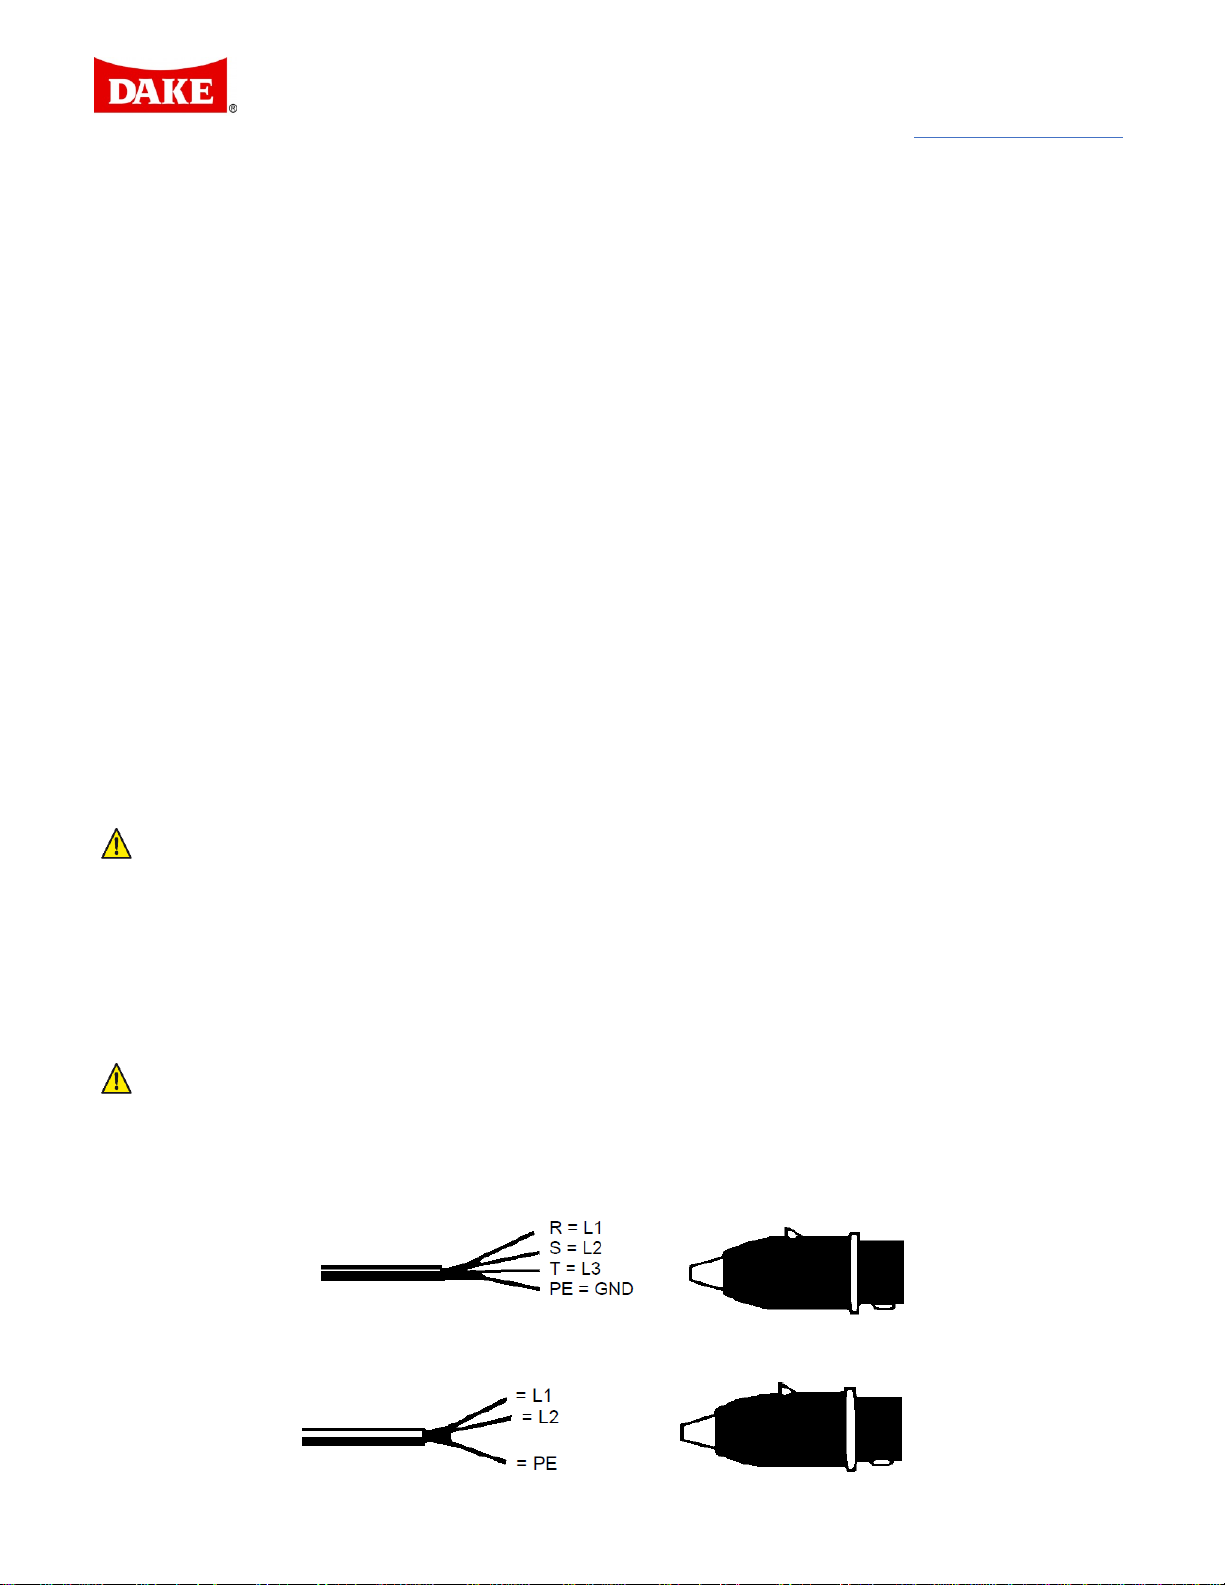
•Check that the voltage indicated on the plate, normally fixed to the machine motor, is the
same as the line voltage.
•Check the efficiency of your electric supply making sure the machine has its own
grounded circuit.
•Do not operation machine without safety guards or with the electrical panel cover
removed.
•Then the tool head is in rest position (raised), the toothed blade must be stationary.
•Always disconnect the machine from the power socket before changing the blade or
carrying out any maintenance job, even in the case of abnormal machine operation.
•Do not operate this machine without the handle and/or handle switch disconnected.
•Always wear OSHA approved safety glasses when operating this machine.
•Never put your hands or arms into the cutting area while the machine is operating.
•Do not shift or move machine while the machine is in operation.
•Do not wear loose clothing with sleeves that are too long, gloves, bracelets, rings,
watches, chains, or any other object that could get caught in the machine during
operation; tie back long hair.
•Keep the machine bed free from tools or any object, while the machine is in operation.
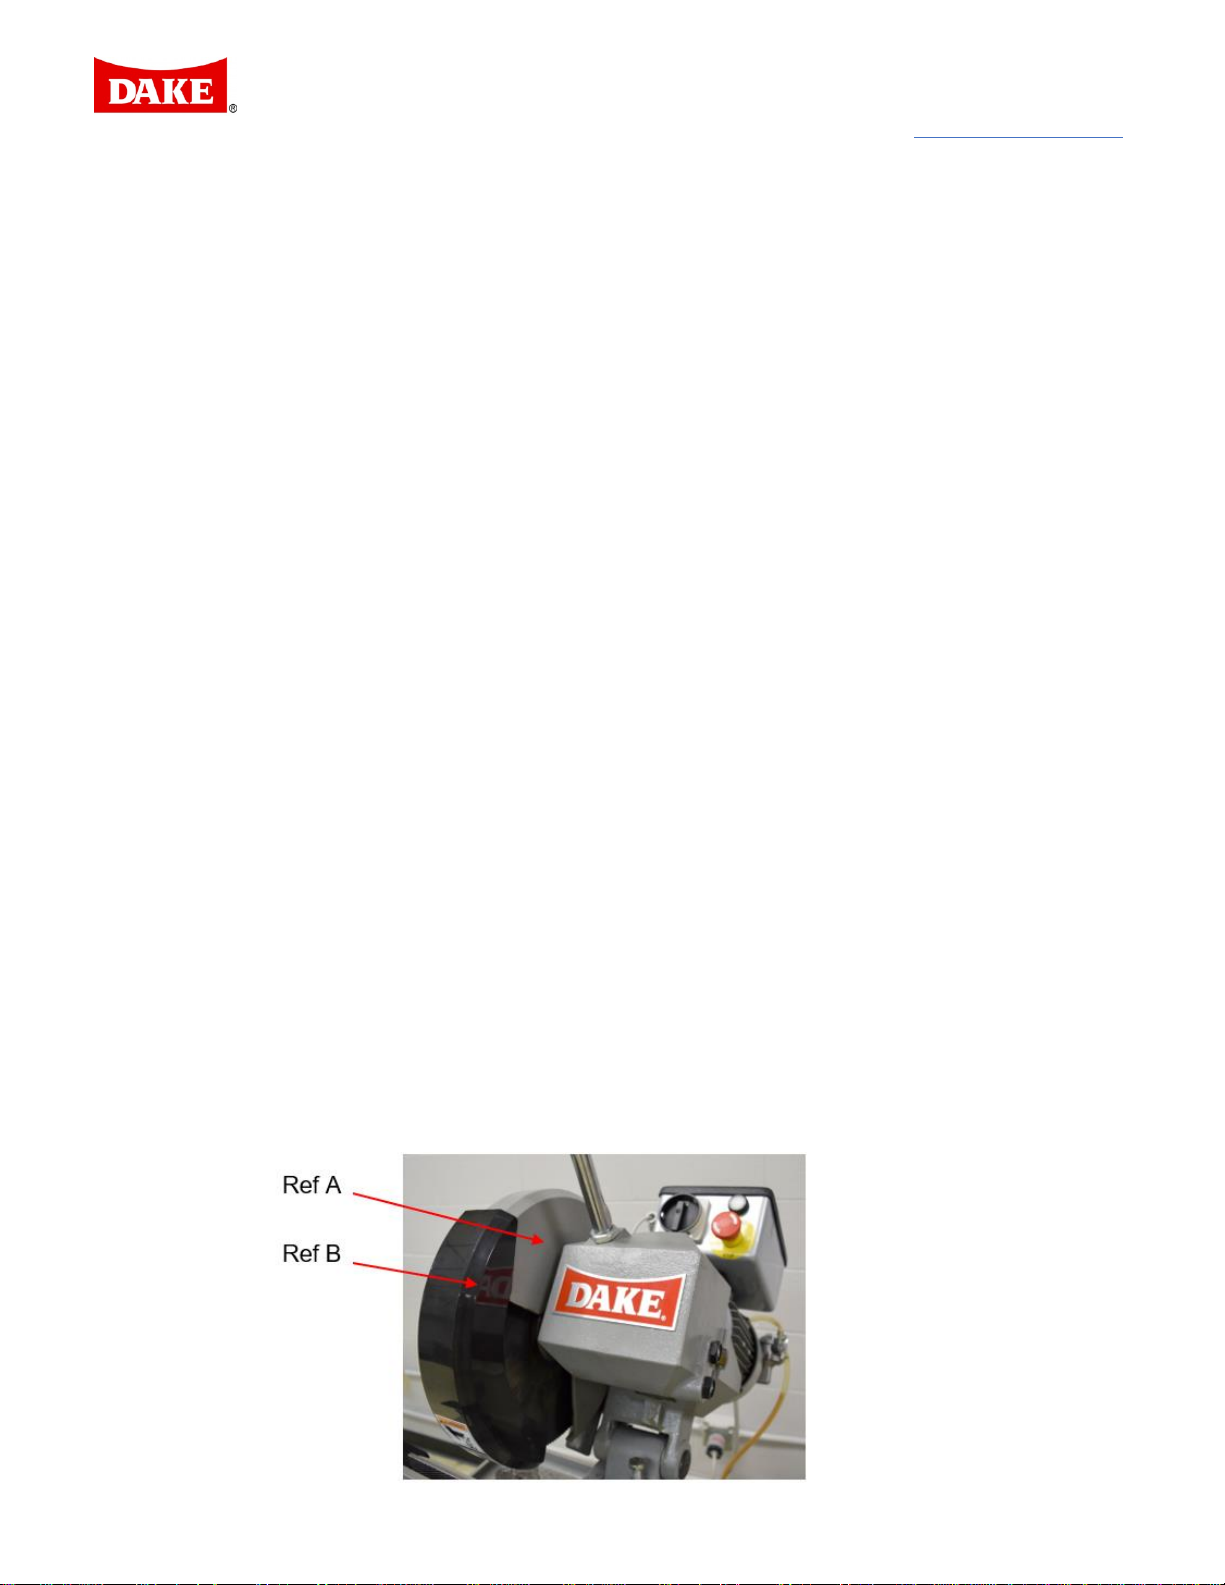
Locations of shields:
•Grey metal shield screwed onto the blade head. (REF. A)
•Self-regulating mobile blue plastic shield fitted coaxially with the fixed shield. (REF. B)
•Black plastic cover, covering the electrical supply box.
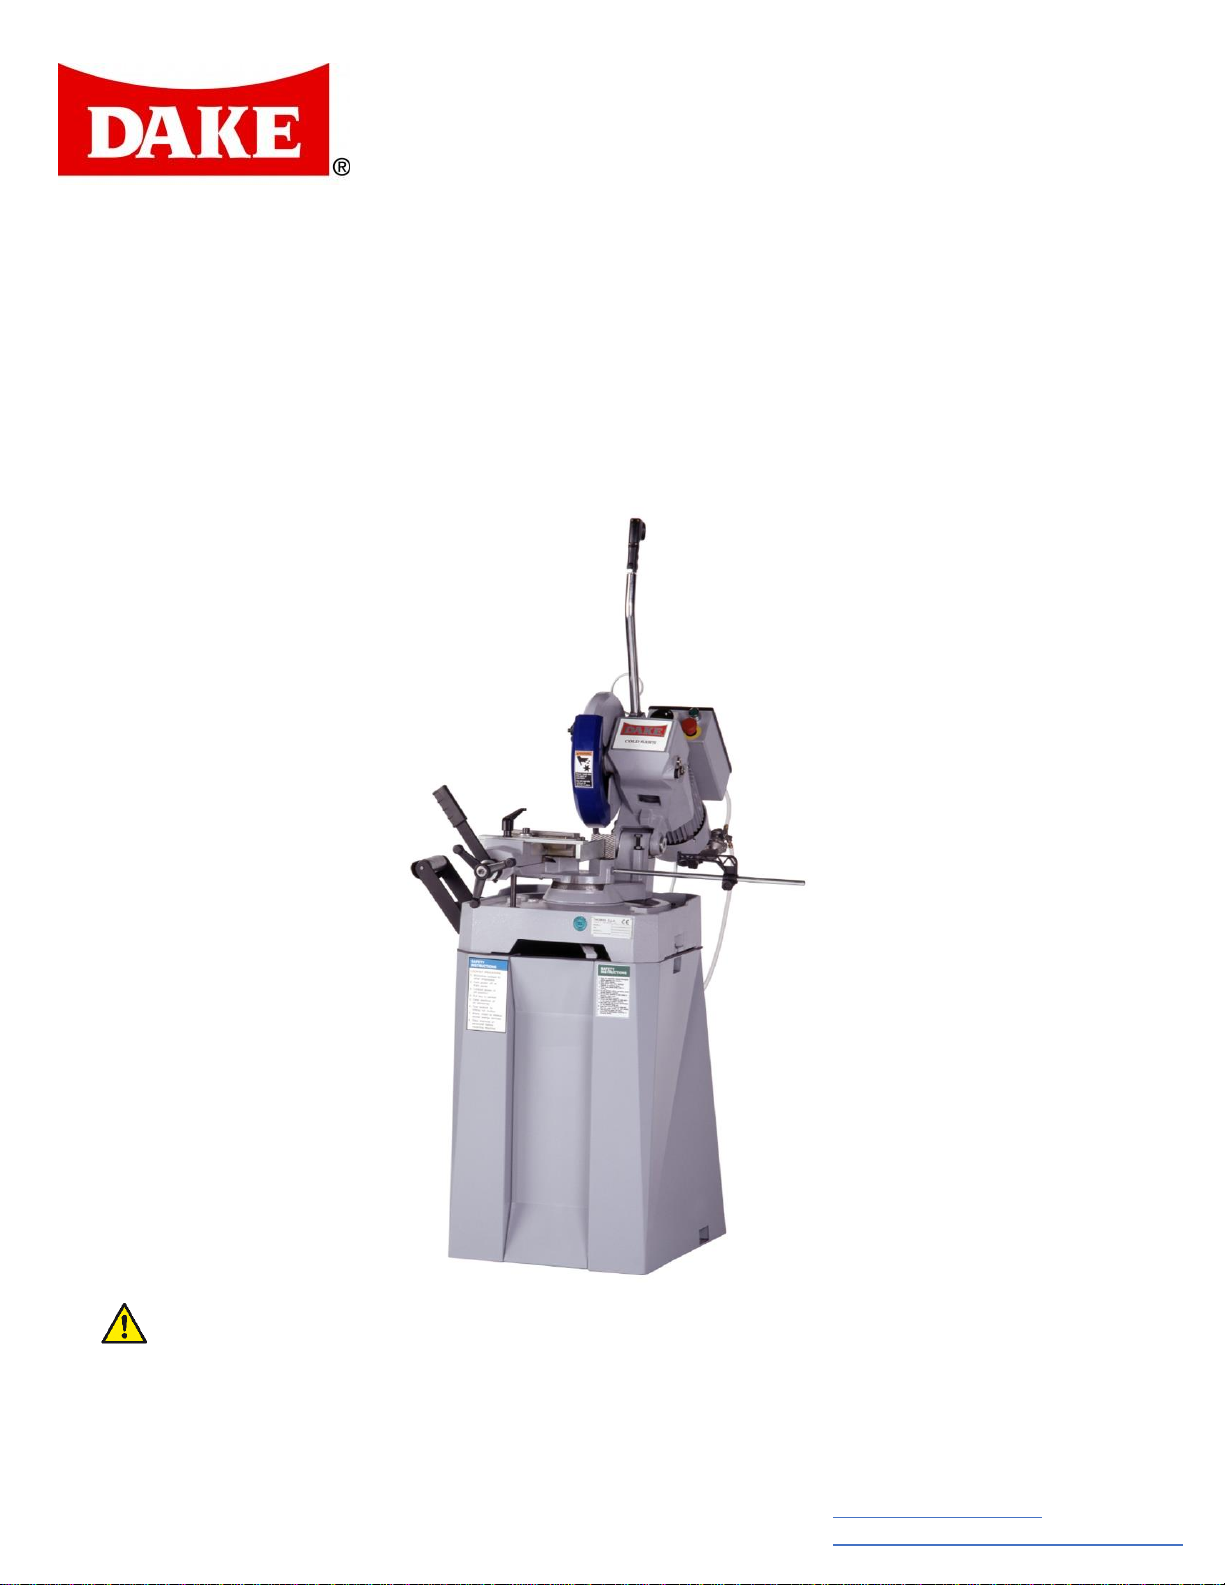
*picture may vary by model