manuals.online logo
Brands
  1. Home
  2. •
  3. Brands
  4. •
  5. Dakota Digital
  6. •
  7. Clock
  8. •
  9. Dakota Digital CLK-55C User manual

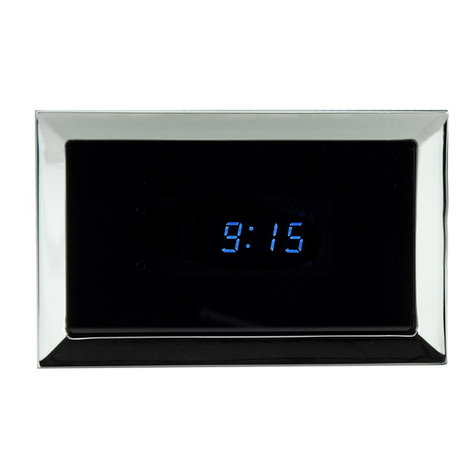
Dakota Digital CLK-55C User manual

MAN#650076
CLK-55C rev. A
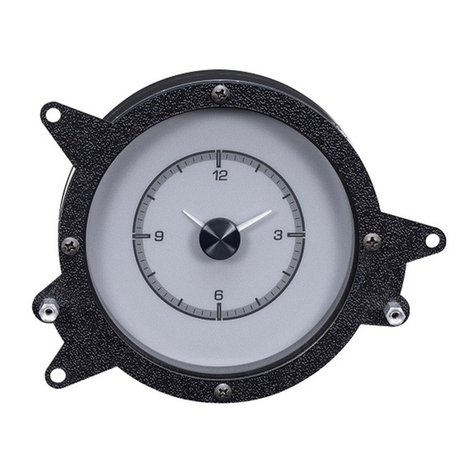
Installation Instructions for mounting a Dakota Digital Clock into a 55/56
Chevrolet .
Mounting the clock directly into the speaker bezel.
Tools and supplies required:
Black silicone RTV
Tape
1. Remove radio speaker bezel from dash of car.
2. Remove clock canister from speaker bezel. This is done be pressing the clock inward from the back,
turning it, and then pulling it out.
3. Set lens into front of bezel with painted side facing the back of the bezel. Align 'masked' rectangle so that
the two set holes are directly below it. The lens should fit tightly about 3/8" in from the front edge of the
clock bezel ring. Due to variations between different bezels it may be necessary to tape the lens temporarily
in place from the front.
5. Using black silicone RTV run a bead around the edge of the lens on the inside of the bezel. This will both
hold the lens in place and seal any gaps between the lens edge and the bezel. Allow the silicone to dry until
hard to the touch.
6. Set the digital clock into the bezel from the back so that the notches along the edge of the circuit board align
with the tabs on the back of the bezel. The setting switches will be below the display and the wire on the
back will be on the top side of the clock. The tabs on the back of the speaker bezel will align the clock
properly.
7. Run a second RTV bead around the edge of the back clock panel to secure the clock in place and allow to
dry.
8. Reinstall the bezel into the vehicle.
Wiring your Dakota Digital clock into your vehicle.
The clock has four wires coming out of the back. They are connected as follows:
Orange wire -Constant +12 volt. This will keep the clock time.
Red wire -Switched +12 volt (accessory position on ignition switch). This will light up the display.
Black wire -Ground.
Blue wire -Headlight or parking light switch. This will dim the display for night time driving intensity.
Setting the Time.
Using a small, thin object such as a toothpick or hairpin, press “set” buttons through front lens access holes.
Left “set” button advances hours, right “set” button advances minutes.
Adjusting the accuracy:
The clock is accurate to +/-2 minutes a month as it is sent. It can be tuned for better accuracy if desired.
Press and hold both of the set buttons for several seconds. The clock will display “C 0”. The “C” indicates that it is
in the calibration mode and the second number is the current calibration value. The calibration value indicates the
number of seconds to add or subtract each day. The clock can be adjusted from +7 sec/day to -7 sec/day.
Press the minute set button to change the cal value. Press the hour set button to return to normal clock operation.
MAN#650076
Troubleshooting guide.
Problem Possible cause Solution
Clock will not light up Red wire does not have Connect to a location that has power
power. when the key is on.
Orange wire does not have Connect to a location that has power
power. all of the time.
Black wire is not getting Connect ground to a different location.
a good ground.
Power is reversed. Connect black to negative ground, red and
orange to +12V power.
Clock is damaged. Return clock for repair. (see instructions)
Clock will not turn off when The red and orange wires Connect the red to switched power, the
the key is off. are reversed. orange to constant power.
Clock lights up, but does Loose connection on orange Reconnect orange wire.
not read correctly. power wire.
Poor ground connection. Move ground to different location
Time is not set. Set time. (see instructions)
Clock is damaged. Return clock for repair. (see instructions)
Clock will not keep time. Orange wire does not have Connect to a location that has power when
constant power. the key is on or off.
Loose connection on orange Reconnect orange wire.
power wire.
Poor ground connection. Move ground to different location
Clock will not dim. Blue wire is not connected Check wiring connections.
correctly.
Clock remains dim at all Blue wire is getting power Connect blue wire to location that only
times. all of the time. has power when the headlights are on.
Battery is very low. Recharge or replace vehicle battery.
Clock is damaged. Return clock for repair. (contact factory)
SERVICE AND REPAIR
DAKOTA DIGITAL offers complete service and repair of its product line. In addition, technical consultation is available to help you work through any
questions or problems you may be having installing one of our products. Please read through the Troubleshooting Guide. There, you will find the solution to most
problems.
Should you ever need to send the unit back for repairs, please call our technical support line, (605) 332-6513, to request a Return Merchandise Authorization
number. Package the product in a good quality box along with plenty of packing material. Ship the product by UPS or insured Parcel Post. Be sure to include the
RMA number on the package, and include a complete description of the problem with RMA number, your full name and address (street address preferred), and a
telephone number where you can be reached during the day. Any returns for warranty work must include a copy of the dated sales receipt from your place of purchase.
Send no money. We will bill you after repair.
Dakota Digital 24 Month Warranty
DAKOTA DIGITAL warrants to the ORIGINAL PURCHASER of this product that should it, under normal use and condition, be proven defective in material
or workmanship within 24 MONTHS FROM THE DATE OF PURCHASE, such defect(s) will be repaired or replaced at Dakota Digital’s option.
This warranty does not cover nor extend to damage to the vehicle’s systems, and does not cover removal or reinstallation of the product. This Warranty
does not apply to any product or part thereof which in the opinion of the Company has been damaged through alteration, improper installation, mishandling, misuse,
neglect, or accident.
This Warranty is in lieu of all other expressed warranties or liabilities. Any implied warranties, including any implied warranty of merchantability, shall be
limited to the duration of this written warranty. Any action for breach of any warranty hereunder, including any implied warranty of merchantability, must be brought
within a period of 24 months from date of original purchase. No person or representative is authorized to assume, for Dakota Digital, any liability other than expressed
herein in connection with the sale of this product.
4510 West 61ST St. North
Sioux Falls, SD 57107
Phone: (605) 332-6513 FAX: (605) 339-4106
www.dakotadigital.com
[email protected]

Other Dakota Digital Clock manuals

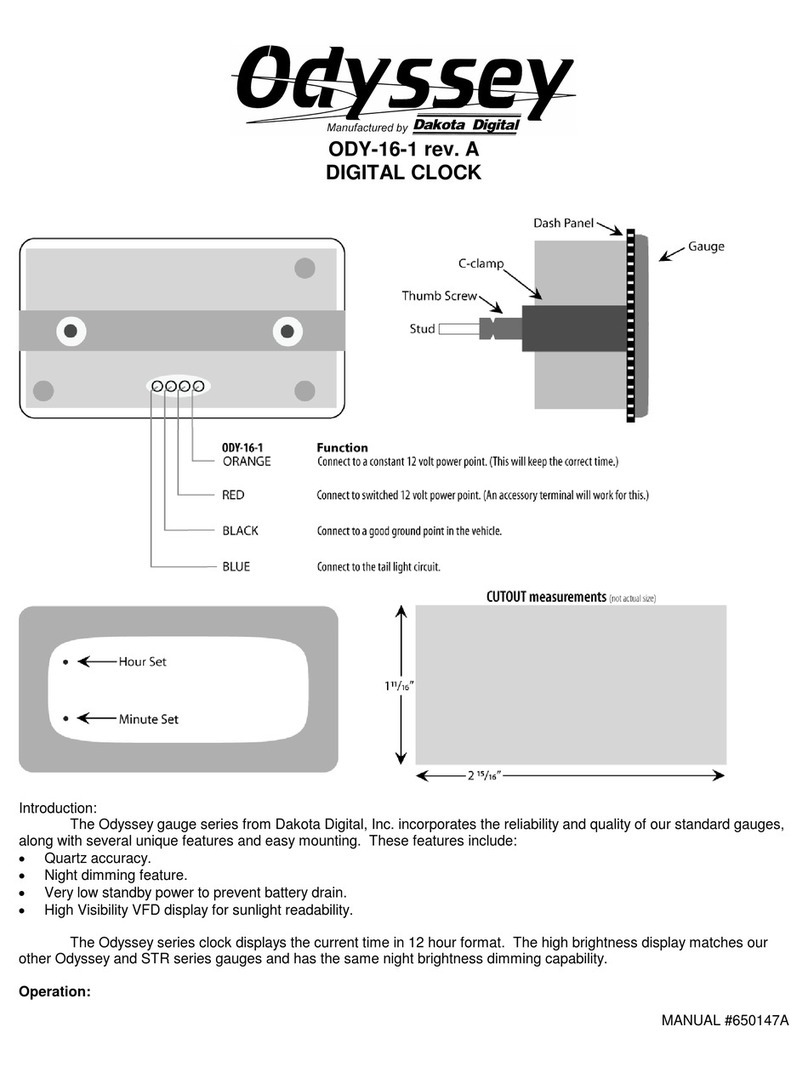
Dakota Digital HLC-69F-MUS User manual

Dakota Digital

Dakota Digital HLC-69F-MUS User manual

Dakota Digital Odyssey CLK-57C User manual

Dakota Digital

Dakota Digital Odyssey CLK-57C User manual

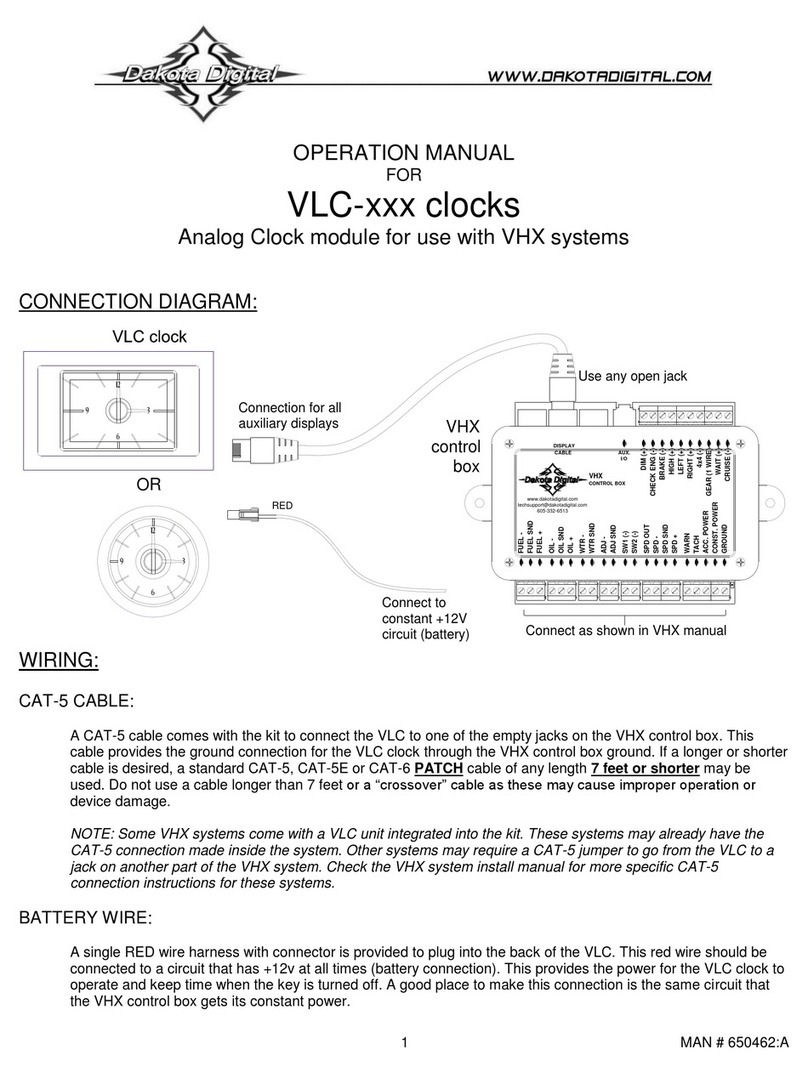
Dakota Digital VLC-55C User manual

Dakota Digital

Dakota Digital VLC-55C User manual

Dakota Digital HLC-69F-MUS User manual

Dakota Digital

Dakota Digital HLC-69F-MUS User manual

Dakota Digital VLK-57C User manual

Dakota Digital

Dakota Digital VLK-57C User manual

Dakota Digital ION-16 User manual

Dakota Digital

Dakota Digital ION-16 User manual

Dakota Digital VLC Series User manual

Dakota Digital

Dakota Digital VLC Series User manual

Dakota Digital ODYR-17-1 User manual

Dakota Digital

Dakota Digital ODYR-17-1 User manual

Dakota Digital CLK-1002B User manual

Dakota Digital

Dakota Digital CLK-1002B User manual

Dakota Digital HLY-3171 User manual

Dakota Digital

Dakota Digital HLY-3171 User manual

Dakota Digital HLC-2162 User manual

Dakota Digital

Dakota Digital HLC-2162 User manual

Dakota Digital Odyssey ODY-16-1 User manual

Dakota Digital

Dakota Digital Odyssey ODY-16-1 User manual

Dakota Digital VLK-49F User manual

Dakota Digital

Dakota Digital VLK-49F User manual

Popular Clock manuals by other brands

Amano NS 5000 Series Operation manual

Amano

Amano NS 5000 Series Operation manual

rauland 2524 ChronoCom installation manual

rauland

rauland 2524 ChronoCom installation manual

UPM TSH723 owner's manual

UPM

UPM TSH723 owner's manual

CyberData 011313 Operation guide

CyberData

CyberData 011313 Operation guide

BEARWARE 302209/2016061SFZ004 manual

BEARWARE

BEARWARE 302209/2016061SFZ004 manual

La Crosse Technology WS-8007CTWC instruction manual

La Crosse Technology

La Crosse Technology WS-8007CTWC instruction manual

Radio Shack project-board Series manual

Radio Shack

Radio Shack project-board Series manual

Amano PIX-3000x Series Operation manual

Amano

Amano PIX-3000x Series Operation manual

Karlsson KA5601BK instruction manual

Karlsson

Karlsson KA5601BK instruction manual

Epson RX-8564LC Applications manual

Epson

Epson RX-8564LC Applications manual

Oregon Scientific KD500 manual

Oregon Scientific

Oregon Scientific KD500 manual

Conrad 43 96 57 operating instructions

Conrad

Conrad 43 96 57 operating instructions

American Time PGE441RFE-W Quick start installation guide

American Time

American Time PGE441RFE-W Quick start installation guide

Oregon Scientific Slim Projection Clock RA368P user manual

Oregon Scientific

Oregon Scientific Slim Projection Clock RA368P user manual

Bogen BCBD 2000-SERIES instructions

Bogen

Bogen BCBD 2000-SERIES instructions

Perel WC118 user manual

Perel

Perel WC118 user manual

Technaxx 4219 user manual

Technaxx

Technaxx 4219 user manual

Hereby MO9921 user manual

Hereby

Hereby MO9921 user manual

manuals.online logo
manuals.online logoBrands
  • About & Mission
  • Contact us
  • Privacy Policy
  • Terms and Conditions

Copyright 2025 Manuals.Online. All Rights Reserved.