manuals.online logo
Brands
  1. Home
  2. •
  3. Brands
  4. •
  5. DANE-ELEC
  6. •
  7. MP3 Player
  8. •
  9. DANE-ELEC M6SL User manual

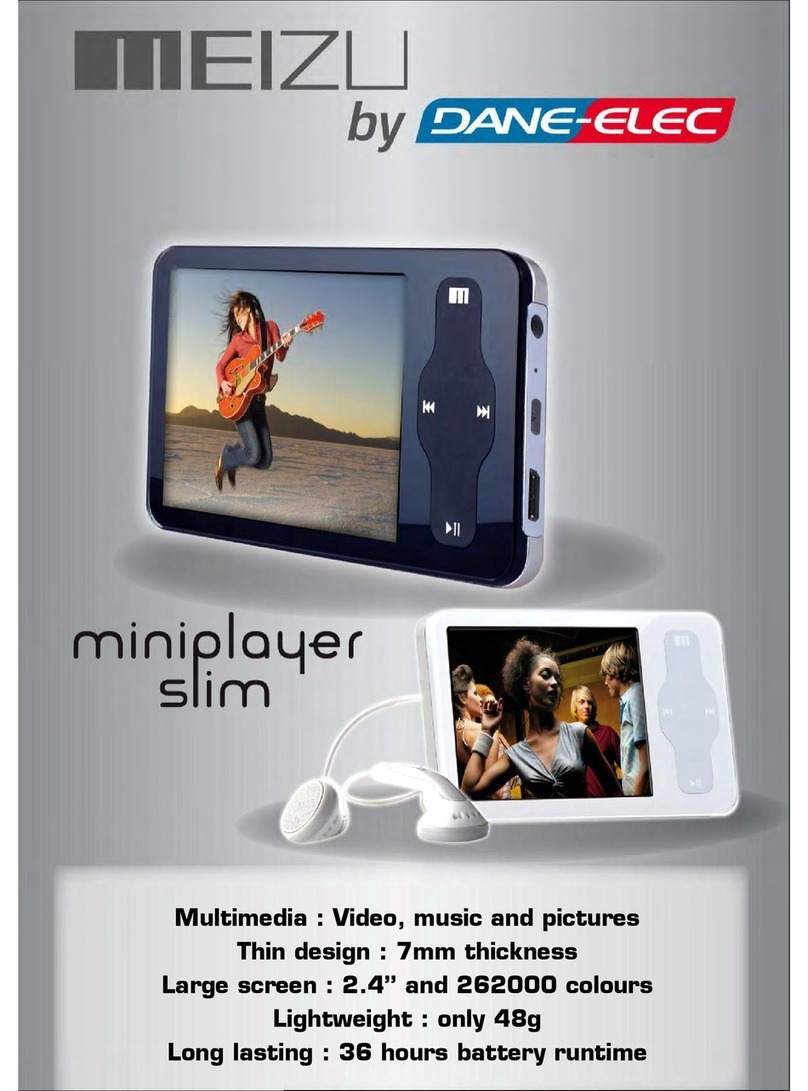
DANE-ELEC M6SL User manual

Parts and Names
2. Front Side
LCD Window
Earphone
NEXT
PREVIOUS
POWER/PLAY/STOP
USB Port
HOLD
3. Right Side
1. Top
MENU
Strap
Sli ding -t ouch Keyp ad
ENTER
MIC
1. While HOLD is locked, any operation will be invalid.
2. Toofast operation will be easy to cause error.
3. Slide your finger on the touch keypad up and down to reach the desired operation.
4. Tapthe center of keypad to enter the submenu, or conduct an operation.
5. Clicking Menu key to go back to the previous menu interface or cancel an operation.
6. Click Next button to enter the submenu while setting EQ.
Touchkeypad is an important part of the player, including sliding touch control and key
operations, which used for controlling operations of all kinds of functions of the player.
Protection Film on the Front Panel
Protection Film on the Player TouchKeypad
Sliding touch keypad:
Touchkeypad Lay your finger on one
end o f keypa d
Sliding lightly on keypad
Clicking Key:
Key p ositi ons Lay y our fin ger on ke y Tap
pos ition s of keyp ad
lightly
The surface of player is easy to be contacted with other objects during use. Toprotect
the player from scratching, the surface of the front panel is attached with a transparent
protection film. Please keep the film on the front panel of the player.
The surface of the player is
attached with a protection film
before leaving factory.
Do no t peel of f the Mas k!
1. Power On
Lon g click t he Powe r ON/OF F
button, the power comes on and
MEIZU logo appears.
Using Buttons
Long Click
Long Click
Click
Cli ck the Po wer ON/ OFF but ton
again, start to play. If it displays no
file, pls run Update Music Library.
2. Po wer Off
When you press and hold the power
ON/OFF button for about 3 seconds,
the p ower tu rns off . If the PC a nd the
player are connected via a USB cable,
you cannot turn the power off.
3. Playback & Stop
Click ON/OFF briefly, start to play.
Click it again while in Play status,
the play stops.
9. Toselect music
To selec t previ ous mus ic To selec t next mu sic
10. Initializing the operating system in the player
A. Cl ick and h old the N ext key a nd then h old the p ower ON /OFF bu tton, d o
not remove your finger until it appears the yellow screen. Then it initializes
the O S to the or igina l facto ry sett ings. Al l data wi ll be del eted.
5. To ad jus t th e volum e
in the music operation menu,
sliding your finger on the
touch keypad.
To inc re ase vo lum e
Todecrease volume
in the video operation menu,
click the Menu key to increase
By tu rning H old ON, a ll the ke ys on the p layer
will not function.
Using Buttons
Unlock Locked
Long Click
7. Menu
Press the Menu briefl y to M ain Menu
or move t o t he upp er folder
8. Display off on LC D
Lon g cl ick M enu key f or this effect ,
cli ck Menu key agai n to resum e
the displ ay.
6. Res et
If the pl ayer st ops re spond ing,
plea se rebo ot it: Lo ng cli ck
the Po wer key f or over 12
sec onds to re boot .
4. Hold
volume click the Enter key to decrease volume.
Click
B. Click and hold the Previous key and then hold the power ON/OFF button, do not remove your finger
until it appears the purple screen. After 2 seconds, it appears the green screen, then it initializes the OS
to the original factory settings. All data will be deleted.After finish this, you may need to download the
firmware package from internet and operate the upgrading.
Click
Tap
Quickstart guide
www.danedigital.com
••
••
••
••
••
••
Package Contents
Earphones USB Cable Installation CD Quick Start
Important Cautions
Initialize OS to the Original Factory Settings
When it is not able to turn on and disable connecting the player to your PC after resets,
please click and hold the Next key ( ) and Power On/OFF button for about 8 seconds to
initialize the OS to the original factory settings. All data will be deleted in the player.
Turn O n /A uto Pow er Off
Topower on the player, make sure it has enough power, long press the Power
On/Off button for over 3 seconds. Click it again to start play.
When there is no button operation for about 3 minutes while the player is stopped,
it is automatically turned off. Topower off the player, press and hold the Power
On/OFF button until it finishes with shutting down procedure.
Reset Mini Player
When it is dead caused by improper operation, you have to reset your mini player.
Disconnect it to a USB cable or ACAdapter, press and hold on the Power button( )
key for over 12 seconds to reboot.
Update Music Library
After finish copying the music,
before your listening music so that you can organize and assort them by artist, album or
genre. Otherwise, you can only browse the new copied songs from All Songs on the player.
using Main Menu-Music-Update Music Library on the player
System Requirement
Pentium 133MHz or Higher
32MB Main Memory or Higher
40MB Hard Disk Space or More
CD-ROM Drive
USB Port (2.0)
Windows 98SE/ ME / 2000 / XP
Insert the installation CD into the CD-ROM drive. The following screen appears after
inserting the CD.
The installation CD contains the following contents:
- Device Driver for Windows98
- Video Converter for MEIZU MiniPlayer Video Converting Tools
- PDF Manual
(Note: Window 98 driver is only required for OS with win 98 or lower version.
If you are using Win2000 or above, you will not need to install driver. The PC will
automatically recognize the player when it is connected. The video convert tool
installation is required for video conversion. When installation is automatically not
started, execute the setup.exe in the installation CD, and then the Manager program
is automatically setup.
Install Software
Installation CD Connecting Mini Player
USB Cable
USB p ort on th e PC
USB port on the player
* Large End
* Sma ll End
Connecting to a Computer
Connect the small end to player, large end to PC.
1. Turn it on before your connecting
Power it on, then connect the player to the computer using the USB cable supplied in
the package. It will be charged using the power supply from the PC.
Connecting to a computer during it power on,
it will charge its built-in battery and appears as
the left figure.
Note: While connecting to PC, tracks and operations
cannot be applied. Pulling out the PC connection
cable from the player before your listening to music
or vi ewing a p ictur e and so on .
Precautions for Using the Product
71
Do not subject the player to severe impact or jarring.
Vibration experienced during walking or exercising will not affect the player.
However, dropping a heavy object on the player may result in damage or sound distortion.
Be careful when storing the set and avoiding water and wet locations.
Please do not repair or disassemble this product by yourself.
Please do not operate this product while driving.
Please do not use this product in the place where forbid to use for electronics products.
Avoid using the speaker at high volumes. Hearing experts advise against exposure to loud
music over extended periods.
Please backup the important information on your note book, any repair result from electricity
shock, static electricity, change of battery or incorrect using may cause change, damage or
delete the files stored in the product.
Congratulations on the purchase!
Welcome to visit Meizu's website! www.meizu.com .
The Meizu's home page provides the overview of company and products, other related
information, and answers to common questions. Firmware and software updates are also
available as well as the most recent information about your Meizu product.
Stand Accessories Provided into the package:
When copy files, you should save the video and photo files to specified directories
of the player, video files into Video directory,photo files into Pictures directory.
Otherwise, they won't be identified by Mini Player.
Note: Design and specifications are subject to change without notice. Pls refer to the User’s Manual provided in the Installation CD for more details.
This page was intentionally left blank
This manual suits for next models

2

Other DANE-ELEC MP3 Player manuals

DANE-ELEC MUSICMEDIA TOUCH User manual

DANE-ELEC

DANE-ELEC MUSICMEDIA TOUCH User manual

DANE-ELEC MY TOUCH User manual

DANE-ELEC

DANE-ELEC MY TOUCH User manual

DANE-ELEC MEIZU User manual

DANE-ELEC

DANE-ELEC MEIZU User manual

DANE-ELEC MP4 PLAYER User manual

DANE-ELEC

DANE-ELEC MP4 PLAYER User manual

DANE-ELEC Portable Media Player User manual

DANE-ELEC

DANE-ELEC Portable Media Player User manual

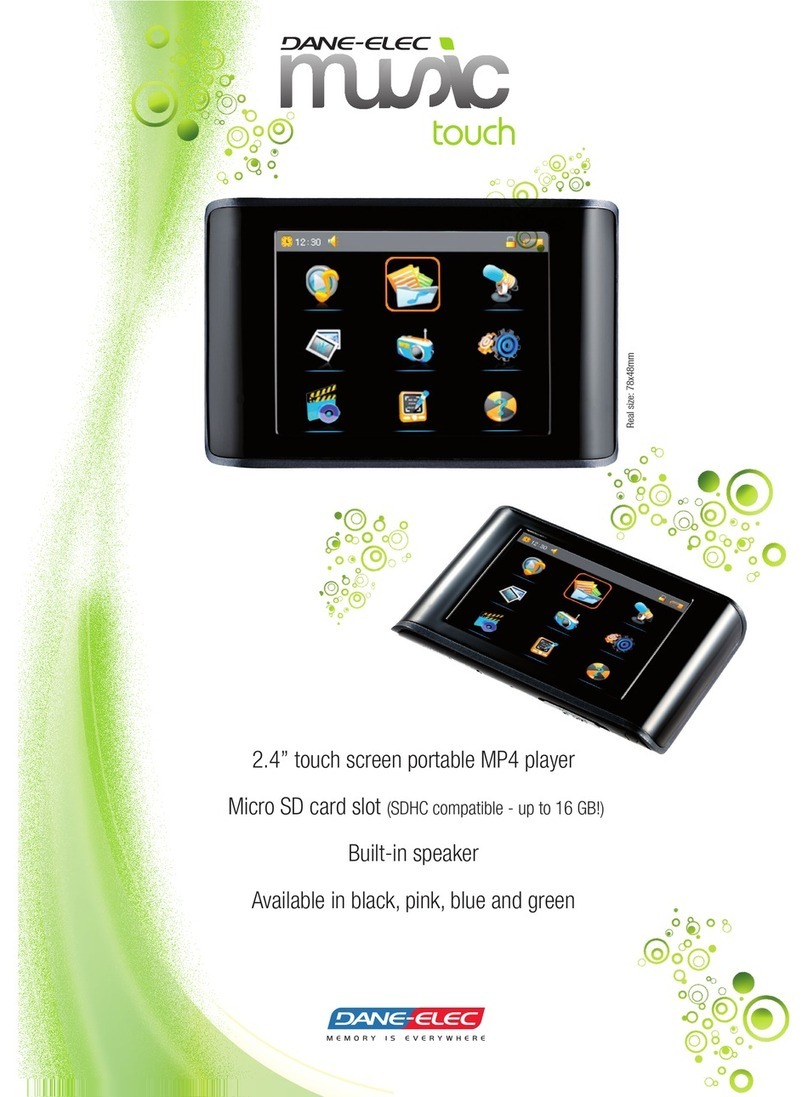
DANE-ELEC MUSICTOUCH User manual

DANE-ELEC

DANE-ELEC MUSICTOUCH User manual

DANE-ELEC MINI TOUCH User manual

DANE-ELEC

DANE-ELEC MINI TOUCH User manual

DANE-ELEC MEIZU MINIPLAYER SLIM User manual

DANE-ELEC

DANE-ELEC MEIZU MINIPLAYER SLIM User manual

Popular MP3 Player manuals by other brands

Aigo a5 user manual

Aigo

Aigo a5 user manual

Samsung Yepp YP-30S manual

Samsung

Samsung Yepp YP-30S manual

Samsung Yepp YP-30SH manual

Samsung

Samsung Yepp YP-30SH manual

Philips GoGEAR SA4VBE04 user manual

Philips

Philips GoGEAR SA4VBE04 user manual

Philips GoGear SA018102K manual

Philips

Philips GoGear SA018102K manual

Oxygen MXS 207 FM O-Mega user manual

Oxygen

Oxygen MXS 207 FM O-Mega user manual

Samsung YP-C1X user manual

Samsung

Samsung YP-C1X user manual

Hommie J5M user manual

Hommie

Hommie J5M user manual

Sony Walkman NWZ-A729BLK Specifications

Sony

Sony Walkman NWZ-A729BLK Specifications

NGS MP3 Popping user manual

NGS

NGS MP3 Popping user manual

Sony Walkman NWZ-Z1040 quick start guide

Sony

Sony Walkman NWZ-Z1040 quick start guide

Laser Mini Mate MP3-2GA8 user manual

Laser

Laser Mini Mate MP3-2GA8 user manual

Motorola MOTOROKR Z6m user guide

Motorola

Motorola MOTOROKR Z6m user guide

Aiwa MM-RX400 operating instructions

Aiwa

Aiwa MM-RX400 operating instructions

Audiovox MP4256FM user manual

Audiovox

Audiovox MP4256FM user manual

Apacer Technology Audio Steno AU822 user manual

Apacer Technology

Apacer Technology Audio Steno AU822 user manual

Gogen MXM 555 FM TEMPTATION user manual

Gogen

Gogen MXM 555 FM TEMPTATION user manual

Hyundai TRC 551 A3 instruction manual

Hyundai

Hyundai TRC 551 A3 instruction manual

manuals.online logo
manuals.online logoBrands
  • About & Mission
  • Contact us
  • Privacy Policy
  • Terms and Conditions

Copyright 2025 Manuals.Online. All Rights Reserved.