73694400 / AQ315256641189en-0102014 | © Danfoss | DCS-S/SI | 2021.09
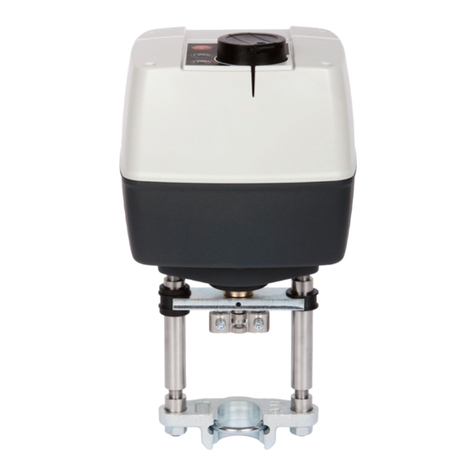
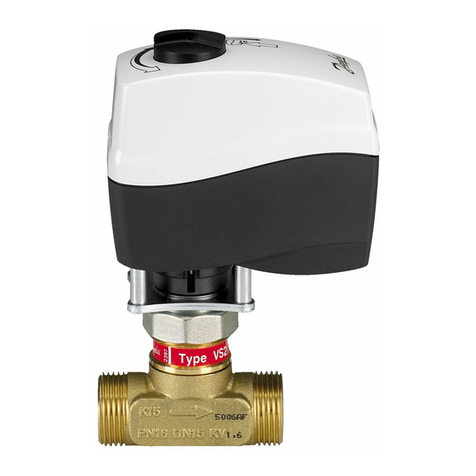
AME 120 NLX-1
ІМПОРТЕР:
UA: ТОВ з ІІ «Данфосс ТОВ», вул. Вікентія Хвойки, 15/15/6, м. Київ, 04080, Україна
Safety Notes
To avoid personal injury and damage to
the device or other property, it is
necessary to read and follow these
instructions carefully.
Assembly, start-up, and maintenance work
must be performed by qualified and authorized
personnel.
Comply with the instructions of the system
manufacturer or system operator.
Do not remove the cover before the
power supply is switched off.
Mounting Position ❶
The actuator should be mounted with the valve
stem in either a horizontal position or pointing
upwards.
Wiring ❷
AC 24 V
Connect via Class 2 (North America)
or Safety Extra-Low Voltage (SELV)
(Europe). Failure to comply can lead to
equipment damage or personal injury.
Switch off power before wiring the
actuator!
1. Make all wiring connections in accordance
with local, national, or regional regulations.
2. For applications requiring conduit, a field
supplied 1/2” trade size electrician’s fitting
and lock nut can be mounted in the actuator
enclosure. Use flexible metallic tubing or its
equivalent with the field supplied fitting.
3. Insert wiring material through the removable
plug or conduit fitting, and connect to the
terminal block using the applicable wiring
diagram ❷.
Auto sleep mode
1. If the AME 120 NLX-1 is powered by 24
V supply voltage and if it is not installed
on an AB-QM valve, it will extend to the
lowest position, stop, and switch off all LED
indicators after 5 minutes
2. It is mandatory to drive the spindle of the
actuator to the upper position before it is
installed on an AB-QM valve (please refer
to manual override section ❷!
3. Auto sleep mode switches back to learning
mode by pressing RESET button or by cycling
power supply.
Installation ❸
1. Check the valve neck. The actuator should
be in the full up position ① (factory setting).
If it is not, refer to the manual override
instructions and reposition the actuator to
its full up position ❸①.
2. The actuator is fixed to the valve body by
means of a ribbed nut which requires no
tools for mounting. The ribbed nut should
be hand tightened only.
DIP switch settings and
reset button ❺
1) DIP switches ❺④
Factory settings:
All switches are in OFF position (except SW 1 which
is in ON position)!
NOTE:
All combinations of DIP switches are allowed.
All functions that are selected are added
consecutively.
SW 1: 0/2 - Input signal range selector
If set to OFF position, the input signal is in the
range from 2-10 V (voltage input) or from 4-20
mA (current input). In case of missing control
signal, during normal operation in 2-10V/4-
20mA mode (OFF position), the actuator will stay
in the last known position, until a valid control
signal is present again. If set to ON position, the
input signal is in the range from 0-10 V (voltage
input) or from 0-20 mA (current input).
SW 2 : D/I - Direct or inverse acting
selector
If set to OFF position, the actuator is direct
acting (stem retracts as voltage increases). If
the actuator is set to ON position, the actuator
is inverse acting (stem extends as voltage
increases).
SW 3: ---/Seq - Normal or sequential
mode selector
If set to OFF position, the actuator is working
normally in 0(2)-10V or 0(4)-20mA range. If set
to ON position, the actuator is working in a
sequential mode with its range dependent on
the position of SW 4.
SW 4: 0-5 V/5-10 V - Input signal range in
sequential mode
If set to OFF position, the actuator is working in
sequential range 0(2)-5 (6) V or 0(4)-10 (12) mA.
If set to ON position, the actuator is working in
sequential range; 5(6)-10 V or 10(12)-20 mA.
SW 5: LIN/LOG - Linear or equal
percentage flow through valve selector
If set to ON position, the flow through the valve
is equal percentage to the control signal.
If set to OFF position, the flow through the valve
is linear to the control signal.
SW 6: ---/ASTK - Anti-blocking function
Periodically repositions the valve, minimizing
potential for sticking when the heating/cooling
control system is inactive and 24V power
remains.
If set to ON position (ASTK), the valve motion is
switched on. The actuator opens and closes the
valve every 7 days.
If set to OFF position (---), function is disabled.
SW 7: U/I - Input signal type selector
If set to OFF position, voltage input is selected. If
set to ON position, current input is selected.
Reset button ❺③
The reset button will cause the actuator to go
through an auto-calibration cycle (press it for
2 s).
Manual override ❹
(for service purposes only)
Do not use the manual override if
power is connected!
- Remove cover ①
- Press and hold the button (on the bottom
side of the actuator) ②during manual
override ③
- Replace cover ④
- Install actuator on valve ⑤
Remark:
A ‘click’ sound after energizing the actuator
indicates that the gear wheel has jumped into
normal position.
Function test
The light emitting diodes (LEDs)
❺① (green - direction indicator),
❺② (red - reset and normal mode indicator)
indicate whether the actuator is in operation or
not, the operating status, and failures, if any.
Red LED:
• Constant On
- Normal operation
• Flashing (1Hz)
- Auto-calibration mode
• Flashing (~3Hz)
- Power supply too low
- Auto-calibration error, valve stroke too
short
- Failure during auto-calibration
• Off
- No Power or no operation
Green LED:
• Constant On
- Spindle retracting (valve opening)
• Flashing (1Hz)
- Spindle extending (valve closing)
• Off
- At set-point
ENGLISH
