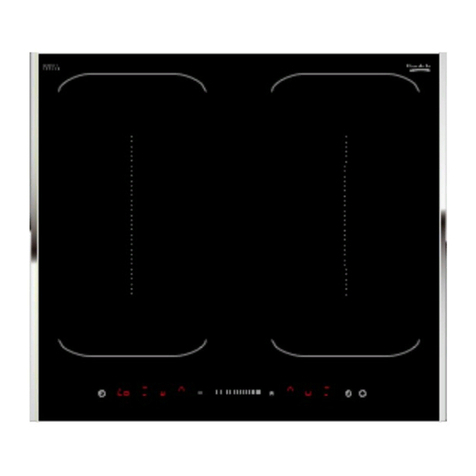
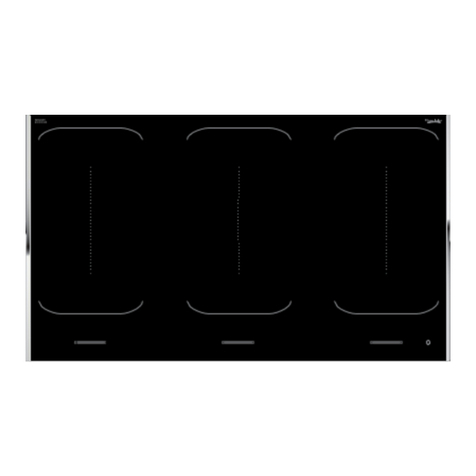
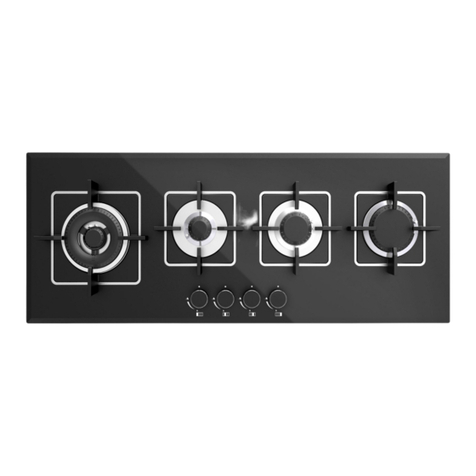
Daniela DAN9IPQ User manual

To our clients
Congratulation on purchasing a ceramic cooktop.
Do not use this appliance for the first time without having read these instructions
entirely.
Keep this manual carefully in order to consult it subsequently, or to let it use to someone
else
You can cook food directly on the pyroceram or with specific pots and pans such as a
classic cooking top.
This unit was built for cooking vegetables, meat, fish, or other similar foods. It is not
suitable for other purposes of use.
SAFETY AND WARNING REGULATIONS
Read up on security products and appliances in general. However, we want to let you know the following safety
Connect the appliance only to the normal power supply network. The voltage and frequency must match up to
the information given on its tag.
To prevent accidents never use the same socket for more appliances at the same time.
Be careful during the cooking to keep enough distance and not touch the hot surface to avoid burning.
ever attempt to repair the equipment. Contact your nearest service center and use only original accessories
otherwise you’ll lose the security right.
The appliance and its accessible parts become hot during use. Care should be taken to avoid touching heating
elements.
Accessible parts may become hot during use. Young children should be kept away.
If the surface is cracked, switch off the appliance to avoid the possibility of electric shock.
Unattended cooking on a hob with fat or oil can be dangerous and may result in fire. EVER try to extinguish a
fire with water, but switch off the appliance and then cover flame e.g. with a lid or a fire blanket.
Danger of fire: do not store items on the cooking surfaces.
Don't use a steam cleaner.
The appliance is not intended to be operated by means of an external timer or separate remote control system.
Children less than 8 years of age shall be kept away unless continuously supervised.
This appliance can be used by children aged from years and above and persons with reduced physical, sensory or
mental capabilities or lack of experience and knowledge if they have been given supervision or istruction concerning
use of the appliance in a safe way and understand the hazard involved. Children shall not play with the appliance.
Cleaning and user maintenance shallnot be made by children without supervision .
INSTALLATION INSTRUCTIONS
For the installer
Read the following instructions before installation.
Implement the appliance according to the laws and standards.
Incorrect installation can cause damage to person, animals or things.
Dispose packaging according to the rules for recycling.
PLACEMENT
•The supporting surface must be perfectly flat and heat-resistant material at a temperature of 100° C.
•If the part under the appliance is accessible is required to mount a separator panel ( represented by
the letter “C”).
•If you want to install the appliance on an oven, it must be fitted with a forced ventilation (fan oven).
•If you want to install the appliance on a dishwasher, you interpose a separator panel sealed
between the two devices (represented by letter “C”).
•All furniture located next to that the work plan should be at least 600mm away from the appliance
itself.
•Always remember that good ventilation can prevent overheating of the areas around the appliance
as shown below.
1. The cabinet must have the following measures:
size 900mm x 350mm cut out 885mmx335mm

2. Prepare sealant (in the packaging box) along the entire perimeter of the plan, represented in the key with
letter “A”.
3. Plug the appliance in the collection.
4. Secure the appliance to the work by 4 brackets (in the packaging box), shown in the diagram with the letter
“B”.
Any deformities caused by incorrect installation could affect the performance of the appliance.
ELETTRICAL CONNECTION
The electrical connection for the hob and that of another appliance (oven , refrigerator, dishwasher, etc…) should be connected
separately for both security reasons and for any subsequent maintenance or whatever.
At the bottom the appliance has terminal for connecting to different types of power supply.
The appliance has a cord already connected and ready for connection of single phase.
Voltage (V) Frequency (Hz) Wire connection
220-240V 1+ 50-60Hz Yellow/green
230-240V 1+ 50-60Hz blu
brown L
CABLE CONNECTION TI T E POWER SUPPLY
•If the appliance is directly connected to the mains must be placed between the device and the network
switch with a minimum opening of 3 mm. This switch should be easily accessible after installation.
•The outlet must be grounded and complies with applicable laws.
•The socket is able to withstand both the maximum power that the voltage of the appliance (as shown on the
label).
•The socket is compatible with the plug of the appliance, possibly replace the socket or the plug but never use
extensions or multiple.
•The cable must not be bent or compressed
T E COMPANY DISCLAIMS ALL RESPONSIBILITY ' IF T ESE REGULATIONS ARE NOT RESPECTED.

FIRST USE
•Verify that the cooking top is perfectly intact
•Clean the hob with a mild detergent, using a non-abrasive sponge and dry.
•Dry the pyroceram hob.
DESCRIPTION OF T E CONTROL TOUC OF T E APPLIANCE
Functionality of Touch Control
The Touch Control is operated by the selection principle. You have to select a cooking zone first than you can
adjust the setting with the Plus/Minus key. The corresponding 7 segment display is brighter and the
decimal dot shows the selected cooking zone.
Before adjusting the TC you have to press the main On/Off key for switching on the cooktop. Via O /
Off key the cooktop can be switched off any time during operation.
The cooking levels can be set in 9 steps and is shown on the display 1..9 resp P when Booster is activated.
Pot detection
If cookware is detected, the “suspended pot” is shown on the cooking element display (standard).
The cooking zone is switched off automativally after 10 minutes without recognizing of any
cookware.

Boost-Funktion, Powermanagement
Boost-Function can be applied on each cooking zones. Therefore a cooking zone
has to be selected, cooking level set to „9“ and Plus key has to be pressed again.
If Boost Function is active a „P“ is displayd on the corresponding 7 segment display.
The neccessary power reduction is shown by blinking of the correpsonding cooking zone display. Blinking
is active for 3 sec. and allows further adaptations of the settings before power reduction.
The booster time limitation is 5 minutes.
Residual heat display
After turning off the power levels, the residual heat on a cooking element is displayed as long
as the temperature is over the defined threshold.
Key protection ( Child-Lock)
Child_lock against unattended usage.
Can only be activated when no cooking zone is selected.
Locking:
After switching on the control by the main switch the child lock can be activated. Therefore cooking
zone selection key FR (front right) and Minus key has to be pressed together and after releasing then
FR key again. All displays show „L“ for locked. If a cooking zone has an hot status „H“ and „L“ will be
shown alternating. The activation has to take place within 10 sec after switching on the control and no
other key has been pressed. Otherwise the activation is blocked.
The control will keep this status until deactivation. o matter of switching on and off or resetting the complete cooktop.

Temporary deactivation for cooking:
Deactivation the control you have to press cooking zone selection key FR( front right) and Minus key
together. “L“ will be erased in the displays and „0“ is displayed on all cooking zones. If a cooking
zone has an hot status „H“ and „0“ will be shown alternating.
After switching of the control with the main switch Child Lock is activated again.
Permanent deactivation:
After switching on the control by the main switch the child lock can be activated. Therefore cooking
zone selection key FR (front right) and Minus key has to be pressed together and after releasing then
Minus key again.
Following the steps within 10 sec. the control will be in STA D-BY–condition. If not operation is not
accepted and control is being switched of after 20 sec.
Timer-Function
Timer is being displayed on the rear cooking zone displays (RL,RR). The displays of the front cooking
zones (FR,FL) are switched off.
There are 2 different Timer realised:
- Cooking Timer: Timer is related to a certain cooking zone. After exploration of the Timer an
audible sound is generated and the cooking zone will be switched off.
- Stand alone Timer: independent Timer operation. After exploration of the Timer an audible
sound will be generated but no further activities.
• Selecting a Timer:
By pressing Plus- and Minus Key simultaneously the Timer function is selected. If a cooking
zone has been selected before, the Timer is related to this particular cooking zone and the
decimal dot of the cooking zone is blinking. If no cooking zone was selected before activation
of the Timer function, the Stand alone Timer is activated.
Having more Timer activated at the same time you can toggle with Plus- and Minus key
among each other. All active Timers will be toggled clockwise.
Timer setting is limited to 10 sec. selection time. After this the Timer display switches back to
active cooking zone display.
• Timer setting:
After Timer has been activates you can change the Timer value by using Pus- and Minus

key. If no Timer value is selected you can start at 30 min. by pressing the Minus key.
Pressing Plus- or Minus key permanent Timer value is changed faster. The automatic repeat
ist stoped with setting 99 or 01.
A dedicated Timer will be displayed by the decimal dot in the corresponding cooking zone
display.
A dedicated egg-timer will be displayed by a blinking of both decimal dots in the timer displays.
• Timer deleting:
Timer can be switched off by setting his value to 00. For cooking Timer the dedicated cooking
zone remains active.
• Expiration of Timer:
After setting a Timer value the countdown starts automatically. Changing the Timer value by
Plus-or Minus Key the Timer starts with the complete minute.
• Timer signal:
Reaching the value 00 an acoustic and optical signal is given. An expired cooking Timer
switches off the cooking zone. Additional selected Timers will be displayed together with the
corresponding decimal dot of the cooking zone display.
The signal is limited to 2 min. if no other key has been pressed meanwhile.
C ARACTERISTICS OF PYROCERAM
It is very solid, more than glass to which it looks like. Attention, however, do not load with excessive
weight and avoid collisions with metal objects.
Resistant to heat and cold as the most violent temperature range. Also the accidental fall of cold
water on the hot surface causes no damage.
It is pleasant and easy to clean
USE OF PYROCERAMIC
• With each use, verify that the bottom of dishes and cooking area are clean and dry.
• The rubbing of pots and pans on the ceramic plate with time can damage the surface.
• The cleaning of fruits and vegetables directly on the hob, provoke deposits that may cause scratches.
• Avoid that sugar solutions involuntarily pour because they are particularly harmful.

• Do not leave on the ceramic plate containers, especially plastic and aluminium that could melt upon
contact with the warming up part.
CLEANING PYROCERAMIC PROCESS
All stains and deposits on the surface of the glass must be cleaned cold, except for the storage of
sugar which must be removed when the hob is still warm (be careful not burns).
Use only products conceived for pyroceramic cooking top.
If the application is light use a dry cloth.
If the deposit is abundant clean with a sponge and soapy water, then rinse and dry.
If the spot is resistant, clean it with a sponge on the side of “ fiber saves nails ”and non-abrasive,
using a specific product for pyroceramic.
After each cleaning, apply a specific product for pyroceramic, which will prevent the formation of
new spots.
In case of residue exceptionally hard to remove, place a damp blotting paper over the residue of
the surface when it is still warm and wait for the steam soften it. After cleaning with a damp cloth and
with a scraper, then lather, rinse and dry.
Do not use corrosive detergent and / or silicone.
Do not use sprays to clean the oven.
Do not use sponges particularly abrasive.
CLEANING SCRAPER FOR GLASS CERAMIC COOKING SURFACES
a. Remove any burn-on deposits or spilled food from your ceramic cooktop surface with a
suitable scraper
b. Scratches may occur as a result from daily use. This will however not affect your cooking
result.
c. Take care when using the scraper-danger of injures-.
d. Keep out of reach of children!

INFLUENCE OF T E PAN
The condition of the pan, especially the bottoms, greatly affects the speed and economy of the cooking process.
•Pans should be equal to or just larger than the hot plate diameter.
•Pans must have flat, thick, solid bottoms.
It is worth investing in good quality cookware
DISPOSAL OF PACKAGING
The disposal of packaging must be done by dividing the different types of material (cardboard, plastics, etc. ...) and placed
them in special containers in order to be able to recycle.

DISPOSAL OF OUSE OLD APPLIANCES USED
Do not dispose of household appliances in the bins of municipal solid waste, but deliver them to an island green where
they will be disposed properly.
Table of contents
Other Daniela Cooktop manuals

Daniela
Daniela DAN2GAG User manual

Daniela
Daniela DAN9TY User manual

Daniela
Daniela DAN6CM User manual

Daniela
Daniela DAN6TM User manual

Daniela
Daniela DAN2CM User manual

Daniela
Daniela DAN9TM User manual

Daniela
Daniela DAN6IM User manual

Daniela
Daniela DAN9IM User manual

Daniela
Daniela DAN64GTG User manual

Daniela
Daniela DAN90AGG User manual