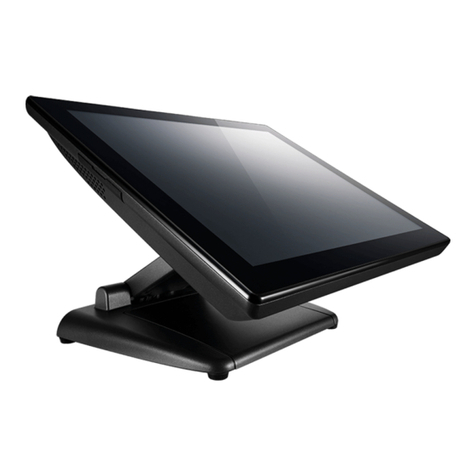
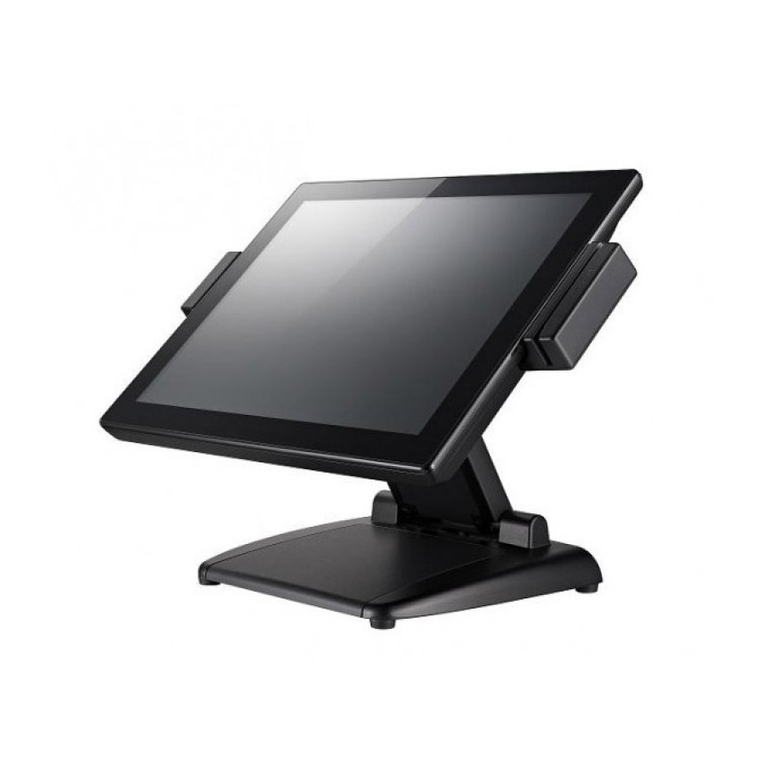
Datavan Wonder Series User manual

Technical Support
Safety notices
Before You Proceed
Power Supply Safety Notice
NOTICE
• Read safety notice and User Manual carefully before using the product.
• Keep the box and packaging in case the product needs to be shipped in the
future.
• Follow the product and warning label instructions.
• Any changes or modifications that do not follow the instructions in this
manual will void this product's warranty.
• To avoid electric shocks, disconnect the power cord from the electrical
outlet before relocating the system.
• Make sure the voltage of the power outlet conforms within voltage range
of the terminal. Failure to comply may cause the electric shock or damage
to the terminal. If you are not sure of the electricity voltage that you are
using, contact your local electricity company.
• To avoid fire or electric shocks, do not overload electric power outlets.
• Protect the power cord from being walked on or pinched particularly at
plug, convenience receptacles, and the point where they exit from the
apparatus.
The version of these drivers and manuals is subject to change without notice.
For update, please contact your local agent.
1. To enter the Boot Menu, press F10.
2. To set CMOS default, press F2 to enter CMOS seing and load optimized defaults
3. Refer to User Manual for other technical information and FAQs. If the problems
are not resolved, contact your local vendor for further support and provide them
with the information below:
product name, product serial number, and detailed
descrip
tion of your problem.
Warning & Attention
2. Turn offthe POS Terminal before cleaning. Clean with dry cloth only. Do not
spray any liquid cleaner directly on the screen.
3. The power outlet socket used to plug in power cord must be located near the
system and easily accessible.
4. Make sure the voltage of the power source is set correctly before connecting the
POS Terminal to power outlet.
5. If the POS Terminal shares an extension cord with other devices, make sure the
total loading of the devices plugged into the extension cord does not exceed the
extension cord’s maximum loading.
6. Do not expose the power cord, extension cord and power outlet to moisture or
traffic intensive walkways.
7. Install the POS Terminal on a sturdy and reliable surface to prevent damage
caused by dropping.
POS Terminal.
9. Disconnect the power cord from the POS terminal before any installation of
internal components. Make sure both the POS terminal and the external devices
are turned off. A sudden surge of power may damage sensitive components.
Also make sure the POS terminal is properly grounded.
10. During installation of any internal components, be sure to ground yourself and
discharge any static electricity. Most electronic components are highly sensitive to
static electric charge. Use a grounding wrist strap and place all electronic compo-
nents in any static-shielded devices. If a wrist-grounding strap is not available,
ground yourself by touching an unpainted piece of metal.
11. The openings on the POS Terminal enclosure are for the cabin ventilation to
prevent the POS terminal from overheating. DO NOT COVER THE VENTILA-
TION OPENINGS.
of time. However, hours of use will vary depending on the application environ-
ment.
13. If the POS Terminal is equipped with a touch panel, avoid using sharp or metallic
objects to operate the touch panel. Scratches on the touch panel may cause
mal-calibration or serious damage to the panel.
14. The LCD panel display is not resistive to shock or vibration. When disassembling
the POS Terminal, make sure the LCD panel is properly and securely installed.
Overview
Before seing up your Touch Terminal, check that the package contains the following
items. If any of the items is missing or damaged, contact your vendor immediately.
Package Contents
Optional
Touch Terminal
Power Cord & Adapter Accessory Kit
Quick
InstallationGuide
MSR + iBuon
Identification Reader
MSR + RFID
Identification Reader
Customer Display (VFD) Secondary LCD Display
(10"/15”)
MSR Reader
Secondary Hard Disk
Drive Installation Kit
Fingerprint
Identification Reader
RFID Identification
Reader
ZPKMU-00164
Wonder Series
Quick Installation Guide V1.0
W-615
MSR + Fingerprint
Identification Reader
iBuon
Identification Reader

Installing the Power Cord, Power Adapter, and
Network Cable
Installing the Identification Reader (Optional)
Installing the VESA Mount (Optional)
Installing the Customer Display (Optional)
1. Place the Touch Terminal on a soft and flat surface, with the LCD panel facing
down. Remove the cable compartment cover. (a)
2. Connect the network cable to the LAN port. Then connect the power adapter to the
DC IN jack. (b)
3. Route the power adapter and the network cable through the cable compartment. (c)
4. Align and install the cable compartment. (d)
5. Connect the power adapter to the power cord. Then plug the other end of the
power cord to an electrical outlet. (e)
6. Connect the network cable to a hub or switch. (f)
d
ef
b
a
c
When removing the power adapter, be sure to hold the
end of power adapter firmly and pull it out.
1. Remove the identification reader
compartment cover. (a)
2. Firmly connect the identification
reader connector into the slot inside
the compartment. (b)
3. Align and install the identification
reader onto its compartment. (c)
4. Secure the identification reader to
the Touch Terminal using the two
screws. (d)
1. Place the Touch Terminal on a soft and flat surface, with the LCD panel facing down.
Remove the cable compartment cover. (a)
2. Remove the four screws on the stand. (b)
3. Remove the stand. (C)
4. Remove the supportive tape from the stand. (d)
5. Remove the four screws on the stand cover. (e)
6. Remove the stand cover. (f)
7. Align and install the customer display into the four threaded standoffs on the stand. (g)
8. Secure the customer display to the stand with the four screw nuts. (h)
9. Route the customer display’s interface cable through the cable guides on the stand
and through the cable compartment as illustrated. (i)
10. Connect the customer display’s interface cable to the RJ-45 COM port on Touch
Terminal. (j)
11. Reverse steps 6 through 1 to complete installing the customer display.
Installing the Secondary LCD Display (Optional)
1. Place the Touch Terminal on a soft and flat surface, with the LCD panel facing down.
Remove the cable compartment cover. (a)
2. Remove the four screws on the stand. (b)
3. Remove the stand. (C)
4. Remove the supportive tape from the stand. (d)
5. Remove the four screws on the stand cover. (e)
6. Remove the stand cover. (f)
7. Align and install the secondary LCD display into the four threaded standoffs on the
stand. (g)
8. Secure the secondary LCD display to the stand with the four screw nuts. (h)
9. Route the secondary LCD display’s power cable and USB cable through the cable
guides on the stand as illustrated. (i)
10. Connect the secondary LCD display’s power cable and USB cable to the corresponding
ports on Touch Terminal. (j)
11. Reverse steps 6 through 1 to complete installing the secondary LCD display.
d
d
d
d
e
e
e
f
f
f
f
g
g
g
h
h
h
i
i
i
j
j
b
b
b
b
a
a
a
a
c
c
c
c
1. Place the Touch Terminal on a soft and flat
surface, with the LCD panel facing down.
Remove the cable compartment cover. (a)
2. Remove the four screws on the stand. (b)
3. Remove the stand. (c)
4. Align and install the mount bracket on the back
of the Touch Terminal. (d)
5. Secure the mount bracket to the Touch Termi-
nal with the four screws. (e)
6. Drill four small holes on the mounting location
and insert the plastic washers into the holes. (f)
7. Align by the screw holes and then install the
wall bracket on the wall. (g)
8. Secure the wall bracket to the wall with the four
supplied screws. (h)
9. Align and hook the Touch Terminal to the wall
bracket, and then push down to secure it into
place. (i)
10. Replace the cable compartment cover for
storing the stand assembly. (a)
This manual suits for next models
1
Other Datavan Touch Terminal manuals
Datavan
Datavan S-615E User manual
Datavan
Datavan ARC Series User manual
Datavan
Datavan G-615S User manual
Datavan
Datavan G-615 User manual
Datavan
Datavan Glamor Series User manual
Datavan
Datavan HiFive Series User manual
Datavan
Datavan Saturn Series User manual

Datavan
Datavan ARC Series User manual
Datavan
Datavan S-615W User manual

Datavan
Datavan HiFive Series User manual
