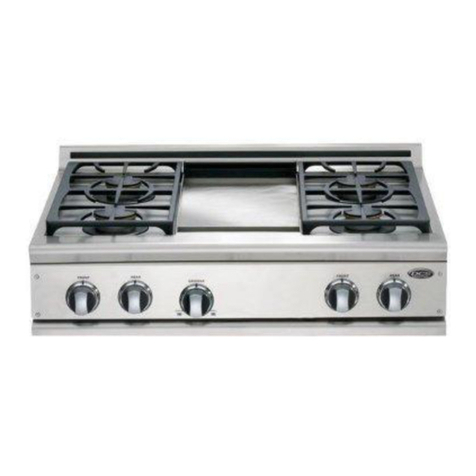
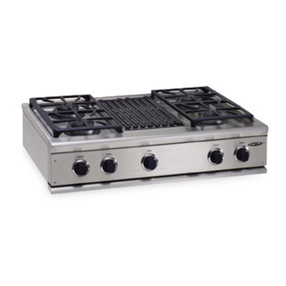
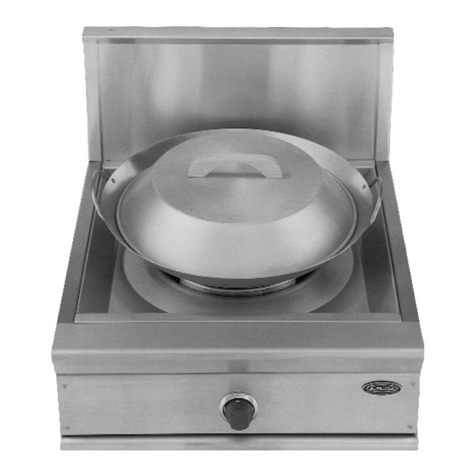
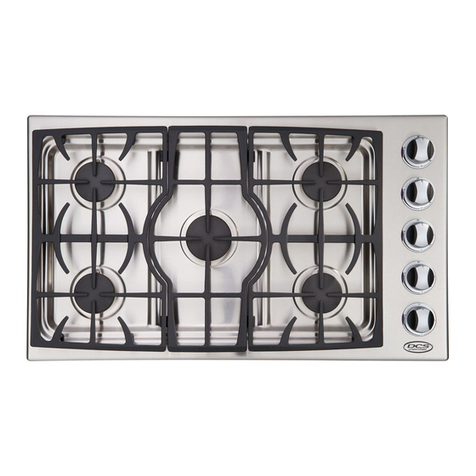
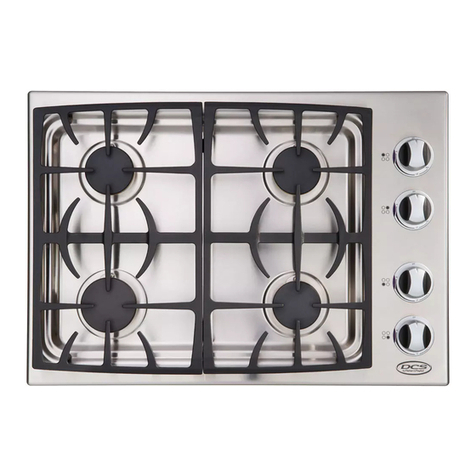
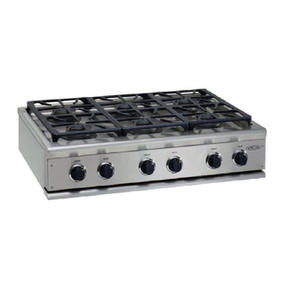
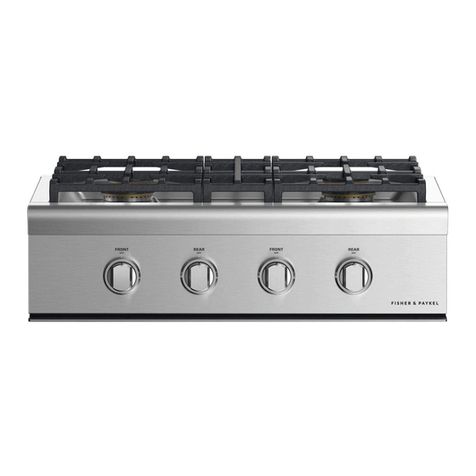
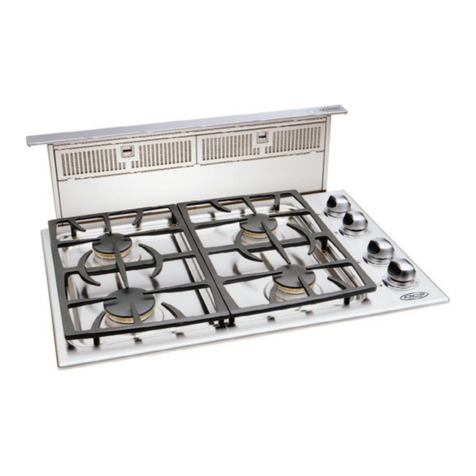
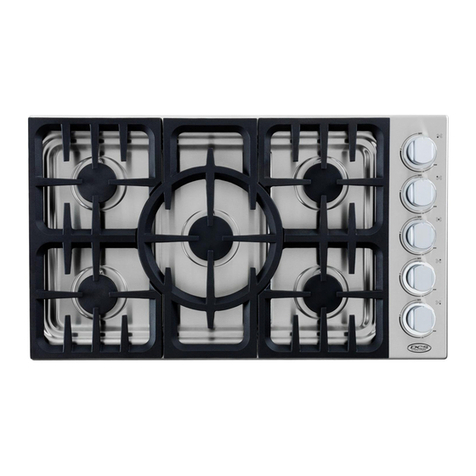
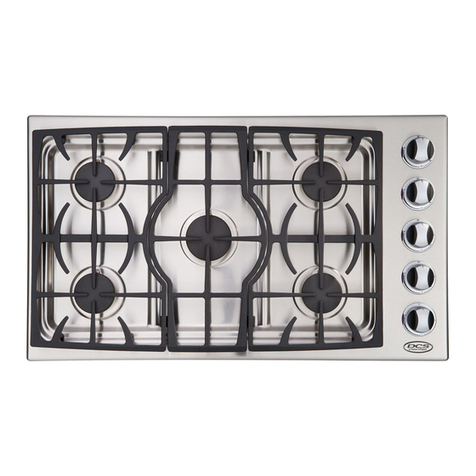
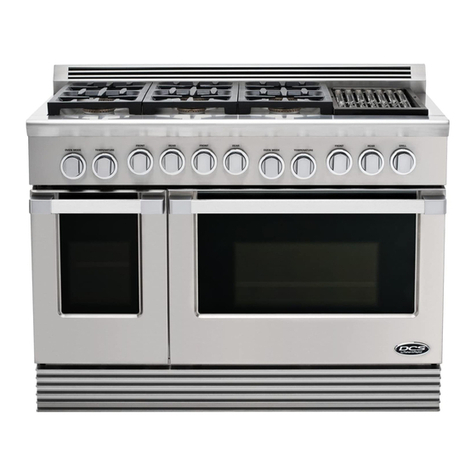
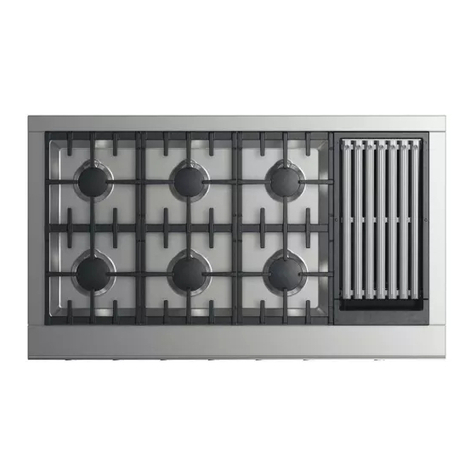
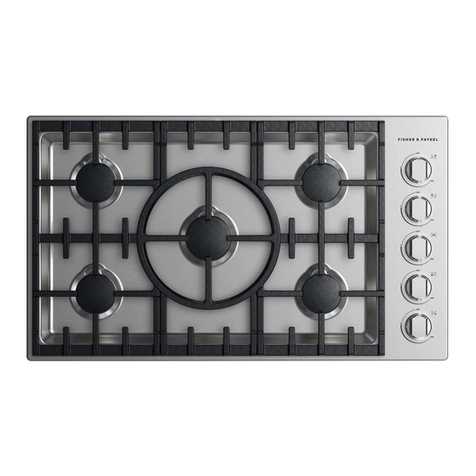
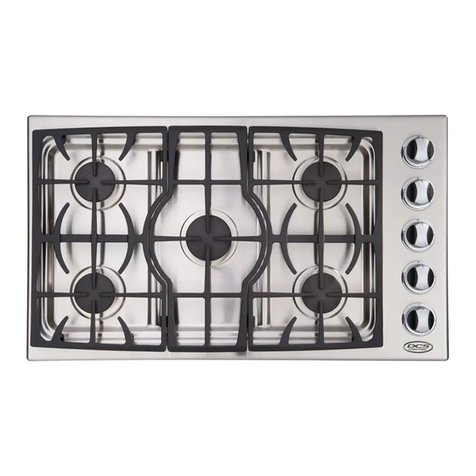
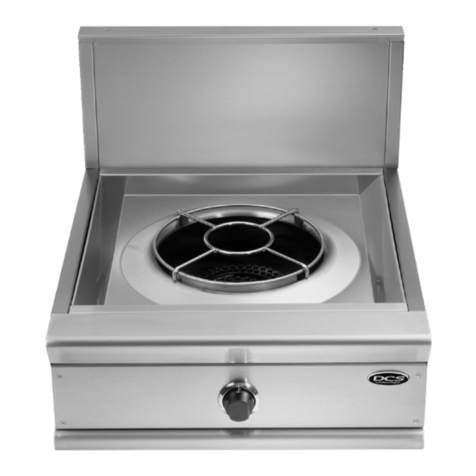
DCS CT-304WT User manual


A MESSAGE TO OUR CUSTOMERS
Thank you for selecting this DCS Professional Drop-ln Cooktop. Because of this appliance's unique features
we have developed this Useand Care Manual. It contains valuable information on how to properly operate
and maintain your new appliance for years of safe and enjoyable cooking.
Tohelp serve you better, please fill out and submit your Ownership Registration by visiting our website at
www.dcsappliances.com and selecting "Customer Service" on the home page and then select "Ownership
Registration" or submit the enclosed Ownership Registration Card to the address below, in addition, keep
this manual handy, as it will help answer questions that may arise as you use your new appliance.
For your convenience, product questions can be answered by aDCS Customer Care Representative
byphone: 1-888_281-5698 , emaih supportd_dcsappllances.com,
or by mail:
Fisher & PayMl Appliances, Inc.
Attention: DCS Customer Care
5900 5kylab Road
Huntington Beach, CA 92547
www.dcsappliances.com
WARNING
Improper installation, adjustment alteration, service or maintenance can
cause property damage, injury or death. Read the installation, operating and
maintenance instructions thoroughly before use, installing or servicing this
equipment.
Z_ WARNING
Do Not store or use gasoline or any other flammable vapors and liquids in the
vicinity of this or any other appliance.
FOR YOUR SAFETY
IF YOU SMELL GAS:
1.Do not turn on any electrical switch; do not use any phone in your building.
2. Immediately call your gas supplier from aneighbor's phone. Follow the gas
supplier's instructions.
3. If you cannot reach your gas supplier, call the fire department. Installation
and service must be performed by a qualified installe# service agency or the
gas supplier.
PLEASE RETAIN THIS MANUAL FOR FUTURE REFERENCE.

TABLE OF CONTENTS
SAFETY PRACTICES AND PRECAUTIONS ..................................................................................................3-5
CARE AND MAINTENANCE ...................................................................................................................................8-9
Cleaning the Cooktop ............................................................................................................................................8
Cleaning the Burner Grates .................................................................................................................................8
Cleaning the Burners .............................................................................................................................................9
Cleaning the igniters ..............................................................................................................................................9
PRODUCT MEASUREMENT SPECIFICATIONS ...................................................................................1011
SERVICE .................................................................................................................................................................................12
WARRANTY .................................................................................................................................................................13-14

SAFETY PRACTICES& PRECAUTIONS
When propedy cared for, your new DCS App[hnce has been designed to be a safe, re[hb[e cooking
appliance. When using this restaurant caliber appliance, use it with extreme care, as
this type appHiance provides intense heat and can increase the accident potential Basic safety
precautions must be foHHowedwhen using kitchen appHiances, incHuding the foHHowing:
[] Read this Use and Care Manual thoroughly before using your new appliance.This wi[[ help to
reduce the risk of fire, eHectric shock, or injury to persons.
[] Begin by insuring proper instaHHation and servicing. FoHHowthe instaHlation instructions which
came with this appliance. Be sure to have a qualified technician install and ground this
appliance before using.
[] Have the installer show you where the gas supply shuboffvalve is located so you will know how
and where to turn offthe gas to the appliance.
[] If you smell gas, the installer has not done a proper job of checking for leaks. You can have a
small leak and therefore a faint gas smell if the connections are not completely sealed. Finding
a gas leak is not a "doqt-yourself" procedure. Some leaks can only be found with the burner
control in the ON position and for your protection it must be done by a qualified service
technician.
[]
[]
If by some chance a burner goes out and does not reqgnite and gas escapes, open awindow or
a door to let the room air out. Do not attempt to use the appliance until the gas has had time to
dissipate.
This appliance has been factory assembled for Natural Gas or Liquid Propane as indicated by
the mode[ number.
Do not repair or replace any part of this appliance unless it is specifically recommended in this
manual. All other servicing should be referred to a qualified service technician.
Z_ WARNING:
CHILDREN SHOULD NOT BE LEFT ALONE or unattended in an area where
appliances are in use. They should never be allowed to turn knobs, push
buttons, sit or stand on any part of an appliance.
Z_ WARNING:
Do not store items of interest to children on or around the Dropqn Cooktop.
Children could be seriously injured if they should dim b on to or reach across the
appliance to reach these items.
[]
[]
[]
[]
Never store anything on the cooktop. Flammable materials can accident[y catch fire, plastic
items may melt or ignite and other types of items could be ruined.
Do not hang articles from any part of the appliance.Some fabrics are quite flammable and may
catch on fire.
If the appliance is near a window be certain the curtains do not Now over or near the cooktop
burners; they could catch on fire.
Never let clothing, pot holders, or other flammable materials come in contact with, or too close
to any burner or burner grate until it has cooled. Fabric may ignite and result in personal injury.

SAFETY PRACTICES& PRECAUTIONS
[] Be certain to use only dry pot holders; moist or damp pot holders on hot surfaces may cause
burn injury from steam. Do not use a towel or other bulky cloth in place of pot holders. Do not
let pot holders touch hot burners, or burner grates.
[] For persona[ safety, wear proper apparek Loose fitting garments or hanging sleeves should
never be worn while using this applhnce. Some synthetic fabrics are highly flammable and
should not be worn while cooking.
[] Do not use aluminum foil to line any part of the cooktop. Using a foil liner could result in a
fi re hazard.
Z_ WARN/N@
This appliance is for cooking. Based on safety considerations, never use the
cooktop to warm or heat a room.
Z_ WARNING:
When using the cooktop: Do not touch the burner grates or the immediate
surrounding area. Areas adjacent to the burners may become hot enough to
cause burns.
[] Never Beave the cooktop unattended when using high flame settings. A possible boil over
could cause smoking or greasy spill overs may ignite. More importantly, if the burner flames are
smothered by a severe boil over which effects the igniter, the unburned gas will escape into
the room, which would be extremely dangerous.
[] Only certain types of glass, heat-proof giass<eramic, ceramic, earthen ware, or other glazed
utensils are suitable for use on the open flame of the cooktop. Utensils that are not thermally
heat safe may break with sudden temperature changes.
[] Do not heat unopened food containers; a build up of pressure may cause the container to burst.
[] During cooking, set the burner control so that the flame heats at the bottom of the pan and
does not curl around the bottom edges of the pan.This could heat and/or melt the handles.
[] Always use utensils that have fiat bottoms large enough to cover the burner. The use of
undersized utensils wiii expose a portion of the flame to direct contact and may result in
ignition of clothing.
[] To minimize burns, ignition of flammable materials and accidental spill overs, position handles
of utensils inward so they do not extend over adjacent work ateas, cooking areas, or the outside
edges of the cooktop.
[] Hold the handle of the pan to prevent movement of the utensil when stirring or turning food.
[] Grease is flammable. Do not use water on grease fires.Turn OFF the burner, then smother the
fire with baking soda or use a dry chemical or foam-type fire extinguisher. Let hot grease coo[
before attempting to handle it. Avoid letting grease deposits collect around the base of the
cooktop burners.Clean after each use or boil over.
[] Use splatter screens over pans when frying foods to minimize possible grease burns. Be sure
not to use a flame that is too high.
[] For proper lighting and performance of the cooktop burners, keep the burner ports dean. it
may be necessary to dean these when there is a boil over or when the burner does not light,
even though the electronic igniters click.
[] Clean the cooktop with caution.Avoid steam burns;do not use a wet sponge or cloth to clean
the cooktop while it is hot. Some cleaners produce noxious fumes if applied to a hot surface.
Follow directions provided by the cleaner manufacturer.

SAFETY PRACTICES& PRECAUTIONS
[]
[]
[]
[]
[]
[]
Be sure all the cooktop controls are turned offand the app[hnce is coo[ before using any type
of aerosoH cHeaner on or around the appHhnce.The chemicaH that produces the spraying action
couHd,in the presence of heat, ignite or cause metaH parts to corrode.
CHean the ventilator hood and fiHters above the cooktop frequentHy so grease from cooking
vapor does not accumuHate.
Turn the ventiHator OFF in case of fire.The bHower, if in operation, couHd unsafeHy spread the
flames.
Do not obstruct the flow of combustion or ventiHation air to the appHhnce. Be sure a fresh air
For safety reasons and to avoid damage to the appliance never sit, stand, or lean on the cooking
surface.
Service should only be done by authorized technicians. Service technicians must disconnect
the power suppHy before servicing this appHhnce.
CaHifornia Proposition 65 - Warning: The burning of gas cooking rue[ generates some by-
products which are known by the State of CaHifornia to cause cancer or reproductive harm.
CaHifornia Hawrequires businesses to warn customers of potentiaH exposure to such substances.
To minimize exposure to these substances, aHways operate this unit according to the
instructions contained in this bookHet and provide good ventiHation to the room when cooking
with gas.
NOTE: This product must be installed by a licensed plumber or gas fitter when
installed within the Commonwealth of Massachusetts.
C][ L G
0 O0
h_staller suf_p[ie({ Gas SuDply
shut off valve
must be easily
accessible inside
c_binetry

COOKTOP USE
CAUTION:
For warranty coverage, DC5 requires that burner adjustments be made by a
quMified technician at the time of instafladon. Extreme care should be used
when adjustments are made after instaflation.
CONTROL KNOBS:
The control knobs and knob bezels are readly associated with the burners they control and are
located on the right hand side of the Cooktop,The sealed top burners have an infinite number of heat
settings and there are no fixed positions on the control knobs between HI and SIM (with the exception
of LOW),To Hight the burner push control knob in and rotate counterclockwise, An audible clicking
sound will be heard and the burner should light immediately, To use, turn the knob to the desired
setting. "ON"
COOKING UTENSILS:
For best results we recommend using Professional
Cookware,These can be found at your finer department
stores, specialty cooking shops, or restaurant supply
stores, If using regular cookware be very careful if the
pans have plastic handles, as these large professional
size burners can flame up on the outside of the pan and
melt or bubble the handles. THESEGRAPHICS
SHOW BURNER
LOCATION:
INDICATOR
LIGHT
TOP VIEW OF KNOB BEZEL
RIGHT FRONT
BURNER
BURNERS:
Your new Drop-In Cooktop is equipped with
burners typical of those used in restaurants,
These restaurant style burners are comprised of
high strength die cast aluminum burner bases
and simmer port rings, precision forged brass
port rings, and cast iron burner caps,
Model CT-365 cooktop is equipped with 4
burners rated at 11,000 Btu/hr, and one high-
output burner rated at 17,500 Btu/hr. Model
CT-304 is equipped with 2 burners rated at
11,000 gtu/hr, I burner rated at 10,000 and
1 high-output burner rated at 15,500 Btu/hr (for
natural gas). All Drop-In Cooktop burners have
exceptionally low simmer capabilities (See
chart on page 7).The burner system is designed
for maximum deanability and control. All the
cooktop burners have electronic spark re-
ignition to eliminate continuously burning
pilot; if the flame is blown out, it will relight.
Brass Port
Ring
Locating
Pin
Brass
Port Ring
Base
Inside

COOKTOP USE
ELECTRONIC IGNITERS:
ffa burner does not light or re-ignite, listen for the clicking sound, flail the igniters are not clicking, turn
off the burner. Check the circuit pane[ for a bHown fuse or a tripped circuit breaker. If one burner is not
lighting, see page 9 for cleaning instructions.
BURNER EFFICIENCY:
Htis necessary to keep the burner ports and the igniters dean for proper lighting and efficient performance.
The burner flame should burn completely around the burner with no excessive noise or lifting. The
flame should be blue in color and stable with no yellow tips.
CT-365 CT-304
Burner
Location
1,2,4,5
3
MAX.
Btu/hr
NAT LP
11,000 10,000
17,500 15,000
LOW
Btu/hr
NAT & LP
3,000
3,000
SIMMER
Btu/hr
NAT& LP
1,200
1,200
FLAME HEIGHT:
Cabinet front
Burner
Location
1
2,3
4
MAX. _W
Btu/hr Btu/hr
N_ LP N_ & LP
10,000 10,000 3,000
11,000 10,000 3,000
15,500 15,000 3,000
©
SIMMER
Btu/hr
NAT& LP
1,200
1,200
1,200
]- IL Z:---I @
Cabinet front
The correct height of the flame mainly depends on the size of the bottom of the cooking utensil, the
material of the cooking utensil, the amount and type of food and the amount of liquid in the utensil
Following are some basic rules for selecting flame height.
[] For safety reasons the flame must never extend
beyond the bottom of the cooking utensil
[] Never allow flames to cur[ up the side of the pan.
[] Utensils which conduct heat slowly (such as glass _
ceramic) should be used with medium to low flames.
If you are cooking with a large amount of liquid a
slightly larger flame can be used.
PROPERFLAMEHEIGHT
BURNER GRATES:
The cast iron burner grates are fully porcelain coated for long
life and rust prevention. HFTemperature cushions allow the
grate to rest softly on the cooktop without scratching. The
grates are designed for easy sliding of pots across the grate
tops.They were designed in interlocking sections to make them
safer, easier to remove and dean. For additional cleaning tips
see the care and maintenance section.

CARE AND MAINTENANCE
CLEANING THE COOKTOP
Z_ WARNING:
Be careful cleaning any part of this appliance while hot.
All parts of the appliance can be cleaned with a small amount of hot soapy water, rinsed, dried and buffed
to a shine with asoft, heavy pile cloth. Always try this first, as it is the mildest cleaning procedure.
1. Use the mildest cleansers first. Some brands of cleaners are harsher than others and may cause
metal parts to discolor or corrode, read their directions. Be sure all the cooktop controls are
turned OFF and the appliance is COOL before using any type of aerosol cleaner on or around
the appliance.The chemical that produces the spraying action could, in the presence of heat,
ignite.
2. To avoid marring the surfaces, always rub metal finishes in the direction of the polish lines.
The cleaner will be more effective when used in the direction of the polish Hines.
3. Use only clean sponges, soft cloths, paper towels, and plastic non-metal for cleaning or scouring
(use only soap pads with soap still in them, an empty pad can scratch),as recommended in this
section.
4,
5.
Be sure to rinse all parts thoroughly and wipe dry to avoid water marks.
If stains remain on the bottom of the cooktop sump, use this easy procedure. Place a paper
collar around the burner and igniter, tape it together.This will cover the aluminum under the
burner cap and the igniter. Spray the dirty area with Easy OfP or SOSOven Cleaner o when cool.
Cover with paper towel. Leave on for 4 hours or overnight.With a warm wet sponge, wipe clean
and polish with a lint free soft towel.You should never use anything stronger than a sponge or
a plastic non-metal sponge on your cooktop.
For your convenience, a sample bottle of Stainless Steel Magic o has been included with your cooktop.
DO NOT use this or similar products on bezels and knobs. Discoloration may occur.
BRAND NAMES:
In this section, the use of name brands is intended only to indicate a type of cleaner.
This does not constitute an endorsement. The omission of any name brand cleaner does not imply
its adequacy or inadequacy. Many products are regional in distribution and can be found in the local
markets and department stores.
CLEANING THE BURNER GRATES:
Turn offal[ the burners and allow the grates to coo[ before starting to dean the cooktop. Rapid
cooling of the grates, for instance, placing hot grates in coo[ or tepid water to dean, can thermally
shock the porcelain coating and cause cracking or chipping. If you wipe off any part of the cooktop
while it is hot, do so carefully as using a wet sponge or cloth can result in steam burns.
Once the grates are cool they may be wiped clean while on the cooktop using hot soapy water, then
rinsed and wiped dry or they may be placed in the dishwasher for easy cleaning.The occasional use of
mild abrasive cleansers such as Bon-Ami, Soft Scrub" or a soap-filled plastic or non-metal pad is okay.
Abrasive cleansers, used vigorously or too often, can eventually harm the enamel. Apply with a damp
sponge, rinse thoroughly and dry.

CARE AND MAINTENANCE
CLEANING THE BURNERS:
For proper Highting and performance, keep the
burners dean and dry. Htis necessary to dean
the burners if they do not Hight aHthough the
igniter chicks, whenever there has been a severe
boll over or when the flame doesn't burn bHue.
Be certain a[[ burner knobs are in the OFF
position before attempting to dean the
burners. The burners have been designed for
ease of cHeaning.When the grates and burners
are cooH,remove the grate.The Burner Cap and
the BrassPort Ring can easily be lifted off.Wash
these parts in hot soapy water, rinse and dry
thoroughHy. The Burner Caps are porceHain
enameH,follow the directions on page 8 that
were given to dean the burner grates.A bristle
brush can be used to dean out the toothed
burner ports, if necessary. DisassembHyof the
Brass Port
Ring
Locating
Pin
Brass
-- Port Ring
Hex Nut
Pin
Locating
Pin HoHe
Hnside
Base
Simmer Ring is not recommended, however, it may become necessary to do so if the ports remain
dogged after normaH cHeaning. ff it is necessary to disassembHe the Simmer Ring from the Base,remove
the Hex Nut at the top of the Simmer Ring.CHean the Simmer Ring with hot soapy water using a soft
wire or pHastic bdstHe brush then dry thoroughHy. Re-assembHe the parts using the Hex Nut.
After cleaning, it is important to make sure the Locating Pin on the bottom side of the Simmer Ring is
properHy aHigned with the corresponding homein the Base and that the Locating Pin (see above) in the
bottom side of the Brass Port Ring is properHy aHigned with the Locating Notch on the top side of the
Simmer Ring. Hncorrect aHignment will[ produce a potentiaHHy dangerous flame and poor burner
performance. See the iHHustration above.
CLEANING THE IGNITERS:
Be certain aHHburner knobs are in the OFF position before attempting to dean the igniters. GentHy
wipe with an aHcohoHdampened cotton swab and be carefuH not to damage the igniter.
IGNITER

PRODUCT MEASUREMENT SPECIFICATIONS
Dimensions shown below are for product reference only, REFERTO THE PRODUCT iNSTALLATiON
GUIDE FOR CABINET PREPARATION AND CUTOUT SPECiFiCATiONS,
CT-365
Grate (p/n 12268-01)(2 pcs) 'C' Burner Cap
(p/n 12273)(4 pcs)
Knob (p/n 14301)(5 pcs)
21 "
36'
Front View
34-1/2"
2-3/4"
4"
R Side View
_5!1/2"
10

PRODUCT MEASUREMENT SPECIFICATIONS
Dimensions shown below are for product reference only, REFERTO THE PRODUCT INSTALLATION
GUHDEFOR CABHNETPREPARATION AND CUTOUT SPECIFICATIONS,
CT-304
/-- 'C' Burner Cap
Grate (pin 12325)(2 pcs) /(pin 12273)(3 pcs)
TopView / /--- Knob (p/n 14301)(4 pcs)
@
30"
'D' Burner Cap (pin 12272)(1 pcs)
Front View
28-5116"
+
4 _
R Side View t
_5-112"
19-1/2': _ J_1-1/2"
11

HOW TO OBTAIN SERVICE:
For warranty service, contact our DCS Customer Care Representative at (888) 281-5698. Before you
call, pHease have the following information ready:
[] Modal Number (Hocated at the bottom of chassis, right corner)
[] SerhH Number (Hocated at the bottom of chassis, right corner)
[] Date of installation
[] A brief description of the proNem
Your satisfaction is of the utmost importance to us. Hf a proNem cannot be resoHved to your
satisfaction, pHeasewrite to Customer Care or emaH: support(P_dcsappHiances.com
Write:
Fisher & Payke[ Appliances, Inc.
Attention: DCS Customer Care
5900 SkyHab Road
Huntington Reach, CA 92647
12

LENGTH OFWARRANTY
One (1) Year FuHHparts and Labor covering the entire product.
Five (5)Years Limited stainless steel main tops, parts only.
DCS WILL COVER:
AHHrepair Habor and parts found to be defective due to materiaHs or workmanship for one fuHHyear'HN
HOME" warranty from date of purchase. This does not appHy if the unit was subjected to other than
normaH househoHd use. Service must be provided by Authorized Factory Technician during normaH
working hours. No charges wiHHbe made for repair or repHacement at the Hocation of initiaH instaHHation or
factory for parts returned pre-pMd, through the deaHer and chimed within the warranty period, and
found by DCS to be defective.
RepHacement wHH be F.O.B. DCS, and DCS wiHHnot be HiabHefor any transportation costs, Habor costs, or
export duties. This warranty shaHHnot appHy, nor can we assume responsibiHity for damage that might
resuHt from faiHure to foHHow manufactures instructions or HocaHcodes, where the appHiance has been
tampered with or aHtered in anyway or which, in our judgement, has been subjected to misuse,
negHigence, or accident.
DCS WILL NOT COVER:
[] Hnsta[[ation or start-up.
[] Norma[ adjustment to burners, gas reguHators, etc.
[] CHeaning of igniters and/or genera[ maintenance.
[] Shipping damage.
[] Service by an unauthorized agency.
[] Damage or repairs due to service by an unauthorized agency or the use of unauthorized parts.
[] Service during other than normaH working hours.
[] Hmproper instaHHation, such as improper hook-up, etc.
[] Chipping of porceHain enameH grates.
[] Service visits to teach you how to use the appHiance; correct the instaHHation; reset circuit breakers
or repHace home fuses.
[] Repairs due to other than normaH househoHd use.
[] Damage caused from accident, abuse, aHteration, misuse, incorrect instaHHation or instaHHation not
in accordance with HocaHcodes.
[] Units instaHHedin non-residentiaH appHication such as day care centers, bed and breakfast centers,
churches, nursing homes, restaurants, hoteHs, schooHs,etc.
This warranty appHies to appHiances used in indoor residentiaH appHications; it does not cover their use in
commerciaH situations.Warranty starts at the date of instaHHation or 10 days from date of deHivery.
This warranty is for products purchased and retained in the 50 states of the U.S.A., the District of
CoHumbia and Canada.This warranty appHies even if you shouHd move during the warranty period. ShouHd
the appHiance be solid by the originaH purchaser during the warranty period, the new owner continues to
be protected untiH the expiration date of the originaH purchaser's warranty period.
13

This warranty is in lieu of all other warranties, expressed or implied, and all implied warranties,
including warranties of merchantability and fitness for a particular purpose, are hereby disclaimed to
the full extent permitted by law. To the extent that implied warranties may not be disclaimed, the
duration of any implied warranties, including implied warranties of merchantability and fitness for a
particular purpose, are limited to the duration of this expressed warranty. This warranty gives you
specific legal rights. You may also have other tights which vary from state to state.
14

15

16

This manual suits for next models
5
Table of contents
Other DCS Cooktop manuals
Popular Cooktop manuals by other brands

TEFAL
TEFAL Everyday Slim IH2108 manual

TECHWOOD
TECHWOOD TPI-203 instruction manual

Frigidaire
Frigidaire FEF358CFSD Wiring diagram

Whirlpool
Whirlpool ACH7324/BLV Use, care and installation guide

Electrolux
Electrolux E36IC80ISS - 36" Induction Cooktop Wiring diagram

Miele
Miele KM 404 operating instructions

Rubine
Rubine IRSI30 Use and Installation Instructions

KitchenAid
KitchenAid KECC508MBB01 parts list

Casselin
Casselin CPAI350A operating instructions

Bertazzoni
Bertazzoni V24 4 00 X Installation, service and user instructions

Kenmore
Kenmore 79075762000 installation instructions

Westinghouse
Westinghouse WHIC02K instruction manual