manuals.online logo
Brands
  1. Home
  2. •
  3. Brands
  4. •
  5. De Agostini
  6. •
  7. Toy
  8. •
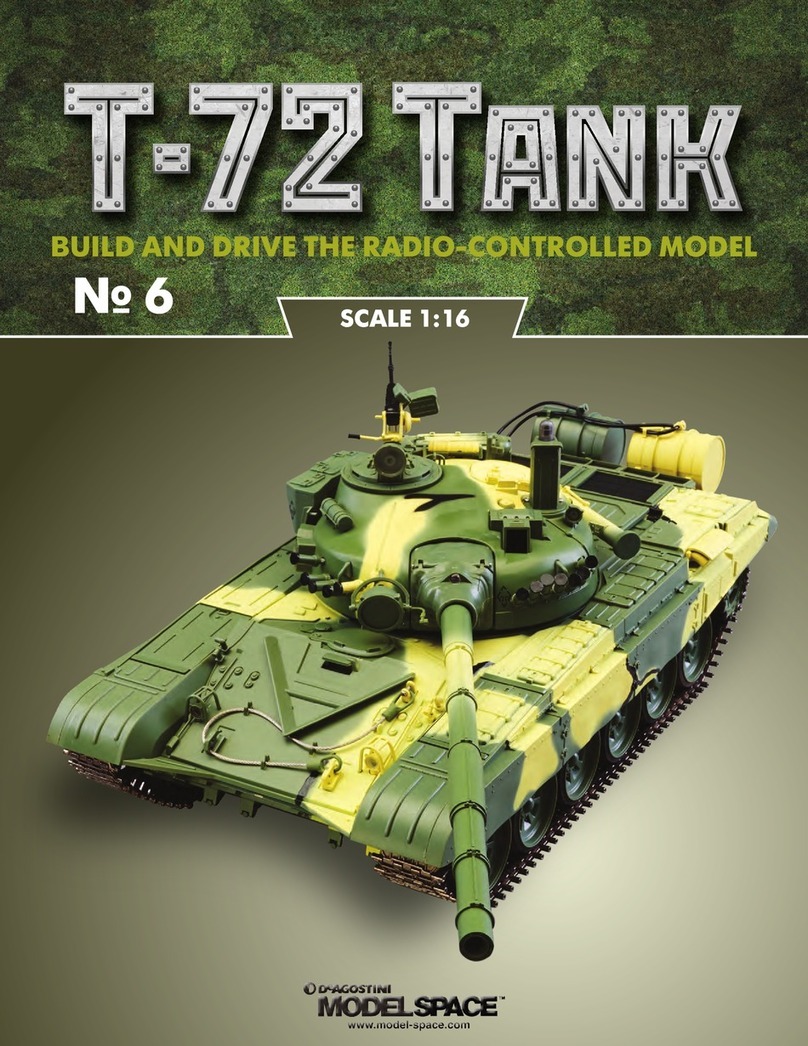
  9. De Agostini Model Space T-72 User manual

De Agostini Model Space T-72 User manual
BUILD AND DRIVE THE RADIO-CONTROLLED MODEL
№ 10 SCALE 1:16
CONTENTS
Editorial and design by Continuo Creative, 39-41 North Road, London N7 9DP.
Published in the UK by De Agostini UK Ltd, Battersea Studios 2, 82 Silverthorne Road, London SW8 3HE.
Published in the USA by De Agostini Publishing USA, Inc.,121 E. Calhoun Street, Woodstock, IL 60098.
All rights reserved © 2017
Warning: Not suitable for children under the age of 14.
is product is not a toy and is not designed or intended for use in play.
Items may vary from those shown.
STAGE PAGE
50 The smoke generator switch 119
51 The smoke generator liquid 121
52 The diorama building front 123
53 The cones and antenna 125
54 The diorama receiver 127
55 The charger 129
T-72 TANK: STAGE
PB 119
50
PARTS
For this stage,you will need the parts supplied, as well as the
lower hull, a screwdriver, a wooden board, a small hammer
and the track.
1
1. Smoke generator switch
2. Screws
3. Treads (5 pcs.)
4. Pins (5 pcs.)
THE SMOKE GENERATOR SWITCH
With this stage, you receive the switch to turn the smoke generator on and off. This
will start the process that heats up the smoke liquid, which is then discharged through
the tube at the rear of the hull to simulate the exhaust.
T-72 TANK: STAGE
120 121
Insert the smoke generator switch into
the slot located next to the rear of the
battery box.
Insert a screw into the circled hole. Carefully tighten the screw until it is
holding the switch board to the post. Don’t
overtighten, as that can break the board.
Insert the second screw into the other hole
in the board.
Engage the new section with the end of
your existing track.
Carefully tighten the second screw.
Place the track on its side and hammer the
pins into place.
Combine the treads supplied with
this stage.
This stage is now complete.
2 3 4
5 6
9
7
108
T-72 TANK: STAGE
120 121
51
PARTS
To keep the liquid in the container from
evaporating, remove the precision nozzle
and place the cap over the bottle nozzle,
as shown.
You can choose to prepare the bottle
containing the smoke liquid now, or later
when it will be used. Use side cutters to
remove the tip of the bottle nozzle.
For this stage, you will need the parts
supplied, the lower hull, side cutters, a
screwdriver, and the wheel parts received
in Stage 6.
Place the precision nozzle onto the nozzle
on the bottle. This will allow you to be more
accurate when filling the smoke generator.
4
21
3
1. Smoke generator liquid (bottle)
2. Precision nozzle
THE SMOKE GENERATOR LIQUID
With this stage, you receive the liquid for the smoke generator, which will be
vapourised and discharged from the rear of the hull to simulate the exhaust. The liquid
won’t be needed until the end of the build, but you can prepare the bottle now.
T-72 TANK: STAGE
122 123
Now begin fitting the road wheels.Take the
spring from the road wheel set and insert
the perpendicular end into the hole in the
recess indicated by the arrow.
Place the suspension bar over the spring,
as shown.
Turn the suspension bar clockwise until the
stopper is positioned to the right of the one
on the hull, as indicated. Now pass the
axle bolt through the hole in the bar.
Secure the bolt by placing a washer onto
the free end on the inside of the lower hull,
followed by a split washer. Then tighten the
nut onto it, using your fingertips.
Tighten the washer screw into the hole in
the suspension bar to secure the wheel.
Hold the nut in place with a finger, a
wrench or pliers, and tighten the bolt with
a screwdriver.
Press the hub cap into the recess in the
centre of the wheel.
Now place the two halves of the wheel
onto the suspension bar, as shown.
This stage is now complete.
5 6 7
8 9
12
10
1311
T-72 TANK: STAGE
122 123
52
PARTS
For this stage, you will need the parts supplied, the lower hull,
a screwdriver, and the wheel parts received in Stage 8.
1
1. Building front
2. Screws (6 pcs.)
THE DIORAMA BUILDING FRONT
With this stage, you receive the first part of the diorama – the building front. This
diorama will serve as a practice range when complete. For now, continue fitting
road wheels to the lower hull.
T-72 TANK: STAGE
124 125
Half-tighten the six screws into the posts
in the rear of the building front, to avoid
losing them.
Take the spring from the road wheel set and
insert the perpendicular end into the hole in
the recess indicated by the arrow.
This is how the spring should look.
Place the suspension bar over the spring, as
shown, turning it clockwise until the stopper
is positioned to the right of the one on the
hull, circled. Then pass the axle bolt through
the hole in the bar.
Then mount the outer part of the wheel.
Secure the bolt by placing a washer, a split
washer and a nut onto the free end on the
inside of the lower hull. Hold the nut in place
and tighten the bolt with a screwdriver.
Tighten the washer screw into the hole in the
suspension bar to secure the wheel in place.
Press the hub cap into the recess in the
centre of the wheel.
Place the inner part of the wheel on the
bar, as shown.
This stage is now complete.
2 3 4
5 6
9
7
108
T-72 TANK: STAGE
124 125
53
PARTS
For this stage, you will need the parts supplied, the turret, the
lower hull, a screwdriver, and the wheel parts received in
Stage 12.
1
1. Cones (4 pcs.)
2. Antenna base
3. Nut
4. Antenna bottom
5. Antenna top
THE CONES AND ANTENNA
With this stage, you receive a set of cones you can use to create routes to help
develop your driving skills, as well as the display antenna. This antenna doesn’t
actually function as one, so is an optional fit, but can be used as a flag pole or in
places where one is required.
T-72 TANK: STAGE
126 127
If you want to install the antenna, remove
the gun barrel rotor from the inside of the
turret (reverse the steps in Stage 39).
Place the nut from this stage into the
circled hole.
Screw the antenna base into this hole
(circled), while holding the nut in place
on the inside.
Carefully connect the two parts of the
antenna together.
Place both parts of the wheel onto the bar
and secure with a washer screw.
Tighten the antenna into the base to test-fit
it. To avoid damaging it, remove it for now.
Re-fit the gun barrel rotor.
Press the hub cap into the recess in the
centre of the wheel.
Fit the spring into the next hole, then
place the suspension bar over it, turning
it clockwise until the stopper is positioned
to the right of the one on the hull. Pass the
axle bolt through the hole and secure with
a washer, split washer and nut.
This stage is now complete.
2 3 4
5 6
9
7
108
T-72 TANK: STAGE
126 127
54
PARTS
Place the receiver box onto the rear of the
wall, as shown. The speaker and battery
box should be facing away from the wall.
For this stage, you will need the part supplied, the
building front, the hull, a screwdriver and the road
wheel parts from Stage 14.
Remove the four screws from the circled
holes in the back of the front wall. 3
1
2
1. Receiver box
THE DIORAMA RECEIVER
With this stage, you receive the next part of your diorama – the combined IR
receiver, speaker and battery box. The box will require four AA batteries. You will
be fitting the box to the building front (Stage 52), and adding another road wheel
to the hull.
T-72 TANK: STAGE
128 129
Insert the four screws removed in Step 2 into
the holes in the box.
Tighten the screws just enough to hold the
parts together, as you will need to move the
box later.
Take the spring from the road wheel set and
insert the perpendicular end into the hole in
the circled recess.
Place the suspension bar over the spring, as
shown, turning it clockwise until the stopper
is positioned to the right of the one on the
hull, circled.
Fit the inner and outer wheels together.
Pass the axle bolt through the hole in the bar.
Secure the bolt by placing a washer, a split
washer and a nut onto the free end on the
inside of the lower hull. Hold the nut in place
and tighten the bolt with a screwdriver.
Tighten the washer screw into the wheel.Then
press the hub cap into the recess in the centre
of the wheel.
Make sure that the bush hasn’t come out of
the inner wheel.
This stage is now complete.
4 5 6
7 8
11
9
1210
T-72 TANK: STAGE
128 129
55
PARTS
Insert the tab at the rear of the recoil
mechanism into the hole in the front
of the rotor.
For this stage, you will need the gun, the turret, the
spring and the turret base, as well as the screws
from Stage 7 and a screwdriver.
Place the spring onto the raised circular
projection in the centre of the turret. 3
1
2
1. Charger
THE CHARGER
With this stage, you receive the charger, which will be needed to charge the 7.2V
battery. For now, you will be assembling the turret.
T-72 TANK: STAGE
130 PB
Position the two posts on the side of the
recoil mechanism into the recesses in the
turret (circled).
Gather all of the wires together. You may
find the following steps easier if you bind
the wires together with an elastic band.
Carefully place the turret base onto the
bottom of the turret.
Pass the cables through the bottom of the
base. Align the holes in the base with the
corresponding posts in the turret.
Half-tighten the screws from Stage 7 into
the five holes in the base.
Remove the screws holding the turret ring to
the turret base.
Once all the screws are in position, tighten
them fully.
Then remove the ring from the base.
This stage is now complete.
4 5 6
7 8
11
9
1210

Other manuals for Model Space T-72

9

Other De Agostini Toy manuals

De Agostini Model Space T-72 User manual

De Agostini

De Agostini Model Space T-72 User manual

De Agostini Model Space T-72 User manual

De Agostini

De Agostini Model Space T-72 User manual

De Agostini Model Space C57 User manual

De Agostini

De Agostini Model Space C57 User manual

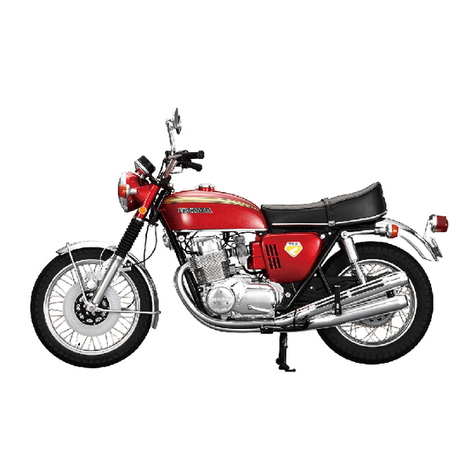
De Agostini MODEL SPACE Honda CB750 FOUR User manual
De Agostini

De Agostini MODEL SPACE Honda CB750 FOUR User manual

De Agostini Model Space MiG-29 User manual
De Agostini

De Agostini Model Space MiG-29 User manual

De Agostini MODEL SPACE Honda CB750 FOUR User manual

De Agostini

De Agostini MODEL SPACE Honda CB750 FOUR User manual

De Agostini MODEL SPACE Honda CB750 FOUR User manual

De Agostini

De Agostini MODEL SPACE Honda CB750 FOUR User manual

De Agostini Model Space T-72 User manual

De Agostini

De Agostini Model Space T-72 User manual

De Agostini Model Space T-72 User manual

De Agostini

De Agostini Model Space T-72 User manual

De Agostini Model Space T-72 User manual

De Agostini

De Agostini Model Space T-72 User manual

De Agostini Model Space MiG-29 User manual

De Agostini

De Agostini Model Space MiG-29 User manual

De Agostini MODEL SPACE Honda CB750 FOUR User manual

De Agostini

De Agostini MODEL SPACE Honda CB750 FOUR User manual

De Agostini Model Space T-72 User manual
De Agostini

De Agostini Model Space T-72 User manual

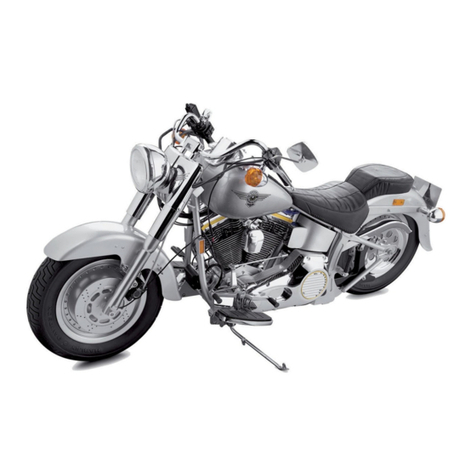
De Agostini Model Space Harley-Davidson FLSTF Fat Boy User manual

De Agostini

De Agostini Model Space Harley-Davidson FLSTF Fat Boy User manual

De Agostini MODEL SPACE Honda CB750 FOUR User manual

De Agostini

De Agostini MODEL SPACE Honda CB750 FOUR User manual

De Agostini Model Space C57 User manual
De Agostini

De Agostini Model Space C57 User manual

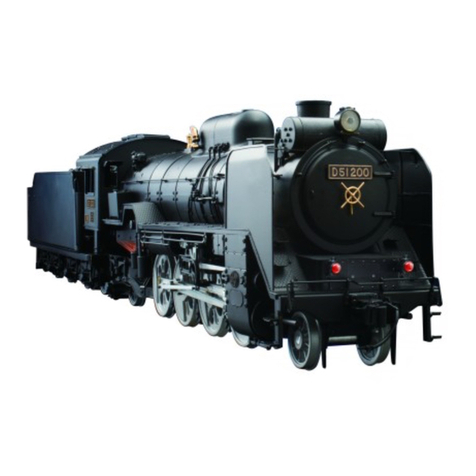
De Agostini Model Space D51 200 User manual

De Agostini

De Agostini Model Space D51 200 User manual

De Agostini Model Space C57 User manual

De Agostini

De Agostini Model Space C57 User manual

De Agostini Millennium Falcon 3 Series User manual
De Agostini

De Agostini Millennium Falcon 3 Series User manual

De Agostini Model Space ROBI Pack 03 Instruction Manual

De Agostini

De Agostini Model Space ROBI Pack 03 Instruction Manual

De Agostini Model Space MiG-29 User manual

De Agostini

De Agostini Model Space MiG-29 User manual
De Agostini Model Space IJN Akagi User manual

De Agostini

De Agostini Model Space IJN Akagi User manual

De Agostini MODEL SPACE Honda CB750 FOUR User manual

De Agostini

De Agostini MODEL SPACE Honda CB750 FOUR User manual

De Agostini Model Space T-72 User manual

De Agostini

De Agostini Model Space T-72 User manual

Popular Toy manuals by other brands

Smoby Neo House manual

Smoby

Smoby Neo House manual

Eduard Albacore bomb racks quick start guide

Eduard

Eduard Albacore bomb racks quick start guide

Fisher-Price K8748-0920 user manual

Fisher-Price

Fisher-Price K8748-0920 user manual

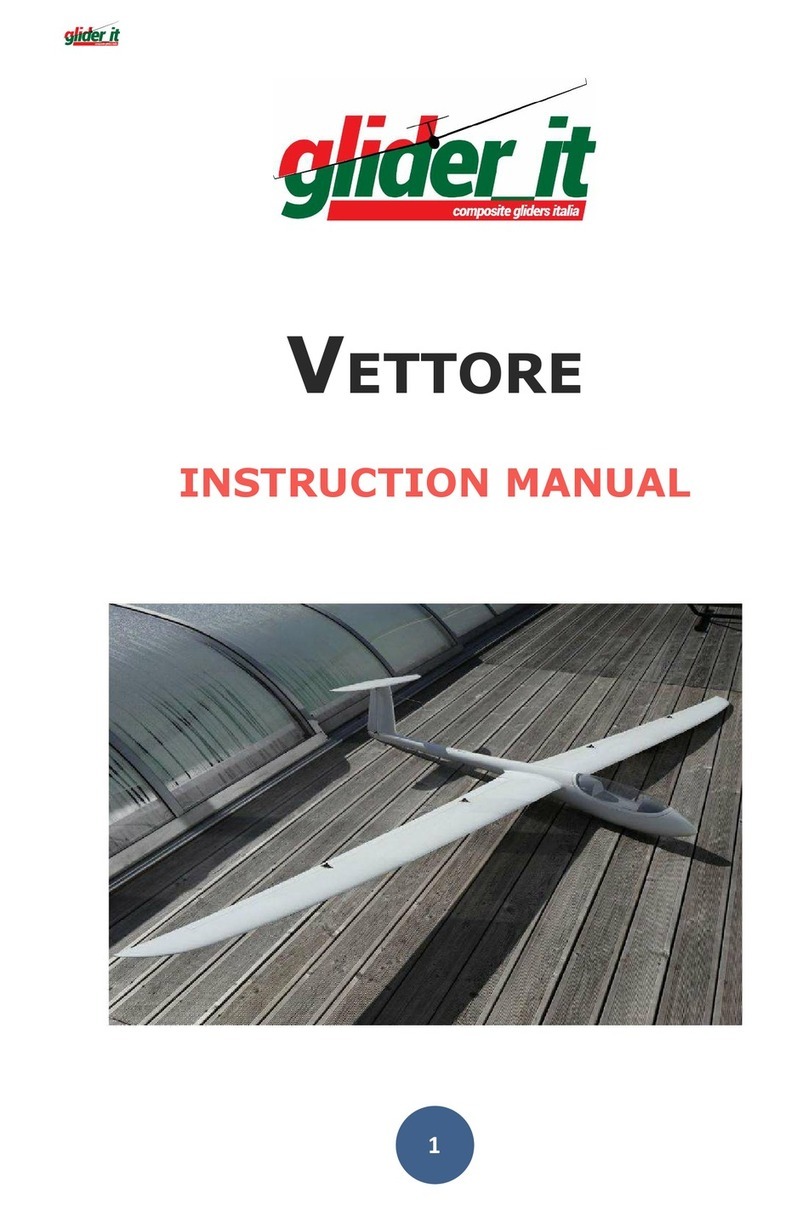
Glider.it Vettore instruction manual

Glider.it

Glider.it Vettore instruction manual

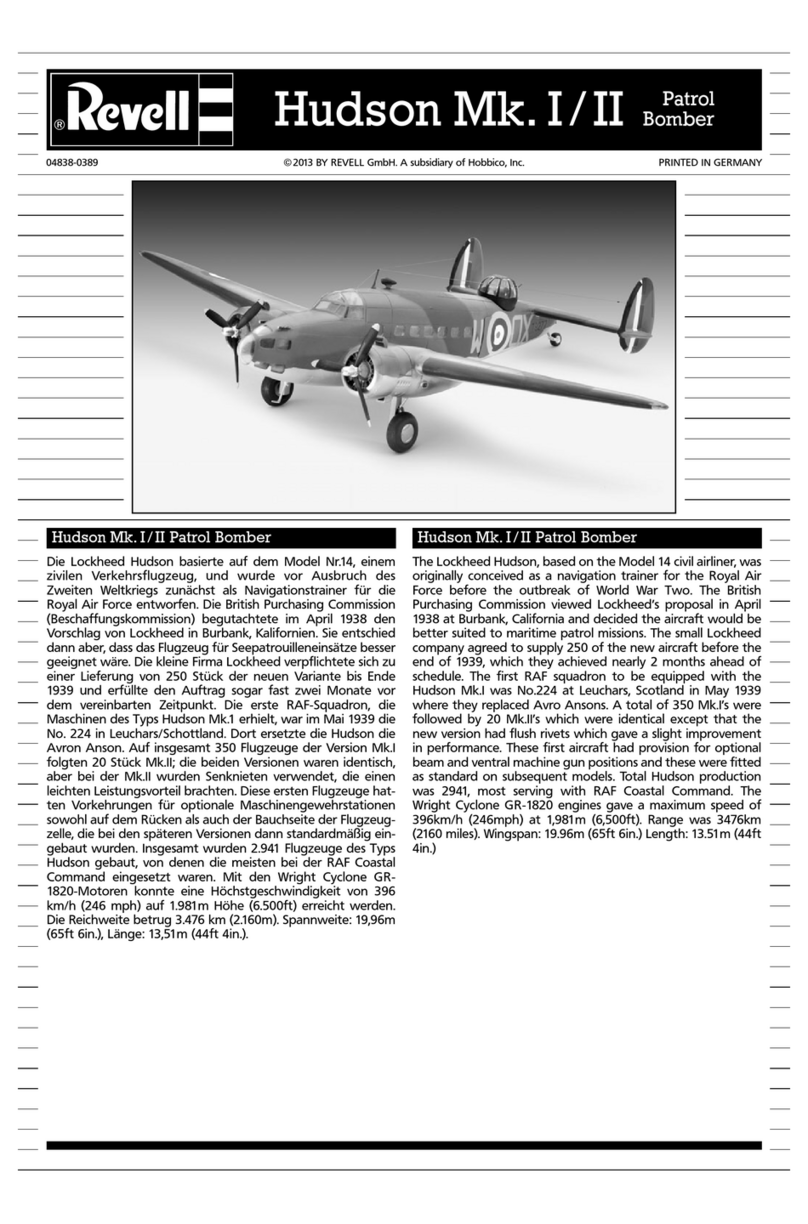
REVELL Hudson Mk. I/II Patrol Bomber Assembly manual

REVELL

REVELL Hudson Mk. I/II Patrol Bomber Assembly manual

BCP SKY2018 instruction manual

BCP

BCP SKY2018 instruction manual

MGA Entertainment NUM NOMS Shimmer Playset 552024 instructions

MGA Entertainment

MGA Entertainment NUM NOMS Shimmer Playset 552024 instructions

Eduard Zoom Bf 109E interior S.A. quick start guide

Eduard

Eduard Zoom Bf 109E interior S.A. quick start guide

LEGO 79106 Assembly information

LEGO

LEGO 79106 Assembly information

Faller 180649 manual

Faller

Faller 180649 manual

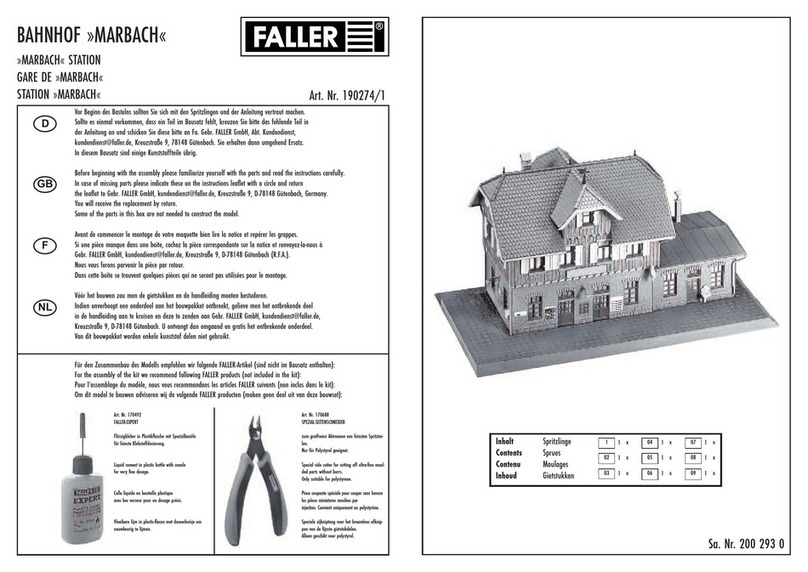
Faller MARBACH manual

Faller

Faller MARBACH manual

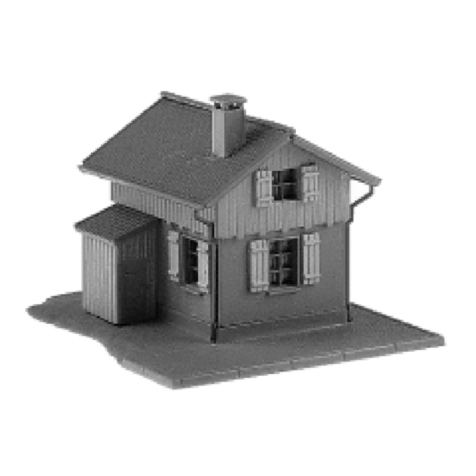
Faller Gatekeeper's lodge 282738 Assembly instructions

Faller

Faller Gatekeeper's lodge 282738 Assembly instructions

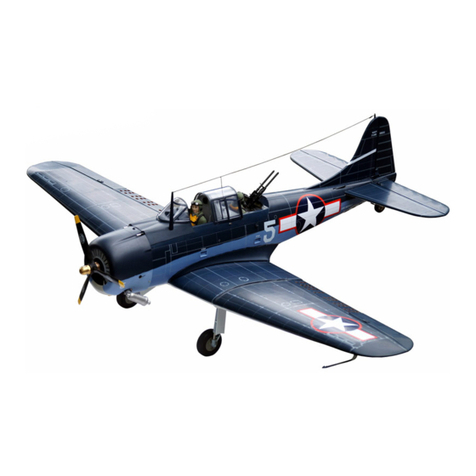
VQ Model SBD-5 DAUNTLESS instruction manual

VQ Model

VQ Model SBD-5 DAUNTLESS instruction manual

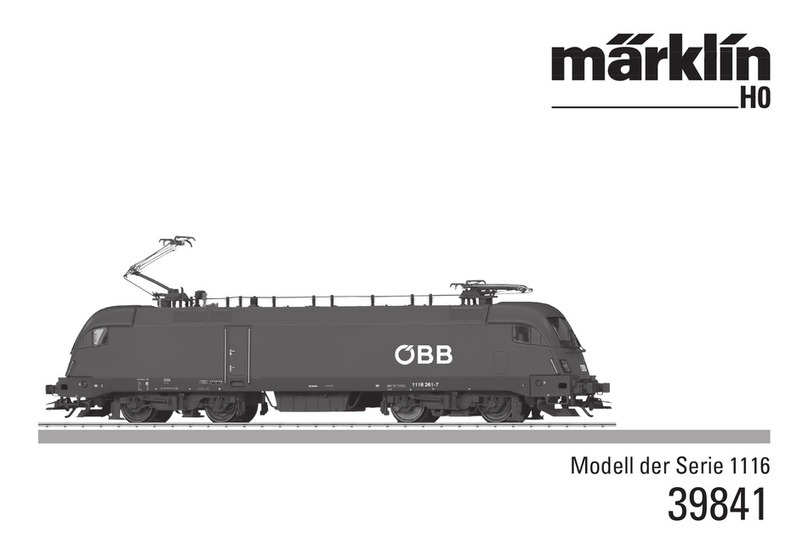
marklin 39841 user manual

marklin

marklin 39841 user manual

LEGO 75828 instructions

LEGO

LEGO 75828 instructions

Eduard F-4J Phantom II Assembly instructions

Eduard

Eduard F-4J Phantom II Assembly instructions

Eduard B-17G front interior S.A. manual

Eduard

Eduard B-17G front interior S.A. manual

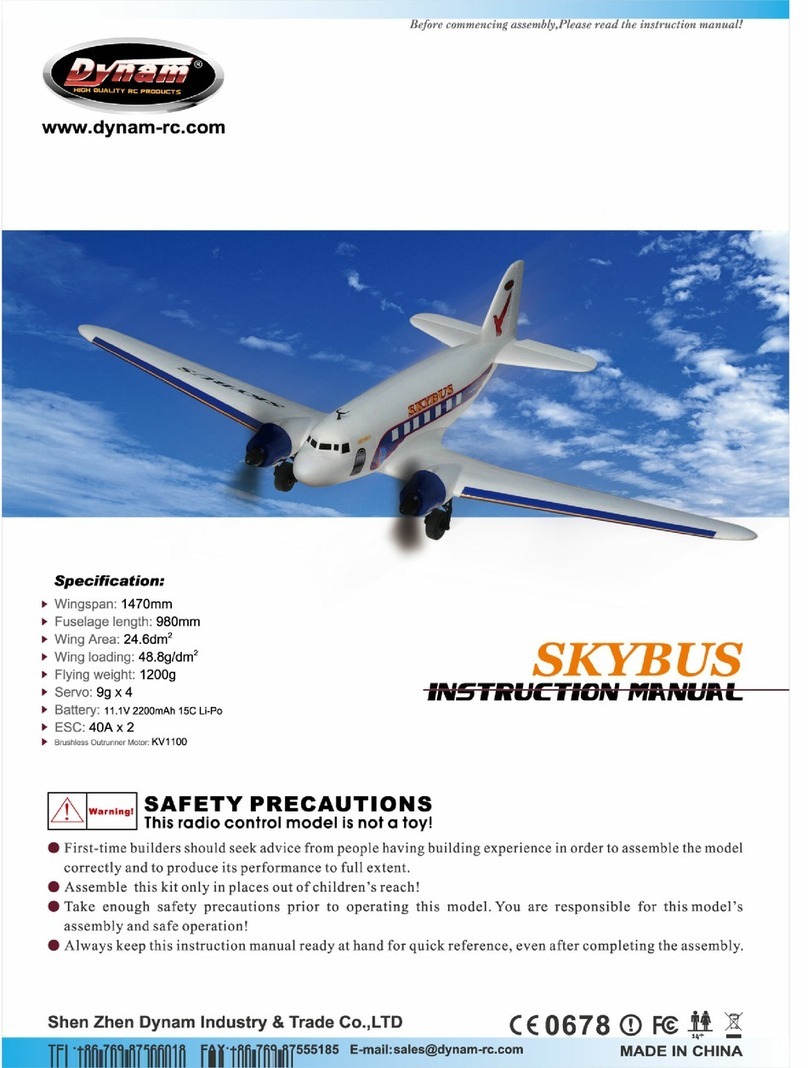
Dynam Skybus 60A-DY8931 instruction manual

Dynam

Dynam Skybus 60A-DY8931 instruction manual

manuals.online logo
manuals.online logoBrands
  • About & Mission
  • Contact us
  • Privacy Policy
  • Terms and Conditions

Copyright 2025 Manuals.Online. All Rights Reserved.