Use and Care Guide
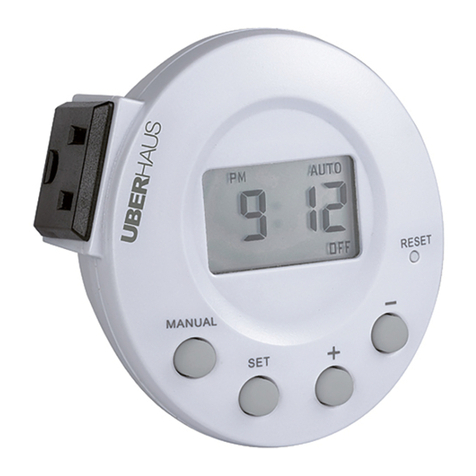
DAYLIGHT ADJUSTING INDOOR DIGITAL TIMER
IP07232014 2 HOMEDEPOT.com
Please contact 1-866-308-3976 for further assistance.
Programming
1 PROGRAMMING THE ON/OFF DAYS
This timer is capable of storing 7 programmable times (PROG 1 – PROG 7) to allow for various
ON/OFF times for different days of the week.
NOTE: The timer automatically returns to clock mode if no buttons are pressed for 1
minute. If this happens during any part of this procedure, press and hold PROG for 5
seconds and then press SET to scroll through the previously-congured settings until you
reach your desired location on the timer display.
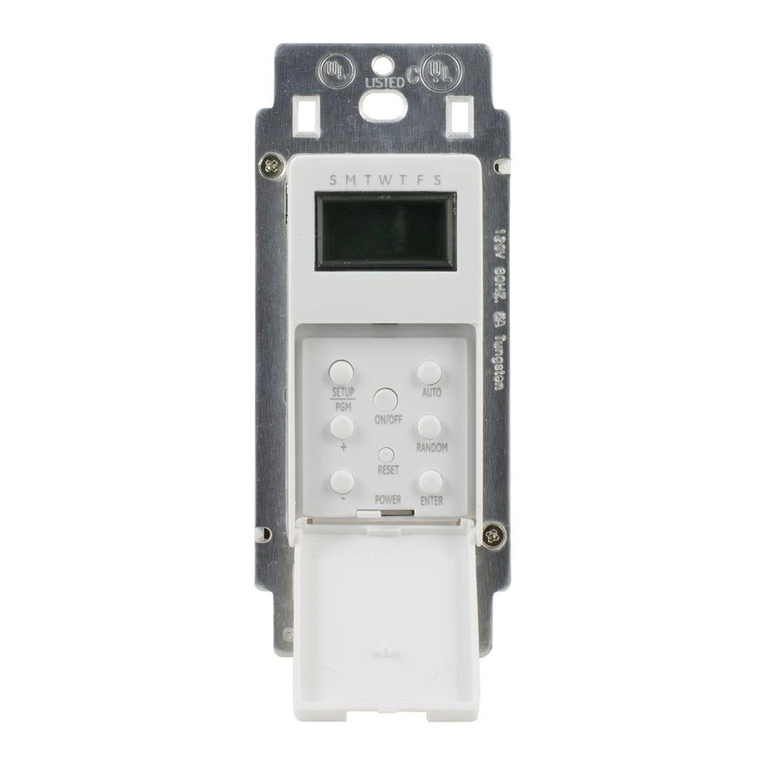
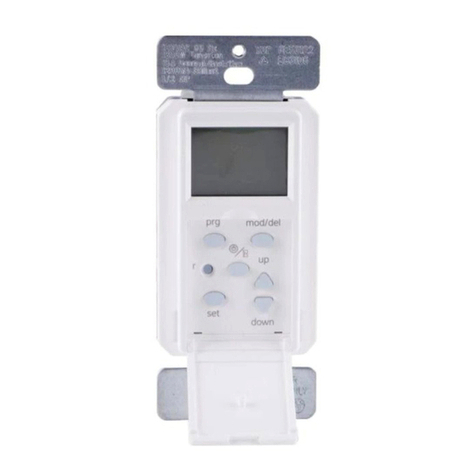
a. Press and hold PROG for 5 seconds. A blank PROG 1 screen appears on the timer display
indicating the timer is ready for you to begin conguring the rst program ON/OFF times
(see Figure 5).
Figure 5
b. Press SET. The days of the week begin to ash along the bottom of the timer display (see
Figure 6). Press UP and DOWN to scroll through individual days followed by these day
combinations:
□Monday, Wednesday, Friday
□TU, TH, SA
□SA SU
□M - F
□M - Sunday
Figure 6
c. Press SET to conrm your desired days of the week setting.
d. Proceed to step 2 to set the times the timer will turn ON and OFF.
2 PROGRAMMING THE ON/OFF TIMES
a. Choose from one of these three options to begin conguring the timer’s ON time. The
Custom Time screen is the rst option to appear on the timer display. To access the
SUNUP or SUNSET screens, press the UP and DOWN buttons until you reach your desired
screen. Proceed to step b when you are nished setting one of these three options:
□Custom Time: When this screen appears (see
Figure 7), press SET. The hour begins to ash.
Press UP and DOWN to select the hour you want
your timer to turn ON. Pay attention to the AM and
PM setting in the top left corner of the screen.
Press SET to set your desired hour. Next, press UP
and DOWN until you reach your desired minute
setting. Press SET again to conrm.
Figure 7
□SUNUP: This option will set the timer to turn
ON/OFF at the timer’s pre-programmed SUNUP
setting. When you reach this screen (see FIgure
8), press SET to set the timer’s ON time to the
SUNUP time that is displayed.
Figure 8
□SUNSET: This option will set the timer to turn
ON/OFF at the timer’s pre-programmed SUNSET
setting. When you reach this screen (see Figure
9), press SET to set the timer’s ON time to the
SUNSET time that is displayed.
Figure 9
b. When the PROG 1 OFF screen appears on the timer display (see Figure 10), repeat
steps1b through 2a to set the timer’s OFF time.
Figure 10
c. Repeat steps 1b through 2b to continue conguring any additional ON/OFF times (PROG
2 – PROG 7). To end this process at any time, press PROG to return to clock mode.
d. Once all programming is complete, make sure your lamp or device is set to ON and AUTO
shows at the top of the timer display. If the timer does not display AUTO, press ON/OFF
until AUTO displays.
e. Plug the timer into an outlet.
f. Plug the lights or devices into the receptacles located on either side of the timer.
g. When set to AUTO, the timer will cycle through the congured program (PROG) ON/OFF
settings, turning your lamps/devices on and off based on the ON/OFF times congured
in the timer.
Additional Programming Options
1 REVIEWING PROGRAMS
To view an ON/OFF (PROG) setting:
a. Press and hold the PROG button for 5 seconds.
b. When the timer display begins to ash, press UP to scroll through all of the currently congured programs (PROG).
c. If you wish to add an additional On/Off (PROG) setting, press UP to scroll through all of the currently congured programs (PROG)
until you reach a blank program (displayed as --:--). In Figure 11, Program 3 is empty and is ready to be congured:
d. Complete steps 1b through 2b in Programming to nish adding on/off times. Figure 11
2 DELETING PROGRAMS
If, at any time, you wish you add or remove any ON/OFF (PROG) settings, follow these procedures:
To remove an ON/OFF (PROG) setting:
a. Press PROG for 5 seconds.
b. When the timer display begins to ash, press UP until you reach the ON/OFF time (PROG) that you wish to remove.
c. Press RCL/RND to remove the ON time. The display shows “--:--“.
d. Press UP. When the OFF screen displays on the timer display, press RCL/RND again to remove the OFF time.
e. Press UP to scroll through any additional ON/OFF times you wish to remove. Press PROG to nish and return to clock mode.
3 SETTING THE RANDOM (RND) SECURITY OPTION
This program feature will turn lights ON and OFF using the programed times + or - 30 minutes, giving the house a more lived in appearance while you are away.
a. Press RCL/RND to activate the Random feature while in Clock mode. The screen will display RND in the top right corner.
b. Press RCL/RND again to deactivate the Random feature and return the timer to its set programming.
Additional Features
1 USING THE MANUAL OVERRIDE FEATURE (OPTIONAL)
If at any time you wish to manually override the timer:
□Press ON/OFF until ON displays to set your lamps/devices to always be ON.
□Press ON/OFF until OFF displays to set your lamps/devices to always be OFF.
NOTE: To turn manual override off and enable your programs, press ON/OFF until the timer says AUTO.
FCC NOTE
This device complies with part 15 of the FCC and Industry Canada license-exempt RSS standard(s). Operation is subject to the following two conditions: (1) this device may not cause harmful interference, and (2) this device must accept any
interference received, including interference that may cause undesired operation.
FCC NOTE: The manufacturer is not responsible for any radio or TV interference caused by unauthorized modications to this equipment. Such modications could void the user’s authority to operate the equipment.
NOTE: This equipment has been tested and found to comply with the limits for aClass B digital device, pursuant to Part 15 of the FCC Rules. These limits are designed to provide reasonable protection against harmful interference in aresidential
installation. This equipment generates, uses and can radiate radio frequency energy and, if not installed and used in accordance with theinstructions may cause harmful interference to radio communications. However, there is no guarantee
that interference will not occur in a particular installation.If this equipment does cause harmful interference to radio or television reception, which can be determined by turning the equipment off and on, the user isencouraged to try to correct
the interference by one or more of the following measures:
-- Reorient or relocate the receiving antenna.
-- Increase the separation between the equipment and receiver.
-- Connect the equipment into an outlet on a circuit differentfrom that to which the receiver is connected.
Consult the dealer or an experienced radio/TV technician for help
CAN ICES-3(B)/NMB-3(B)
