Deka EZ LINK D35 User manual
Congratulations on your choice of a new Deka industrial battery. The complete line of Deka industrial batteries
incorporates every feature required by today’s user of electric industrial trucks. Designed with East Penn engineering
technology and built by master battery craftsmen according to strict quality assurance guidelines, Deka industrial
batteries are the finest available to meet today’s material handling requirements. Deka precision construction provides
new equipment performance throughout a long life. This battery has been inspected prior to shipment to ensure that it
meets your specifications as ordered. By following the operating and maintenance instructions, you will be ensuring
optimum life and performance of your new Deka industrial battery.
E-Z LINK®OPERATING INSTRUCTIONS
®
LYON STATION, PA 19536 •610-682-6361
1. Upon receipt of the battery, if there are signs of rough han-
dling or of electrolyte leakage, file a claim with the carrier
and advise your East Penn representative.
The electrolyte level should normally be above the perforated
separator protector, which can be seen in the cell when the
vent caps are removed. However vibrations during shipping
often shake enough gas out of the cell that the electrolyte
level may drop below the separator protector, especially on
taller cells. If the electrolyte level is still above the top of the
plates and can be seen with a flashlight through the holes in
the separator protector, the battery may be given its initial
charge without adjusting the electrolyte level.
If the electrolyte level is not visible or is below the top
of the plates, check again for leaking cells and call your
East Penn representative before charging the battery.
2. Check the nameplate of your charger against the nameplate
of the battery to make sure they both show the same
voltage and that the six-hour ampere hour capacity of the
battery falls within the eight-hour recharge range of the
charger.
3. The “Battery Type Identification” shown on the battery
(E, E , EE, EX) should match the “Battery Type
Identification” specified on the truck nameplate.
4. Make sure that the battery “ ERVICE WEIGHT,” which is
stamped below the lifting hole in the steel tray, falls within
the battery weight range shown on the truck nameplate.
East Penn Manufacturing Co., Inc. cannot be responsible
for determining that the battery weight is sufficient to
counterbalance your particular truck.
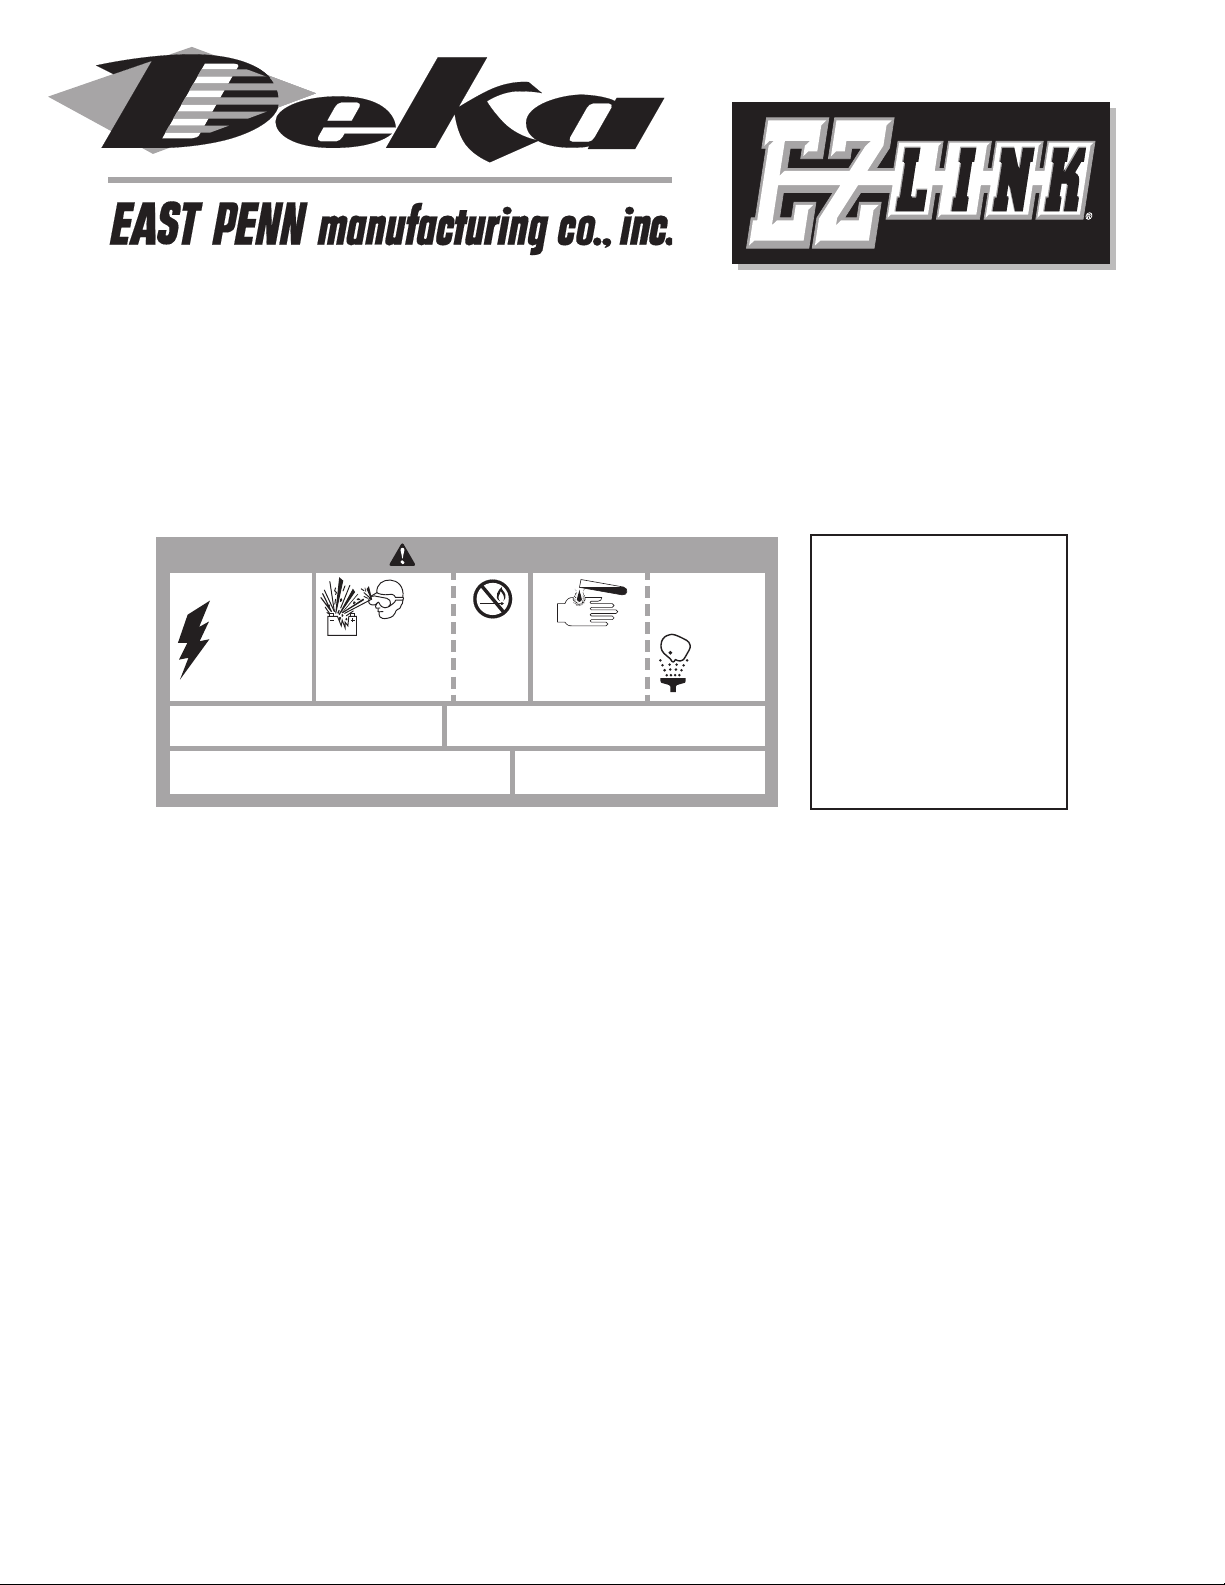
FLUSH EYES
IMMEDIATELY
WITH WATER.
GET
MEDICAL
HELP
FAST.
SULFURIC ACID
CAN CAUSE
BLINDNESS OR
SEVERE BURNS.
NO
•SPARKS
•FLAMES
•SMOKING
SHIELD
EYES.
EXPLOSIVE GASES
CAN CAUSE BLIND-
NESS OR INJURY.
HIGH
VOLTAGE...
RISK OF SHOCK.
DO NOT TOUCH
UNINSULATED
TERMINALS OR
CONNECTORS.
KEEP VENT CAPS TIGHTLY IN PLACE. VENTILATE WELL WHEN IN AN ENCLOSED
SPACE AND WHEN CHARGING.
SEE INSTALLATION, MAINTENANCE AND OPERATION
INSTRUCTIONS FOR IMPORTANT SAFETY PRECAUTIONS.
REPAIR SHOULD BE PERFORMED ONLY
BY A QUALIFIED SERVICE TECHNICIAN.
DANGER
5. Prior to placing the battery in service, it should be given an
equalizing charge. Near the end of the charge, check to make
sure that the electrolyte levels of all cells are visible and above
the separator protector. The full charge specific gravity is 1.280
to 1.295 when temperature corrected to 77°F (25°C).
6. Upon installation in the truck, battery restraints should be
adjusted to restrict movement of the battery to no more than
1/2" in a horizontal direction. An insulated spreader bar should
be used any time the battery is lifted or hoisted.
7. Batteries normally should not be discharged more than 80%
of their rated capacity for longest service life. Section III of
the DEKA INDUSTRIAL SERVICE MANUAL 0656 gives detailed
information for your specific battery type.
8. The battery should be placed on charge upon completion of the
work shift and returned to full charge. If at the end of the work
shift the specific gravity has not fallen below 1.230, it is advis-
able to use the battery for another shift. Normally, batteries
should not be used for more than two successive shifts before
recharging. All vent caps should be kept in place and the steel
tray cover or the truck compartment cover kept open while
charging.
9. After the daily charge and prior to the start of the workshift,
a specific gravity reading should be taken with a hydrometer on
at least one cell in order to ensure full recharge. The specific
gravity should be between 1.280 and 1.295 when temperature
corrected to 77°F (25°C).
10. A copy of the DEKA INDUSTRIAL BATTERY SERVICE MANUAL,
which gives more detailed information on the peration and
Maintenance of motive power batteries, can be obtained from
your Deka representative by asking for form number 0656.
CALIFORNIA
PROPO ITION 65
WARNING:
Batteries, battery posts,
terminals and related
accessories contain lead
and lead compounds, and
other chemicals known to
the state of California to
cause cancer and birth
defects or other
reproductive harm.
Wash hands after handling.

1. Once each week the electrolyte level should be checked in
every cell. It may be necessary to add water to the battery on
a weekly to a monthly basis, depending on the type of battery
and the type of service for which it is used.
2. nly distilled, deionized or approved water should be added to
the battery. Water should be added only near the end of the
charge to raise the electrolyte level to the bottom of the vent
well. Water should be stored in a clean, non-metallic container
as impurities, even in small amounts, may be harmful to
battery life.
3. Depending on the type of service, it will be necessary to give
the battery an equalizing charge every one to four weeks.
Set the charger to the equalize position.
4. pecific gravity readings should be recorded for all cells
once each month immediately after an equalizing charge.
If the readings average below 1.265 the charger output should
be checked. If two successive monthly readings indicate more
than 20 points deviation in any cell from the average specific
gravity, you should contact your Deka representative.
5. The top of the battery should be kept clean and dry at all
times. When required, the top of the battery should be
neutralized with a non-corrosive water based neutralizing
solution. Make sure vent caps are securely in place to prevent
any solution from entering cells. After the battery has been
neutralized, rinse thoroughly with clean water and dry.
6. The cables and connectors should be inspected monthly for
exposed copper wires, fraying or cracked insulation, loose
connections, or pitted contacts, and repaired as required.
7. Depending on type of service, it will be necessary to remove
the “no corrode” gel, re-torque to 100 in/lbs, and re pack
with new “no corrode” gel each E-Z Link assembly on a
semi-annual or annual frequency.
8. Be especially careful to keep metallic objects off the top of
the battery, as any metal touching two or more connectors
may cause a short circuit resulting in an arc or spark which
could ignite battery gasses explosively.
9. The output rate of the charger should be checked period-
ically. The starting rate should correspond to the starting
rate shown on the charger nameplate. The following chart
shows the ampere hour capacity at the six-hour rate, as well
as the recommended finish rate for every cell size in the
“E-Z LINK” line manufactured by East Penn Manufacturing
Co., Inc.
E-Z LINK®MAINTENANCE
E.P.M. Form No. 0706 Rev. 10/08 © 2008 by EPM Printed in U.S.A.
ALWAY WEAR AFETY GLA E WHEN WORKING AROUND BATTERIE ! KEEP PARK AND FLAME AWAY!
D35 6 HR. A.H. RATING 70 105 140 175 210 245 280 315 350 385 420 455 490 525 560
FINISH RATE—AMPS 457910 12 14 16 18 19 21 23 24 26 28
D45 6 HR. A.H. RATING 90 135 180 225 270 315 360 405 450 495 540 585 630 675 720
FINISH RATE—AMPS 47911 14 16 18 20 22 25 27 29 32 34 36
D55 6 HR. A.H. RATING 110 165 220 275 330 385 440 495 550 605 660 715 770 825 880
FINISH RATE—AMPS 6811 14 16 19 22 25 28 30 33 36 38 41 44
D65 6 HR. A.H. RATING 130 195 260 325 390 455 520 585 650 715 780 845 910 975 1040
FINISH RATE—AMPS 6 10 13 16 20 23 26 29 32 36 39 42 46 49 52
D75 6 HR. A.H. RATING 150 225 300 375 450 525 600 675 750 825 900 975 1050 1125 1200
FINISH RATE—AMPS 8 11 15 19 22 26 30 34 38 41 45 49 52 56 60
D85 6 HR. A.H. RATING 170 255 340 425 510 595 680 765 850 935 1020 1105 1190 1275 1360
FINISH RATE—AMPS 8 13 17 21 26 30 34 38 42 47 51 55 60 64 68
D100 6 HR. A.H. RATING 200 300 400 500 600 700 800 900 1000 1100 1200 1300 1400 1500 1600
FINISH RATE—AMPS 10 15 20 25 30 35 40 45 50 55 60 65 70 75 80
D110 6 HR. A.H. RATING 220 330 440 550 660 770 880 990 1100 1210 1320 1430 1540 1650 1760
FINISH RATE—AMPS 11 16 22 28 33 38 44 50 55 60 66 72 77 82 88
D125 6 HR. A.H. RATING 250 375 500 625 750 875 1000 1125 1250 1375 1500 1625 1750 1875 2000
FINISH RATE—AMPS 12 19 25 31 38 44 50 56 62 69 75 81 88 94 100
D150 6 HR. A.H. RATING 600 750 900 1050 1200 1350 1500
FINISH RATE—AMPS 30 38 45 52 60 68 75
D160 6 HR. A.H. RATING 640 800 960 1120 1280 1440 1600
FINISH RATE—AMPS 32 40 48 56 64 72 80
TYPE PLATES PER CELL 57911 13 15 17 19 21 23 25 27 29 31 33
This manual suits for next models
10
Other Deka Camera Accessories manuals

Deka
Deka unigy II SPACESAVER Non-Interlock AVR 45 AH User manual

Deka
Deka unigy I User manual

Deka
Deka Dominator Gel-Mate SVRLA G45 User manual

Deka
Deka Unigy II User manual

Deka
Deka SOLAR Monoblock VRLA System Installation instructions

Deka
Deka FastCharge F35 User manual

Deka
Deka Unigy I User manual

Deka
Deka Unigy II User manual

Deka
Deka 8A User manual

Deka
Deka Unigy II AVR45 Series User manual


