manuals.online logo
Brands
  1. Home
  2. •
  3. Brands
  4. •
  5. Delf Architectural
  6. •
  7. Door Lock
  8. •
  9. Delf Architectural DDL120 User manual

Delf Architectural DDL120 User manual

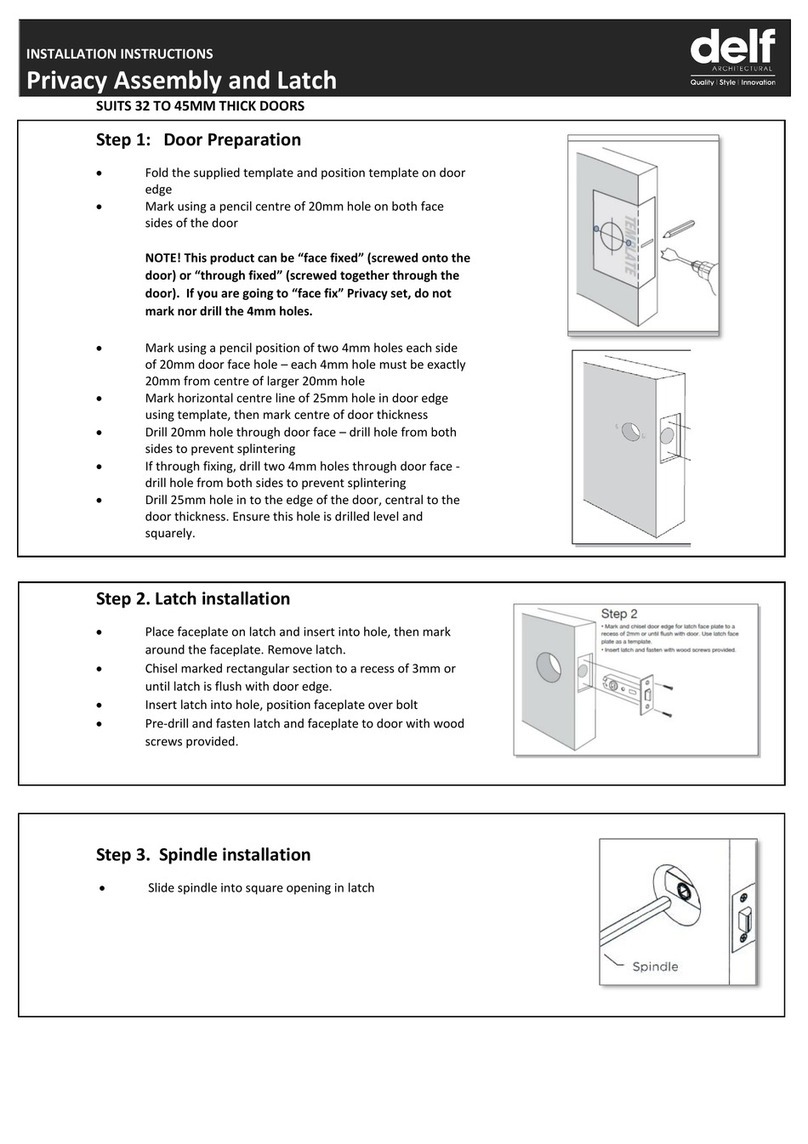
Step 1
Preparing & Drilling Holes in Door
• Fold the template where indicated for the edge of the door
• Position template on door edge at desired latch height
• Firmly hold template and mark latch height and lock fixing holes at 60mm backset
(refer template)
• Drill a 3mm pilot hole through centre marking for 50mm hole through the door.
• Now drill 50mm hole through door face, drilling from both sides to avoid splintering and
ensuring the drill is held straight and level whilst drilling the hole
• Measure Door thickness and mark centre
• Drill 28mm latch hole - Ensure the drill is held straight and level whilst drilling the hole
Step 2
Installing latch
• Insert latch into centre of 28mm latch hole and mark around the face
plate – remove latch
• Using a sharp chisel, gently chisel the marked rectangular section to a
recess of 2mm or until the latch face is flush with door edge
• Insert the latch into the hole, ensuring the curve of the latch bolt is
positioned toward the direction of door closure.
• Pre-drill and fasten with wood screws provided (#6 x 19mm) ensuring
latch is level
Step 5
Choosing correct screws
• From the two sets provided, choose which set of three mounting screws will be used – depending on the door thickness.
For doors up to 45mm thick, we recommend the 20mm length screws. For thicker doors, the 45mm screws should be used.
Installation Instructions
Delf DDL120
DELF ARCHITECTURAL | ABN 71 621 592 907
T 1300 362 625 | E sales@delfarchitectural.com.au | W www.delfarchitectural.com.au PLEASE RECYCLE
THESE INSTRUCTIONS
PTO
Step 4
Preparing Inside Escutcheon
• Remove two black screws from the bottom of the
inside escutcheon, to
free the mounting plate
and gasket. Remove the
battery cover by gently
siding it up and away from
the escutcheon body.
Keep cover and two black
screws handy.
Step 3
Lever Orientation
• Hold Exterior Furniture on outside door face and
check that lever orientation is correct. If lever
orientation needs to be changed:
• Using Allen Key tool provided, unscrew Allen key
screw on the hub of both inside and outside lever and
remove lever, then rotate to correct orientation, and
re-tighten Allen Key screw.
mounting screws
TEMPLATE
Delf DDL120 v04.indd 1 9/07/2020 10:17:28 AM
Step 9
Mounting Inside Escutcheon
• Carefully mount the inside escutcheon, aligning it
with the spindle through the lever hub and also to the
mounting plate holes and posts.
• NOTE: Be careful to not crush the internal wire
connection when fixing the inside escutcheon –
ensure cables are neatly tucked into cavity area in
the escutcheon.
• Insert and firmly tighten with a screwdriver the third
mounting screw to the top hole in the back of the
inside escutcheon, and then do the same with the
two black screws on the bottom two holes of the
escutcheon.
• The mounting of the unit on the door is now complete.
Step 10
Door Striker
Installation
• Ensure door seals are installed
before installing the strike plate.
• Gently close the door until the
latch-bolt rests on the door
jamb (picture A)
• Mark the centre of the bolt on
the door jamb, this mark can be
used to position strike plate.
• Mark and drill 25mm hole inside
the door jamb to a depth of
14mm on marked bolt centre
position.
• Position the strike plate and
mark around. Chisel a recess
until the strike plate sits flush
with the door jamb face.
(Picture B)
• Fasten strike plate to door jamb
with two strike plate screws
(#8 x 25mm) (Picture C)
Step 7
Mounting
Interior Plate
• Carefully push wire from
outside escutcheon
through hole in inside
mounting plate (A).
• Hold inside mounting
plate to inside of door
(with gasket against the
door, and the two small
posts facing away from
door, insert two screws
and firmly tighten with
a screwdriver through
mounting holes (B).
Step 6
Mounting Exterior Escutcheon
• Attach spindle to front escutcheon hub. Align the
holes in the hub with the hole in the end of the spindle,
and secure using the split pin provided.
• Mount exterior escutcheon onto front of door, aligning
the bottom two posts to go through the latch, and the
top post to go through the top 15mm hole drilled from
the template, and the wire to go through the middle
15mm hole.
• Be careful not to damage the wire connector as it is
pushed through the hole.
Step 8
Joining wire connector
• Carefully join the inside escutcheon wire with the
outside wire, making sure they align and click together. Step 11 Insert Batteries
• Insert 4 x AA batteries into the unit ensuring to align
polarity of batteries correctly.
• Programming the lock is now required – see User Manual
for further instructions.
Installation Instructions
Delf DDL120
DELF ARCHITECTURAL | ABN 71 621 592 907
T 1300 362 625 | E sales@delfarchitectural.com.au | W www.delfarchitectural.com.au PLEASE RECYCLE
THESE INSTRUCTIONS
B
A
A
B
C
Delf DDL120 v04.indd 2 9/07/2020 10:17:28 AM
Other Delf Architectural Door Lock manuals

Delf Architectural Deadbolt User manual

Delf Architectural

Delf Architectural Deadbolt User manual

Delf Architectural Privacy User manual

Delf Architectural

Delf Architectural Privacy User manual

Popular Door Lock manuals by other brands

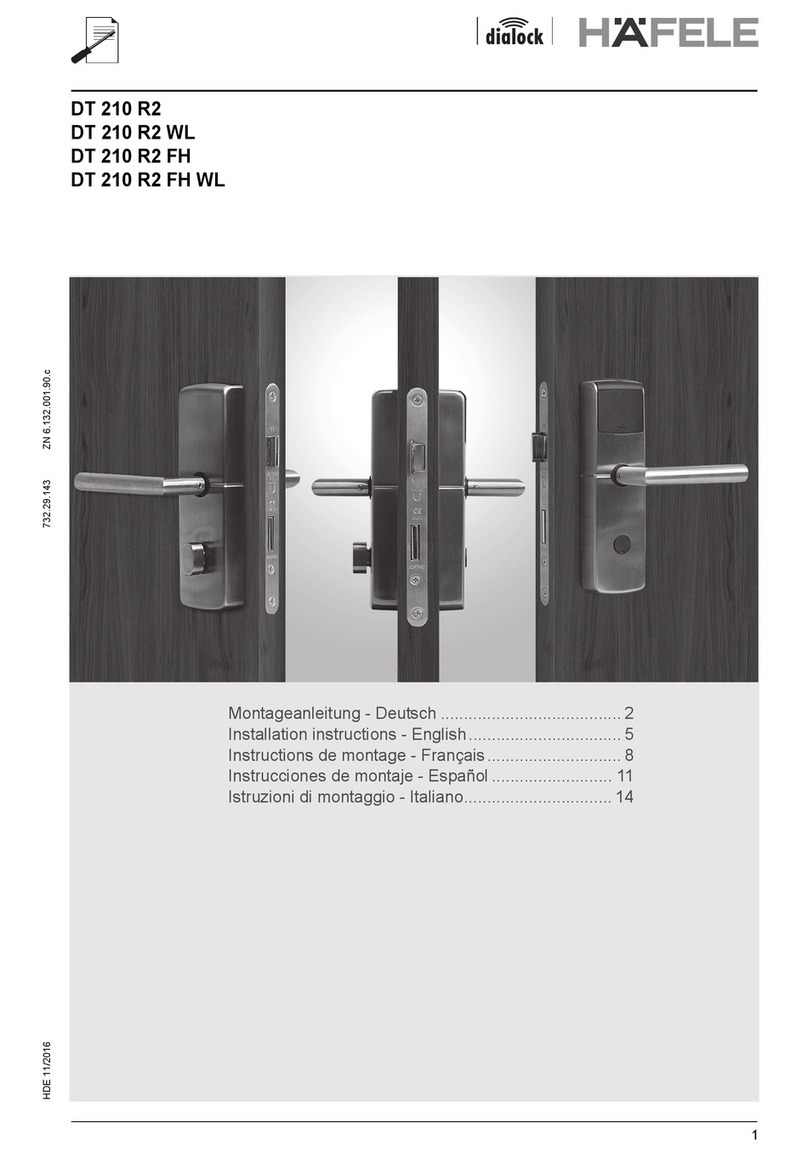
Hafele Dialock DT 210 R2 installation instructions

Hafele

Hafele Dialock DT 210 R2 installation instructions

Toledo V160ELPLUUS15 quick start guide

Toledo

Toledo V160ELPLUUS15 quick start guide

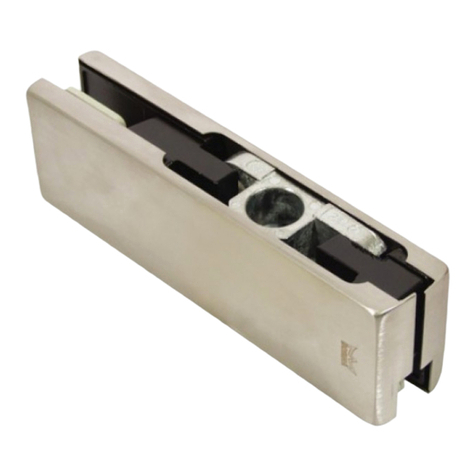
Dorma ARCOS Universal PT 10 Mounting instructions

Dorma

Dorma ARCOS Universal PT 10 Mounting instructions

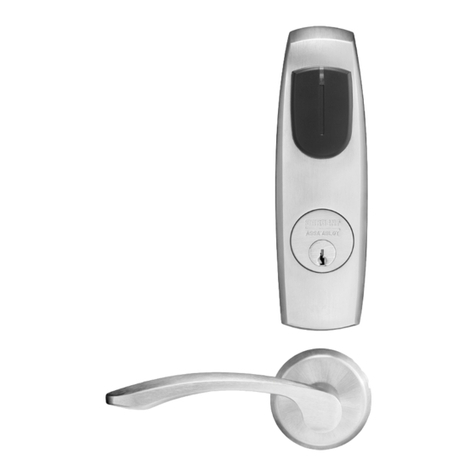
Assa Abloy Sargent Harmony Series installation instructions

Assa Abloy

Assa Abloy Sargent Harmony Series installation instructions

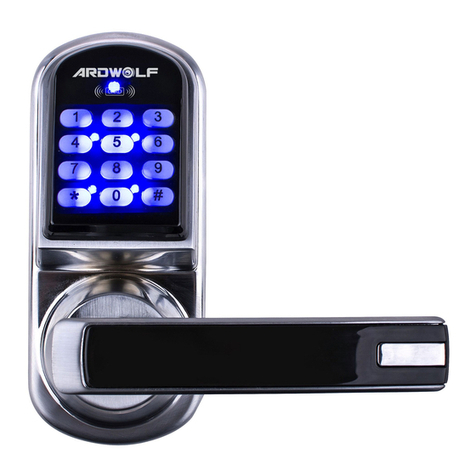
Ardwolf A30 user manual

Ardwolf

Ardwolf A30 user manual

Dorma D860 installation instructions

Dorma

Dorma D860 installation instructions

Kaba Mas Gitcon G-152 installation guide

Kaba Mas

Kaba Mas Gitcon G-152 installation guide

Allegion Falcon CD installation instructions

Allegion

Allegion Falcon CD installation instructions

Weiser 28723 instructions

Weiser

Weiser 28723 instructions

JNF Q System IN.81.121 quick start guide

JNF

JNF Q System IN.81.121 quick start guide

Assa Abloy Sargent PR100 installation instructions

Assa Abloy

Assa Abloy Sargent PR100 installation instructions

CODELOCKS CL520 installation guide

CODELOCKS

CODELOCKS CL520 installation guide

FGE Elettronica SLM1 quick reference

FGE Elettronica

FGE Elettronica SLM1 quick reference

Von Duprin 98 installation instructions

Von Duprin

Von Duprin 98 installation instructions

Endura TRILENNIUM Replacement instructions

Endura

Endura TRILENNIUM Replacement instructions

Door Guard Pty Ltd TS-MOR-BLK-05 user manual

Door Guard Pty Ltd

Door Guard Pty Ltd TS-MOR-BLK-05 user manual

Salto Ei45 Series installation guide

Salto

Salto Ei45 Series installation guide

DOM GUARD S Assembly and operating instructions

DOM

DOM GUARD S Assembly and operating instructions

manuals.online logo
manuals.online logoBrands
  • About & Mission
  • Contact us
  • Privacy Policy
  • Terms and Conditions

Copyright 2025 Manuals.Online. All Rights Reserved.