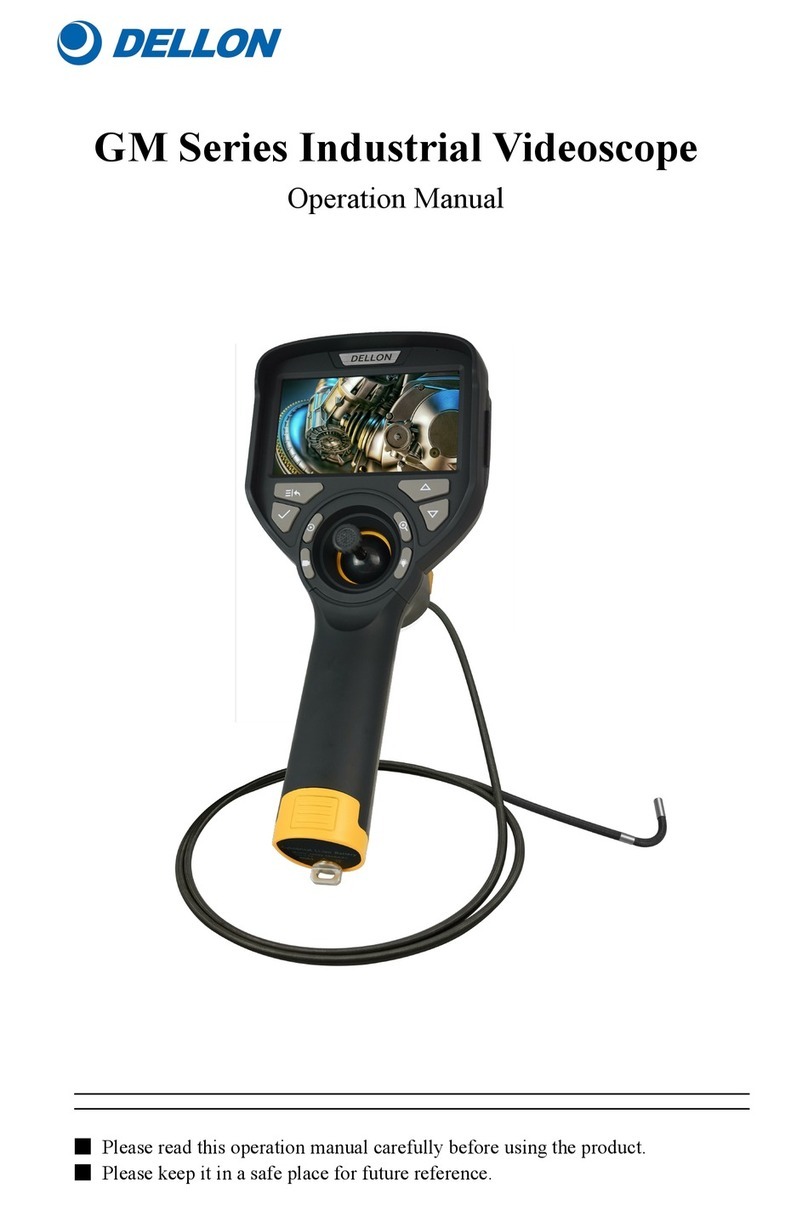
DELLON DX Series User manual

DX Industrial videoscope
Operation manual
----------------------------------------------------------------------------------------------------------------------
■ Please read the manual carefully before using the product.
■ Please keep it for easy reference

1
Catalogue
Product instruction ..............................................................................................................................2
Hardware instruction .......................................................................................................................... 3
Controller front ........................................................................................................................... 3
Controller interface .....................................................................................................................5
Controller side ............................................................................................................................ 7
Battery Instructions and Charging Tips ......................................................................................7
Probe ........................................................................................................................................... 8
Menu opertion .............................................................................................................................9
Product Specifications ...................................................................................................................... 23
Controller part ...........................................................................................................................23
Trouble shooting ...............................................................................................................................25
Precautions ........................................................................................................................................25
After-sale Service ............................................................................................................................. 27
1.Service Commitment ............................................................................................................. 27
2.Non-warranty liability ........................................................................................................... 27
3.Maintenance period ............................................................................................................... 28

2
Product instruction
DX series Industrial videoscope is a new nondestructive flaw detection
equipment, which combine with optics, electronic technical, precision machinery
and micro-camera shooting.
〇Optical detection
The Controller adopts high brightness LCD, micro-small CCD/ CMOS camera, the
video signal was processed and amplified, and the detection results will be clearly
displayed on the 7inches LCD. High definition, reliability, and stability shows that the
industrial videoscope has a good detection capabilities.
〇Precision Machinery
The bending part adopts precision machinery, 4-way articulation, bending angle≥90°.
〇Application
This product can be used in the area, such as Automobile, Industrial Machinery,
Electronics, Petrochemical, Aviation, Shipbuilding, Special Survey, Construction and
so on.

3
Hardware instruction
Controller front
A/R: Capture button B/S: Video button C: Menu button
D: OK button E: Power on/ off button and return button F/P: LED +
G/Q: LED - H: Close focus button I: Far focus button
J: Up button K:Right button L:Left button M:Down button
N:Power indicator O: Charging indicator
T: Up/down bending lock button U: Up/down bending control knob
V:Left/right bending control knob W: Left/right bending lock button

4
Capture button: In real-time image mode, press this button to take pictures.
Video button: In real- time image mode, press this button to start or stop recording
Menu button: Press this button to enter the menu interface when it is in real-time
image mode.
Ok button: To confirm the item that was chose.
Power on/ off and return button: Press this button for about 2 seconds to turn on,
and then entering real-time image mode; Press this button again for 3-5 seconds,the
system prompts whether to shut down,press”OK”to turn off.
When the system is working, shortly press the button, the system entering
power-saving sleep state,and then press it again, waking up the device to work.During
work.There is no any respond when operating the system, press this button to reset,
also this button has the returning function.
LED +:LED +.
LED -:LED -.
Charging indicator: this indicator is on when charging.
Up/down bending control knob
When up/down bending lock button is under non-locking condition,turn knob to
control the up/down bending angle
Left/right bending control knob
When left/right bending lock button is under non-locking condition,turn knob to
control the left/right bending angle
Up/down bending lock button
To lock the bending part position after confirm the up/down bending angle
Left/right bending lock button
To lock the bending part position after confirm the left/right bending angle

5
When lock button is under non-locking condition “F”, turn the knob to control the
bending angle
U:Up
D:Down
L:Left
R:Right
Note: The Flexible part is bent in 4-way. When knob is rotated to the point that it can no
longer be rotated, do not force it to rotate again;
Otherwise, the rotating mechanism will be damaged. After the bending angle locking knob
fixes the bending angle of the rotatable part,
Observe; do not turn the handwheel while it is locked.
Controller interface

6
A: headphone jack B: SD slot C: USB data interface
D: HDMI interface E: charging interface F: external cable interface
Headphone jack: During video playback, plug in headphones to monitor the sound
collected by the detection probe.
Tf card slot: insert SD card.
USB data interface: used for data transfer between the device and an external
computer.
HDMI interface: used to connect the device and an external monitor, through this
interface, the video detected by the device can be output to the external monitor.
Charging interface: Through this structure, the internal battery of the device can be
charged or the device can be directly powered.
External cable interface: This interface is used to connect the controller to the
electronic mirror handle. After connection, the detection video input will
automatically switch to the external cable lens.

7
Controller side
Battery Instructions and Charging Tips
1.When using the charger to charge the battery, the battery indicator light will keep
flashing. When the battery is fully charged, the charger indicator will turn from red to
green. At this time, the four green indicator lights of the battery are always on.
2. When the device is in use, press the " " key, the battery level indicator will
display the battery level, and when there are 2 green indicators remaining in the
battery level indicator, it is recommended to charge the device.
Note: When the battery is completely empty, do not plug in the power adapter to continue
using it, so as not to damage the battery; please ensure that the battery has a certain
amount of power before use.
Electric quantity
button
Battery level indicator
Battery connector
12V charging port

8
Probe
Insertion cable: It is a part that is inserted into the observed object, and this part is
waterproof.
Articulation part: It can be bent in four directions under the control of the operating
lever. This part can be customized waterproof (IP67). The rest of the buttons have the
same functions as the corresponding buttons on the controller.
Articulation part
Insertion cable

9
Menu opertion
After the device is turned on, it will automatically enter the video screen and the
screen will be full screen. The lower right corner showsthe brightness level of the
camera light.
Click any point on the screen to call up the touch screen button interface. After about
8 seconds of no operation, the button interface will be automatically hidden.

10
Negative film: Click the icon to enter the negative film state;
Ruler: when the menu is set to "ruler 1", click the icon to turn on or off the XY
cross ruler for comparison measurement;
XY cross ruler display

11
When the menu is set to "Ruler 2", click the icon to open or close the ring
ruler; (The menu setting will be explained in detail in the menu introduction later.)
Ring ruler display
Split screen switching: cycle the button, click the icon to display in sequence,
front full screen, side full screen, straight/side split screen display. This function is
only tested for special specifications ---- front and side view camera lens. Other
specifications do not have this function.
Front full screen Side full screen

12
Front/side split screen display
Image enlargement: Click the icon to enlarge the image, up to 3 times
enlargement.

13
Take photo: Click the icon or the photo button, take a photo with one button,
as shown in the figure.
Recording: Click the icon or the recording button, one-key recording, when
recording, the recording indicator flashes, and the recording time is displayed at the
same time, touch the screen or press the icon or the recording button again to exit the
recording state.

14
Playback: Click the icon to enter the picture and video playback interface, and
click the or icon to switch between the picture
preview interface and the video preview interface. Click the vertical blue scroll bar on
the right side up or down or the up and down buttons to turn pages on the interface.
Click directly on the pictures and videos or press the left and right keys to select files
by jumping left and right.
Photo files Video files
Double-click the picture/video or press the OK button to browse a single file,
click the or icon or up and down buttons to switch the front and rear files;
click the icon to zoom in or zoom out the picture; click the icon , the icon
changed to , and the video is played; click the icon again changed back,
the video is paused; click the playback progress bar below the video to fast forward
and rewind; click the icon or short press the power button, the video exits.
picture preview interface video preview interface

15
When previewing image files and video files, click the icon to enter the delete
interface and choose whether to delete the file.
Setting: Click the icon or menu key to enter the menu interface.

16
Video settings
After entering the menu interface, respectively click the corresponding icon at the top
of the screen to enter video settings /screen settings /application
settings /system settings .
White balance: The camera image can accurately reflect the color status of the subject,
including automatic, cloudy, incandescent, sunlight, etc. Double-click the "white
balance" light bar to enter the submenu, double-click the parameter to be selected or
click the icon to return to the previous menu
You can also press the up/down key to select the main menu, press the OK key to
enter the submenu, then press the up/down key to select parameters, and then press
the OK key to complete the setting. Short press the power button to exit.
Contrast: Click the icon bar cursor or press the left and right keys to adjust the
contrast, the user can choose according to the actual needs, the setting method is the
same as above.

17
Hue: Drag the icon cursor or press the left and right keys to adjust the color tone, the
user can choose according to the actual needs, the setting method is the same as
above.
Negative: Click "On" or "Off" to turn on or off the negative state, and press the OK
button to switch between on and off. Users can choose according to actual needs. The
setting method is the same as above.

18
Screen settings
Screen brightness: Drag the icon cursor or press the left and right keys to adjust the
screen brightness, the user can choose according to actual needs, the setting method is
the same as above.
Ruler: Click this cursor or enter the submenu to open or close the ruler. Scale 1 is an
XY cross scale, and scale 2 is a ring scale. Users can choose according to actual needs,
and the setting method is the same as above.

19
Display mode: Click the left or right side of the icon ○ in the picture or the Ok key to
select the display mode, the user can choose according to actual needs, the setting
method is the same as above.
Screen rotation: Click the left and right sides of the icon ○ in the picture or the Ok key
to rotate the screen 0° and 180°. Users can choose according to actual needs. The
setting method is the same as above.
Table of contents
Other DELLON Analytical Instrument manuals
Popular Analytical Instrument manuals by other brands

Bühler technologies
Bühler technologies GAS 222.31 Ex1 Installation and operation instruction
Netzerotools
Netzerotools HDV600 user guide
SICK
SICK InspectorP621 operating instructions
Atel Electronics
Atel Electronics ES049A user manual
Teslong
Teslong NTS300 user manual

Hathorn
Hathorn CL 2150 Operator's manual
