geo-FENNEL FVE 100 User manual

BEDIENUNGSANLEITUNG
USER MANUAL
MODE D‘EMPLOI
www.geo-fennel.de
www.geo-fennel.com
www.geo-fennel.fr
DE | EN | FR
FVE 100

2
DE
Sehr geehrter Kunde,
vielen Dank für das Vertrauen, welches Sie uns beim Erwerb Ihres neuen geo-FENNEL-Gerätes ent-
gegengebracht haben. Dieses hochwertige Qualitätsprodukt wurde mit größter Sorgfalt produziert und
qualitätsgeprüft.
Die beigefügte Anleitung wird Ihnen helfen, das Gerät sachgemäß zu bedienen. Bitte lesen Sie ins-
besondere auch die Sicherheitshinweise vor der Inbetriebnahme aufmerksam durch. Nur ein sachge-
rechter Gebrauch gewährleistet einen langen und zuverlässigen Betrieb.
geo-FENNEL
Precision by tradition.
Inhaltsverzeichnis
1. Lieferumfang A
2. Bedienfeld B
3. Stromversorgung C
4. Bedienung D
5. Sicherheitshinweise E
LIEFERUMFANG
A
· Video-Endoskopkamera FVE 100
· Schwanenhalssonde 1 m
· TV-Kabel
· USB-Kabel
· Ladegerät
· Magnet, Haken, Spiegel
· Kunststoffkoffer
· Bedienungsanleitung
EIGENSCHAFTEN
· Zur optischen Untersuchung schwer zugänglicher Bereiche.
EINSATZBEREICHE
· Sanitär, Klimatechnik, KfZ, Werkstatt, Installation, Sanierung u.v.m.

3
DE
Technische Daten
Kamerakopf
Blickfeld 0° und 180°
Brennweite 6 - 7 cm
Sichtbarer Abstand 5 - 15 cm
Kameradurchmesser 17 mm
Lichtquelle LED
Display
Displaygröße 3“
Auflösung 960 x 240 Pixel
Bildübertragung zu LCD Schwanenhalssonde
CMOS Bildsensor 300.000 Pixel
Videoausgang (zu TV) PAL / NTSC
Verschiedenes
Sondenlänge 100 cm
Biegeradius 6 cm
Schutzklasse Sonde und Kamera IP 67
Stromversorgung 3,7 V / 2000 mAH Li-Ion
Betriebsdauer 4 h
Temperaturbereich -10°C bis + 50°C
Feuchtigkeitsbereich 15 bis 85 % RH
Abmessungen 240 x 160 x 100 mm
Gewicht mit Sonde (nur Gerät) 0,584 kg

4
DE
BEDIENFELD
B
CSTROMVERSORGUNG
1. Schwanenhals
2. Display
3. Einstellung Kontrast, Helligkeit (-)
4. Einstellung Kontrast, Helligkeit (+)
5. An-/Aus-Schalter
6. Auswahl-Modus
7. TV-Ausgang
8. USB-Ladeanschluss
9. RESET-Taste
10.Li-Ion-Akku
11. Kamera
12.Kameraanschluss
BATTERIEZUSTANDSANZEIGE
Voll geladen
Leer
Wird geladen

5
DE
GERÄT EIN- UND AUSSCHALTEN
Taste 6 drücken, um das Gerät einzuschalten. Taste erneut drücken, um es wieder auszuschalten.
Batteriezustandsanzeige
Wenn das Gerät ausgeschaltet ist und mit dem Mini-USB-Ladeanschluss verbunden wird, startet auto-
matisch der Ladevorgang, und das Display schaltet sich ein.
Das Gerät fordert die Bestätigung oder den Abbruch des Ladevorganges:
Auswahl „+“ = ja, „-“ = nein.
Bestätigung der Auswahl mit der MODE-Taste.
Wenn der Ladevorgang bestätigt wurde, werden alle Programme geschlossen, und das Gerät lädt im
Standby-Modus. Wenn der Ladevorgang abgebrochen wurde, beginnt die normale Menüführung.
BEDIENUNG D
BILDROTATION UND BILDEINSTELLUNG
1) Bildrotation
Bei eingeschaltetem Gerät MODE-Taste kurz drü-
cken; das Bild schwenkt um 90°.

6
DE
Mit den Tasten „+“ und „-“ können Sie den Cursor
zum gewünschten Menüpunkt bewegen. Den
ausgewählten Menüpunkt mit der MODE-Taste
bestätigen. Hier nun mit den Tasten „+“ und „-“
die gewüschte Einstellung festlegen und mit der
MODE-Taste bestätigen.
Wenn alle Einstellungen erfolgt sind, mit dem Cur-
sor Menüpunkt EXIT wählen und mit der MODE-
Taste bestätigen, um die Bildeinstellung zu been-
den.
2) Bildeinstellung
Bei eingeschaltetem Gerät MODE-Taste lang
drücken; nun ist das Gerät im Modus Bildein-
stellung. Hier können z. B. folgende Parameter
eingestellt werden: Helligkeit, Kontrast, Auflö-
sung, Farbe etc.
AUTOMATISCHE BILDFORMATERKENNUNG (PAL / NTSC)
Das Gerät erkennt beim ersten Einschalten automatisch das Bildformat (PAL oder NTSC) und befindet
sich dann sofort im entsprechenden Standardmodus.
BEACHTE:
Dies geschieht nur beim ersten Einschalten des Gerätes. Die Werkseinstellung ist PAL.

7
DE
EINSTELLUNG DER BILDHELLIGKEIT
Die Werkseinstellung der Bildhelligkeit ist 3.
Mit den Tasten „+“ und „-“ können Sie die Hellig-
keit verändern. Die niedrigste Einstellung ist 0 (bei
dieser Einstellung leuchtet die LED nicht mehr), die
maximale 5.
ANZEIGE DER GEWÄHLTEN BILDHELLIGKEIT
Tasten „+“ und „-“ gleichzeitig drücken, um die
Anzeige der Bildhelligkeit ein- oder auszuschalten.
Werkseinstellung:
Die Anzeige der Bildhelligkeit ist „an“.
TV-AUSGANG
TV-Kabel (im Lieferumfang) mit Monitor verbinden; dabei das schwarze Ende an das Gerät und das
gelbe Ende an den Monitor anschließen. Im Hauptmenü TV-AUSGANG wählen und mit OK bestätigen.
Aus dem Auswahlmenü zutreffenden Parameter auswählen und mit OK bestätigen. Danach sind Sie
automatisch wieder im Hauptmenü.

8
DE
SICHERHEITSHINWEISE
E
CE-KONFORMITÄT
Das Gerät hat das CE-Zeichen gemäß den Normen EN 55022:2006 + A1: 2007, EN 55024: 1998 +
A1:2001 + A2: 2003, EN 61000-3-2:2006, EN 61000-3-3:2008.
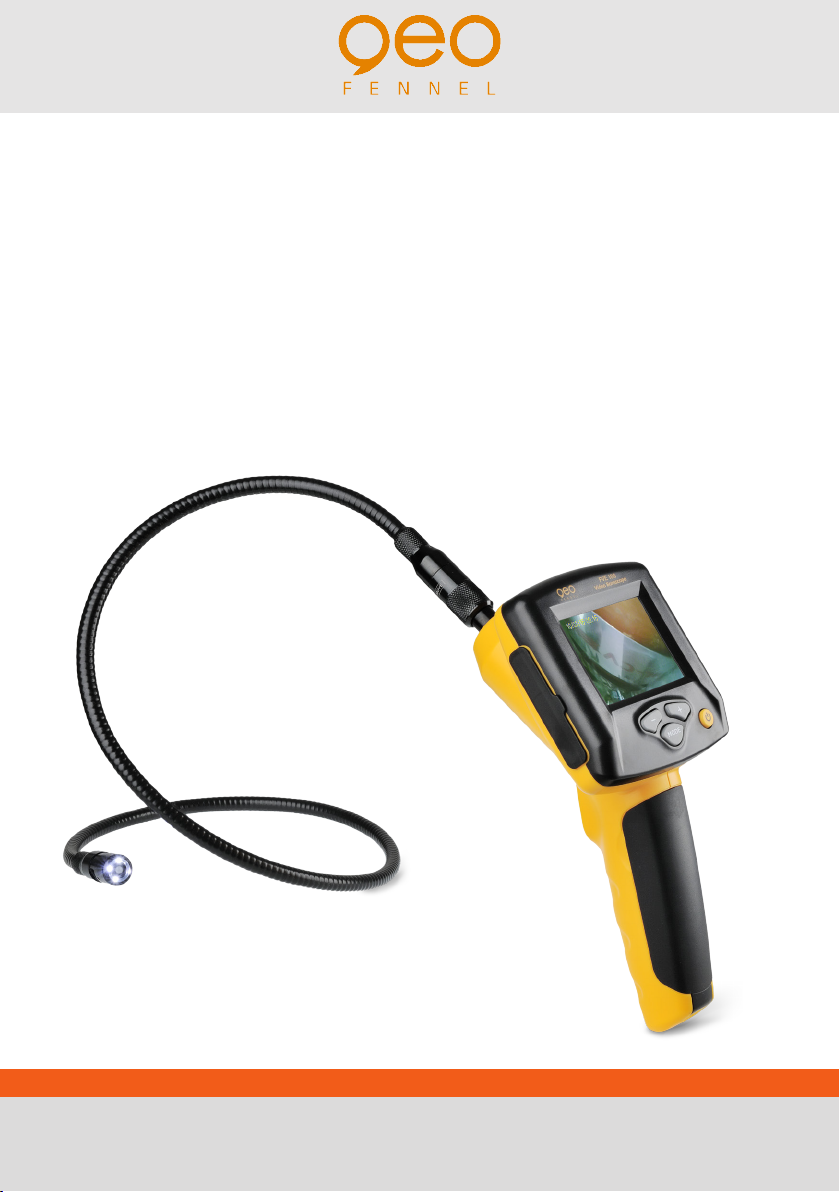
BESTIMMUNGSGEMÄßE VERWENDUNG
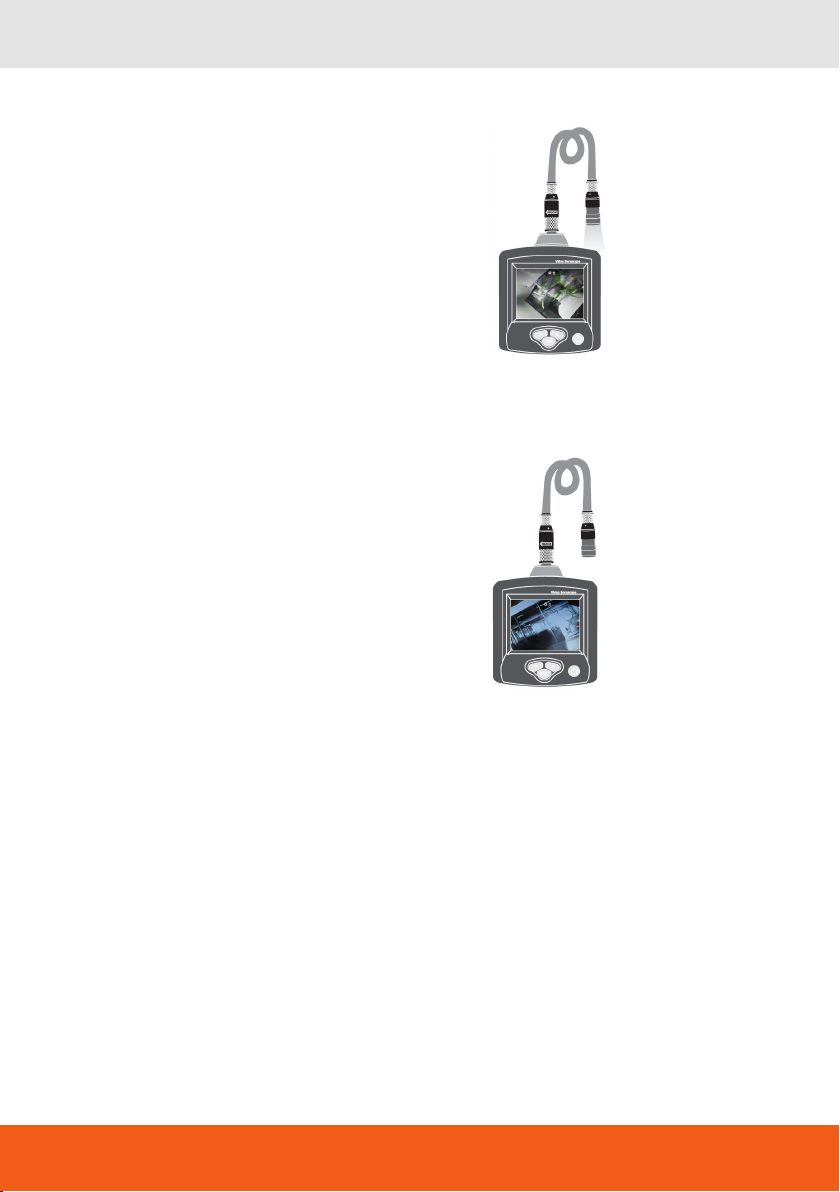
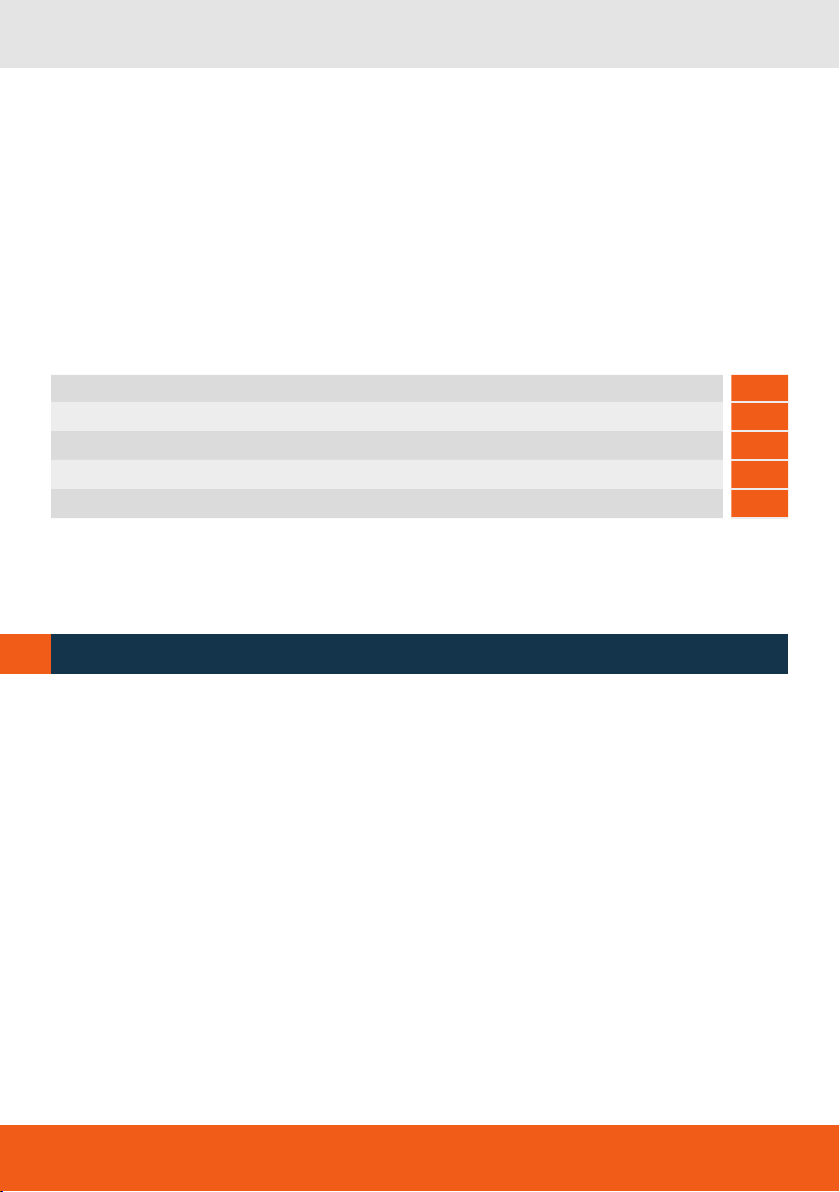
· Für optische Kontrolle / Überwachung von unzugänglichen Stellen per Video-Endoskop, z. B.
Sanitär-, Elektro-, Baubranche.
ELEKTROMAGNETISCHE VERTRÄGLICHKEIT
· Es kann nicht generell ausgeschlossen werden, dass das Gerät andere Geräte stört (z.B. Navigationsein-
richtungen);
· durch andere Geräte gestört wird (z.B. elektromagnetische Strahlung bei erhöhter Feldstärke z.B. in der
unmittelbaren Nähe von Industrieanlagen oder Rundfunksendern).
HAFTUNGSAUSSCHLUSS
· Der Benutzer dieses Produktes ist angehalten, sich exakt an die Anweisungen der Bedienungsanlei-
tung zu halten. Alle Geräte sind vor der Auslieferung genauestens überprüft worden. Der Anwender
sollte sich trotzdem vor jeder Anwendung von der Genauigkeit des Gerätes überzeugen.
· Der Hersteller und sein Vertreter haften nicht für fehlerhafte oder absichtlich falsche Verwendung
sowie daraus eventuell resul-tierende Folgeschäden und entgangenen Gewinn.
· Der Hersteller und sein Vertreter haften nicht für Folgeschäden und entgangenen Gewinn durch
Naturkatastrophen wie z.B. Erdbeben, Sturm, Flut, usw. sowie Feuer, Unfall, Eingriffe durch
· Dritte oder einer Verwendung außerhalb der üblichen Einsatz-bereiche.
· Der Hersteller und sein Vertreter haften nicht für Schäden und entgangenen Gewinn durch geänderte
oder verlorene Daten, Unterbrechung des Geschäftsbetriebes usw., die durch das Produkt oder die
nicht mögliche Verwendung des Produktes verursacht wurden.
· Der Hersteller und sein Vertreter haften nicht für Schäden und entgangenen Gewinn resultierend aus
einer nicht anleitungs-gemäßen Bedienung.
· Der Hersteller und sein Vertreter haften nicht für Schäden, die durch unsachgemäße Verwendung
oder in Verbindung mit Produkten anderer Hersteller verursacht wurden.

9
DE
UMGANG UND PFLEGE
· Messinstrumente generell sorgsam behandeln.
· Nach Benutzung mit weichem Tuch reinigen (ggfs. Tuch in etwas Wasser tränken).
· Wenn das Gerät feucht war, sorgsam trocknen. Erst in den Koffer oderdieTasche packen,
wenn es absolut trocken ist.
· Transport nur in Originalbehälter oder -tasche.
WARN- UND SICHERHEITSHINWEISE
· Richten Sie sich nach den Anweisungen der Bedienungsanleitung.
· Anleitung vor Benutzung des Gerätes sorgfältig lesen.
· Niemals das Gehäuse öffnen.
· Reparaturen nur vom autorisierten Fachhändler durchführen lassen.
· Keine Warn- oder Sicherheitshinweise entfernen.
· Gerät nicht in Kinderhände gelangen lassen.
· Kamera und Sonde sind wasserdicht, jedoch nicht das Gerät. Video-Endoskop nicht in Was-
ser tauchen. Gerät nicht in feuchter / nasser Umgebung (Regen) betreiben.
· Doppelte Isolierung nach CE-Standards.
· Sonde sorgfältig an das Gerät anschrauben, um Elektrounfälle zu vermeiden.
· Das Gerät nicht direkter Sonnenstrahlung, starken Lichtquellen oder Reflektoren aussetzen.
GARANTIE
· Die Garantie beträgt zwei (2) Jahre, beginnend mit dem Verkaufsdatum.
· Die Garantie erstreckt sich nur auf Mängel wie Material- oder Herstellungsfehler sowie auf die Nicht-
erfüllung zugesicherter Eigenschaften.
· Ein Garantieanspruch besteht nur bei bestimmungsgemäßer Verwendung. Mechanischer Verschleiß
und äußerliche Zer-störung durch Gewaltanwendung und Sturz unterliegen nicht der Garantie. Der
Garantieanspruch erlischt, wenn das Gehäuse geöffnet wurde. Der Hersteller behält sich vor, im
Garantiefall die schadhaftenTeile instand zusetzen bzw. das Gerät gegen ein gleiches oder ähnliches
(mit gleichen technischen Daten) auszutauschen. Ebenso gilt das Auslaufen der Batterie nicht als
Garantiefall.

10
EN
Dear customer,
Thank you for your confidence in us having purchased a geo-FENNEL instrument.
This manual will help you to operate the instrument appropriately.
Please read the manual carefully - particularly the safety instructions. A proper use only guarantees a
longtime and reliable operation.
geo-FENNEL
Precision by tradition.
Contents
1. Supplied with A
2. Keypad B
3. Power supply C
4. Operation D
5. Safety instructions E
SUPPLIED WITH
A
· Video borescope FVE 100
· 1 m flexible gooseneck probe
· TV cable
· USB cable
· Charger
· Magnet, hook, mirror
· Container
· User manual
FEATURES
· Video borescope for inspection and survey of inaccessible areas.
TAKES AND TRADES
· Sanitary, heating and ventilation, car industry, workshops, renovation.

11
EN
Technical data
Camera head
Viewable angle 0° and 180°
Focal length 6 - 7 cm
Viewable distance 5 - 15 cm
Diameter of camera head 17 mm
Light source LED
Display
Display size 3,2“
Resolution 320 x 240 pixel
Image transmission to LCD Flexible gooseneck
CMOS image sensor 300.000 pixel
Video outpout (to TV) PAL / NTSC
Various
Probe length 100 cm
Bend radius of probe 6 cm
Dust / water protection probe / camera IP 67
Power supply 3,7 V / 2000 mAH Li-Ion
Operating time 4 h
Temperature range -10°C up to + 50°C
Humidity range 15 up to 85 % RH
Dimensions 240 x 160 x 100 mm
Weight 0,584 kg

12
EN
KEYPAD
POWER SUPPLY
B
C
BATTERY STATUS INDICATION
Fully charged
Empty
Being charged
1. Gooseneck
2. Display
3. Adjustment contrast, illumination (-)
4. Adjustment contrast, illumination (+)
5. On/Off button
6. Mode button
7. TV output
8. USB charge port
9. Reset button
10.Li-Ion battery
11. Camera
12.Camera connection

13
EN
POWER ON / OFF
Press button 6 to power on the borescope. Press this button again to power it off.
Battery status indication
OPERATION D
IMAGE ROTATION AND IMAGE SETTING
1) Image rotation
Power on the instrument and shortly press the
MODE button. Now the image rotates by 90°.
Power off the unit. Connect it with the mini USB charging cable; the charging process will start automa-
tically and the display powers on.
Press „+“ to continue the charging process and confirm by pressing MODE.Then the instrument clo-
ses all programs and remains in stand by mode.
Press „-“ to interrupt the charging process and confirm with MODE. The instrument enters into its main
menu.

14
EN
Use the buttons „+“ and „-“ to move the cursor
to the selected menu. Confirm the menu selected
by pressing MODE. Fix the required image setting
with the buttons „+“ and „-“. Confirm the value set
by pressing MODE.
After having made all settings move the cursor to
EXIT and confirm with MODE. Now this menu is
closed.
2) Image setting
Power on the instrument and press the MODE
button long to enter into the image setting mode.
Now i. e. brightness, contrast, definition, colour
etc. can be set.
AUTOMATIC IMAGE FORMAT CONVERSION (PAL / NTSC)
The instrument automatically recognizes the image format when it is powered on for the fist time and
enters into the corresponding standard mode.
ATTENTION:
This recognition only works when the instrument is powered on for the first time. The standard setting
is PAL.

15
EN
SETTINGTHE IMAGE ILLUMINATION
The standard illumination is 3.
With the buttons „+“ and „-“ the image illumination
can be adjusted. The lowest illumination is 0
(= LED does not light anymore), the maximum
illumination is 5.
ILLUMINATON INDICATOR ON / OFF
Press the buttons „+“ and „-“ simultaneously to
power on and off the illumination indicator.
The standard setting is „on“.
TV OUTPUT
Connect the TV cable (in the kit) with the monitor; plug the black end into the instrument and the yellow
into the monitor. Select TV OUT in the main menu and confirm with OK. Select the correct parameter
with the cursor and confirm with OK. Then, the unit automatically returns to the main menu.

16
EN
SAFTEY INSTRUCTIONS
E
CE-CONFORMITY
The instrument has the CE mark according to EN 55022:2006 + A1: 2007, EN 55024: 1998 + A1:2001
+ A2: 2003, EN 61000-3-2:2006, EN 61000-3-3:2008.
INTENDED USE OF THE INSTRUMENT
· Optical check / survey of unaccessible places via borescope, i. e. sanitary installations, electrical
industry, construction.
ELECTROMAGNETIC ACCEPTABILITY (EMC)
· It cannot be completely excluded that this instrument will disturb other instruments (e.g. navigation
systems);
· will be disturbed by other instruments (e.g. intensive electromagnetic radiation nearby industrial facilities
or radio transmitters).
EXCEPTIONS FROM RESPONSIBILITY
· The user of this product is expected to follow the instructions given in the user manual. Although all
instruments left our warehouse in perfect condition and adjustment the user is expected to carry out
periodic checks of the product’s accuracy and general performance.
· The manufacturer, or its representatives, assumes no respon-sibility of results of a faulty or intentio-
nal usage or misuse including any direct, indirect, consequential damage, and loss of profits.
· The manufacturer, or its representatives, assumes no respon-sibility for consequential damage, and
loss of profits by any disaster (earthquake, storm, flood etc.), fire, accident, or an act of a third party
and/or a usage in other than usual conditions.
· The manufacturer, or its representatives, assumes no respon-sibility for any damage, and loss of
profits due to a change of data, loss of data and interruption of business etc., caused by using the
product or an unusable product.
· The manufacturer, or its representatives, assumes no respon-sibility for any damage, and loss of
profits caused by usage other than explained in the users manual.
· The manufacturer, or its representatives, assumes no respon-sibility for damage caused by wrong
movement or action due to connecting with other products.

17
EN
CARE AND CLEANING
· Handle measuring instruments with care.
· Clean with soft cloth only after any use. If necessary damp the cloth with some water.
· If the instrument is wet clean and dry it carefully. Pack it up only if it is perfectly dry.
· Transport in original container / case only.
SAFETY INSTRUCTIONS
· Follow up the instructions given in the user manual.
· Carefully read the user manual before starting operations.
· Do not open the instrument housing.
· Repairs should be carried out by authorized workshops only. Please contact your local dealer.
· Do not remove warning labels or safety instructions.
· Keep the instrument away from children.
· The camera is waterproof, but not the instrument. Do not use the instrument under water.
· Do not use the instrument in humid / wet condition (rain).
· Carefully screw the probe onto the instrument in order to avoid electro shocks.
· Do not use the instrument in direct sun light, in bright illumination and with reflectors.
WARRANTY
· This product is warranted by the manufacturer to the original purchaser to be free from defects in
material and workmanship under normal use for a period of two (2) years from the date of purchase.
· During the warranty period, and upon proof of purchase, the product will be repaired or replaced
(with the same or similar model at manufacturers option), without charge for either parts or labour.
· In case of a defect please contact the dealer where you originally purchased this product.
· The warranty will not apply to this product if it has been misused, abused or altered.
· Without limiting the foregoing, leakage of the battery, bending or dropping the unit are presumed to
be defects resulting from misuse or abuse.

18
FR
Cher client,
Nous tenons à vous remercier pour la confiance que vous avez témoignée, par l‘acquisition de votre
nouvel instrument geo-FENNEL.
Les instructions de service vous aideront à vous servir de votre instrument de manière adéquate. Nous
vous recommandons de lire avec soin tout particulièrement les consignes de sécurité de ladite notice
avant la mise en service de votre appareil. Un emploi approprié est l‘unique moyen de garantir un fonc-
tionnement efficace et de longue durée.
geo-FENNEL
Precision by tradition.
Contenu
1. Fourni avec A
2. Clavier B
3. Alimentation en courant C
4. Opération D
5. Consignes de sécurité E
FOURNI AVEC
A
· Caméra endoscopique FVE 100
· Capteur à col de cygne de 1 m
· CâbleTV
· Câble USB
· Chargeur
· Aimant, crochet, mirroir
· Malette en plastique
· Mode d‘emploi
CHARACTÉRISTIQUES
· Pour l‘inspection visuelle de zones difficilement accessibles.
DOMAINES D‘APPLICATION
· Sanitaires, systèmes de climatisation, garage automobile, installation, assainissement.

19
FR
Données techniques
Tête de caméra
Champ visuel 0° et 180°
Distance focale 6 - 7 cm
Distance visible 5 - 15 cm
Diamètre de la tête 17 mm
Source lumineuse LED
Écran
Grandeur écran 3“
Résolution 960 x 240 pixels
Transmission d‘image à LCD Capteur à col de cygne
Capteur d‘image 300.000 pixels
Sortie vidéo (vers uneTV) PAL / NTSC
Divers
Longueur de capteur 100 cm
Rayon de courbure 6 cm
Caméra et capteur étanches IP 67
Alimentation 3,7 V / 2000 mAH Li-Ion
Autonomie 4 h
Plage de température -10°C à + 50°C
Plage d‘humidité 15 à 85 % RH
Dimensions 240 x 160 x 100 mm
Poids 0,584 kg

20
FR
CLAVIER
B
CALIMENTATION EN COURANT
1. Col de cygne
2. Affichage
3. Réduire la luminosité de l’écran (-)
4. Augmenter la luminosité de l’écran (+)
5. Touche ON / OFF
6. Touche MODE
7. Sortie TV
8. Prise de charge USB
9. Touche RESET
10.Batterie Li ion
11. Capteur optique
12.Raccordement camera
INDICATEUR D'ETAT DE LA BATTERIE
Charge complète
Vide
En charge
Table of contents
Languages:
Other geo-FENNEL Analytical Instrument manuals