manuals.online logo
Brands
  1. Home
  2. •
  3. Brands
  4. •
  5. DENT Instruments
  6. •
  7. Measuring Instrument
  8. •
  9. DENT Instruments PowerScout 3 HD User manual

DENT Instruments PowerScout 3 HD User manual

Remove the TouchSāf™ high voltage cover and connect
voltage leads to the meter
PowerScout™ 3 HD
Single-Circuit Power Meter
Quick Start Guide
FOR QUALIFIED PERSONNEL ONLY
INSTALLATION OVERVIEW - DIN RAIL MOUNT ENCLOSURE*
This Quick Start Guide provides a general overview for basic installation. For more in-depth information and troubleshooting steps, please refer to the full Operator’s Guide for your meter.
Rev062320
2. Mount
Press the top edge of the meter’s DIN rail channel to
the DIN rail itself. Then push the meter firmly towards
the DIN rail until it clicks into place.
2
1. Attach DIN Rail
Attach a section of T35 DIN rail within a suitable UL-approved
enclosure.
▪Leave enough clearance for voltage, CT, and
communications wires to be routed within enclosure.
▪UL-approved enclosure is customer supplied.
13. Remove HV Cover
3
4. Re-attach HV Cover
WARNING: RISK OF ELECTRIC SHOCK. DO NOT
ENERGIZE METER WITH VOLTAGE COVER REMOVED.
FOLLOW ALL STATE AND FEDERAL ELECTRICAL
CODES.
▪Using 14 AWG THHN, 600VAC rated wire, connect the
voltage leads (L1, L2, L3, and N) as necessary to the
meter through a dedicated disconnect or circuit breaker.
DO NOT EXCEED 346V L-N or 600V L-L.
▪Mark the circuit breaker as “PowerScout Meter”
4
Use only 333.3mV (1/3 V) output CTs or DENT RōCoils.
5. Connect CT & Communications
5
WIRING
iThe PowerScout HD Meter uses the Neutral terminal as a voltage reference. For
systems without a neutral conductor, connect a wire from the N terminal to ground.
iThe PowerScout HD Meter is internally powered through
the voltage between L1 and L2. For Single Phase
installations, where no L2 exists, connect a jumper from N
to L2. This connection provides power to the meter while
maintaining Neutral as the metering voltage reference. NL1 L2 L3
HIGH VOLTAGE MAY BE PRESENT. RISK OF ELECTRIC SHOCK. LIFE THREATENING
VOLTAGE MAY BE PRESENT. QUALIFIED PERSONNEL ONLY.
iThese diagrams show the wiring configuration for the Service Types available in the
Service drop-down list under “Meter Setup;
Service
” in ViewPoint HD Software.
CONNECTING VOLTAGE WIRING AND CTs TO THE METER
This image below represent CT and voltage connections between the PowerScout 3 HD and
the common service types. For specific wiring questions outside the scope of this document,
contact DENT technical support.
EXAMPLE 1
Wiring the PowerScout in a 3-Wire, Split Phase Service Panel
3-Wire, 1-Phase
used on MAINS
L1-N, L2-N
RōCoil CTs Shown
Single Phase
110 VAC Plug Loads
L1-N or L2-N
Split Core CTs Shown
Connect the Neutral
wire to VIN 1, N
terminal on the
PSHD Meter
Meter is powered
from L1 to L2 on the
VIN 1 connector
Label as Meter
Disconnect
METER DISCONNECT
Single Phase
220 VAC Load
L1-L2
3-Wire, 1-Phase
Split Load
L1-N, L2-N
TYPICAL LOADS:
Single Phase L1-N or L2-N 110 VAC: Lighting, Appliance, or Living Zone
Single Phase L1-L2 220 VAC: Water Heater or Equipment with no Neutral wire.
Split Phase L1-L2 220 VAC: Service Entrance, Dryers, or Equipment with Neutral wire.
4-WIRE, 3-PHASE WYE
3-WIRE, 3-PHASE DELTA
EXAMPLE 2
Wiring the PowerScout in a 4-Wire, 3-Phase Service Panel
4-Wire, 3-Phase
Mains Monitoring
L1-N, L2-N, L3-N
RōCoil CTs Shown
Meter Power
Connect All Phases to
the VIN 1 Terminals
Label as Meter
Disconnect
3-Wire, 3-Phase
DELTA Load
No Possibility of
Neutral Current
Two CTs on L1 and L3
Connect the Neutral
Wire to the VIN 1
Neutral Terminal on
the PSHD Meter
4-Wire, 3-Phase
WYE Load with
Neutral Current
L1-N, L2-N, L3-N
Single Phase
Branch Load
L1-N
© DENT Instruments, Inc. ■www.DENTinstruments.com ■1.800.388.0770 ■[email protected]
METER DISCONNECT
TouchSāf High Voltage Cover
T35 DIN Rail
T35 DIN Rail
35mm
7mm
DIN Rail
Channel
DIN Rail Tabs
Pull tabs with screwdriver to release.
White (+)
Black or Brown (-)
Bare (RŌCoil) (S)
CT Connections (x3)
RS-485
Meter is IP30 (TouchSāf™) with internal cover installed.
*For an installation overview of the Wall Mount Enclosure, see the full Operator’s Guide.
USB-C
Ethernet
© DENT Instruments, Inc. ■www.DENTinstruments.com ■1.800.388.0770 ■[email protected]
CURRENT TRANSFORMER BASICS
To ensure safety and maintain UL listings, use only CTs provided by DENT
Instruments.
▪Do not use on services greater than 600VAC
▪CTs are 333.3 mV (1/3 V) output voltage, or DENT RōCoil
▪Select CTs of appropriate current range for the circuit (5-120% of CT
rating recommended)
▪Ensure arrow points towards load (or as instructed by CT label)
▪Place CT on first conductor of voltage reference. Example: for L1-L2
circuits without neutral, place CT on L1
▪Observe wiring color and polarity: For millivolt CTs, the white wire is (+)
and the black wire is (-). For RōCoils, the white is (+), brown is (-), and the
bare, shield wire connects to the terminal marked “S”
The PowerScout 3 HD is available in two configurations. The DIN-Rail Mount Enclosure is to be
mounted in a UL-approved electrical enclosure while the Wall Mount Enclosure is ready to be
mounted on the wall next to an electrical panel and does not require an additional enclosure.
1. Display
2. High Voltage Cover
3. CT Connections (x3)
4. Serial RS-485
5. Alarm
6. Thumb Wheel for Menu
Navitation
7. USB-C
8. DIN Rail Channel
9. Ethernet Port
10. 0.5” Conduit Connection
(x3)
11. Wall Mount Enclosure
Top
12. Mounting Holes
13. PS3HD Circuit Board
14. Voltage Connection
15. High Voltage Cover
(transparent in photo)
16. ABS Plastic Enclosure
POWERSCOUT 3 HD METER ANATOMY
Rev062320
WARNING
▪RISK OF ELECTRIC SHOCK, EXPLOSION, OR ARC FLASH. CAREFULLY READ AND
FOLLOW INSTRUCTIONS.
▪THIS METER MAY CONTAIN LIFE THREATENING VOLTAGES. RISK OF ELECTRIC
SHOCK. QUALIFIED PERSONNEL ONLY. USER MUST DISCONNECT ALL HIGH VOLTAGE
WIRING BEFORE SERVICING THE METER WITH THE HIGH VOLTAGE COVER REMOVED.
▪TO AVOID FIRE, SHOCK, OR DEATH, TURN OFF ALL POWER SUPPLYING EQUIPMENT
BEFORE WORKING ON OR INSIDE THE EQUIPMENT. USE PROPERLY RATED VOLTAGE
SENSING DEVICE TO CONFIRM POWER IS OFF.
▪FOLLOW SAFE ELECTRICAL WORK PRACTICES. FOLLOW ALL APPLICABLE LOCAL
ELECTRICAL CODES.
▪THIS EQUIPMENT MUST BE INSTALLED AND SERVICED BY QUALIFIED ELECTRICAL
PERSONNEL WITH THE REQUISITE KNOWLEDGE, TRAINING, AND EXPERIENCE
RELATED TO THE INSTALLATION AND OPERATION OF THIS EQUIPMENT.
▪PRODUCT MAY USE MULTIPLE VOLTAGE/POWER SOURCES. BE SURE ALL SOURCES
OF POWER HAVE BEEN DISCONNECTED BEFORE SERVICING.
▪DO NOT DEPEND ON THIS PRODUCT FOR VOLTAGE INDICATION.
DO NOT EXCEED 346V Line-to-Neutral or 600V Line-to-Line. This meter is equipped to
monitor loads up to 346V L-N. Exceeding this voltage will cause damage to the meter
and danger to the user. Always use a Potential Transformer (PT) for voltages in excess
of 346V L-N or 600V L-L. The PowerScout HD is a 600 Volt Over Voltage Category III
device.
SAFETY SYMBOLS
Denotes caution. See full Operator’s Guide for description of the meanings.
Equipment protected throughout by double insulation or reinforced insulation.
DENOTES HIGH VOLTAGE. RISK OF ELECTRIC SHOCK. LIFE THREATENING VOLTAGES
MAY BE PRESENT. QUALIFIED PERSONNEL ONLY.
Contains additional information pertinent to the current subject.
i
1. Connect a powered, or unpowered, PowerScout meter to a USB port of your computer
with a USB A to USB C cable (provided). [Note: The PC will power the meter for setup even
without AC mains power connected.]
2. Launch the ViewPoint HD application and, when prompted, click “Connect over USB”
3. The meter will now be communicating with the PC
4. Use ViewPoint HD to configure the meter and view real-time data to verify the installation is
wired correctly
SETUP THE METER WITH A PC
The meter can also be setup without using ViewPoint HD and instead using a web
browser. Plug in the USB cable and set the browser to 169.254.1.5.
i
USB-C
USB-A
NAVIGATING THE METER’S DISPLAY
USING THE LCD SCREEN
The PowerScout 3 HD features a navigation thumb wheel which allows the user to scroll up or
down and select menu options by pressing the thumb wheel. While the user interface allows for
checking real time values, it does not allow for meter configuration. ViewPoint HD is the required
configuration tool for the PowerScout 3 HD.
FOR MORE INFORMATION
www.DENTinstruments.com
1.800.388.0770
[email protected]



KWH SYS:50.02
KW SYS:50.23
KVA SYS:50.02
KVAR SYS:50.23
V 1:120.2
2:120.4 3:120.2
A 1:50.23
2:4000 3:800.2
W 1:50.23
2:4000 3:800.2
KWH 1:453.2
2:445.3 3:800.2
VA 1:50.23
2:4000 3:800.2
VAR 1:50.23
2:4000 3:800.2
SYS aPF: 1.0
Pk Demand: 12874
CT1 Type: RoCoil
Rating: 4000
CT2 Type: RoCoil
Rating: 4000
CT3 Type: RoCoil
Rating: 4000
SN: P031501001
FW: v2.10
RS485: 115200
Addr: 1
Protocol: BACnet
192.168.100.101
1
2
345
89
76
10 11
13
15
12 14
DIN Rail Mount Enclosure | PS3HD-R-D-N
Wall Mount Enclosure | PS3HD-C-D-N
345
9
7
6
1
16
16
16

Other DENT Instruments Measuring Instrument manuals

DENT Instruments PowerScout 3 User manual

DENT Instruments

DENT Instruments PowerScout 3 User manual

DENT Instruments PowerScout 3 Manual

DENT Instruments

DENT Instruments PowerScout 3 Manual

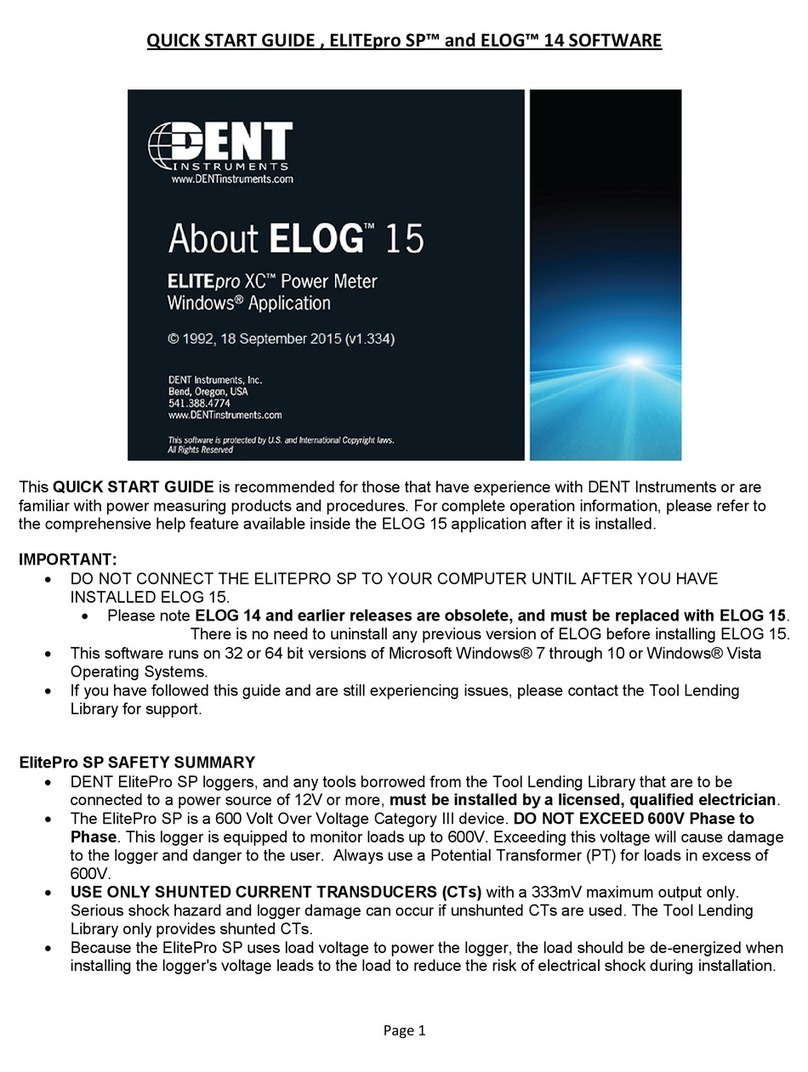
DENT Instruments ELITEpro ELOG 15 User manual

DENT Instruments

DENT Instruments ELITEpro ELOG 15 User manual

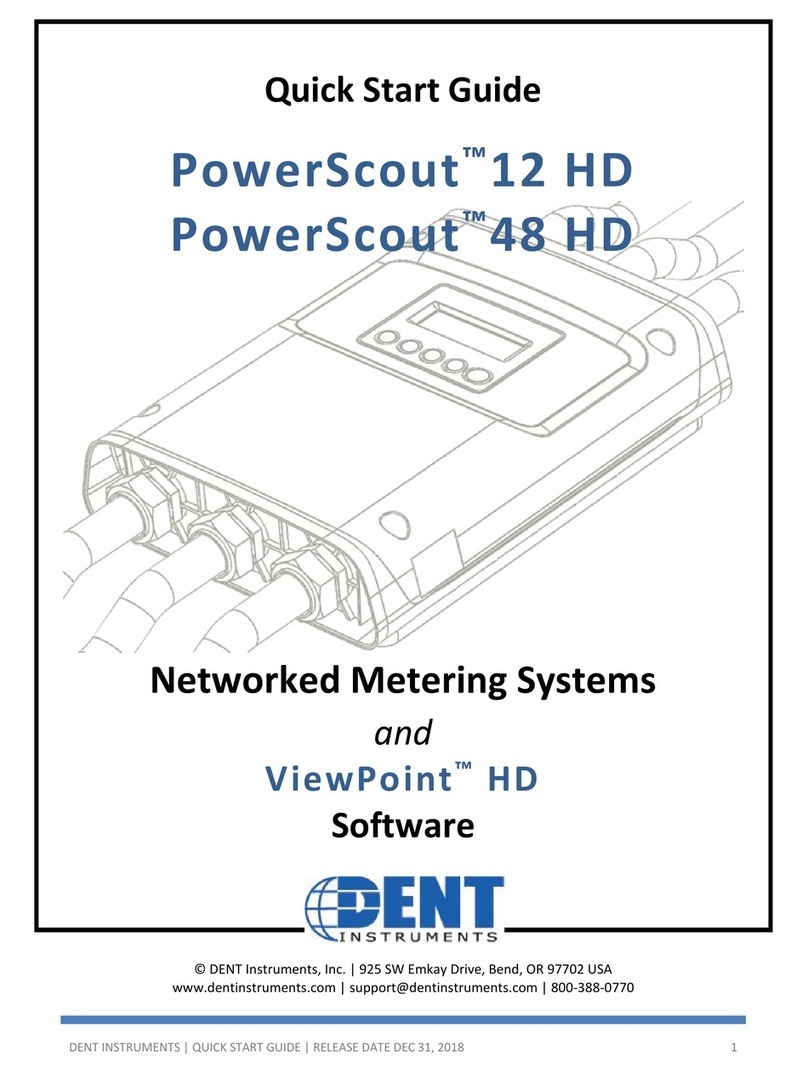
DENT Instruments PowerScout 12 HD User manual

DENT Instruments

DENT Instruments PowerScout 12 HD User manual

DENT Instruments PowerScout 24 Manual

DENT Instruments

DENT Instruments PowerScout 24 Manual

DENT Instruments PowerScout 24 Manual

DENT Instruments

DENT Instruments PowerScout 24 Manual

DENT Instruments PowerScout HD Series Manual

DENT Instruments

DENT Instruments PowerScout HD Series Manual

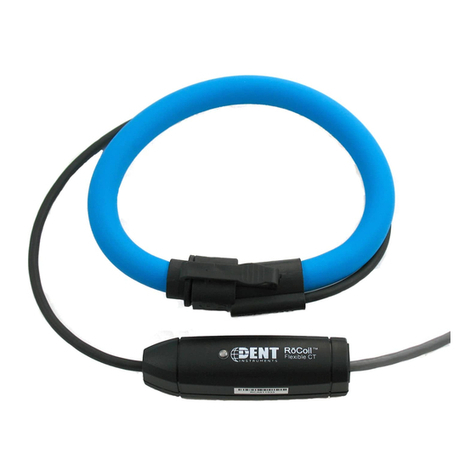
DENT Instruments ROCOIL MV User manual

DENT Instruments

DENT Instruments ROCOIL MV User manual

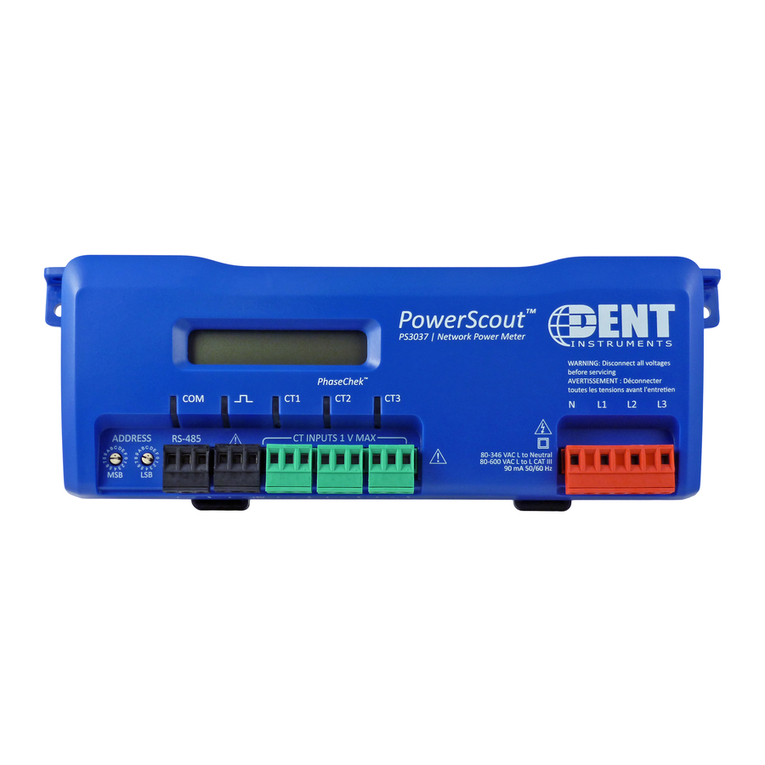
DENT Instruments powerscout 3037 Manual

DENT Instruments

DENT Instruments powerscout 3037 Manual

Popular Measuring Instrument manuals by other brands

SICK DT1000 operating instructions

SICK

SICK DT1000 operating instructions

Unitec ETL3000 Operation and service manual

Unitec

Unitec ETL3000 Operation and service manual

Presys TA-25NL Technical manual

Presys

Presys TA-25NL Technical manual

Bender ISOMETER isoES425 manual

Bender

Bender ISOMETER isoES425 manual

Integra CALEC ST II Installation and operation manual

Integra

Integra CALEC ST II Installation and operation manual

Simex SRP-73 user manual

Simex

Simex SRP-73 user manual

SKF Baker AWA-IV user manual

SKF

SKF Baker AWA-IV user manual

Steren MUL-288 instruction manual

Steren

Steren MUL-288 instruction manual

Vernier HD-BTA owner's manual

Vernier

Vernier HD-BTA owner's manual

MOGlabs CEL manual

MOGlabs

MOGlabs CEL manual

Siemens SITRANS F C MASSFLO MASS 2100 operating manual

Siemens

Siemens SITRANS F C MASSFLO MASS 2100 operating manual

Toky DW9L Series Operation manual

Toky

Toky DW9L Series Operation manual

Bresser 40-25850 instruction manual

Bresser

Bresser 40-25850 instruction manual

LOVATO ELECTRIC DMG600 installation manual

LOVATO ELECTRIC

LOVATO ELECTRIC DMG600 installation manual

Renkforce GLP-UL001 operating instructions

Renkforce

Renkforce GLP-UL001 operating instructions

Shimaden SD24 Series instruction manual

Shimaden

Shimaden SD24 Series instruction manual

Zenner multidata Installation and operating manual

Zenner

Zenner multidata Installation and operating manual

McCrometer WATER SPECIALTIES FlowCom FC101 Installation, operation and maintenance manual

McCrometer

McCrometer WATER SPECIALTIES FlowCom FC101 Installation, operation and maintenance manual

manuals.online logo
manuals.online logoBrands
  • About & Mission
  • Contact us
  • Privacy Policy
  • Terms and Conditions

Copyright 2025 Manuals.Online. All Rights Reserved.