Denver DFT-1904 BLACK User manual

19 TFT LCD TV"
Operating Instructions
SCART IN, PC IN
AC 110-240V 50/60Hz
TELETEXT
NTSC PLAYBACK
PAL/SECAM B/G,D/K, I
DFT-1904 BLACK


TABLE OF CONTENTS
1
3
4
Table of Contents 1
2
Specifications
Installation
8
11-12
9
Setup
Functional Parts(TV)
Remote Control unit
TELETEXT Operations 13
Important Safety Instruction
Warnings and Cautions 5-7
10
Rear view of TV set
MENU Screens
14-15
16
17
Troubleshooting Tips
The Causes of interference

SPECIFICATIONS
2
REMOTE CONTROL
Transmitting System :Infrared
Power Supply :DC 3V
Receiving System:
Colour System:
LCD Panel: 482.6mm(19 inch) diagonal
Ext.Antenna:
Ext. In/Out:
Speaker:
Audio Output:
Power Consumption:
75 Ohm Coaxial Cable
PC Input, SCART IN
16 Ohm x 2
AC 110-240V 50/60Hz,40W
Dimension:
Net Weight:
W466 xD198.8 xH415.7(mm)
7.00KG
3W
Note:Design and specifications are subject to change without prior notice.
PAL, SECAM
B/G, D/K, I
POWER
P.P
SWAP
Q.
VIEW
MUTE TV/AV
MENU
PROG+
PROG-
VOL+
VOL-
REVEAL SIZE STOP
INDEX TEXT
-/--
TITLE
MIX
SUB.PAGE

3
Thank you verymuch for yourpurchase of thisproduct, the mostnatural Colour TelevisionReceiver.
To enjoy yourset to thefull from thevery beginning, readthis manual carefullyand keep ithandy for ready
reference.
INSTALLATION
Locate the receiverin the room where direct light does not strike the screen.
Total darkness ora reflection onthe picture screen can cause eyestrain. Soft and indirect lighting is
recommended for comfortableviewing.
Allow enough spacebetween the receiver and the wall to permit ventilation.
Avoid excessively warmlocations to prevent possible damage to the cabinet or premature component
failure.
This TV operateson a DC supply provided by the AC-DC adaptor. The voltage is as Indicated on the label
on the backcover.Only use theAC-DC adaptor supplied with the TV and never apply an AC mains to the TV
directly. The AC-DCadaptor operates onand AC mains supply, the voltage is as indicated on the label of
the AC-DC adaptor.Connect the DCplug of the AC-DC adaptor to the DC 12V socket at the back of the TV.
Connect the AC-DCadaptor and itsmains cord. Insert the mains plug in the wall socket having a mains
voltage of 110-240V.
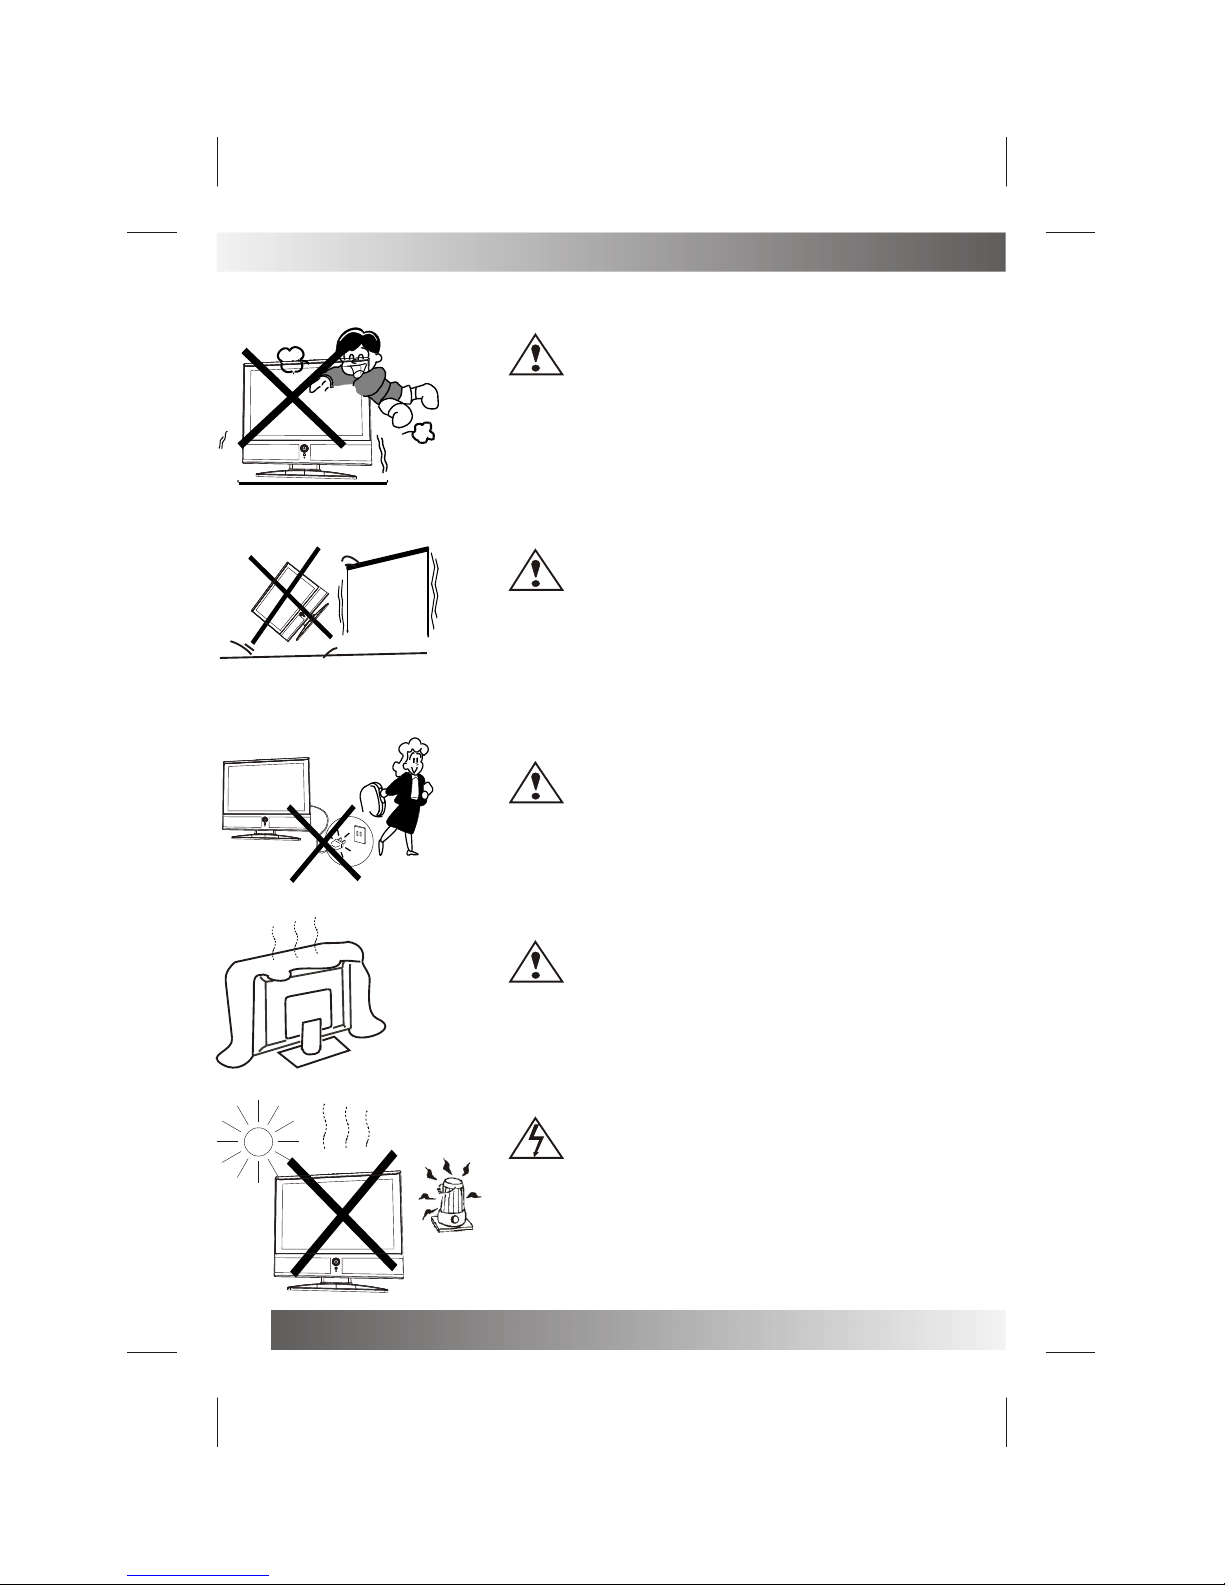
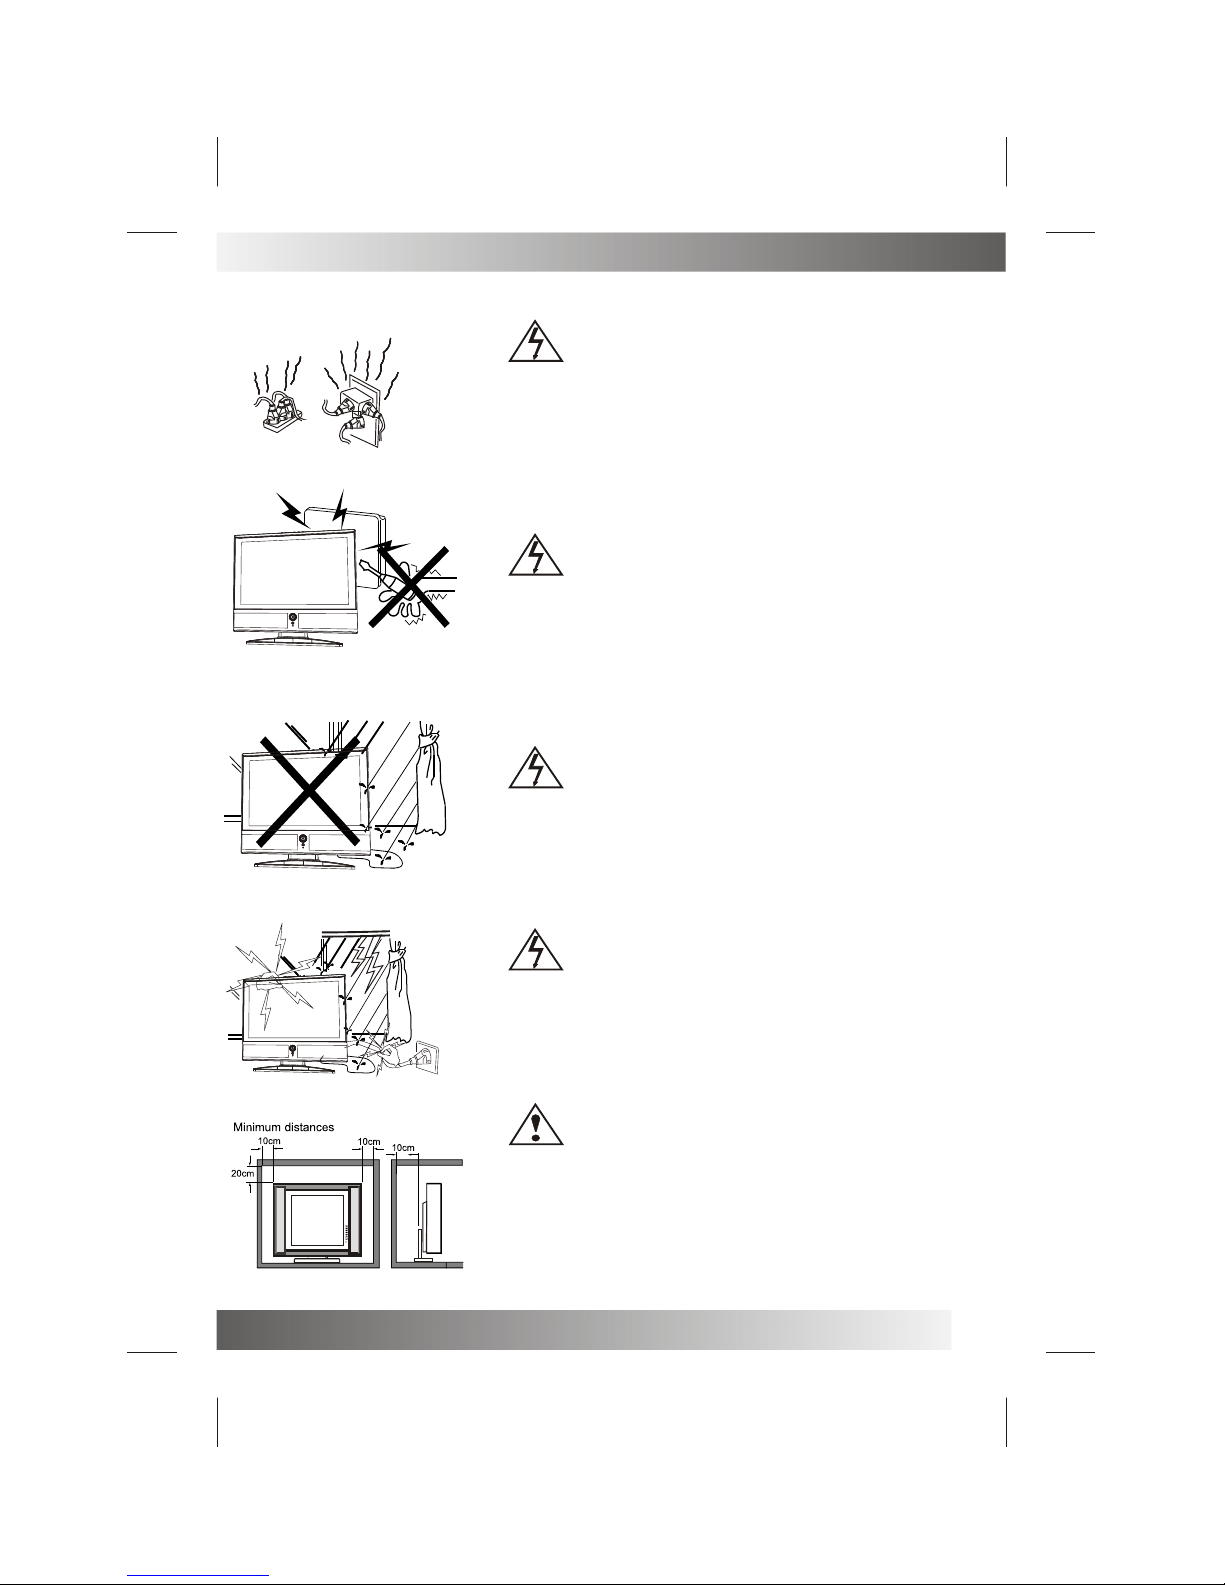
Do not installthe receiver ina location near heat sources such as radiator, air ducts, direct sunlight ,or
in a placesomewhere like closecompartment and close area.
Do not coverthe ventilation openingswhen using the set.
CAUTION
Never tamper withany components insideyour set, orany other adjustmentcontrols not mentionedin
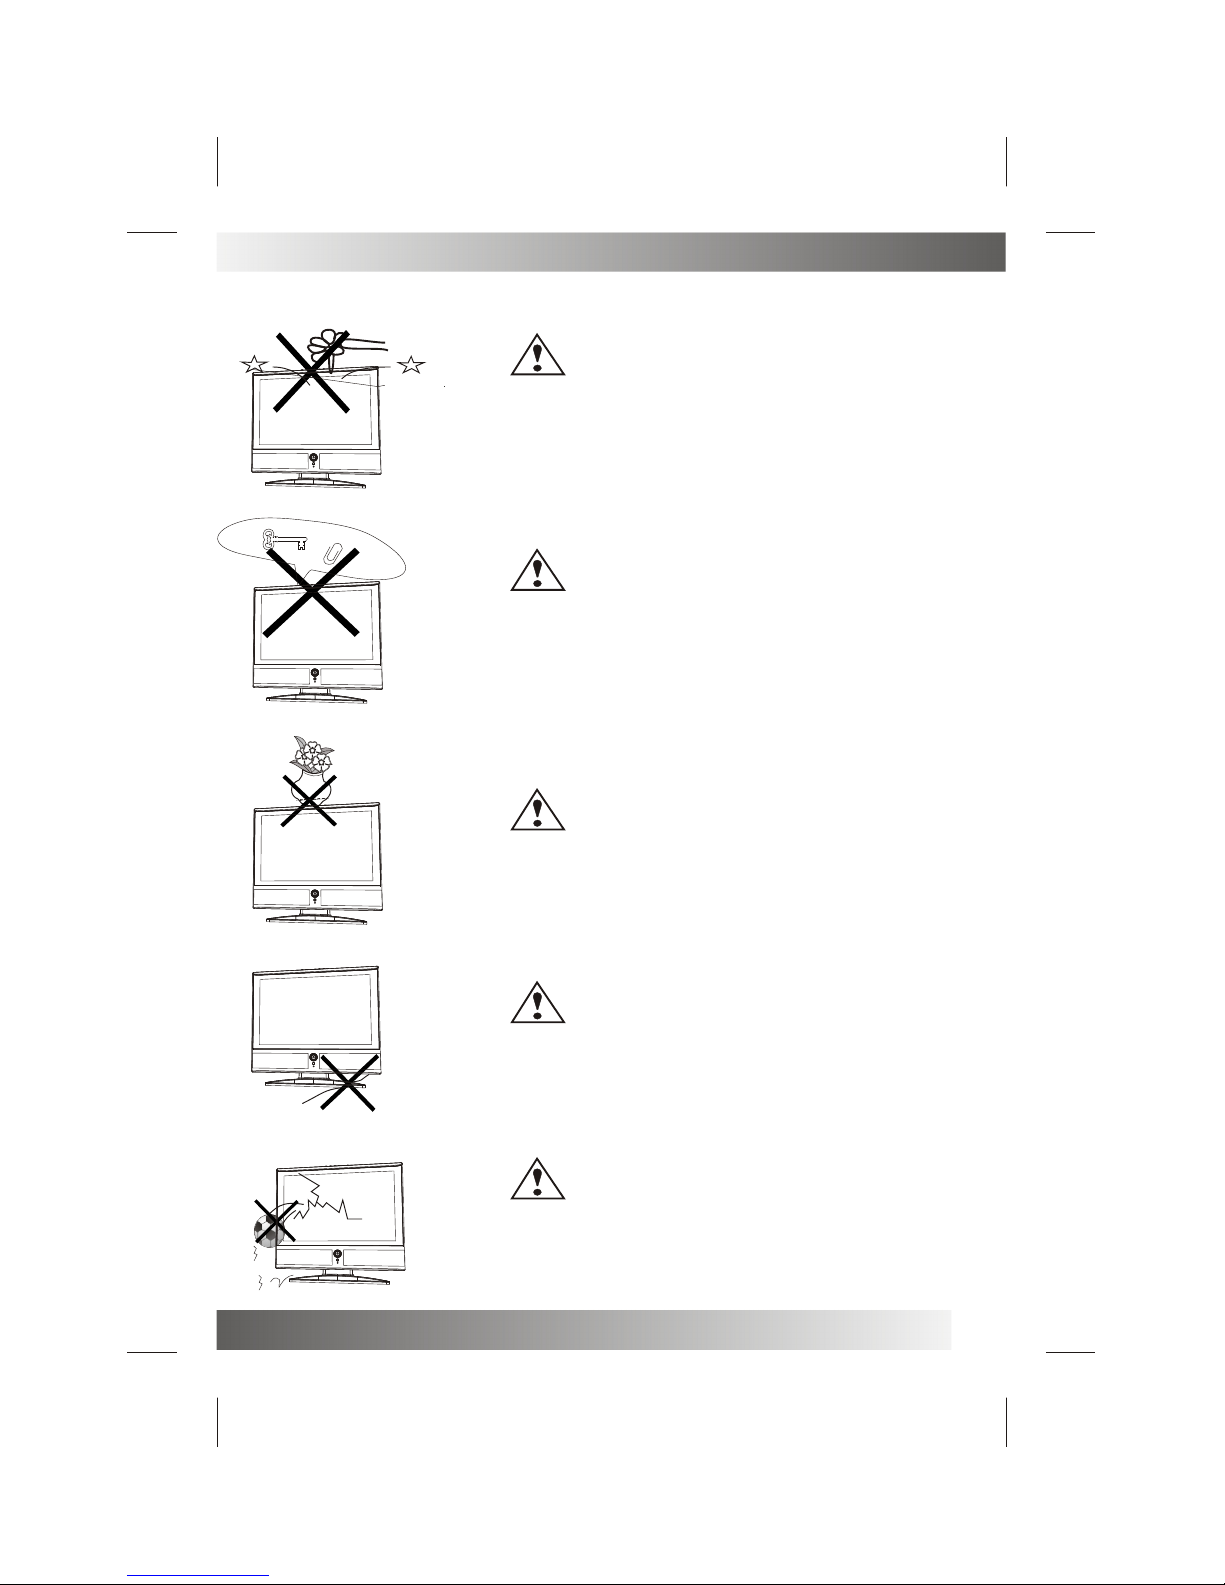
this manual. TheLCD panel usedin this productis made ofglass. Therefore,it can break When the product
is dropped orapplied with impact.Be careful notto be injuredby broken glass pieces in case the LCD panel
breaks.When you cleanup dust orstick of awater drop onthe LCD panel. The power cord should be pulled
out from theplug receptacle, thenwipe the receiverwith dried softcloth .During thunderand lighting ,
unplug the powercord and antennacord to preventyour TV setfrom damage. Alltelevision receivers are
high voltage instruments.All "inside work"on your receivershould be performedonly by theTV service
personnel.
If some abnormalphenomena happens ,may be youhave some mis-opertion,pleasetake off powerand
restart your TVset .
INSTALLATION

WARNING: TO REDUCE THE RISK OF ELECTRIC SHOCK DO NOT EXPOSE THIS
APPARATUS TO RAIN OR MOISTURE AND OBJECTS FILLED WITH LIQUIDS,
SUCH AS VASES, SHOULD NOT BE PLACED ON THIS APPARATUS.
The lighting flash with arrow head within a triangle is intended to tell the user that
parts inside the product are a risk of electric shock to persons.
The exclamation point within a triangle is intended to tell the user that important
operating and servicing instructions are in the papers with the appliance.
RISK OF ELECTRIC SHOCK
DO NOT OPEN
WARNING
WARNING: TO REDUCE THE RISK OF ELECTRIC SHOCK DO NOT
REMOVE COVER OR BACK. NO USER-SERVICEABLE PARTS INSIDE.
REFER SERVICING TO QUALIFIED SERVICE PERSONNEL.
IMPORTANT SAFETY INSTRUCTION
4
The power cable/disconnect device shall remain easy to operate/disconnect.

5
Caution
Do not dropor push objectsinto the television cabinet slots
or openings. Neverspill any kind of liquid on the television
receiver.
Caution
Do not insertanything in theventilation holes. Ifmetal or
something flammable enters,it may resultin fire orelectric shock.
Caution
Do not placeobjects on thisunit, it may damage the screen surface.
Caution
Do not squashpower supply cordunder the televisionreceiver.
Caution
Do not throwanything at theset. The screenglass may explodeby
impact and causeserious injury.
WARNINGS AND CAUTIONS

6
Caution
Never stand on,lean on, orsuddenly push the television or its
stand. You shouldpay special attentionto children. Serious injury
may result ifit should fall.
Caution
Do not placeyour television onan unstable cart, stand ,shelf or
table. Serious injuryto an individual,and damage tothe television,
may result ifit should fall.
Caution
When the televisionreceiver is notused for anextended period of
time, it isadvisable to disconnectthe AC powercord from the AC
outlet .
Caution
Do not blockthe ventilation holesin the backcover.
Adequate ventilation isessential to preventfailure of electrical
component.
Warning
Avoid exposing thetelevision receiver to direct sunlight and other
source of theheat. Do notstand the television receiver directly on
other produces whichgive off heat .E.g.video cassette players.
Audio amplifiers. Donot place naked flame sources, such as
lighted candle onthe television. Donot expose the LCD screen
surface to thesun, it maydamage the screen surface.
WARNINGS AND CAUTIONS

WARNINGS AND CAUTIONS
7
Take care notto connect manyappliances to the same mains
socket as thiscould result in fire or electric shock.
High voltages areused in theoperation of this television receiver.
Do not removethe cabinet back from your set. Refer servicing to
qualified service personnel.
To prevent fireor electrical shock hazard, Do not expose the
television receiver torain or moisture.
For you ownsafety, Do nottouch any part of the set, main lead or
aerial lead duringlighting storms.
Caution
If the televisionis to bebuilt into aCompartment or similarly
enclosed, the minimumdistances must bemaintained.
Heat build-up canreduce the servicelife of yourtelevision, and can
also be dangerous.
Warning
Warning
Warning
Warning

¼ò ½é¼ò ½é
SETUP
8
Remote Control Battery Installation
4.If you cause a staticdischarge when touching the
unit, and the unit failsto function, simply unplug
the unit from the ACoutlet, wait a few minutes,and
plug it back in. Theunit should return to normal
operation.
Requires two AAA batteries(supplied).
Procedure
1. Turn the remote control face down. Remove battery
cover by pressing down on the marking on the
cover and sliding it off in the direction indicated.
2. Install batteries matching(+) and(-) polarity signs.
3. Replace the battery cover by sliding in reverse until
the lock snaps.
Note: Incorrect installation can cause battery leakage
and corrosion that will damage the Remote
control.
Precautions
Replace batteries in pair.
Do not mix battery types(zinc carbon with
alkaline).
Do not recharge, heat, short-circuit,
disassemble, or burn batteries.

FUNCTIONAL PARTS(TV)
Front View ofLCD Set
To turn theTV power ON
Put the TVset on thecorrect place, then connect the DC plug of the AC-DC adaptor to the DC 12V socket
at the backof the TVset. Connect the adaptor main cord to the wall outlet ,then the LED indicator lamp
turns red/green andthe TV set is at Standby/work Mode. At StandbyMode, if Standby Button is pressed
the power indicatorwill change togreen. It takes a few seconds before the picture appears.
To turn theTV power OFF
Press the StandbyButton to makethe TV set in Standby Mode, then disconnect the power plug from the
wall outlet.
NOTE
If TV isthe selected inputwithout signal received and NO operation is performed for about 5 minutes
continuously, the TVset will enterstandby mode. For any inputs other than TV, the TV set will not enter
standby mode automaticallywithout users instruction. If you are not going to use this TV set for a long
time, switch offthe set anddisconnect the power plug from the wall outlet.
9
2. Remote Sensor
1. LED indicator lamp
3. Standby Button
4. TV/AV Button
5. MENU Button
6. P+ Button
7. P- Button
8. V+Button
9. V- Button
V- V+ P- P+ MENU TV/AV
1
987654
2
3

REAR VIEW OF TV SET
DC IN 12V
HEADPHONE
PC IN
FULL-SCART
NOTE
Precautions when connecting to other equipment
When using external equipment with this TV set, please read the instruction manual of the external equipment.
Switch off all power supplies to the equipment and TV set before connection.
Always ensure that the input and output terminals are correctly connected.
TO DC IN 12V
TO POWER SOURCE
RF INPUT(ANT.)
10
Full-SCART
VGA
AUDIO
ANT.
PCIN
DC IN 12V

REMOTE CONTROL UNIT
POWER ON/STANDBY button
Press this button to switch on the TV when at standby mode orenter
standby mode.
MUTE button
Press this button to mute or restore sound.
P.P Button
Press this button to select the desired picture mode:
NORMAL/SOFT/RICH/CUSTOM.
DISPLAY Button
Press this button to display the setting on the screen.
SLEEP Button
Press this button to set the sleep timer, the order
shown below(minutes):
0 - 15 - 30 - 45 - 6 0
When the preset length of time has passed, the TV set
enters standby mode.
AV/TV Button
Press ¡°AV/TV¡± button,the will be some word show on the right top
of the screen, press ¡°PROG+/-¡± to select the AV source, and then
press ¡°VOL+/-¡±to enter AV mode.
DIGIT Button(0-9)
This TV allows you to select channels from 0 to 255.
Press this button to select one-digit,two digit or three -digital channels
input options.
To select a one-digit channel(e.g. Channel 8),press this ¡°-/--¡±button
to change channel selection to ¡°-¡±on screen display and press the
¡°8¡±button only.
To select a two-digit channel(e.g. Channel 28),press this ¡°-/--¡±button
to change channel selection to ¡°--¡±on screen display and press¡°2¡±
and ¡°8 ¡± buttons. To select athree-digit channel(e.g. Channel 128),
press this¡°-/--¡±button to change channel selection to ¡°---¡±on screen
display and press¡°1¡±,¡°2¡±and ¡°8¡± buttons.
11
TV
PC
SCART
POWER
P.PP.P
SWAPSWAP
Q.
VIEW
Q.
VIEW
MUTE TV/AV
MENU
PROG+
PROG-
VOL+
VOL-
REVEAL SIZE STOP
INDEX TEXT
MIX
-/---/--
SUB.PAGE
P.PP.P

FROM CH 0
TO CH 7
SAVE
MENU Button
Press this button to enter the menu screens for various optional
adjustable settings.
PROG+/- Button
Press the program up button to select the program forwards. Press
the program Down button to select the program Backwards.
VOL+/- Button
Press volume up/down buttons to adjust sound level.
Q.VIEW Button
Press this button to return to the previously viewed program.
SWAP Button
You can adjust your TV program list order, press this button, the
program swap menu will displayed, as shown below. E.g. to swap
channel 0 and 7 , press¡°SWAP¡± button, press¡°PROG+/-¡± to
choose .FROM and press ¡°VOL+/-¡± to set the channel number as
¡°0¡±,and as the sameway to set the TO as¡°7¡±,last to do choose
the¡°SAVE¡± and press ¡°VOL+/-¡± to implement this fuction.
REMOTE CONTROL UNIT
12
POWER
P.PP.P
SWAPSWAP
Q.
VIEW
Q.
VIEW
MUTE TV/AV
MENU
PROG+
PROG-
VOL+
VOL-
REVEAL SIZE STOP
INDEX TEXT
MIX
-/---/--
SUB.PAGE

TEXT Button
Press this button to enter or exit the teletext mode.
INDEX Button
Press the button to go to the index page.
REVEAL Button
Press this button to reveal the hidden information for
some Teletext pages(e.g. answers to puzzles or riddles).
Press again to hide the information.
MIX Button
Press this button enter to mix mode.(For SUBTITLE or
NEWSFLASH page, please use mix mode).
Press this button again to exit.
SIZE Button
Press this button to change the Teletext screen display
mode among the following:
- Upper half screen enlarged
- Lower half screen enlarged
- Normal screen state
STOP Button
Press this button to hold the Teletext page on display to prevent the
page from changing. Press again to release the hold state.
TELETEXT OPERATIONS
For models withTeletext function only.
13
SUB.PAGE(OPTION)
Press this button to display subpage.
POWER
P.PP.P
SWAPSWAP
Q.
VIEW
Q.
VIEW
MUTE TV/AV
MENU
PROG+
PROG-
VOL+
VOL-
REVEAL SIZE STOP
INDEX TEXT
MIX
-/---/--
SUB.PAGE

MENU SCREENS
PICTURE MENU
You can adjust the contrast, brightness, tint(NTSC only)
colour,sharpness.
COLOUR TEMP: NORMAL / WARM / COOL
PICTURE MODE: NORMAL / SOFT / RICH /CUSTOM
SOUND MENU
Enter sound menu, you can adjust VOLUME.
TUNE MENU
AUTO SCAN: Press¡°VOL+/-¡±to begin auto search
program, and press menu to exit auto search.
CHANNEL: The number is the current channel, and you
can also change channel from one to another.
COLOUR SYS. PAL/SECAM (optional)
SOUND SYS. B/G,D/K,I,L,L¡¯(optional)
SKIP: Set this item on to skip the channel which you are
watching.
MANUAL: To start searching until a program is
searched, or press¡°MUNE¡± to exit.
Fine Tune: Frequency data can be fine-tuned in upward
or downward by the VOL+/- buttons.
This TV allows you to adjust any setting from the menu screens using ¡°MENU¡±,¡°VOL+/-¡±and ¡°PROG+/-¡±
buttons.
Press ¡°MENU¡±button to display the menu, press¡°PROG+/-¡±to change menu from one to another, ¡°VOL+/-¡±
to enter the chosen menu, press¡°PROG+/-¡±to select the item, and then press ¡°VOL+/-¡±to adjust each
item.
Press ¡°MENU¡± again to exit the menu mode.
14
CH
PICTURE
CONTRAST
BRIGHTNESS
TINT
COLOUR
SHARPNESS
COLOUR TEMP
PICTURE MODE
COOL
NORMAL
ADJUST SELECT EXIT
SOUND
VOLUME
CH
TUNE
COLOUR SYS. PAL
AUTO SCAN
CHANNEL 1
SOUND SYS. B/G
SKIP OFF
MANUAL
FINE TUNE
152.25MHz
152.25MHz
CH
ADJUST SELECT EXIT
ADJUST SELECT EXIT

OSD MENU
You can choose the language, adjust the H-position,
V-position, duration and halftone.
NOTE:
If the set is cold ,there may be a small¡°flicker¡± when the set is switched on. It is normal, There is nothing
wrong with the set.
If possible, use the VESA 1024X768@60HZ video mode to obtain the best image quality for your LCD monitor.
Under other resolutions some scaled or processed pictures may appear on the screen.
Some dot defects may appear on the screen, like red, green or blue Spots, However,this will have no impact or
effect on the monitor performance.
Do not press the LCD screen with your finger for a long time as it may incur some damage to the screen.
MENU SCREENS
15
CH
SETUP
BLUE SCREEN ON
TXT LANGUAGE WEST
ASPECT 16:9
ADJUST SELECT EXIT
CH
ADJUST SELECT EXIT
HPOS
DURATION
LANGUAGE ENGLISH
HALF TONE
VPOS
SETUP MENU
BULE SCREEN: You can set background ON or OFF.
TXT LANGUAGE.
ASPECT: You can set the picture display mode 16:9,
4:3 ,ZOOM1,and ZOOM2,PANORAMA.
CH
PC
CONTRAST
BRIGHTNESS
HPOS
VPOS
CLOCK
PHASE
AUTO CONFIG
ADJUST SELECT EXIT
OSD
PC MENU(under PC mode only)
You can adjust the CONTRAST, BRIGHTNESS
HPOS/VPOS Press the VOL+/- buttons to adjust the
picture Horizontal and Vertical position.
CLOCK Press the VOL+/- to minimize any vertical bars or
stripes visible on the screen background.
PHASE When necessary, adjust the pixel phase of the
picture to avoid picture interference.
AUTO CONFIG To adjust the screen
position automatically. It will take a few seconds and
during this process the screen will be black.

TROUBLESHOOTING TIPS
Before calling forservice, you cancheck the followingitems on symptomsand solutions.
No picture:
Check other channel,maybe station problem.
Adjust the tuningcontrol.
Ensure that theinput setting isat TV state.
Ensure that theLCD is on.
Ensure that theequipment is connectedproperly.
No sound anddistorted sound:
Ensure that theinput settings forthe TV andsound are proper.
Adjust the tuningcontrol.
Probably local interference,such as anappliance.
Re-orient aerial(if indoortype).
Ensure that theequipment is connectedproperly.
No remote Control:
Check the batteryare installed withthe correct polarity.
Point the remotecontrol unit atthe remote controlsensor and operate.
Remove the obstaclesbetween the remotecontrol and theremote control sensor.
Operate the remotecontrol unit ata distance ofnot more than8 meters fromthe remote controlsensor.
Troubleshooting tips(PC mode):
¡°NO SYNC SIGNAL¡± or¡°POWER SAVE¡± displayed
Check if thewire is connectedcorrectly.
Ensure the computeror other equipmentsare at poweron mode.
Ensure the computeris not atpower save mode.
Ensure the TVinput setting isat pc mode.
¡°Invalid Scan Fred¡±displayed
Check if theinput setting iscompatible to themonitor specification.
Check if thewire is connectedcorrectly.
Led lamp indicatoron but nopicture
Check the monitorsetting :contrast ,brightness.
Check if thewire is connectedcorrectly.
Some unusual spotson screen:
Some dot defectsmay appear onthe screen, likered, green orblue, Spots, However,this will haveno
impact or effecton the monitorperformance.
16

Incorporated in yourTV receiver arethe most up-to-datedevices to eliminateinterference.Local radiation
however, can createdisturbances which visiblyaffect your picture.Proper installation, agood aerial are
your best safe-guardsagainst these disturbances.
RF INTERFERENCE
Moving ripples acrossthe screen arecaused by nearbytransmitting or receivingshort-wave radio
equipment.
DIATHERMY
Herringbone pattern andpartial picture losscan result fromthe operation ofdiathermy equipment froma
nearby doctor's surgery orhospital.
SNOW
Weak TV signalsfrom long distantstations result inan instead pictureand give theeffect of fallingsnow.
An antenna adjustmentor antenna amplifiermay be needed.
GHOST
Multiple image causedby TV signalsreflected back fromsurrounding buildings, hills,aircraft, ect. Is
minimized by correctaerial positioning.
CAR IGNITION
Nearby cars andelectrical motors cancause small streaksacross the pictureor make the picture roll.
THE CAUSES OF INTERFERENCE
17

»ù±¾²Ù×÷»ù±¾²Ù×÷
Table of contents
Other Denver LCD TV manuals

Denver
Denver TFD-2622 User manual

Denver
Denver DFT-1511 User manual

Denver
Denver TFD-2211 User manual

Denver
Denver TFD-2617DVBT User manual

Denver
Denver DFT-1504 BLACK User manual

Denver
Denver DFT-1545 User manual

Denver
Denver TFD-1945DVBT User manual

Denver
Denver LDD-2451DVBT User manual

Denver
Denver DFT-3218 User manual

Denver
Denver DFT-505 User manual

Denver
Denver TFD-1903DVBT User manual

Denver
Denver DFT-1545 User manual

Denver
Denver TFD-1505 User manual

Denver
Denver TFD-2245M User manual

Denver
Denver DFT-1544DVBT User manual

Denver
Denver DFT-1932DVBT User manual

Denver
Denver DFT-1942 User manual

Denver
Denver TFD-1512 User manual

Denver
Denver TL-2006TP User manual

Denver
Denver TFD-2206 User manual