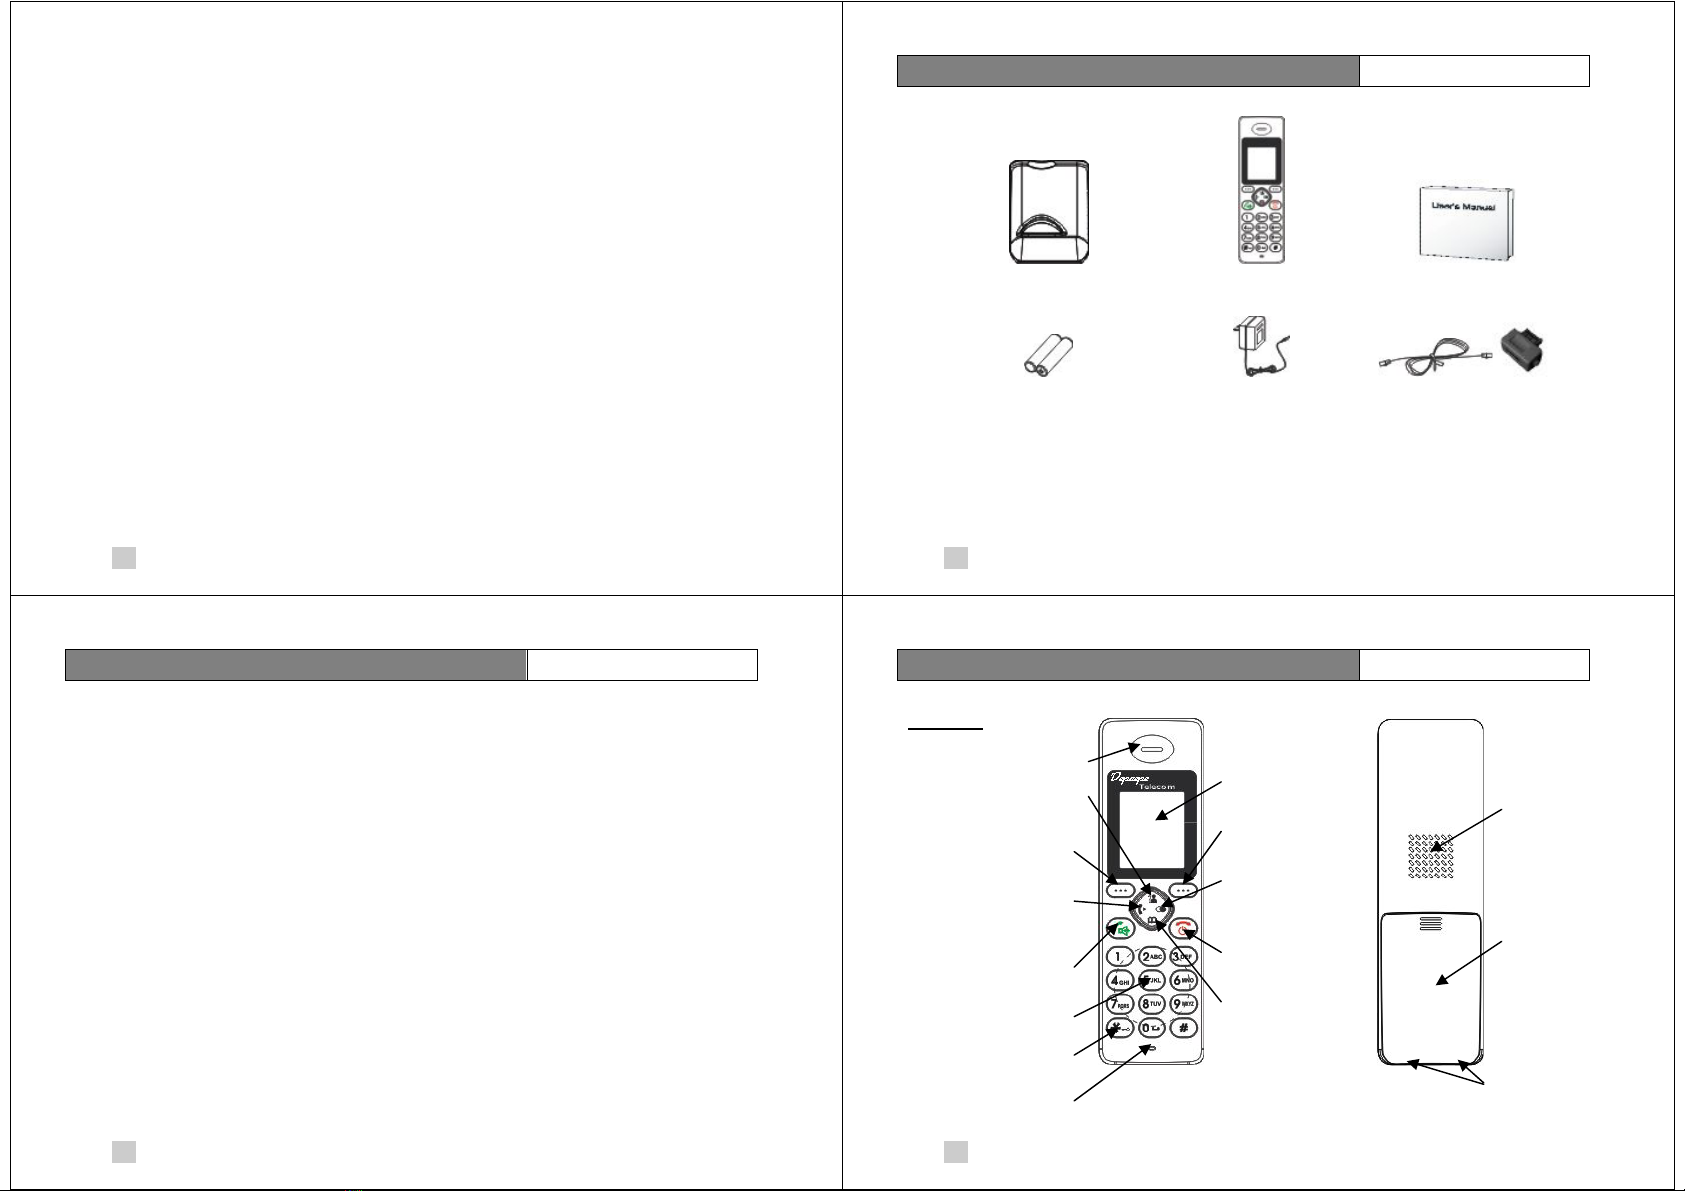
FR 17/79
Rappel des derniers numéros composés
Les 10 derniers numéros composés sont conservés en mémoire. Pour consulter les
derniers numéros, appuyez sur la touche ou la touche contextuelle "BIS". Le dernier
numéro composé est alors affiché. Utilisez les touches ou pour sélectionner le
numéro désiré. Appuyez sur la touche pour composer le numéro.
Options sur la liste des numéros composés.
Durant la visualisation de la liste des numéros composés, un appui sur la touche
contextuelle "Plus" permet d’accéder à différentes options :
-Ajout Rep. : permet d’ajouter le numéro dans le répertoire.
-Supprimer : Permet de supprimer le numéro de la liste.
-Tout Supp. : Pour supprimer tous les numéros de la liste des appels émis.
Appels reçus
Si un appel a été reçu en votre absence, l’icône apparait sur l’afficheur.
Si vous avez souscrit au service "identification de l'appelant" auprès de votre opérateur
ou, si votre système PABX transmet cette information, vous pouvez accéder à la liste des
appels reçus en appuyant sur la touche . Utilisez les touches ou pour
sélectionner le numéro désiré. Appuyez ensuite sur la touche pour composer le
numéro. Durant le défilement des appels reçus, l’icône ↑s‘affiche lorsque l’appel a été
FR 18/79
vu et l’icône si l’appel n’a pas été vu. Si la mémoire des appels reçus est pleine,
l’icône clignote.
Pour supprimer ou ajouter les numéros dans le répertoire voir l’utilisation du menu (page
25).
Appeler un numéro à partir du répertoire
Si vous avez enregistré des contacts dans votre répertoire (voir page 28), vous pouvez
appeler votre correspondant en le sélectionnant depuis votre répertoire:
-Appuyez sur la touche .
-Utilisez les touches ou pour sélectionner votre correspondant.
-Appuyez sur la touche pour appeler votre correspondant.
Secret micro
Vous pouvez couper temporairement le microphone, durant une conversation, pour que
votre correspondant ne vous entende pas.
-Pour couper le microphone : appuyez sur la touche contextuelle "Secret". Le
message "Mode Secr." est affiché.
-Pour réactiver le microphone : appuyez de nouveau sur la touche contextuelle
"Secret". Le message "Mode Secr." disparait.
FR 19/79
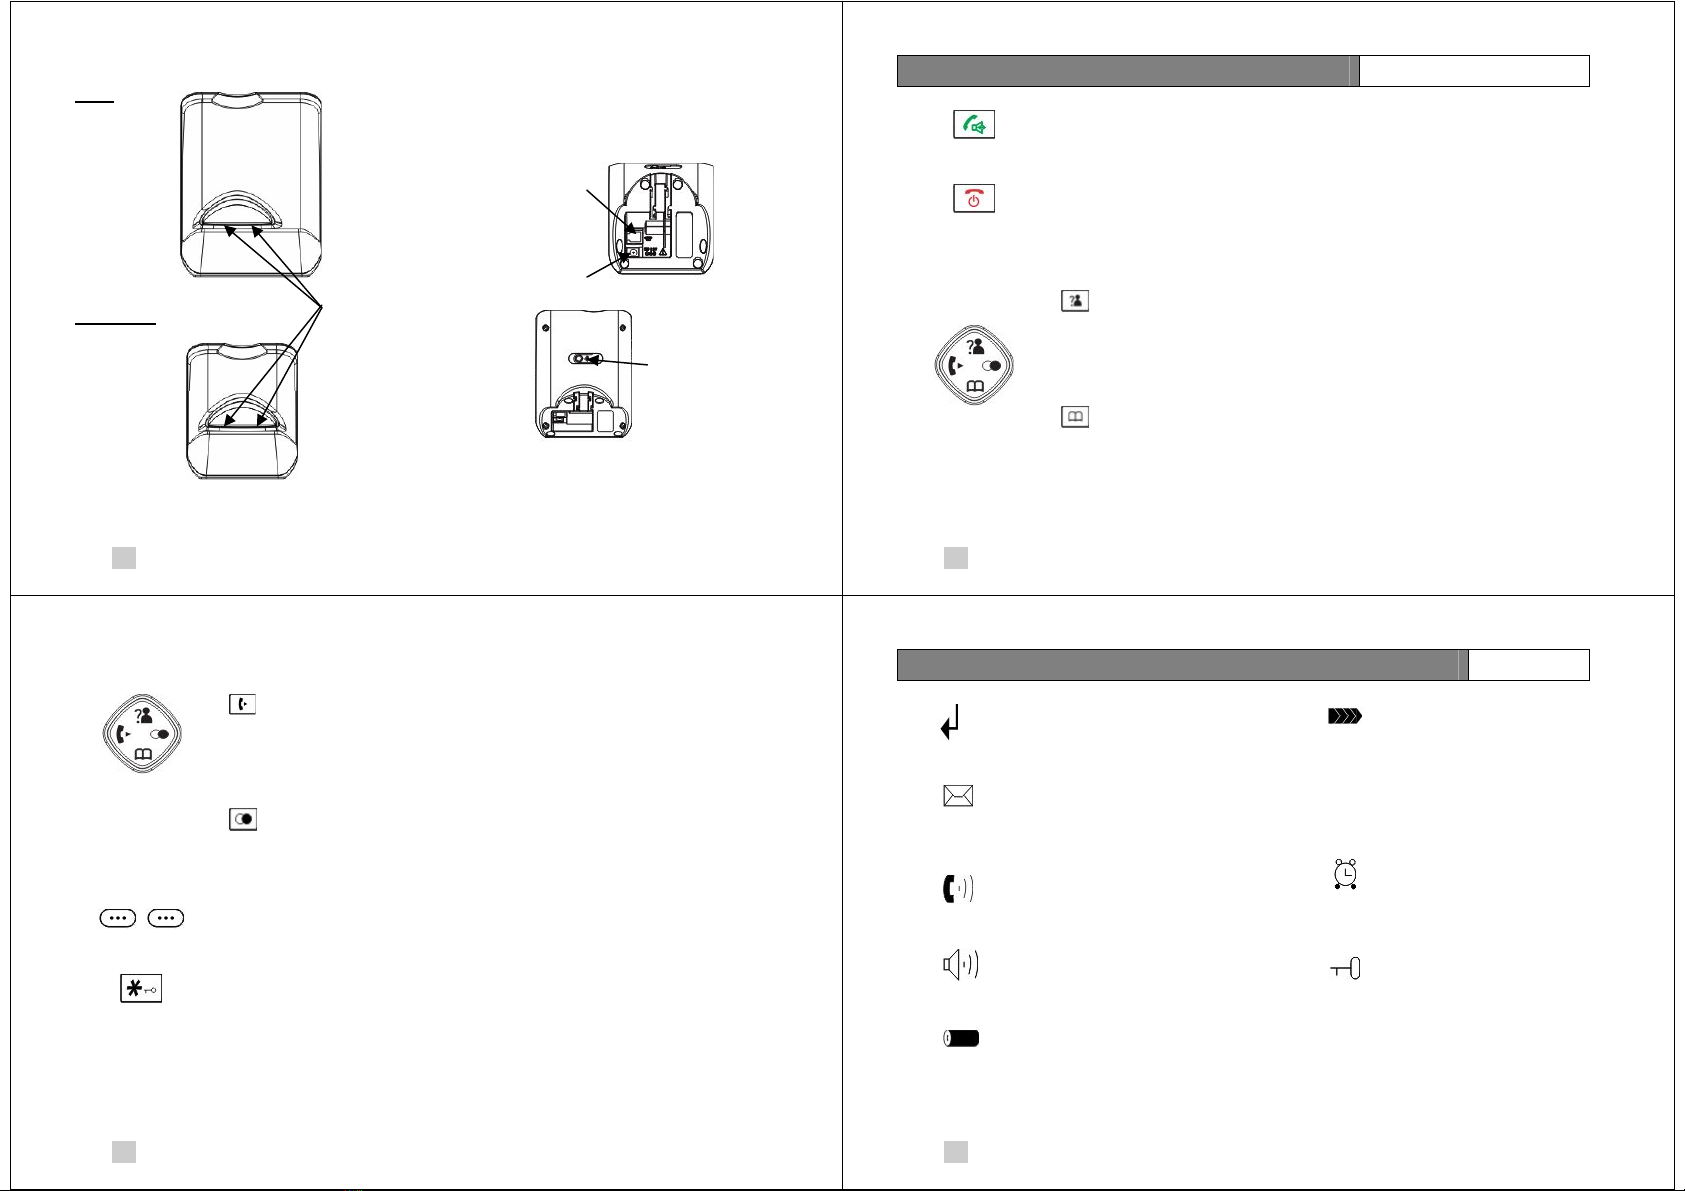
Verrouillage du clavier
Le verrouillage du clavier permet de rendre inactives les touches du combiné exceptée la
touche pour répondre aux appels reçus.
-Pour verrouiller le clavier : appuyez sur la touche jusqu’à l’affichage du
message "Comb. Bloqué". L’icône apparait sur l’afficheur.
-Pour déverrouiller le clavier : appuyez sur la touche jusqu’à la disparition de
l’icône .
Flashing
La touche contextuelle "R" durant une prise de ligne permet d’accéder aux services
spéciaux de votre PABX. Le menu de configuration de la base permet de changer la
durée du flashing (Voir page 31).
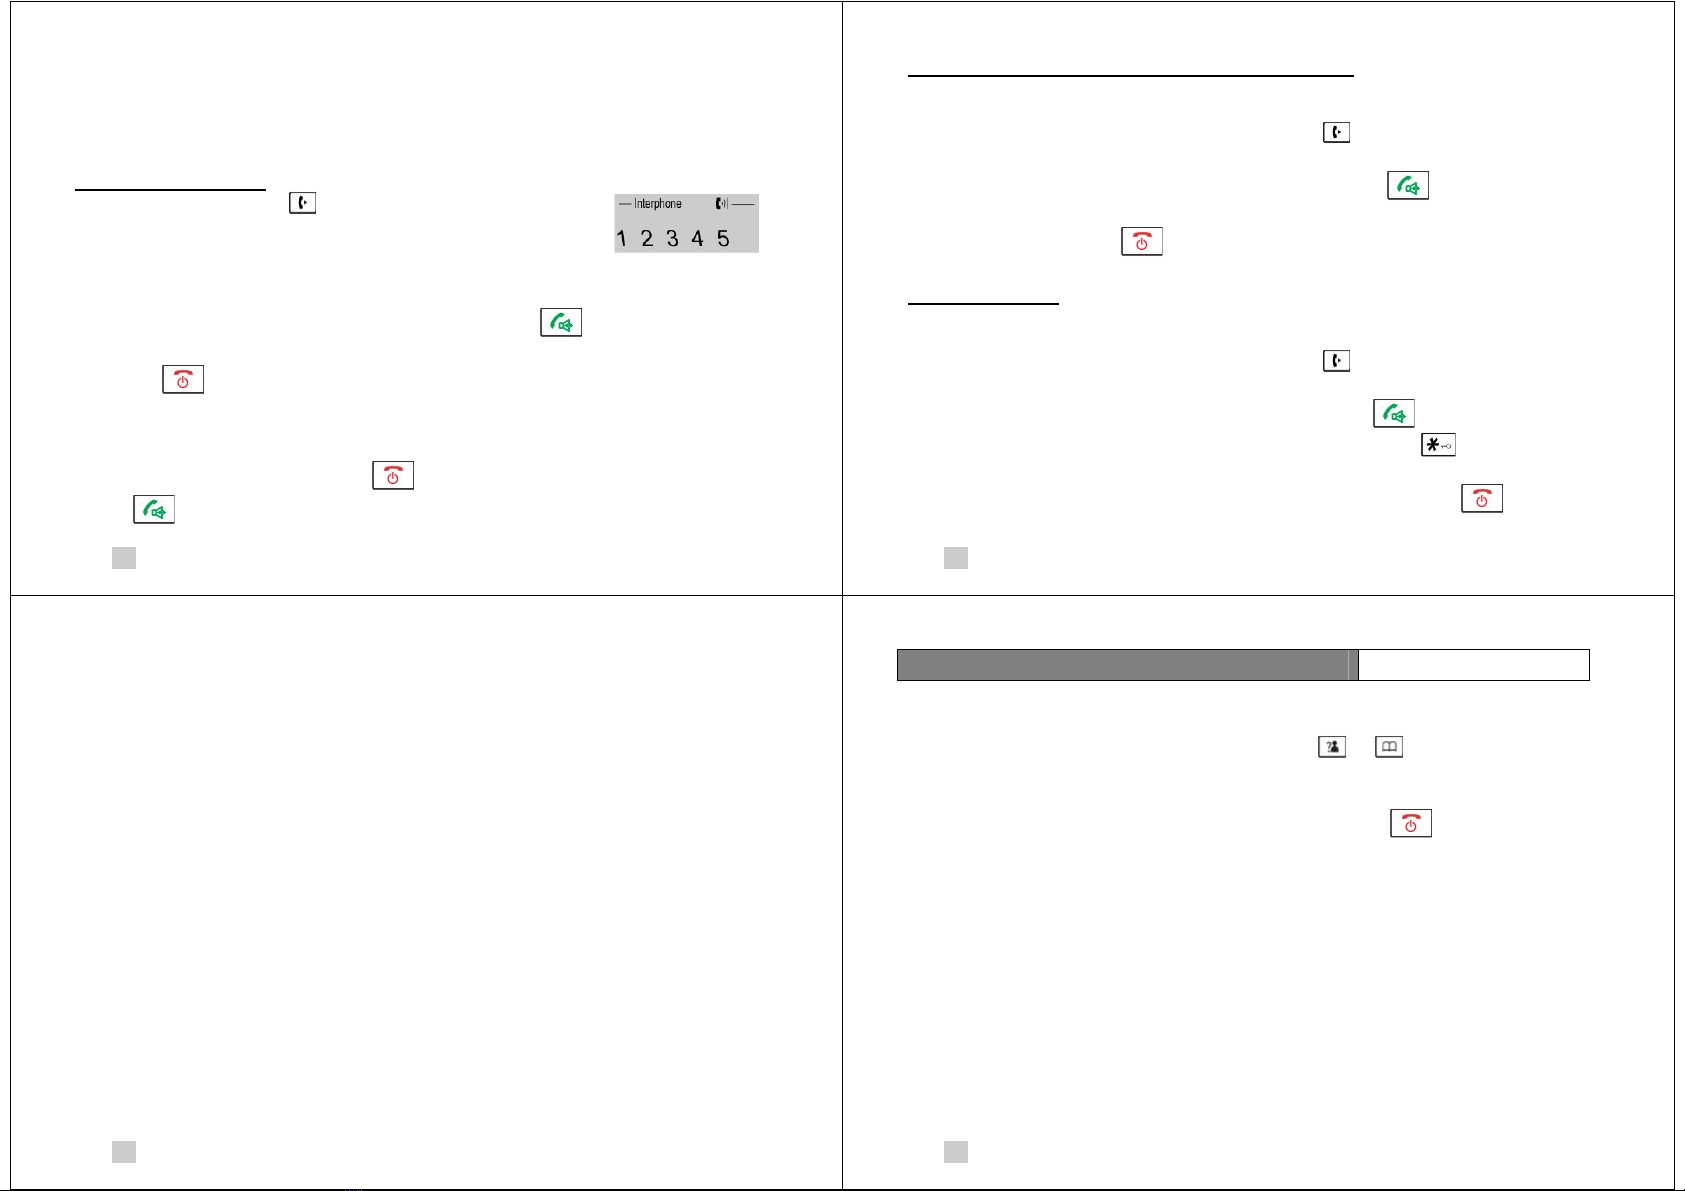
Recherche du combiné
Pour retrouver votre combiné, appuyez brièvement sur le bouton paging à l’arrière de la
base (description page 9). Tous les combinés enregistrés sur la base sonneront pendant
60 secondes.
Attention : un appui long sur ce bouton déclenche le mode enregistrement d’un
combiné.
FR 20/79
Enregistrement d’un combiné supplémentaire
Le combiné fourni avec la base est déjà enregistré avec le combiné numéro 1. Vous
pouvez enregistrer sur une base jusqu'à 5 combinés pouvant utiliser la même ligne
téléphonique. De plus un combiné peut être enregistré sur 4 bases.
Si un combiné est enregistré sur plusieurs bases, le choix de la base à utiliser se fera par
l’utilisation du menu (voir description du menu).
Sur la base :
Avant de commencer l’enregistrement d’un nouveau combiné, vous devez appuyer
sur le bouton d’appairage à l’arrière de la base (description page 9) pendant au
moins 5 secondes avant de le relâcher.
Sur le combiné :
-Appuyez sur la touche contextuelle "Menu".
-Utilisez les touches ou pour atteindre la fonction "Enregistr." Puis validez
avec "Select".
-Utilisez les touches ou pour choisir la base désiré et validez avec "Select".
Le combiné démarre alors sa phase de recherche.
-Si la base est trouvée, vous serez invité à entrer le code PIN (0000 par défaut) en
validant avec "Select".
Après un délai de 30 secondes, si la recherche de la base n’a pas aboutie, annulez
l’enregistrement avec la touche "Retour". Reprenez la procédure d’enregistrement en
maintenant bien enfoncé le bouton d’appairage pendant plus de 5 secondes.