Desco Scarab APR-2000-SCS User manual

3651 WALNUT AVENUE, CHINO CA 91710 • PHONE (909) 664-9980 • APR-Rework.com
Page 1of 79 TB-10006 REV December 2018 © 2018 DESCO INDUSTRIES INC
Employee Owned
Scarab Site Cleaning System
User Guide
All manuals and user guides at all-guides.com
all-guides.com

3651 WALNUT AVENUE, CHINO CA 91710 • PHONE (909) 664-9980 • APR-Rework.com
Page 2of 79 TB-10006 REV December 2018 © 2018 DESCO INDUSTRIES INC
Employee Owned
CONTENTS
Safety & Regulatory Information
3
Specification
5
Introduction and General Overview
6
System Configurations and Package Options
6
Scarab Site Cleaning System Components
7
Set-up
8
Application Set-up & Motion Control
12
Navigation
14
System Icons & Descriptions
14
Thermal Profile Controls
17
System Operation
New Cleaning Profile
22
Open/Import Profile
26
Save Profile or Create Directory
27
Using a Saved Cleaning Profile
28
Auto-Profile
30
Collection Chamber Cleaning
31
Data Backup
33
Data Restore
34
Capture Screen Shot
35
Load Screen Shot
36
Ethernet Connection and File Management
37
Calibration and Adjustment
39
Setting the Home Position
41
Crosshair Laser Setup
43
Calibrating the Laser Height Sensor
45
External Thermocouple Calibration
52
Reflow Blower Calibration
53
Focus Blower Setup
56
Surround Blower Setup
58
Reflow Heater Calibration
61
Focus Heater Calibration
63
Surround Heater Calibration
65
Glue Remover Calibration
67
Solder Path Cleaning
74
Alternate Software Installation
77
Factory Restore
78
Save Factory Default
78
Reflow Nozzles, Vacuum Nozzles, Accessories, and Spare Parts
79
Technical Support and Warranty
79
All manuals and user guides at all-guides.com

3651 WALNUT AVENUE, CHINO CA 91710 • PHONE (909) 664-9980 • APR-Rework.com
Page 3of 79 TB-10006 REV December 2018 © 2018 DESCO INDUSTRIES INC
Employee Owned
SAFETY AND REGULATORY INFORMATION
WARNING
•TO PREVENT FIRE OR SHOCK HAZARD, DO NOT EXPOSE SYSTEM TO MOISTURE.
•TO PREVENT FIRE OR SHOCK HAZARD, DO NOT USE FLAMMABLE SOLVENTS NEAR
OR ON THE SYSTEM WHILE CONNECTED TO A POWER SOURCE.
•TO PREVENT POSSIBILITY OF INJURY OR DAMAGE TO THE SYSTEM, DO NOT
OPERATE WITH ANY COVERS OR PANELS REMOVED.
•CHANGES OR MODIFICATIONS MADE TO THIS PRODUCT WITHOUT EXPRESS
APPROVAL FROM APR COULD VOID THE USERS AUTHORITY TO OPERATE THE
EQUIPMENT.
•Read and understand the entire Operator’s Manual before installation or operation of the
Scarab Site Cleaning System. Heed all warnings on the system and in the operating
instructions.
•The Scarab Site Cleaning System is only for the removal of residual solder and/or reworkable
glue from printed circuit boards or components by properly trained personnel. If you are not
familiar with the proper and safe operation of the unit, do not operate it until properly trained.
•Operate the unit from the type of power source indicated on the serial number label.
•Use only the supplied power cord. Avoid damage to the power cord. If damage should occur,
replace it with the approved APR replacement power cord.
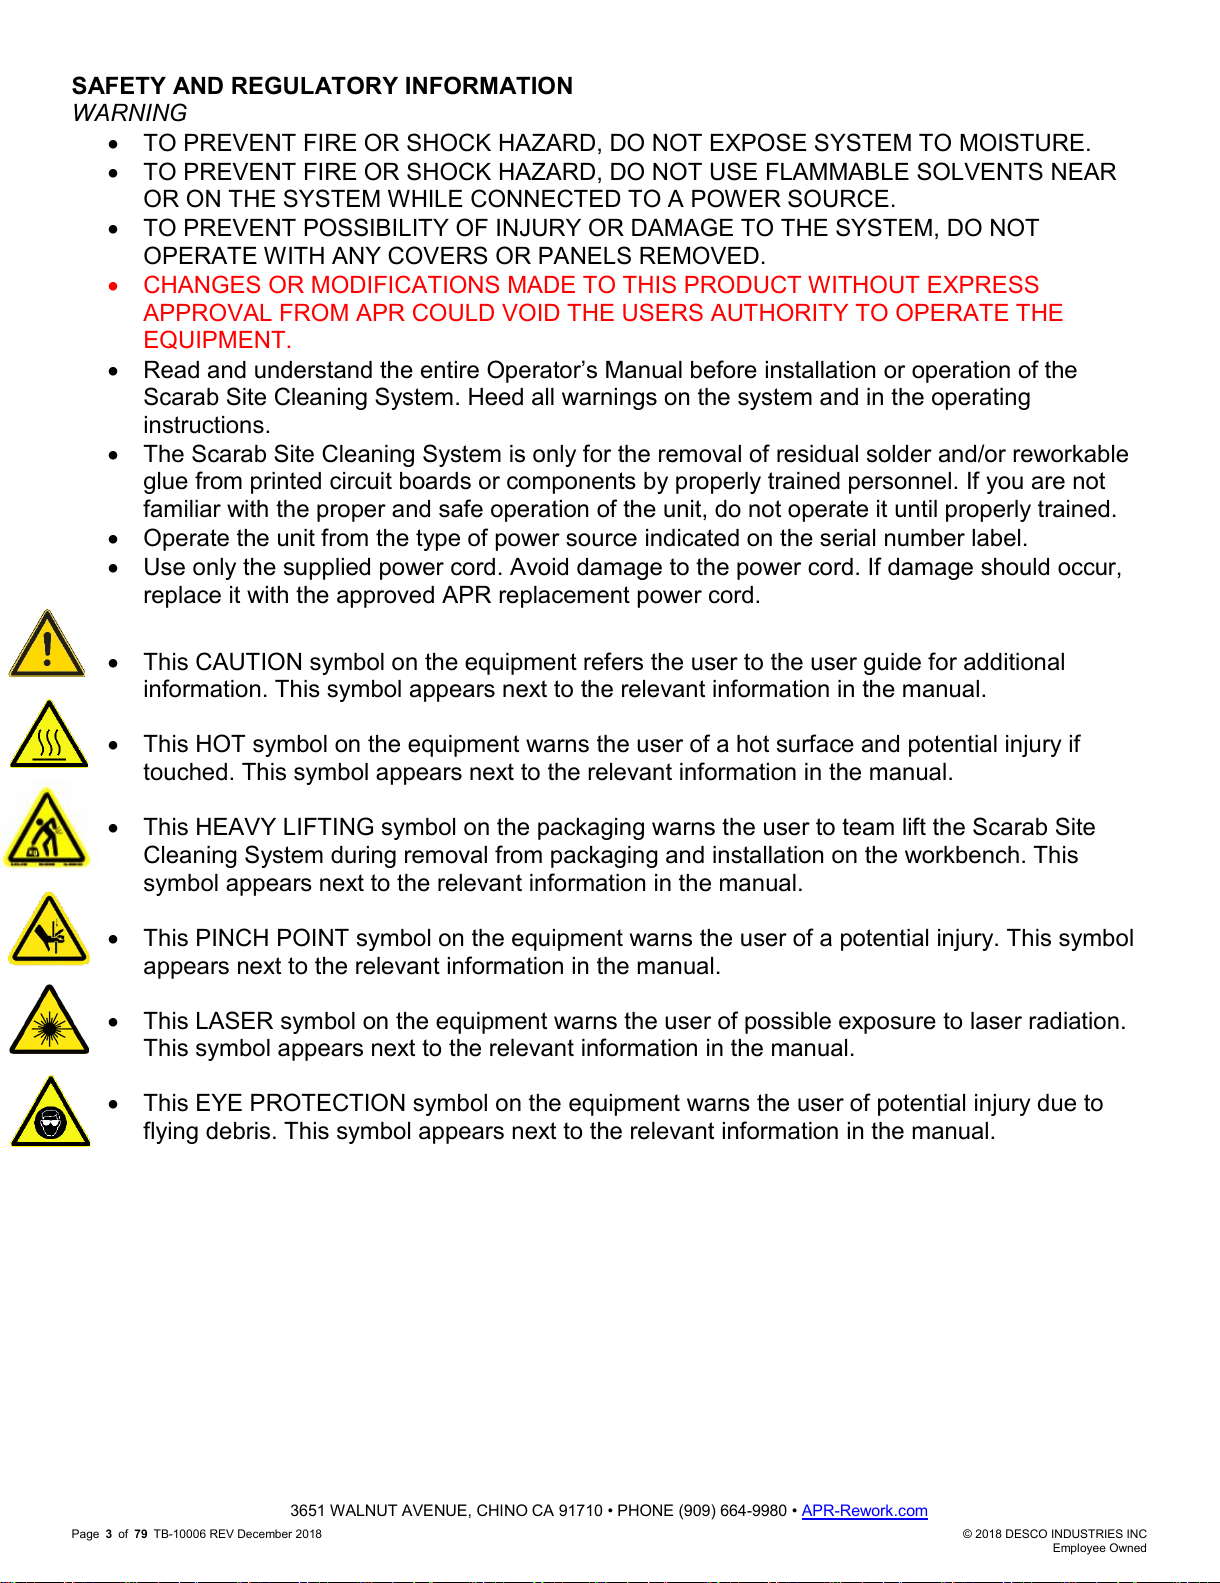
•This CAUTION symbol on the equipment refers the user to the user guide for additional
information. This symbol appears next to the relevant information in the manual.
•This HOT symbol on the equipment warns the user of a hot surface and potential injury if
touched. This symbol appears next to the relevant information in the manual.
•This HEAVY LIFTING symbol on the packaging warns the user to team lift the Scarab Site
Cleaning System during removal from packaging and installation on the workbench. This
symbol appears next to the relevant information in the manual.
•This PINCH POINT symbol on the equipment warns the user of a potential injury. This symbol
appears next to the relevant information in the manual.
•This LASER symbol on the equipment warns the user of possible exposure to laser radiation.
This symbol appears next to the relevant information in the manual.
•This EYE PROTECTION symbol on the equipment warns the user of potential injury due to
flying debris. This symbol appears next to the relevant information in the manual.
All manuals and user guides at all-guides.com

3651 WALNUT AVENUE, CHINO CA 91710 • PHONE (909) 664-9980 • APR-Rework.com
Page 4of 79 TB-10006 REV December 2018 © 2018 DESCO INDUSTRIES INC
Employee Owned
When operating this equipment, please exercise caution. If this unit is used in, a manner,
which it is not intended for, serious personal injury, may occur. Please read this user guide
thoroughly prior to use.
The main power cord is a means for disconnecting the equipment from an operating energy
source. Position the equipment in a way that impedes the disconnection of the main power
cord in case of an emergency.
Mandatory use of a grounding strap is required when operating the equipment.
•Laser Safety
•Do not stare into the beam or view directly with optical instruments.
•Laser Height Sensor Module
oThe Laser Height Sensor incorporates a Class 2 laser. Because of its brightness, Class
2 laser light will be too dazzling to stare into for extended periods. Momentary viewing is
not considered hazardous since the upper radiant power limit on this type of device is
less than the MPE (Maximum Permissible Exposure) for momentary exposure of 0.25
second or less. Intentional extended viewing, however, is considered hazardous.
•Crosshair Alignment Laser Module
oA Class 3R laser is considered safe if handled carefully, with restricted beam viewing.
With a class 3R laser, the MPE (Maximum Permissible Exposure) can be exceeded, but
with a low risk of injury. Visible continuous lasers in Class 3R are limited to 5mW.
Other Safety Tips
•Unplug the unit before cleaning. Clean the exterior of the system with a damp cloth. Do not use
solvent-based cleaners.
•Slots and openings in the system are provided for ventilation and to ensure reliable operation
and protection from overheating. The openings should never be blocked or covered.
•Do not overload power outlets and extension cords. This can result in fire or electric shock.
•Unit to comply with CE, UL, & CSA standards.
All manuals and user guides at all-guides.com

3651 WALNUT AVENUE, CHINO CA 91710 • PHONE (909) 664-9980 • APR-Rework.com
Page 5of 79 TB-10006 REV December 2018 © 2018 DESCO INDUSTRIES INC
Employee Owned
SPECIFICATIONS
Input Voltage 208-240VAC, 50/60Hz, 15 Amp Single Phase
Power Consumption
System Total 3600 Max. (2800W Typical)
Inner Zone 900W
Outer Zone 1800W
Reflow Heater 550W
Operating Temperature 41°F (5°C) to 104°F (40°C)
Maximum Relative humidity 80% at 88°F (31°C) decreasing linearly to 50% at 104°F (40°C)
Maximum Altitude 6500 ft. (2km)
Pollution Degree 2 per IEC 644
Insulation category II
Temperature Control Type Closed-Loop Control (Thermocouple)
Laser Class Crosshair Alignment Laser Module
Maximum Output <5mW
Pulse Duration N/A
Wavelength 650nm
Divergence <2mrads
Laser Height Sensor Module
Maximum Output 1mW
Pulse Duration 2.5mS
Wavelength 660nm
Divergence (Parallel) 0.5 mrads
Divergence (Perpendicular) 2 mrads
Maximum Source Temperature
Reflow Head 350°C (662°F)
Pre-Heater (Inner/Outer) 350°C (662°F)
Airflow
Control Low, Medium, & High
Vacuum (Venturi generated) 23 inHg @80-100 psi
Collection Chamber Capacity 6.3 ml
PCB Handling Capability
Maximum Size 12" x open (304.8mm x open)
Maximum Thickness 0.25" (6mm)
System Dimensions W x D x H 21" x 29" x 31" (533mm x 737mm x 787mm)
Weight 140lbs (63.5kg)
All manuals and user guides at all-guides.com

3651 WALNUT AVENUE, CHINO CA 91710 • PHONE (909) 664-9980 • APR-Rework.com
Page 6of 79 TB-10006 REV December 2018 © 2018 DESCO INDUSTRIES INC
Employee Owned
INTRODUCTION AND GENERAL OVERVIEW
The cost and complexity of today’s electronic assemblies are forcing manufacturers to reexamine the tools and
techniques in operation today. Contactless cleaning of component pads prior to component replacement is a
growing need in the industry. The Scarab Site Cleaning System, APR-2000-SCS, ensures accurate and
repeatable cleaning of the component pad in one user-friendly system. The Scarab Site Cleaning System
redefines performance and addresses the technical demands presented by component manufacturers today.
The trend in the industry is to move away from manual methods of cleaning component pads. The risks to
the PCBA are inconsistent solder removal resulting in poor adhesion, solder resist damage resulting in
opens or shorts, and thermal damage to the PCBA. In an effort to address the costs and risks associated
with the manual process, the industry is looking towards a contactless cleaning as a solution.
The Scarab Site Cleaning System addresses the industry needs with an automated system capable of
cleaning components pads without contact. The motorized design allows the system to clean without
contact component pads up to 50mm x 50mm within a 101mm x 101 mm area. The system can accurately
and repeatedly clean pads with pitches of 0.2mm to 2.0mm. The open-ended board holder fits a wide
variety of large, small and odd-shaped boards while allowing positioning over the patented dual subzone
preheater.
Source temperatures and time intervals can be modified “On-the-Fly", eliminating the need to wait for the
current profile to terminate before modifications can be made with one exception. While in the cleaning
zone, the system automatically calculates the time needed to remove solder and glue and adjusts the time
according to user defined inputs. Precise solder joint temperatures are measured and displayed on a real
time graphical display, thus providing the necessary data to accurately and easily establish the optimum
reflow profile for each particular application within minutes.
The Scarab Site Cleaning System joins the Scorpion Rework System as a solution to the challenges faced
by manufacturers in today’s rework environment.
SYSTEM CONFIGURATIONS AND PACKAGE OPTIONS
Systems
APR-2000-SCS Scarab Site Cleaning System
All manuals and user guides at all-guides.com
all-guides.com

3651 WALNUT AVENUE, CHINO CA 91710 • PHONE (909) 664-9980 • APR-Rework.com
Page 7of 79 TB-10006 REV December 2018 © 2018 DESCO INDUSTRIES INC
Employee Owned
Front Back
1
Power “On” LED
12
Collection Chamber
2
Auxiliary Power and Air Connection
13
Chassis Fan
3
External Type K thermocouple
14
Grounding Point
4
Laser Height Sensor
15
Ethernet Connection
5
Crosshair Laser
16
Glue Scrapper Air Connection
6
Reflow Nozzle
17
USB Connection
7
Board holder Assembly
18
Shop Air Connection
8
Optional Under board Support
19
Monitor Connection
9
Circuit breaker
20
Power Connection
10
Nozzle and Fixture Storage
11
Vacuum Nozzle
Scarab Site Cleaning System Components - APR-2000-SCS
20
19
18
13
12
1
2
3
10
4
11
6
7
8
15
16
17
9
5
14
Laser Height Sensor Aperture
Crosshair Alignment Laser Aperture
Laser Radiation Warning
Do not stare into the beam or view
directly with optical instruments.
All manuals and user guides at all-guides.com

3651 WALNUT AVENUE, CHINO CA 91710 • PHONE (909) 664-9980 • APR-Rework.com
Page 8of 79 TB-10006 REV December 2018 © 2018 DESCO INDUSTRIES INC
Employee Owned
The main unit is very heavy. Please uncrate the unit
with 2 people.
DO NOT LIFT THE MAIN UNIT BY THE PCBA BOARD
HOLDER. LIFTING BY THE BOARD HOLDER WILL
DAMAGE THE ASSEMBLY!
Before setting up your equipment
•Ensure your Scarab Site Cleaning System has arrived complete
•Provide a location that allows the user to operate this machine in a
comfortable, well-spaced environment
Every Scarab Site Cleaning System has been factory
assembled and calibrated.
•Recalibration is not necessary after initial setup.
•Verifying calibration and product functionality is strongly
recommended prior to initial use
Power-up Sequence
•Attach an appropriate power plug to the stripped end of the power cord.
Use recommended power plugs:
•Nema 6-20
•Nema L6-20
•IEC 60309
Use the following diagrams together with the
manufacturer’s recommended procedure for hooking up
wires to a power plug
Set-up
All manuals and user guides at all-guides.com

3651 WALNUT AVENUE, CHINO CA 91710 • PHONE (909) 664-9980 • APR-Rework.com
Page 9of 79 TB-10006 REV December 2018 © 2018 DESCO INDUSTRIES INC
Employee Owned
Configuration 1
•Measure from Xto Y. This
measurement should always be
208VAC to 240VAC
•Measure from Gto X. This
measurement will be 110VAC-
125VAC
•Measure from Gto Y. This
measurement will be 110VAC-
125VAC
Configuration 2
•Measure from Xto Y. This
measurement should always
be 208VAC to 240VAC
•Measure from Gto X. This
measurement will be 0 VAC
•Measure from Gto Y. This
measurement will be 208VAC-
240VAC
Power Connector
Connecting the Air Source
80-100 psi
5.5 – 6.9 bar
All manuals and user guides at all-guides.com

3651 WALNUT AVENUE, CHINO CA 91710 • PHONE (909) 664-9980 • APR-Rework.com
Page 10 of 79 TB-10006 REV December 2018 © 2018 DESCO INDUSTRIES INC
Employee Owned
Insert the power cord plug into a recepticle
Set the circuit breaker switch to the "on"
position
When the title screen appears, your Scarab
Site Cleaning System is ready for operation!
Connections
(Optional)
Air Source
All manuals and user guides at all-guides.com

3651 WALNUT AVENUE, CHINO CA 91710 • PHONE (909) 664-9980 • APR-Rework.com
Page 11 of 79 TB-10006 REV December 2018 © 2018 DESCO INDUSTRIES INC
Employee Owned
Click the log-in icon.The system has three levels of permissions; operator,
engineer, and administration modes.
Enter the appropripate password for the user level with the onscreen keyboard.
Default Operator password=operator
Default Engineer password=engineer
Default Administration password=guru
All manuals and user guides at all-guides.com
all-guides.com

3651 WALNUT AVENUE, CHINO CA 91710 • PHONE (909) 664-9980 • APR-Rework.com
Page 12 of 79 TB-10006 REV December 2018 © 2018 DESCO INDUSTRIES INC
Employee Owned
Full
Matrix
Enable
Glue
Removal
Option
File
Open
Test Run
File Save
Perimeter
Matrix
Enable
Alignment
Laser
Save
Marker
Location
Test Stop
Perimeter
with
Center
matrix
Start
Location
Go To
Marker
Location
Board
Clearance
Component Pitch
Application Setup Controls
Application Setup & Motion Control
All manuals and user guides at all-guides.com

3651 WALNUT AVENUE, CHINO CA 91710 • PHONE (909) 664-9980 • APR-Rework.com
Page 13 of 79 TB-10006 REV December 2018 © 2018 DESCO INDUSTRIES INC
Employee Owned
Motion Controls
Z-Axis
X/Y-Axis
Home
-
Min Z
Max Z
+
-
+
-
+
Adjustment
Adjustment
All manuals and user guides at all-guides.com

3651 WALNUT AVENUE, CHINO CA 91710 • PHONE (909) 664-9980 • APR-Rework.com
Page 14 of 79 TB-10006 REV December 2018 © 2018 DESCO INDUSTRIES INC
Employee Owned
Login
Vacuum On-Off
New Removal Profile
Connections
Open/Import Profile
Motion Control
Save/Export File
Glue Remover On-Off
Start Profile
Reflow Blower
Stop Profile
Focus Blower
Auto Profile
Surround Blower
Cycle Advance
Reflow Heater Calibration
Calibration in Progress
Repeat On-Off
Focus Heater Calibration
Screen Capture
Surround Heater Calibration
Open-Close Screen Shot
Thermocouple Calibration
Language Select
Unmounts USB Drive
Back-up & Restore
Software Shutdown
Restore Factory Settings
User Guide
Ethernet Icon
•Each dot corresponds to a different screen. Select a screen by
left-clicking on the appropriate dot.
•The first dot it the title screen, the second dot is the motion control
window, the third dot is thermal profile window, and the fourth dot is the
system configuration window.
System Icons & Descriptions
Navigation
All manuals and user guides at all-guides.com

3651 WALNUT AVENUE, CHINO CA 91710 • PHONE (909) 664-9980 • APR-Rework.com
Page 15 of 79 TB-10006 REV December 2018 © 2018 DESCO INDUSTRIES INC
Employee Owned
User Guide
• Hover the cursor over the user guide icon
• Left click the icon to activate
• Left click again to deactivate
Software Shutdown
•APR recommends shutting down the software prior to
removing power to the unit. This will minimize the risk of file
corruption to the computer's memory card.
•Hover the cursor over the software
shutdown icon
• Left click the icon to activate.
All manuals and user guides at all-guides.com

3651 WALNUT AVENUE, CHINO CA 91710 • PHONE (909) 664-9980 • APR-Rework.com
Page 16 of 79 TB-10006 REV December 2018 © 2018 DESCO INDUSTRIES INC
Employee Owned
Tool Tip language select.
•Hover the cursor over the tool tip language select icon.
•Right click on the mouse button to access the language
options box.
•The language option box displays showing the current
language setting.
•Use the scroll wheel to the language.
•Right click the mouse button to save changes.
•Left click the icon to activate
•Left click again to deactivate
All manuals and user guides at all-guides.com
all-guides.com

3651 WALNUT AVENUE, CHINO CA 91710 • PHONE (909) 664-9980 • APR-Rework.com
Page 17 of 79 TB-10006 REV December 2018 © 2018 DESCO INDUSTRIES INC
Employee Owned
Profile Window
•Displays the temperature profile and data table.
Edit Profile
•Changing profile information requires the profile to be unlocked.
•Left click the Lock icon
•The profile is open for editting.
Profile Window Overview
Operator Mode
All manuals and user guides at all-guides.com

3651 WALNUT AVENUE, CHINO CA 91710 • PHONE (909) 664-9980 • APR-Rework.com
Page 18 of 79 TB-10006 REV December 2018 © 2018 DESCO INDUSTRIES INC
Employee Owned
Changing airflow
•Left click on the box area to change airflow.
•3 available settings, low ( 1 bar), medium (2 bars), and
high (3 bars).
Changing temperature
•Each line corresponds to a different heater
•Temperature can be changed in two ways.
Changing temperature -Method 1
•Left click the desired heater. The cursor will change to double
arrows. Drag & drop to the desired temperature.
Changing temperature -Method 2
•Right click the desired heater. The temperature adjust dialog box
will appear. Use the up and down arrows to select the desired
temperature. Click"ok" to enter the desired temeperature.
Active Profile Area
Changing Profile Values
All manuals and user guides at all-guides.com

3651 WALNUT AVENUE, CHINO CA 91710 • PHONE (909) 664-9980 • APR-Rework.com
Page 19 of 79 TB-10006 REV December 2018 © 2018 DESCO INDUSTRIES INC
Employee Owned
Profile Markers (Performance)
•8 markers are available
•Markers provide time, temperature, and ramp rate information at
user defined intervals
Adding Profile Markers
•Hover the cursor over the time zone bar area located at the bottom of
the graph. The cursor will change to the "marker" icon. Left click to add
a marker. Markers are color-coordinated with the clocks displayed in the
time and temperature table.
Removing Profile Markers
•Hover the cursor over the time zone bar area located at the bottom of
the graph. The cursor will change to the "marker" icon. Right click to
remove a marker.
Changing Time Zones
•The default configuration is 4 heating zones and 1 for cooling. An
additional 4 zones of heating and 1 of cooling can be added.
•The duration of each zone can be changed in two ways.
Adding additional time zones
•Hover the cursor over the time zone bar area located at the top of
the graph. The cursor will change to the "zone" icon. Left click to
add an additional zone.
Removing time zones
•Hover the cursor over the time zone bar area located at the top of
the graph. The cursor will change to the "zone" icon. Right click to
remove a zone.
Changing time zone duration -Method 1
•Left click the desired zone. The cursor will change to double
arrows. Drag & drop to the desired time.
Changing time zone duration -Method 2
•Right click the desired zone. The time adjust dialog box will
appear. Use the up and down arrows to select the desired time.
Click"ok" to enter the desired time.
All manuals and user guides at all-guides.com

3651 WALNUT AVENUE, CHINO CA 91710 • PHONE (909) 664-9980 • APR-Rework.com
Page 20 of 79 TB-10006 REV December 2018 © 2018 DESCO INDUSTRIES INC
Employee Owned
Profile Data Table
•1 System Performance information
•Displays 8 user-defined profile markers (performance)
•Provides temperature and ramp rate data
Changing Profile Marker location -Method 1
•Left click the desired profile marker. The cursor will change
to double arrows. Drag & drop to the desired time.
Changing Profile Marker location -Method 2
•Right click the profile marker. The time adjust dialog box will
appear. Use the up and down arrows to select the desired
time. Click"ok" to enter the desired time.
Repeatability verification:
•If external thermocouple plots were saved as part of a previous run.
•Left click “Real Time” data box on the appropriate external TC1,2,3 to
enable / disable a comparison plot for the next run.
All manuals and user guides at all-guides.com
Table of contents
Popular Cleaning Equipment manuals by other brands

FRONIUS
FRONIUS Robacta Reamer Braze+ operating instructions

Aircare
Aircare DuctMaster III Operating instructions & parts manual

Flow Medic
Flow Medic U-sonic instruction manual

Omegasonics
Omegasonics PowerLift 4560 Operation & instruction manual

Electric Eel
Electric Eel S Operator's manual

Duracable
Duracable DM55 Machine manual