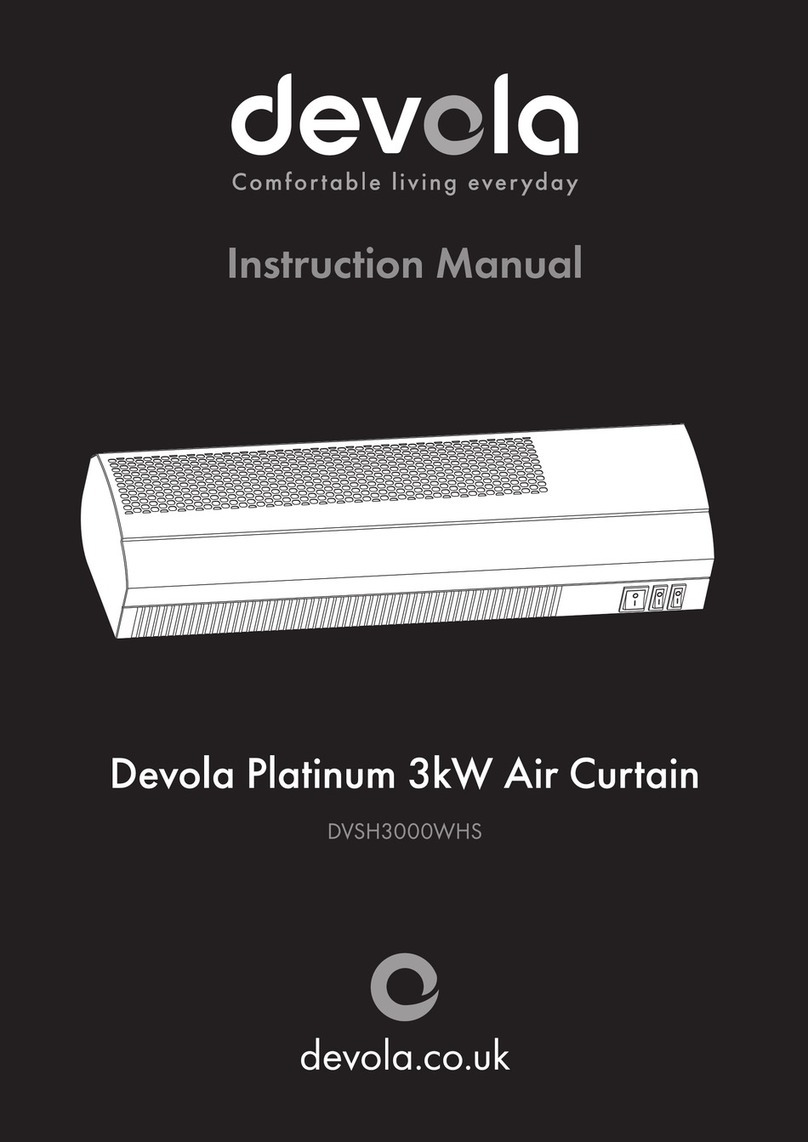
DEVOLA DVSH20MK2S User manual

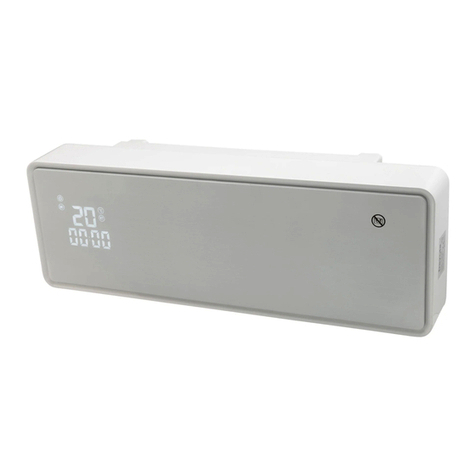
Devola Eco 2kW Air Curtain
DVSH20MK2S, DVSH20MK2W,
DVSH20MK2B

2
instruction concerning use of the appliance in a safe way and understand
the hazards involved. Children shall not play with the appliance. Cleaning
and user maintenance shall not be made by children without supervision.
Children of less than 3 years should be kept away unless continuously
supervised.
Children aged from 3 years and less than 8 years shall only switch on/off the
appliance if it has been placed or installed in its intended normal operating
position and they have been given supervision or instruction concerning
use of the appliance in a safe way and understand the hazards involved.
Children aged from 3 years and less than 8 years shall not plug in, regulate,
and clean the appliance or perform user maintenance.
CAUTION —some parts of this product can become very hot and cause burns.
Particular attention has to be given where children and vulnerable people
are present.
Specifications
Model Names Voltage Power
DVSH20MK2W
DVSH20MK2S
220-240V�50/60Hz
2000W
Installation
The heater shall be installed and used according to the safe standard.
To avoid all dangers, follow the safety instructions.
- The installation must be done by the service agent or similarly qualified
persons in order to avoid a hazard.
- Important! Make sure that there are no electric cables or other installations
(for example water pipes) near the drill holes. Make sure that the appliance is
securely and vertically fitted to the wall.
1. Get two holes on the wall 2m above the floor and no closer than 25mm from
the walls or corner of the room.
2. Be sure to make the diameter of the holes the same as the expanding pipe.
3. Fix two screws on the expanding pipe, keep the tips of the screws out for
10mm, and hang up the machine after the screws are fixed enough.
Clearances:
At least 2m from the floor
At least 20cm from the ceiling
At least 25cm from either side
of the wall
325

3
Control Panel
Remote Control
We recommend using a Lithium battery CR2025 3V inside the remote control.
Operating Instructions
1. Before inserting the plug into an electrical outlet, make sure that the
electrical supply in your area matches that on the rating label on the unit.
2. Carefully remove the heater from the plastic bag and the carton.
3. Place the heater on a firm level surface, setting the master button to “-”
position.
4. Plug the cord set into a AC220-240V~ electrical outlet. A “BEE” sound will
occur indicating that the “Power” light is on.
5. Turn the heater ON by pressing the ON/ OFF button on the remote
control.
6. As standard, the unit will blow out cold air. When blowing cold air, only
the “”light will be illuminated on the control panel.
7. Pressing the “MODE”button on the remote control once will switch to the
half heat mode meaning the unit will start to blow out warm air and the
“”and “ ” lights will illuminate.
8. Pressing the “MODE”button a second time on remote control will make
the unit switch to Full Power mode and hot air will blow out. Both “”
and “”will illuminate.
9. Pressing the “MODE”button for the third time on remote control will
make the unit return to just blowing cold air with just the being
illuminated.
10. Pressing the ““Swing button on the remote control will make the
unit’s louver oscillate up and down.
11. Pressing the Swing button again to turn off the oscillation mode.
1.”ON/OFF” Main power button
2.“24H” Setting timer from 1-24 hours
3.“MODE” Change between Cold, Warm & Hot Mode
4.“Swing”Turn on/ Turn off Oscillation
5.“LOCK” Child-Lock function for heater
6.“AUTO” Window Open Function
7.“Tem.”Display real time
8.“Delay” Set temperature for weekly function
9.“W.Timer”Set the timer of one week
10.“+” Increase
11.“-” Decrease
1.“Set” Set real time

4
Smart Operation Mode
Smart Mode offers a fast start up and will operate using the full 2000w heat
and the oscillation mode.
1. To start the unit up in Smart Mode, please press the ‘One start’button
underneath the power button on the unit.
The Smart Mode will begin on the hot mode and the control panel will have all
of the “”“ ”“ ”lights illuminated.
24H Timer Function
1. The timer can be set on any of the modes. It can be set using the “”
button on the remote control.
2. Press “”button to begin the set up.
3. Keep pressing the “”button to increase the hours from 00:00-24:00.
(01:00 = 1 hour & 24:00 = 24 hours etc.) and the “”light will be on.
4. Please note: If the timer is set to “00:00”, it means no timer is set and the
“”light will be off.
Thermostat Instructions
1. To adjust temperature, press the “ ” to set the desired
temperature.
2. On the display panel you will see 4 digits. The first 2 show what the
temperature currently is and the last 2 show your desired temperature.
oFor instance, if the LED display shows 2224, it means the room
is currently 22 degrees Celsius and the desired temperature to
reach is 24 degrees Celsius.
3. When you press the + and –button you will see the last 2 digits on the
screen changing to show your desired temperature is being changed.
4. The temperature can be set from 10Ԩto 49Ԩ.
5. When the air temperature drops 2 degree below the set temperature, the
heater will start heating with ””(2000W).
6. When the air temperature goes 1 degree above the set temperature, the
heater will operate on the fan only mode to keep the air circulating.
Setting the Time & Day
Please note: This can only be set via the remote control.
WEEK
1. Press the “Set”button and the “1”light will twinkle.
2. Press the two buttons to set the days of
the week from 1-7. 1 being Monday, 2 being
Tuesday and so on until 7 = Sunday.
HOUR
1. Press the “Set”button again and this time the LED
display front “00”will twinkle.
2. Press the “two buttons to set the hours
from 01:00-24:00.
3. (01 = 1am, 02 = 2am, 10 = 10am, 14 = 2pm & 00 =
Midnight etc.)
MINUTE
1. Press the “Set”button once more and the LED
display behind “00”will twinkle.
2. Press the “two buttons to set the minutes from 00-59
3. (01 = 1 Minute, 02 = 2 Minute etc.)
4. Press “Set”to confirm the selection and the heater will revert back to
displaying the actual and desired temperature.
Please note: If no further controls are pressed the heater will then revert back
to it’s standby mode after 5 seconds.

5
WEEKLY TIMER SETTING
1. Press the “”button once and the ”1”will light up which meaning that
you are setting a timer setting for Monday.
2. If you wish to skip Monday and go to another day, use the + button to
cycle through to 2 (Tuesday), 3 (Wednesday) etc.
3. The ON will also be illuminated on the display to show you are setting
which time for the heater to turn on.
4. Once the desired day number is illuminated, press the “”button a
second time to confirm the day and you will now see the left 2 digits on
the display twinkle. If it is your first time setting a timer, the 2 digits
blinking will usually be 00.
5. Press the “two buttons to set the hours from 01:00-24:00.
6. (01 = 1am, 02 = 2am, 10 = 10am, 14 = 2pm & 00 = Midnight etc.)
7. Once the desired hour is illuminated, press the “ ” button to confirm it
and the second 2 digits on the display start twinkling.
8. Press the “two buttons to set the minutes from 00-59
9. (01 = 1 Minute, 02 = 2 Minute etc.)
10. Press the “ ” button a 4th time –the 2 left digits will twinkle again
oPlease note: The unit’s display will now say OFF showing you
are selecting which time the unit will turn off.
11. Press the “two buttons to set the hours from 01:00-24:00.
12. (01 = 1am, 02 = 2am, 10 = 10am, 14 = 2pm & 00 = Midnight etc.)
13. Press “”button a 5th time and the 2 digits on the right will twinkle.
14. Press the “two buttons to set the hours from 01:00-24:00.
15. (01 = 1am, 02 = 2am, 10 = 10am, 14 = 2pm & 00 = Midnight etc.)
16. Finally, press the “ ” button once more and if the ”2” lights up, it
means you are now setting the timer setting for Tuesday and the Monday
settings have been confirmed.
17. To finish here, don’t press anything for a few seconds and the unit will
revert back to the original display screen but the settings will be saved.
WEEKLY TIMER SETTING –Rest of the Week
If you wish to set timers for the set of the week, once you have selected
Monday’s turn off minutes, press the “”button once more and if the ”2”
lights up, it means you are now setting the timer setting for Tuesday.
To set DIFFERENT times for each day, please repeat the steps starting from the
WEEKLY TIMER SETTING steps to set the timer for the rest of the week.
WEEKLY TIMER SETTING –Temperature
1. To set different temperatures for each day, press the button so that
the 1 is flashing to show you’re setting the temperature for Monday.
2. Press the button and then 1 –will illuminate with a number. Use the
buttons to choose which temperature you want to set for
Monday.
3. Once selected, press again and repeat the steps for 2 (Tuesday).
4. Repeat until the whole week has been set.
WEEKLY TIMER SETTING –Repeat Daily Schedule
To set the SAME times for Monday-Sunday, press the “”button on remote
control 7 times to set from Monday to Sunday’s temperature and press the
“”two buttons to select the temperature you desire between the
temperature range from 10Ԩto 49Ԩ.
You can set different open time, closed time and temperature within whole
week.

6
WINDOW OPEN FUNCTION
The open window detection function is an intelligent energy saving mode
that shuts down the heater if it detects a window is open if the function is
activated.
This can only be operated while the unit is on and via the remote control.
Press the “”button and then the “ ” light should illuminate.
The heater detects the environment’s ambient temperature and if it falls by
3Ԩؤ within 1 minute the appliance will shut down. If the heater shuts down
the user will need to restart the appliance by pressing the ON/OFF button on
the remote control. When the open window detection function is inactive the
display light will switch off.
To turn this feature off press the “”button again and the “ ” light will
turn off.
CHILD-LOCK FUNCTION
1. This function can only be set while the unit is in operation.
2. Press the “”button one time and then all of the lights on the control
panel besides the Power button will go off.
3. While this is set, neither the control panel nor the remote control will
change any settings when their buttons are pressed.
4. Press the “”button again and then all of the lights will come back on
meaning the remote control and control panel can be used again to operate the
unit.
OVERHEAT PROTECTION
This heater is protected with an overheat protection that switches off the
appliance automatically in case of overheating. For example: due to the total or
partial obstruction of the vents. In this case, unplug the appliance, wait about
30 seconds for it to cool and remove the object which is obstructing the vents.
Then switch it back on as described above. The appliance should now operate
normally. If the problem persists, please contact Customer Service for
assistance.
CLEANING & MAINTENANCE
Before undertaking any cleaning or maintenance on the appliance,
disconnect it from the power supply.
For cleaning it is recommended to use a soft moist rag and neutral
detergent. Do not use an abrasive cloth or devices which could affect the
appearance of the appliance. Check that the hot air outlet and the
ventilation inlet are free of dust and dirt.
During cleaning, be careful not to touch the heating elements.
To open the filter on the back for cleaning, press the top of plastic net at
back.
In case of breakdown and/or poor functioning of the appliance, disconnect
the appliance from the power supply and contact an authorised repairer.
NOTE: As a result of continual improvements, the design and specifications of
the product within may differ slightly to the unit illustrated on the packaging.
Environment
Meaning of the crossed-out wheeled dustbin:
Do not dispose of electrical appliances as unsorted municipal waste,
use separate collection facilities. Contact your local council for
information regarding the collection systems available.
If electrical appliances are disposed of in landfills or dumps, hazardous
substances can leak into the groundwater and get into the food chain,
damaging your health and well-being.

COOL10
This manual suits for next models
2
Table of contents
Other DEVOLA Heater manuals
DEVOLA
DEVOLA Core Mini User manual

DEVOLA
DEVOLA 1.5KW GLASS PANEL HEATER User manual
DEVOLA
DEVOLA DVSH2000B User manual
DEVOLA
DEVOLA DVBH20W User manual
DEVOLA
DEVOLA DVSH40WH User manual
DEVOLA
DEVOLA DVC1500W User manual
DEVOLA
DEVOLA DVSOR5F15B User manual
DEVOLA
DEVOLA DVSH20B User manual
DEVOLA
DEVOLA DVPH1200B User manual
DEVOLA
DEVOLA DVSH20GS User manual

