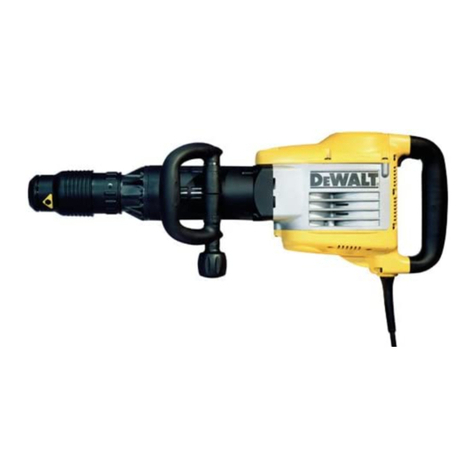
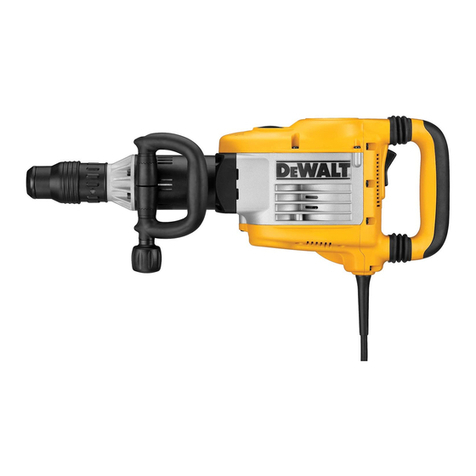
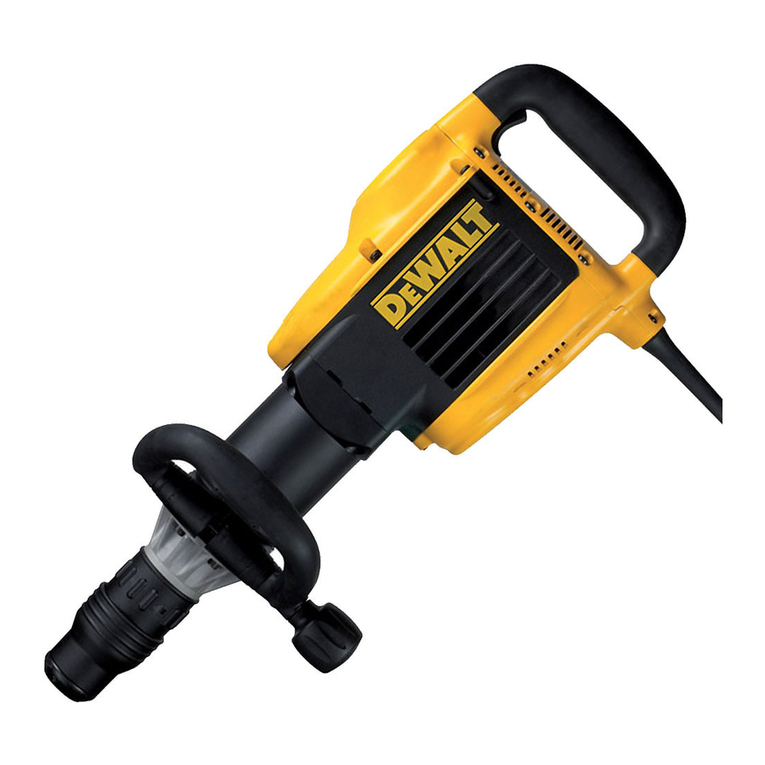
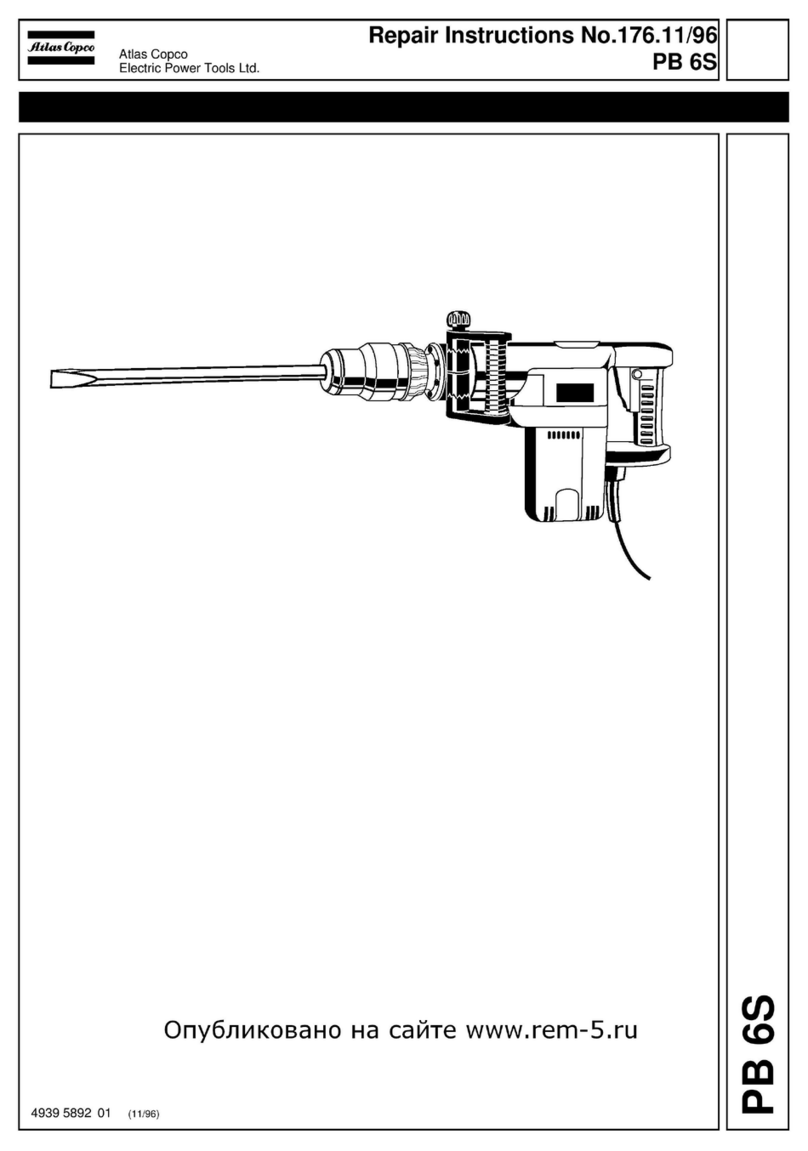
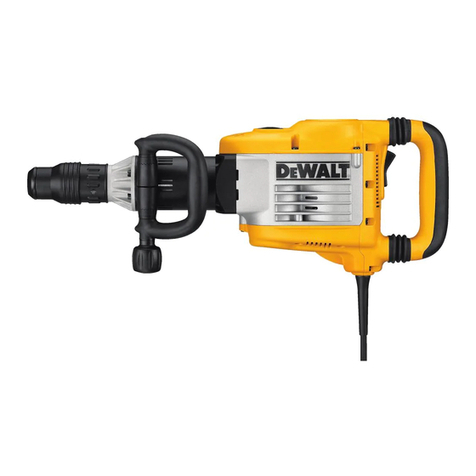
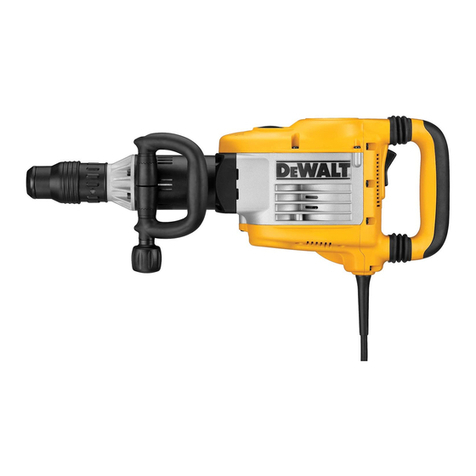
DeWalt D25900K User manual

Page 1of 63
Full Strip down and Re-assembly procedure for the 10KG Demolition Hammer
D25900K.
This procedure is in Four main sections.
1. General Information / Tooling
2. Total Strip Down.
3. Re-assembly.
4. Routine Servicing.
Tool Holder
Anti-Vibration
Unit
Gearbox
Motor Unit
Crankcase
Piston &Cylinder
Beat Piece & Ram
Switch

Page 2of 63
INDEX.
Page 3 General Information.
Page 4 Service Kits
Page 5 Hand Tools Required
Page 6-8 Service Tooling.
Dismantle
Page 9-10 Remove Tool Holder and Beat Piece.
Page 11-15 Tool Holder Assembly.
Page 16-17 Anti-Vibration Unit.
Page 18-25 Motor and Gearbox unit .
Re-assembly
Page 26-29 Gearbox and Crankshaft.
Page 30-33 Motor unit.
Page 34-36 Crankcase, Piston and Gear Case.
Page 36-39 Switch / Handle
Page 40-41 Cylinder and Ram.
Page 42-44 Anti-Vibration unit.
Page 45 SDS Spindle.
Page 46-47 Spindle & Flange
Page 48-50 Turning Sleeve.
Page 51-52 Tool Bit Locking assembly.
Page 53-57 Sliding Sleeve / Snap Ring.
Page 58-59 Beat Piece.
Page 60-61 Tool Holder SA to Product.
Routine Servicing
Page 62 Servicing.
Page 63 Fault Finding and Test Data.

Page 3of 63
SECTION ONE.
General Information.
qONLY THE CORRECT GREASE MUST BE USED
qWhen repairing this product it is very important to keep the working area clean and free
from any dust or debris.
If any contamination is allowed within the Tool holder, Anti-vibration unit or Gear Box this
will cause premature failure of the Product.
qIf significant wear has occurred within in the Tool Holder components then it is
recommended to replace the complete unit (111).
qIf ANY of the O Rings are disturbed when dismantling, they must be replaced.
qIf only the Motor/Switch needs attention, it is not necessary to remove the Anti-Vibration &
Tool Holder units, although it can make the operation difficult if left attached, because of
the size and weight of the product.
If they are removed then the following should be noted
qOnly undo the 4 Screws (65) from the Anti-Vibration Unit and remove the complete front
assembly including the Tool Holder Unit from the Motor Housing.
qThe Piston, Crank Case, Cylinder & Anti-Vibration Unit will be exposed and should be
kept covered to prevent any ingress of dust or debris.
qThe O Ring’s (49) Piston and (79) Housing must be replaced on re-assembly.
Serial Number / Date Code.
A serial number and the Date code will be printed on the Main Metal Housing on the right
hand side next to the Anti-Vibration Unit. .
The Serial Number must be quoted on all repair documentation.
After repair, mark the housing next to the serial number with the letter ‘R’.

Page 4of 63
Service Kits.
Four Service kits will be available that contain all the O Rings, Grease, Brushes, Snap Rings,
Seals that are required when Servicing.
The first service kit is used when the unit comes in for its first brush change after 250 hours.
The Major Kit is used when the unit requires a complete strip down and rebuild.
First Service Kit 115 Volt. First Service Kit 240Volt.
Item No Part number Qty. Item No Part Number Qty
8487340-01 2 8 487340-00 2
49 487213-00 1 49 487213-00 1
73 487297-00 1 73 487297-00 1
77 487296-00 1 77 487296-00 1
79 323711-44 1 79 323711-44 1
87 487238-00 1 87 487238-00 1
88 487205-00 1 88 487205-00 1
89 487241-00 1 89 487241-00 1
104 323711-40 1 104 323711-40 1
108 487243-00 1 108 487243-00 1
109 487299-00 1 109 487299-00 1
800 578970-02 1 800 578970-02 1
Major Service Kit 115 Volt.Major Service Kit 230 Volt.
Item No Part number Qty. Item No Part Number Qty
8487340-01 2 8 487340-01 2
32 487224-00 1 32 487224-00 1
36 487209-00 1 36 487209-00 1
49 487213-00 1 49 487213-00 1
52 323711-42 1 52 323711-42 1
58 324007-11 4 58 324007-11 4
69 487288-00 1 69 487288-00 1
71 487298-00 1 71 487298-00 1
73 487297-00 1 73 487297-00 1
74 323711-41 2 74 323711-41 2
77 487296-00 1 77 487296-00 1
79 323711-44 1 79 323711-44 1
87 487238-00 1 87 487238-00 1
88 487205-00 1 88 487205-00 1
89 487241-00 1 89 487241-00 1
90 487244-00 1 90 487244-00 1
104 323711-40 1 104 323711-40 1
108 487243-00 1 108 487243-00 1
109 487299-00 1 109 487299-00 1
800 578970-02 1 800 578970-02 1

Page 5of 63
Hand Tools required.
Soft faced mallet.
T Handled Torx Screw Drivers. TX10. TX15. TX20.
Long Nose pliers.
Torque wrench. ½ in Drive.
Torque Screwdriver.
Allen Keys. Size various
Circlip Pliers. Internal, External.
Press.
Vice.
Two legged puller.

Page 6of 63
Service tooling
559617-99 Crank Gear Removal & Assembly Tool.
Used to fit Double Gear ( 42 ) in conjunction with a Press.
Will remove and replace the crank gear ( 43 ) in conjunction with a Torque
Wrench
Used to fit Armature Seal (36) & Bearing (35) in conjunction with Service
Tool 559621-99.
559618-99 Motor assembly Tool.
Used to fit Motor Pot ( 2 ) & Armature ( 1 )

Page 7of 63
559621-99 Armature Seal & Bearing assembly Tool.
Used to fit Seal (36) & Bearing (35)
559620-99 Spindle Seal & Tool Holder assembly Tool.
Used to fit Seal (108) & Spring Guide (98)

Page 8of 63
559619-99 Snap Ring assembly Tool.
Used to remove and fit Snap Ring (88).

Page 9of 63
SECTION TWO
Remove Tool Holder and Beat Piece.
qRemove Side handle (59) if fitted.
qUndo six screws (102) remove Tool Holder Assembly (111) a flat bladed
screwdriver may be required to Gently lever the housing away from the
Anti-vibration unit.
qBeware that the internal components will fall out from the Tool Holder
qRemove item (72) from inside the Housing.
qRemove the O Ring
qRemove items (67,68,69,70). From inside the Tool Holder Unit,

Page 10 of 63
qRemove Beat Piece Bearing item (110) from Spindle (107) (this may be tight),
qRemove O Ring (109).
qPull off Rubber Seal item (87). From end of Tool Holder Unit.

Page 11 of 63
Dismantle Tool Holder Assembly.
Service Tooling 559619-99 Snap Ring Assembly tool.
qClamp Service tool into a vice.
qImportant Note, Fit insert from Service Jig into the Tool
Holder spindle, be careful not to damage the Seal.
qMake sure that the insert stays in position otherwise the Seal inside the
Spindle could be damaged, then lower the Tool Holder onto the Jig..
qPlace the ‘Three legged ’part of the service tool over the threaded rod so
that the legs rest on the edge of the Black Sliding Sleeve (91).

Page 12 of 63
qFit nut to threaded rod and tighten until the washer (89) is just clear of
the Snap Ring (86). Be careful not to over tighten.
qUsing circlip pliers and a small flat bladed screwdriver prise
the Snap Ring from the groove then maneuver it past the large
groove to clear the Spindle
qRemove the nut and the Three Legged part from the Jig.
qRemove the Snap Ring. (Do Not re-use).
qLift off the Sliding Sleeve Assembly
qRemove the Washer (89) (Do Not re-use), Remove Rubber Ring (90)
and Locking Ring (92).

Page 13 of 63
qRemove Spring (93) from Tool Holder assembly.
qRemove Bush (94).
qDepress Bush (96) and remove Locking Piece (92 x 2), Bush
(96) and spring (97)
qRemove the Tool Holder Assembly from the Service Jig.
Make sure the insert remains in place until the Tool Holder Unit is
clear of the Threaded Spindle of the service Jig.
qRemove Jig Insert from The Tool Holder.

Page 14 of 63
qLift off housing complete with the Turning sleeve Assembly from Spindle
(107).
Remove Spring Guide item (98) from Turning Sleeve Assembly
qLever out Spring (99) BEWARE the Spring will be under tension.
qRemove SA Sleeve item (100).

Page 15 of 63
qPull off Turning sleeve item (101) from Housing.
qRemove O Ring (104).
qRemove O Ring (74).
If Spindle is to be re-used then remove the following.
qO-Ring (74).
qSeal (108).
This completes the strip down of the Tool Holder Unit.

Page 16 of 63
Anti-vibration unit.
IMPORTANT NOTE ALL O RINGS MUST BE REPLACED AFTER DISMANTLING.
qRemove Cover (66) Pull the split apart and slide off Housing
(78).
qUndo the 4 Screws (65) Holding the Anti-Vibration unit to the
Motor Housing.
qUse a broad flat bladed screwdriver to carefully lever the Anti-
Vibration unit from the Motor Housing.
qBeware there will be pressure from springs inside the
Anti-vibration unit. This could cause the housing to be forced
from the Motor Housing and some of the components to fall out.
qBeware also that the Piston will now be exposed when the
unit is removed from Motor Housing.
qRemove O Ring (79).

Page 17 of 63
qRemove Anti-vibration components (80,81,82,83,86).
From inside the housing.
qRemove Cylinder (75). Push on exposed part at the wide
end of Housing by the 4 boltholes.
qRemove Ram (76). Push through from the
wider end of Cylinder using a non-metallic
object, to avoid any damage to the Cylinder
or Ram.
qRemove O Ring (77) from Ram.
qRemove outer O Ring (74) and inner (73)
from the Cylinder .
This completes the strip down of the Anti-Vibration unit.

Page 18 of 63
Dismantle Motor and Gearbox
IMPORTANT NOTE ALL O RINGS MUST BE REPLACED AFTER DISMANTLING.
Remove Handle / Switch
qRemove Switch handle Cover (19) 8 Screws
qRemove Adapter (15) from Switch and remove Actuator Rod (14)
from Trigger (12).
qRemove cord clamp (25) 2 Screws
qRemove Switch Clamp (24) 1 Screw.
qCut and Remove the Cable Tie (23) from switch lead.
qRemove Switch (22) disconnect the Motor Lead (18)
and Power cord (29).
qPull out Pin (12) Remove Trigger (13) Beware the two locating pins (17) will spring out when
the Trigger is removed.

Page 19 of 63
Armature & Field.
qRemove top Motor Cover (57) 5 Screws.
qRemove Electronic (54) 2 Screws, from inside Cover.
qUndo fan Screw (11). Grip outside edge of Fan; Use protective
gloves, the edge of the Fan is very sharp. Lift off fan (10).
qRemove both the Terminals from the Brush Assembly. Use
long nose pliers to release the retaining clips.
qRemove the Switch lead SA (18).

Page 20 of 63
qRemove Brushes (8) Use a small Allen key to pull the spring clear
of the Brush.
qRemove the brush and disconnect from Brush Holder.
qFit new Brushes and leave spring resting on the side ready to
reassemble.
qKeeping the spring in this position will allow new brushes to be
fitted waiting for re-assembly.
qDisconnect the two short black leads from the Brush
Assembly.
qRemove the 4 Screws (58)
qHolding the Brush Assembly(3) lift clear of Armature
shaft.
The Brush Holders are not available as separate parts.
qPush out Bearing (5) and insulator (4) from Brush assembly.
Other manuals for D25900K
1
Table of contents
Other DeWalt Power Hammer manuals

DeWalt
DeWalt D25981 User manual

DeWalt
DeWalt D25941K User manual

DeWalt
DeWalt D25501 User manual

DeWalt
DeWalt D25961 User manual

DeWalt
DeWalt D25899 User manual

DeWalt
DeWalt D25951 User manual
DeWalt
DeWalt D25911 User manual

DeWalt
DeWalt DW558K User manual

DeWalt
DeWalt D25893 User manual

DeWalt
DeWalt D25840 User manual

DeWalt
DeWalt D25960 User manual

DeWalt
DeWalt DCH966 User manual

DeWalt
DeWalt DCH832 User manual

DeWalt
DeWalt D25851 User manual

DeWalt
DeWalt D25899 User manual
DeWalt
DeWalt DWE7492-LX User manual

DeWalt
DeWalt D25580K User manual

DeWalt
DeWalt D25840 User manual
DeWalt
DeWalt DCH966 User manual

DeWalt
DeWalt 579775 User manual