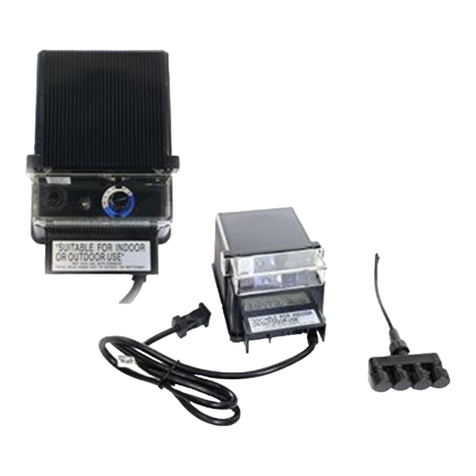
Push the bi-pin connector into the mating socket, then screw the connector
cover. Mount the photo sensor bracket on a wall or other solid surface with
the screw provided. Snap the sensor into the bracket. Route or coil the excess
wire to protect it from lawn mowers, trimmers, etc. Avoid pointing the sensor
at nighttime light sources such as windows, porch lights, and street lights.
The position of the photo sensor can influence at what light level the
transformer will turn on in the AUTO ON/OFF and PHOTO ON TIMER OFF
modes. Placing the sensor in areas receiving less sunlight at dusk ( east
side of house, behind trees and bushes, under a deck) will make the
transformer come on earlier in the evening. Mounting the photo sensor in
brighter locations will make the transformer come on when it has become
darker out. The location, position and orientation of the photo sensor can be
adjusted until the transformer turns on at the desired light level.
6.Connecting & Mounting Photo Sensor
This transformer features three automatic methods to turn on and off:
1. A remote photo sensor that senses the light level. There is a 30 second
delay built into the photo sensor to avoid being triggered by lightning or
other light sources.
2. A timer.
3. A clock.
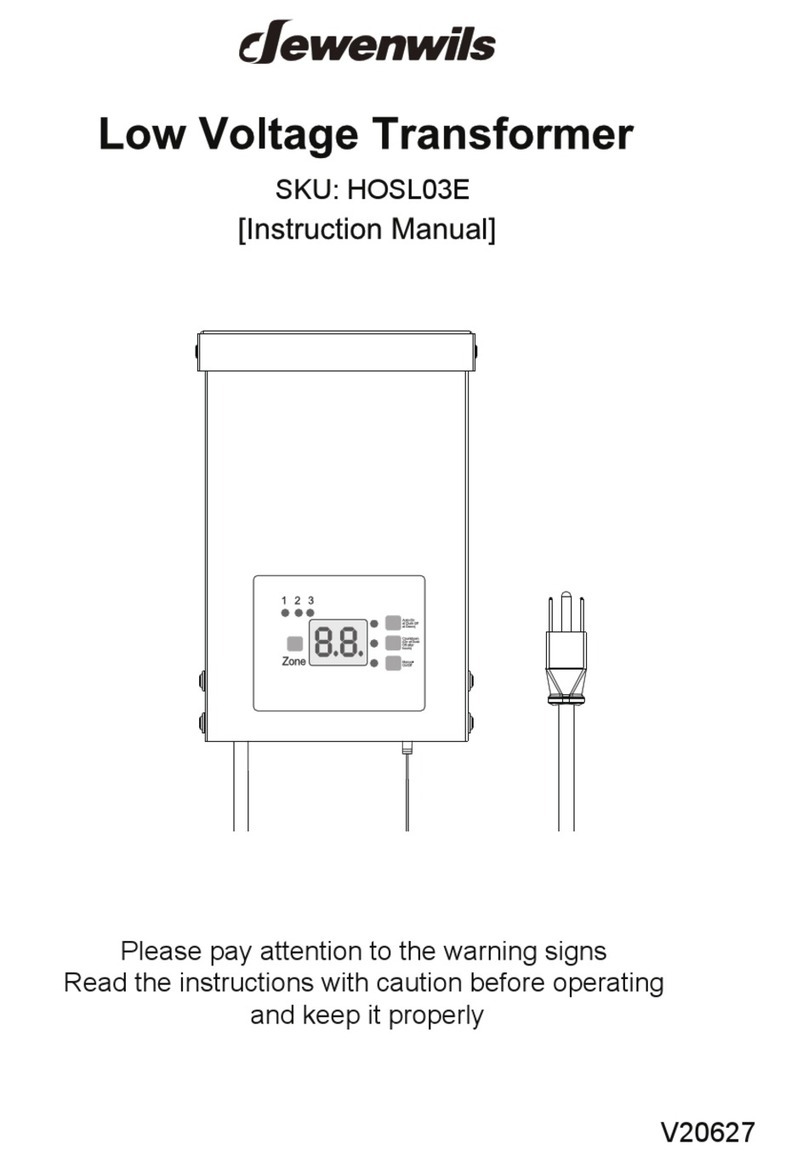
Operating Instructions
The transformer operation modes use these three methods in different
combinations. To set the mode, plug in the transformer cord into the GFCI
outlet. Then the LED clock display, the clock indicator, the AM/PM indicator
and the MODE indicator will be lit.
The clock is only required for the TIMER ON TIMER OFF and PHOTO ON
TIMER OFF modes. The clock is ignored for any of the other modes and does
not need to set.
