DH Lifelabs Sciaire Storm HD100 User manual

Sciaire Storm HD100/HD110
INSTRUCTION MANUAL
Created by nature.
Engineered by science.

Table of Contents
Safety Instructions ............................... 1
Device Overview ................................ 3
Device Summary ................................ 4
Device Specications ............................ 5
Dimensions .................................... 5
Before Placement and Installation .................. 4
Installation of Sciaire Storm........................ 7
Installation of ADA Compliance Kit ................ 11
Placement and Installation ....................... 15
Suggested Mounting Height ..................... 16
Using the Air Purier ............................ 17
Indicator Light ................................. 18
Filter Replacement ............................. 19
Cleaning and Maintenance ....................... 20
Troubleshooting ............................... 21
Warranty ..................................... 22
FCC Statement ................................ 22
Sciaire Storm HD100 / HD110
Sciaire Storm is an advanced automatic air purier designed for public
washrooms, in various settings such as shops, restaurants, ofces, and
homes. It combines bi-polar air ionization technology and HEPA ltration
to deliver rapid and effective air purication. The device has two key
modes, a hand drying mode for immidiate individual use and an air
purication mode after use to clean the environment.

1
Your safety is important to us.
Read all safety instructions before you use the device.
WARNING! TO REDUCE THE RISK OF FIRE, ELECTRIC
SHOCK OR INJURY PLEASE ADHERE TO THE FOLLOWING:
!
!This device must be installed in accordance
with current local wiring and building
regulations, and installed by a qualied
licensed eletrician.
!WARNING: Ensure the device is fully
assembled in accordance with the instructions
before use. If casing is removed or handled
improperly the internal components of the
unit may cause harm or become permanently
damaged.
!Use this unit only in the manner intended by
the manufacturer.
!This device complies with the maximum
allowable concentration of ozone of 0.05 parts
per million by volume (ppmv) in a 24 hour
period.
!The unit is intended to be permanently
connected to the power supply.
!Ensure that the mains supply (voltage,
frequency, and phase) complies with the
devices rating label.
!This device is not intended for use by persons
(including children) with reduced physical,
sensory or mental capabilities, or lack of
experience and knowledge, unless they
have been given supervision or instruction
concerning use of the device by a person
responsible for their safety.
!The device should be provided with a fused
spur, isolator switch capable of disconnecting
all poles, having a contact separation of at
least 3mm.
!The device is designed for dry, internal
location only. Do not allow the area around the
device to become damp or wet.
!All metal parts in contact with this device
MUST be earthed, including any wall covering.
!Always use the device with the accessories
provided.
!Do not move the device while it's wired.
!Do not use the device with a damaged wires.
It must be replaced by a suitably qualied
service engineer in order to avoid a hazard.
!If the device is not working properly, has
received a sharp blow, has been dropped or
damaged, do not use the device and contact
customer support for repair.
!Troubleshooting and internal maintenance
must be performed by qualied service
personnel.
!Wear gloves when inspecting and cleaning the
device.
!Do not use any power wash equipment for
cleaning on or near this device.
!Do not use the device for drying hair or other
items.
!Do not obstruct air inlets or outlets. Do not
cover the device while in use.
!Do not use the device in the following places:
• Where the ambient temperature is below
-10°C or above 40°C
• Where the device may come into direct
contact with water
• Where the device is under direct or strong
sunlight
• Where condensation may form within the
device.
• Locations where corrosive, neutral, or
reductive gases are present.
!This device is intended for indoor use only.
!Consult local and national accessibility codes
and regulations for relevant installation
guidelines. Conformity and compliance is the
responsibility of the installer.
!Make sure electricity is switched off at the
main panel before installing, maintaining or
cleaning this device.
!Ensure that the conduct and wires are long
enough to connect to the backplate and the
terminal block.
!Ensure no pipe work (gas, water, air) or
electrical cables, wires or ductwork are located
directly behind the drilling/mounting area.
!Choose a completely at, vertical wall capable
of supperting the full weight of the device.
!Install the device in a location where it will be
easy to use and ensure that there is adequate
space around the device for cleaning and
maintenance.
!Avoid installing the device in locations where
people or doors might bump into the device.
!If the device is installed too low, water may
splash onto the device when the oor is being
cleaned. (The bottom of the device must be
mounted at least 15 inches/381mm above the
oor).This is also required to gain access to the
HEPA lter for cleaning and/or replacement.
!Check that the electrical supply corresponds to
that shown on the rating sticker of device. Do
not connect the device to any electrical supply
other than that stated on the rating label of
the device. Permanent damage or improper,
unsafe operation of the device may result.
!To avoid contact with water from the user’s
hands, do not install the device above any
electrical equipment.
!Do not use sealant when xing the device
to the wall. This device is not suitable for
mounting onto porous wall surfaces (e.g.
plaster) without a back panel, to avoid
discoloring or damage to unprotected walls.
!Before installaiton, please consider the ow
of trafce through the washroom. We are not
recommended to put the device in an area of
the wahsroom that makes people steps in front
of high footfall areas. You can install the device
as near to the sinks as possible to minimize
water spillage onto the oor from hands. You
should also consider the mounting height of
the devices, and who will be using it.
!
Read all safety instructions in the
instruction manual, and on device.
SAVE THESE INSTRUCTIONS.
Copyright © 2023 Dernier & Hamlyn Inc. All rights reserved. 2

3Copyright © 2023 Dernier & Hamlyn Inc. All rights reserved. 4
Device Overview
1
12
2
4
3
5
8 9
10
14 15 16 17
13
11
6 7
Bipolar Air Ion Emitters
(Internal)
TOP LINE
TEAR ALONG THIS LINE
TEAR ALONG THIS LINE
TOP LINE
UPPER PART
LOWER PART
POWERCABLE INPUT
MOUNTINGHOLE*4
"8.0mm
18
1. Air purier
2. Power terminal
3. Power cables (x3)
4. Wood screw (x4)
5. Expansion tube (x4)
6. Security screw
7. Security wrench
8. Tapping screw (x3)
9. Pre-lter
10. HEPA lter
11. Activated carbon lter (AC lter)
12. Cleaning brush
13. Gromet
14. Small bracket
15. Mounting bracket
16. ADA compliance kit (sold seperately)
17. Instruction Manual
18. Positioning sticker
Device Summary
Purication Mode (Activated After Using Hand Drying Mode)
1. Air comes in the right side of the device by rst passing through a pre-lter, ltering large particles. Air is then
passed through an activated carbon lter to absorb odors.
2. Air is then passed through Bi-Polar Air Ionizers , generating positive and negative ions, which work to actively
neutralize airborne viruses and bacteria in the air.
3. The powerful motor circulation system continues to draw in ambient air, passing through the lters and
distributes positive and negative ions throughout the environment, to help continuously disinfect the air.
Hand Drying Mode
1. Air is pulled into the left side of the device by rst passing through a HEPA lter. The HEPA lter captures
pollutants and particles down to 0.3 microns in the air.
2. The ltered air is heated and distributed at the base of the device to dry your hands using a powerful motor.
Hand Drying Mode Purication Mode

5Copyright © 2023 Dernier & Hamlyn Inc. All rights reserved. 6
Device Specifications
Product Name Sciaire Storm HD100 Sciaire Storm HD110
Rated Voltage 110-120V US: 208-277V UK: 220-240V
Input Power 1100W
Heating Power 400W
Induction Method IR blocking
Air Velocity 200 m/S
Protection Class aIP23
Motor Brushed AC series motor
Dimensions 16.50x10.98x6.85in (419x279x174mm)
Net Weight 14.12lbs (Device)
Noise 79 dB(A)
Dimensions
Before Placement and Installation
Before installation, please consider the trafc at various locations in the restroom. We do not recommend
placing this device in front of crowded areas in the restroom. Refer to the suggested mounting heights on
the next page.
1
2
3
4
Installing the device at a 4-foot distance will have a great cleaning and deodorization effect. It is still effective
at an 8-foot distance. Efcacy depends on specic environmental conditions of the space, including air ow,
space size and frequency of hand drying use.
DO NOT place the device too close to the door.
DO NOT place the device too far away from the sink(s).
DO NOT place above reective surfaces.
DO NOT place the device in direct sunlight.
Efciency Radius
4’ Radius
8’ Radius

7 8
Installation
Position the installation sticker on the intended
wall based on the location of the power cable
input. The power cable input may be newly
installed fvor accurate placement of the device.
Ensure the diameter of the hole for the power
cable input is as displayed on the sticker.
1
2
34
Drill 4 mounting holes according to the marks.
Tear off the lower part of the sticker along the
line. Insert the expansion tubes (4) into the
mounting holes.
Align the holes of the mounting bracket and the
mounting holes on the wall. Insert the wood screws
to the holes. Tighten the wood screws to x the
mounting bracket to the wall.
TOP LINE
TEAR ALONG THIS LINE
TEAR ALONG THIS LINE
TOP LINE
UPPER PART
LOWER PART
POWER CABLE INPUT
290MM
559MM
#31 安装贴纸,
材质:80g铜版可移不干胶,单面背胶(可撕开,不可太粘),彩印,
可撕分离线
Tear line
Power Cable Input
Mounting holes
Insert Expansion Tubes
Drill Mounting Holes
Position Installation Sticker
7
Packaging
1. Remove the device from the box. Conrm all items shown in the Product Overview are included. It is
recommended to retain the packaging in case of storage or repair purposes.
2. Place the device on a cloth to avoid marking its surface, and to conrm installation location prior to setup.
Suggested Mounting Height
Electrician may be needed for power wiring/rerouting wiring.
1. It is imperative that the location of the hole drilled for the power cable input wires matches up with the
appropriate placement of the device.
2. There is a recommended height for each segment of user. The height is to be measured from the oor to
the bottom of the device.
3. To mark the proper placement for the power cable input hole, refer to the placement sticker included
in the packaging. Do not remove the backing to the sticker if not immediately installing device after
electrical work is complete. Utilize the sticker to mark the wall for the exact location of the power input for
accurate electrical wiring placement.
Users Height (to Bottom of Device)
Men 45 Inches (1143 mm)
Women 43 Inches (1092 mm)
Teenagers 41 Inches (1041 mm)
Small Children 35 Inches (889 mm)
Accessible 37 Inches (940 mm)
Countertop 15 inches (381 mm)
If installing ADA Compliance Kit,
skip ahead to page 12.

10
Copyright © 2023 Dernier & Hamlyn Inc. All rights reserved.
8Install Gromet & Small Bracket
Trim the gromet to a moderate
size. Install the trimmed gromet
to the small bracket.
Install the protruding side of
it into the power cable hole
on the back of the device.
Install the unit with the
tapping screws to x it.
Use the anti-theft wrench
to loosen the anti-theft
screw in the bottom part.
Lift the bottom up and
gently push up to remove
the complete cover.
Security Screw
Activated Carbon Filter HEPA Filter
Power Supply Cover
Take out the activated
carbon lter and remove any
protective packaging.
Take out the HEPA lter
and remove any protective
packaging.
Loosen the screw on the
cover of the power supply
unit and take off the cover.
5Remove Front Cover
6Remove Filters
7Remove Power Supply Cover
Pass Power Cables Through Device
9
Hold up the device. Pass the
power cables through the hole
on the back of the device.
Mount Device to Bracket
10
Align the top of the device to the TOP LINE labeled on the positioning
sticker. Slide the device down until the mounting slots on the back of the
device snaps into the mounting bracket. Check to make sure the device is
secure and does not wobble.
Connect the power cables to the terminal
11
Organize the power cables and connect them to the
corresponding terminal ports. In order from left to right:
rst is the black cable (L-Live). Secondly, it's the green cable
(E-Earth). Last, the white cable (N-Neutral).
Left: Black cable (L-Live).
Middle: Green cable (E-Earth)
Right: White cable (N-Neutral).
L-Live E-Earth N-Neutral

Copyright © 2023 Dernier & Hamlyn Inc. All rights reserved. 12
Install the Cover for the Power Supply
12
Reattach cover for the power supply unit and secure it.
Tear off the
package of the
HEPA lter and
insert it to the unit.
Install the HEPA & AC lters
13
Insert AC lter into the
unit box, then insert the
unit box into the device.
Resecure Front Cover
14
Install the top-end of the cover rst, then snap the bottom-end until the
edge of the cover coincides with the edge of the device. Screw in the anti-
theft screw with the anti-theft wrench to attach the cover to the device. Once
complete, tear off the upper part of the positioning sticker.
11
Installation of ADA Compliance Kit
According to the installation height
and power cable position, create a
frame in the wall with size:
Drill 2 holes on both
sides of the wall frame
according to these
measurements.
Insert 4 expansion tubes
into 4 mounting holes.
Align the ADA
compliance kit to the
wall and secure it with
4 wood screws.
Create Installation Frame
Mount ADA Compliance Kit
Drill Mounting Holes
The ADA compliance kit is sold as a separate accessory.
Contact DH Lifelabs Customer Support for additional information.
Part NO. Product Name Model NO. Includes
907000360
ADA compliance
kit for Sciaire Storm
HD100,HD110
HD100AC-ADA
ADA compliance kit*1
Expansion tube*4
Wood screw*4
Anti-theft screw*2
Anti-theft wrench*1
Width: 366 mm
Middle: Green cable (E-Earth)
Right: White cable (N-Neutral).
Drill bit: ф8.0mm.
Hole Depth: 60mm
106 mm
106 mm
356 mm
1
3
2

6Install Gromet & Small Bracket
Trim the gromet to a moderate
size. Install the trimmed gromet
to the small bracket.
Install the protruding side of
it into the power cable hole
on the back of the device.
Install the unit with the
tapping screws to x it.
14
Use the anti-theft wrench
to loosen the anti-theft
screw in the bottom part.
Lift the bottom up and
gently push up to remove
the complete cover.
Security Screw
4Remove Front Cover
Activated Carbon Filter HEPA Filter
Take out the activated
carbon lter and remove any
protective packaging.
Take out the HEPA lter
and remove any protective
packaging.
5Remove Filters
Attach Protection Bracket to Device
7
With the back of the
device facing up, install the
protection bracket. Snap the
buckles on the protection
bracket to the slots on the
back of the device.until there
is no sense of wobble. At this
point, installation of this part
is complete, as shown in the
gure above. Buckles
Slots
Protection Bracket
Tear off the
package of the
HEPA lter and
insert it to the unit.
Install the HEPA & AC lters
8
Insert AC lter into the
unit box, then insert the
unit box into the device.
Power Supply Cover
Loosen the screw on the
cover of the power supply
unit and take off the cover.
9Remove Power Supply Cover
Secure Device to ADA Compliance Kit
10
Insert the bottom of the
protection bracket into the
slots at the bottom of the
ADA compliance kit.
Attach the chain included with
the ADA compliance kit to the
top rear slot of the protection
bracket of the device.
13

15 Copyright © 2023 Dernier & Hamlyn Inc. All rights reserved. 16
Hands can be released to
pass through the power
cables through the power
cable hole from the back
of the device.
Resecure Front Cover
14
Install the top end of the cover rst and then
snap the bottom end until the edge of the cover
coincides with the edge of the device. Screw the
anti-theft screw with the anti-theft wrench to x
the cover to the device.
Connect Power Cables to the Terminal
11
L-Live E-Earth N-Neutral
Organize the power cables
and connect them to the
corresponding terminal ports.
Left: Black cable (L-Live).
Middle: Green cable (E-Earth)
Right: White cable (N-Neutral).
Install the Cover for the Power Supply
12
Reattach cover for the power supply unit and secure it.
Attach Protection Bracket to ADA Compliance Kit
13
Loosen the chain. Align position of the device to straighten it.

17 Copyright © 2023 Dernier & Hamlyn Inc. All rights reserved. 18
Using the Air Purifier
After powering on, the device needs to be triggered once to enter normal operating mode.
The maximum working time of hand drying is 30 seconds. If the device works for more than 30 seconds, it
will stop for protection.
44
3
2
Shake off excess water at the sink.
1
Indicator Light Key
Standby Mode
Flashing blue light
Device Motor Failure
Flashing white light
NTC Temperature Sensor Fault Alarm
Flashing yellow light
High Voltage Input Detection Alarm
Flashing red light
Disinfection Mode
Solid blue light
Hand Drying Mode
Solid green light
Activated Carbon (AC) Filter Replacement
Reminder Alternating ashing red and blue light
HEPA Filter Replacement Reminder
Alternating ashing red and green light
AC or HEPA Filter Not Installed
Alternating ashing red and yellow light
Disinfection Fan Failure
Alternating ashing white and red light
The device has two sensors to each side of the air
output. Place hands separated and paralell to the
device to trigger sensors.
Move hands back and forth slightly to dry the
water on the hands.
When the hands are dry, pull your hands out
completely.
Indicator Light

19 Copyright © 2023 Dernier & Hamlyn Inc. All rights reserved. 20
Filter Replacement Cleaning and Maintenance
!Only use genuine DH Lifelabs Filters. Use of any other lters may compromise
the proper operation of your unit and potentially void your warranty.
!FILTERS ARE NOT WASHABLE. DO NOT IMMERSE IN WATER.
!CAUTION: ALWAYS WEAR SUITABLE GLOVES WHEN CLEANING.
HEPA Filter Replacement
The HEPA lter should be replaced every 18 months or when indicated by the alternating ashing red
and green light. This interval is only a recommendation. The lter may need to be replaced earlier or later
depending on how often it's used and the environment surrounding the device.
1. Remove the security screw and open the front cover.
2. Remove the old HEPA lter and dispose according to local regulations.
3. Remove protective packaging from the new HEPA lter and insert it into the device.
4. Install the cover and secure with screw.
HEPA Filter: Part No. DH11FT-1
AC Filter: Part No. DH11FT-2
Activated Carbon (AC) Filter Replacement
The AC lter should be replaced every 6 months or when indicated by the alternating ashing red and
blue light. This interval is only a recommendation. The lter may need to be replaced earlier or later
depending on how often it's used and the environment surrounding the device.
1. Remove the security screw and open the front cover.
2. Remove the old AC lter from the unit box and dispose according to local regulations.
3. Remove protective packaging from the new AC lter and insert it into the unit box.
4. Locate the cleaning brush on the front of the unit box and use to clean the PlasmaShield emitters
(see page 19) and replace brush back in the front of the unit box.
5. Install the unit box in the device.
6. Install the cover and secure with screw.
!
• Remove any dirt from the sensor area.
• Use a dry cloth to clean the exterior of the device. Do not use any chemicals or cleaners.
• It is recommended that the interior of the device be inspected at least once a year and cleaned as
necessary, or if performance degrades. Heavy use or an environment containing a high amount of lint,
dust or other particles, requires more frequent cleaning. Particles on the air inlet, pre-lter and other
internal parts of the device can reduce efciency and shorten the lifespan of the parts.
• Use cleaning brush located on the front of the AC unit box to clean the PlasmaShield emitters .This can
be done when replacing the AC lter.
• It's recommended to clean the pre-lter with water every 3-6 months to increase efciency.
• When the device is not used for an extended time, store it in a cool dry place. Do not store the device
where it might be exposed to excess moisture or direct sunlight.
• The device may not operate effectively in very low temperatures. The device can be damaged when
exposed to sub-freezing temperatures.
THE DEVICE MUST BE ISOLATED FROM THE
POWER SUPPLY BEFORE ANY REPLACING FILTERS
THE DEVICE MUST BE ISOLATED FROM THE
POWER SUPPLY BEFORE ANY REPLACING FILTERS
! !

21 Copyright © 2023 Dernier & Hamlyn Inc. All rights reserved. 22
Troubleshooting
Malfunction Common Cause Possible Solution
Device does not run
No electricity supply Check main supply / cables
Dirty infrared sensor cover Clean the infrared sensor cover
Installation errors
Check instruction manual for
possible power cable connection
mistakes
Element open circuit or
others Contact the customer support
Device runs
continuously
Short circuit Contact the customer support
Sensor faulty Contact the customer support
Device sometimes
runs Internal components defect Contact the customer support
Device runs at low
speed Worn motor Contact the customer support
Sparks from device Motor breakdown Contact the customer support
Device cycles on and
off Internal components defect Contact the customer support
Abnormal noise from
the device
Motor defect Contact the customer support
Fan cage is bent or damaged Contact the customer support
!Please disconnect the power supply immediately to avoid the danger of electric
shock before operation.
Product Warranty
This 3 year limited warranty applies to repair or replacement of product found to be defective in material
or workmanship. This warranty does not apply to damage resulting from commercial, abusive, unreason-
able use or supplemental damage. Defects that are the result of normal wear and tear will not be consid-
ered manufacturing defects under this warranty.
DH Lifelabs IS NOT LIABLE FOR INCIDENTAL OR CONSEQUENTIAL DAMAGES OF ANY NATURE, ANY
IMPLIED WARRANTY OF MERCHANTABILITY OR FITNESS FOR A PARTICULAR PURPOSE ON THIS
PRODUCT IS LIMITED IN DURATION TO THE DURATION OF THIS WARRANTY.
Some jurisdictions do not allow the exclusion or limitation of incidental or consequential damages or
limitations on how long an implied warranty lasts, so the above limitations or exclusions may not apply to
you. This warranty gives you specic legal rights, and you also may have other rights which vary from juris-
diction to jurisdiction. This warranty applies only to the original purchaser of this product from the original
date of purchase
At its option, DH Lifelabs will repair or replace this product if it is found to be defective in material or
workmanship. This warranty does not cover damage resulting from any unauthorized attempts to repair or
from any use not in accordance with the instruction manual. This warranty does not cover the lter except
for material or workmanship defects.
FCC Statement
Supplier's Declaration of Comformity:
Trade Name: DH Lifelabs
Models: HD100-120BL/HD110-240BL
Responsible Party: Dernier & Hamlyn Inc.
Address: Dernier & Hamlyn Inc., 720 Northgate Parkway, Wheeling, IL 60090
Telephone Number: 1-877-548-9722
This device complies with Part 15 of the FCC Rules. Operation is subject to the following two conditions:
(1) this device may not cause harmful interference, and (2) this device must accept any interference
received, including interference that may cause undesired operation.
Warning: Changes or modications not expressly approved by the party responsible for compliance could
void the user’s authority to operate the equipment.
Note: This equipment has been tested and found to comply with the limits for a Class A digital device,
pursuant to part 15 of the FCC Rules. These limits are designed to provide reasonable protection against
harmful interference in a residential installation. This equipment generates uses and can radiate radio
frequency energy and, if not installed and used in accordance with the instructions, may cause harmful
interference to radio communications.
However, there is no guarantee that interference will not occur in a particular installation. If this equipment
does cause harmful interference to radio or television reception, which can be determined by turning the
equipment off and on, the user is encouraged to try to correct the interference by one or more of the
following measures:
• Reorient or relocate the receiving antenna.
• Increase the separation between the equipment and receiver.
• Connect the equipment into an outlet on a circuit different from that to which the receiver is
connected.
• Consult the dealer or an experienced radio/TV technician for help.

dhlifelabs.com
Need Help?
1-877-548-9722
9 AM–6 PM, CST, Monday–Friday
EPA EST. NO. 99117-CHN-1
MADE IN CHINA
Dernier & Hamlyn Inc.
720 Northgate Parkway
Wheeling, IL 60090
*The Sciaire Essential uses Plasma Technology.
**Dispose used products according to local regulations.
This manual suits for next models
3
Table of contents
Other DH Lifelabs Air Cleaner manuals
DH Lifelabs
DH Lifelabs Sciaire Mini CAHP-20WC01C User manual
DH Lifelabs
DH Lifelabs Aaira Mini User manual
DH Lifelabs
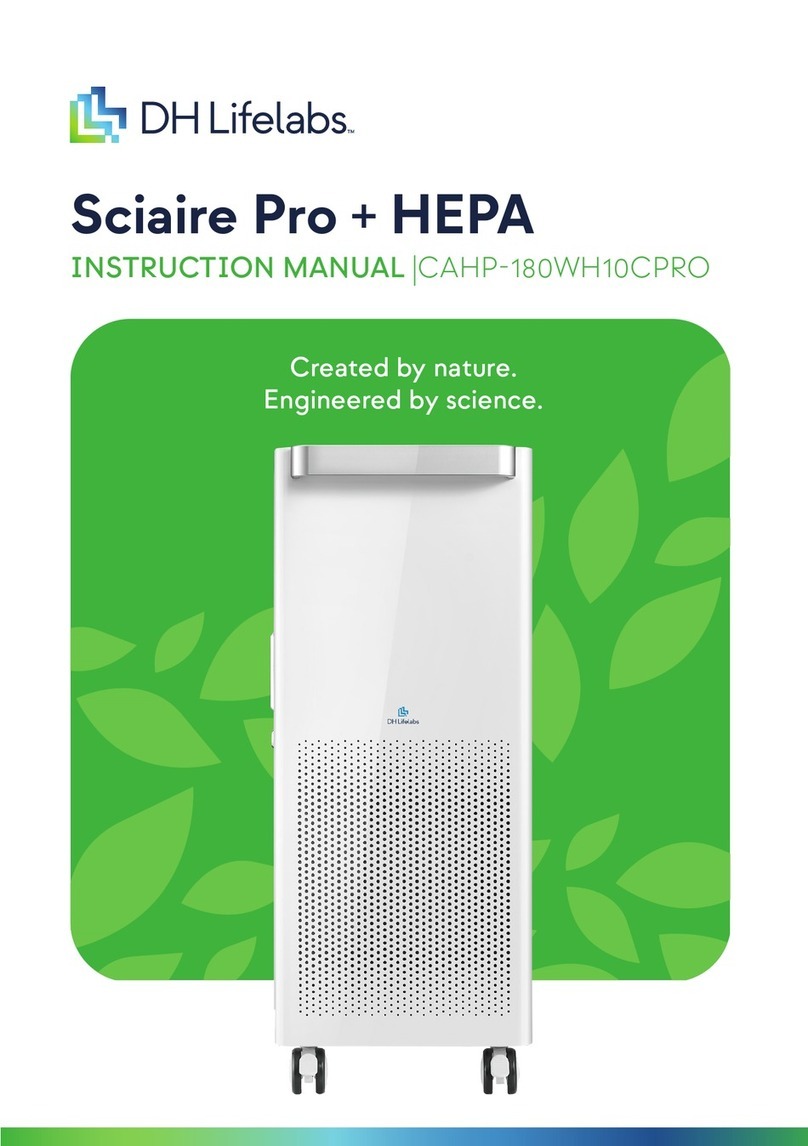
DH Lifelabs Sciaire Pro + HEPA User manual

DH Lifelabs
DH Lifelabs Aaira Mini User manual
DH Lifelabs
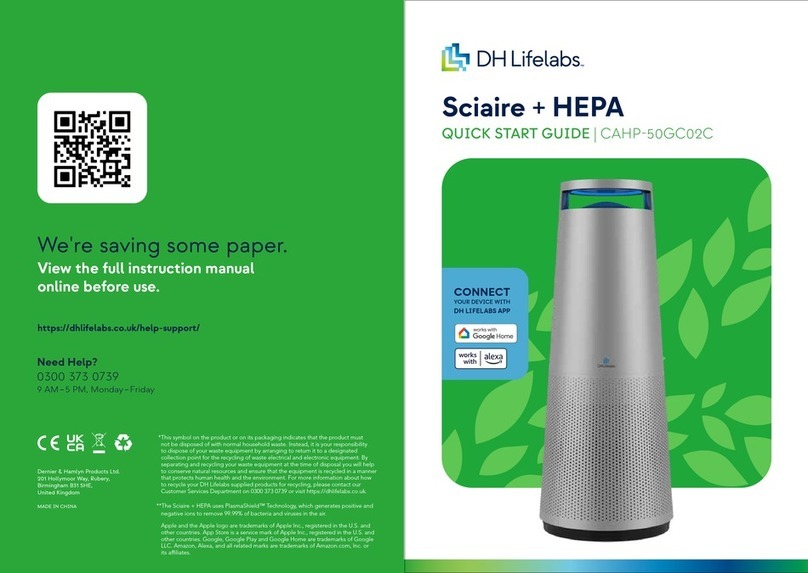
DH Lifelabs Sciaire + HEPA User manual

DH Lifelabs
DH Lifelabs Sciaire+HEPA User manual
DH Lifelabs
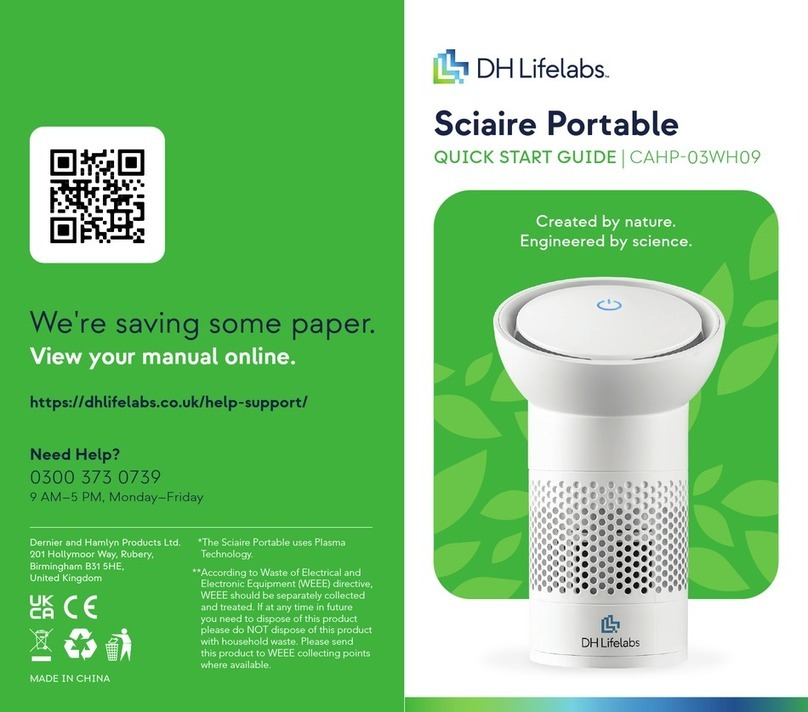
DH Lifelabs Sciaire Portable User manual
DH Lifelabs
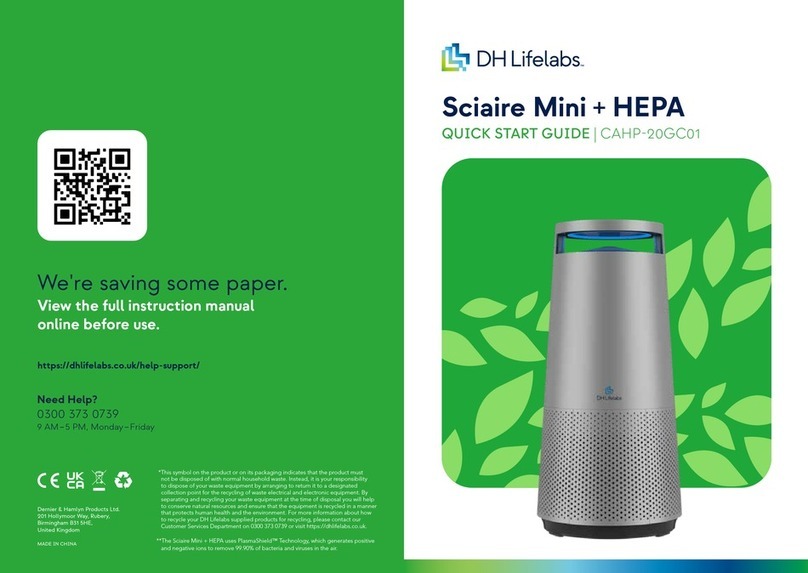
DH Lifelabs Sciaire Mini + HEPA User manual

DH Lifelabs
DH Lifelabs Sciaire Mini + HEPA User manual
DH Lifelabs
DH Lifelabs Sciaire Essential User manual
