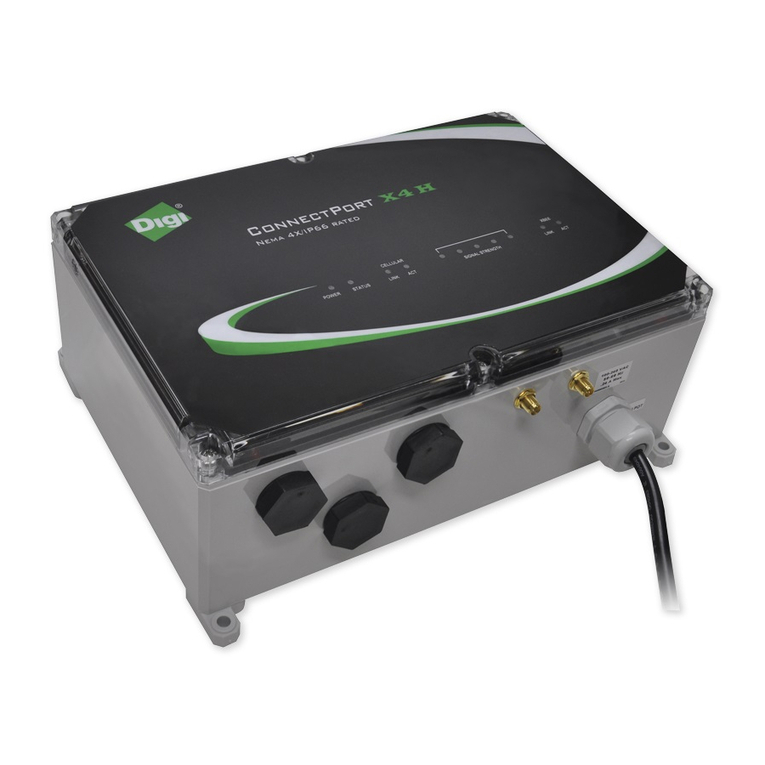
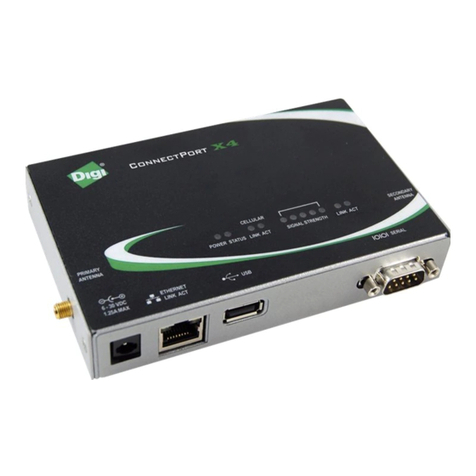
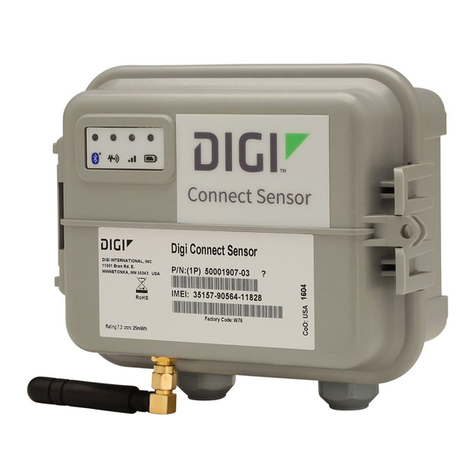
Digi ConnectPort X3 Series User manual

ConnectPort®X3 Family
Getting Started Guide
90001180_A
May 20, 2011

ConnectPort®X3 Family Getting Started Guide
Page 2
Table of Contents
1 Introduction ................................................................................3
1.1 ConnectPort X3 Product Features ..............................................................4
1.2 ConnectPort X3 H Product Features ..................................................... 5
1.3 ConnectPort X3 and ConnectPort X3 H LEDs....................................... 6
1.4 ConnectPort X3 R Product Features ..................................................... 8
2 iDigi®...........................................................................................10
2.1 What is iDigi®? ...................................................................................... 10
2.2 What is Cloud Computing?.................................................................... 10
2.3 What is a Device Network?.................................................................... 10
2.4 What is the iDigi®Developer Cloud™?................................................. 10
2.5 What is iDigi Manager Pro™? ............................................................... 10
2.6 Create an iDigi®Developer Account ..................................................... 11
2.7 iDigi Manager Pro™ .............................................................................. 13
3 Digi ESP™for Python...............................................................15
3.1 Digi ESP™for Python Overview .......................................................... 15
3.2 Download and Install Digi ESP™for Python......................................... 15
4 ConguringtheInitial
ConnectPort X3 Gateway Settings ...........................................17
5 Using Digi ESP™for Python.....................................................22
6 Viewing Uploaded Data on iDigi®.............................................34

ConnectPort®X3 Family Getting Started Guide
Page 3
1 Introduction
Please note that this guide is applicable to the entire ConnectPort X3 family of gateways. Certain
steps or screenshots may reference a specic gateway for instructional purposes (generally the
ConnectPort X3 R), but the information is valid for each of the three ConnectPort X3 gateways.
Throughout this guide you will:
1. Create an iDigi developer account and add your ConnectPort X3 gateway to your iDigi device
inventory.
2. Download and install the Digi ESP for Python Integrated Development Environment (IDE), which
will allow you to run your rst Python sample program. This sample program will be used to
upload the ConnectPort X3 gateway’s GPS data to iDigi.
3. Run the Digi X3 Dashboard program (provided as part of the Digi ESP for Python installation
process) in order to perform some initial conguration of the ConnectPort X3 gateway via the
USB port.
4. Verify the connection between your ConnectPort X3 gateway and iDigi via the device’s cellular
interface.
5. Use the Digi ESP for Python IDE to build, download, and run your rst Python sample project on
your ConnectPort X3 gateway.
6. View the uploaded GPS data from the ConnectPort X3 gateway using iDigi Manager Pro.

ConnectPort®X3 Family Getting Started Guide
Page 4
1.1 ConnectPort X3 Product Features
1
2
3
4
5
1. Mounting feet
2. Cellular antenna connector
3. XBee antenna connector
4. GPS antenna connector
5. SIM slot

ConnectPort®X3 Family Getting Started Guide
Page 5
1.2 ConnectPort X3 H Product Features
Note: The ConnectPort X3 H module is housed within a NEMA enclosure. The image shown below
identies the NEMA-enclosure hardware features for the product only. Please refer to the ConnectPort
X3 Product Features section on page 4 for the ConnectPort X3 hardware within the NEMA enclosure.
Product appearance may vary slightly based on conguration.
12
345
1. Mounting feet
2. Cable ttings
3. Cellular antenna connector
4. XBee antenna connector
5. GPS antenna connector

ConnectPort®X3 Family Getting Started Guide
Page 6
1.3 ConnectPort X3 and ConnectPort X3 H LEDs
GPS
LINK
RESET
LINK
ACT
XBEE
STATUS
POWER
6-30VDC
1.75A MAX SERIAL USB
CELLULAR
LINK
ACT
CELLULAR
SIGNAL
STRENGTH
1
2
3
4
5
6
7
1. GPS Lock LED
2. Status LED
3. Power LED
4. XBee Link and Activity LEDs
5. Cellular Link LED
6. Cellular Activity LED
7. Cellular Signal Strength LEDs

ConnectPort®X3 Family Getting Started Guide
Page 7
The following table displays LED functionality for the ConnectPort X3 and ConnectPort X3 H.
LED Color and
Light Pattern
Description
Power Off Device is off
Solid blue Device is on
Status Blinking amber Normal operation
Solid amber Device is initializing
Cellular Link Solid green Connected to the cellular network
Cellular Activity Blinking amber Cellular trafc/activity
Cellular Signal
Strength
Solid green Relative signal strength indicator (RSSI), shown as a
number of LEDs.
- 0 LEDs: No signal
- 1-2 LEDs: Weak cellular signal
- 3-5 LEDs: Good cellular signal
GPS Off No GPS satellites in range
Blinking green GPS satellites detected, acquiring lock.
Note: If the antenna is not connected to the ConnectPort
X3 device, the GPS device can indicate “phantom”
satellites. This will cause the device to behave as if many
satellites are visible to it, though it will never establish a
satellite lock. This behavior is visible as continuous, fast
blinking.
Solid green GPS has a lock
Xbee Link Solid green XBee link is up
Xbee Activity Blinking amber XBee trafc/activity

ConnectPort®X3 Family Getting Started Guide
Page 8
1.4 ConnectPort X3 R Product Features
ConnectPort
X3 R
CELLULAR GPS XBEE
1
2
34
5
1. Wiring Harness connector
2. Cellular antenna connector
3. GPS antenna connector
4. XBee antenna connector
5. SIM slot
ConnectPort X3
6
7
6. Mounting holes
7. LED status indicators
Side View
Top View

ConnectPort®X3 Family Getting Started Guide
Page 9
1.4.1 ConnectPort X3 R LEDs
The following table displays LED functionality for the ConnectPort X3 R.
LED Color and
Light Pattern
Description
POWER Off Device is off
Solid blue Device is on
STATUS Blinking amber Normal operation
Solid amber Device is initializing
CELLULAR
LINK/ACT
Solid green Connected to the cellular network
CELLULAR
ACTIVITY
Blinking amber Cellular trafc/activity
CELLULAR
SIGNAL
STRENGTH
Solid green Relative signal strength indicator (RSSI), shown as a
number of LEDs.
- 0 LEDs: No signal
- 1-2 LEDs: Weak cellular signal
- 3-5 LEDs: Good cellular signal
GPS Off No GPS satellites in range
Blinking green GPS satellites detected, acquiring lock.
Note: If the antenna is not connected to the ConnectPort
X3 device, the GPS device can indicate “phantom”
satellites. This will cause the device to behave as if many
satellites are visible to it, though it will never establish a
satellite lock. This behavior is visible as continuous, fast
blinking.
Solid green GPS has a lock
XBEE Solid green XBee link is up
Blinking amber XBee trafc/activity

ConnectPort®X3 Family Getting Started Guide
Page 10
2 iDigi®
2.1 What is iDigi®?
The iDigi®Device Cloud™ is the embedded industry’s rst ready-to-use cloud computing platform
for device networking and management. It provides secure application messaging, data storage and
device management for networks comprised of wired, cellular and satellite-connected devices.
2.2 What is Cloud Computing?
Cloud computing offers a exible new approach to delivering IT services. In the most basic sense, “The
Cloud” is resources (hardware, software, infrastructure and device networks) that can be accessed
through the internet. The benets of cloud computing are similar to a public utility model: only buy
what you need, when you need it, with the ability to quickly scale resources on-demand as resource
utilization grows.
2.3 What is a Device Network?
Sometimes referred to as Machine-to-Machine (M2M), device networks enable both wired and
wireless systems to communicate with other devices and applications. A device (such as a sensor or
meter) captures an event (such as temperature, tank level, etc) which is relayed through a network
aggregation layer (wired, wireless or both) and infrastructure to an application (software program) that
translates the captured event into meaningful information (for example, tanks need to be emptied or
relled).
2.4 What is the iDigi®Developer Cloud™?
The iDigi Developer Cloud is iDigi’s development environment for testing and prototyping device and
application integration. It is very similar to the iDigi Device Cloud (with a limit of 5 devices).
2.5 What is iDigi Manager Pro™?
iDigi Manager Pro is the Software as a Service (SaaS) component of the iDigi Device Cloud. It is a
web-based graphical user-interface for management and control of remote devices. iDigi Manager
Pro will be discussed in more detail in section 2.7 iDigi Manager Pro™ on page 13.
For more information about iDigi visit the iDigi web site at www.idigi.com, or see the iDigi User’s
Guide available at http://www.digi.com/connectportx3.

ConnectPort®X3 Family Getting Started Guide
Page 11
2.6 Create an iDigi®Developer Account
An iDigi developer account is a full service iDigi user account providing access to a limited number of
iDigi devices. It allows iDigi developers to set up a maximum of ve iDigi devices in order to develop
Python programs and iDigi client applications that will leverage the functionality provided by both iDigi
and the iDigi devices.
Before you can connect your ConnectPort X3 gateway to iDigi, you must create an iDigi developer
account.
1. Navigate to www.idigi.com.
2. Click the iDigi Login button in the upper right corner of the page.
3. Click the iDigi Developer Cloud login button.
You will be redirected to the iDigi Developer Cloud login page.

ConnectPort®X3 Family Getting Started Guide
Page 12
4. If you are a current iDigi developer account user, login with your existing user name and password.
If you are a new user, click on the “Are you a new user” link and follow the on-screen instructions
to create an account.
Once you are logged in to the iDigi Developer Cloud via your developer account, the iDigi Manager
Pro home page will be displayed (as shown below).

ConnectPort®X3 Family Getting Started Guide
Page 13
2.7 iDigi Manager Pro™
iDigi Manager Pro is a web based device management application that allows a user to manage
their inventory of iDigi devices. iDigi Manager Pro delivers capabilities that empower IT, network
operations and customer support organizations to conquer the challenges of managing the vast array
of equipment in their device networks, including:
• Centralized access and control of network equipment
• Security
• Provisioning of new equipment
• Decommissioning of equipment
• Adding functionality to the network
To add your ConnectPort X3 gateway to your iDigi inventory, perform the following steps:
1. Click on Devices from within the left navigation panel.
2. Click the Add Devices button to bring up the Add Devices dialog.
3. The Add Devices applet will automatically discover iDigi devices connected to the PC’s Ethernet
network, but since the ConnectPort X3 gateway is connected via a USB cable, it needs to be
manually added to your iDigi device inventory. Click the Add Manually button and enter the
Modem Serial Number (IMEI or MEID) of the device (which can be found on the side label of the
device).

ConnectPort®X3 Family Getting Started Guide
Page 14
4. Ensure the device is displayed in the devices list on the Devices Page. Notice that the status
column indicates Disconnected. Later in this guide you will congure the ConnectPort X3
gateway to properly establish both a cellular and iDigi connection which will change this state to
“Connected”.

ConnectPort®X3 Family Getting Started Guide
Page 15
3 Digi ESP™for Python
3.1 Digi ESP™for Python Overview
Built on the open Eclipse framework, Digi ESP for Python provides an easy-to-use and professional
Python development environment with graphical user interface.
Digi ESP for Python offers a wide variety of state-of-the-art development tool features that make
embedded development easier and faster than ever before. These include intelligent editor coding
aids (syntax highlighting, auto-indent/bracket-matching, code completion assistance), on-the-y
template insertion, and simple single-click initiation of project build processes and debug sessions.
This development environment also includes extensive documentation, tutorials, and code samples
to help you get started developing custom applications for your product.
For example, applications can be created to:
• Aggregate data on the ConnectPort X3 gateway throughout the day, then upload to iDigi once a
day.
• Develop a driver for a custom protocol to talk to a device connected to the ConnectPort X3
gateway.
• Translate data, for example, from raw serial into an XML format that can be consumed by
other systems, such as iDigi.
3.2 Download and Install Digi ESP™for Python
1. Navigate to http://www.digi.com/connectportx3 and click on the Download Digi ESP for Python
link.
2. The various download options for the Digi ESP for Python framework will be displayed on this
page. Based on your operating system, click the link to download Digi ESP for Python.

ConnectPort®X3 Family Getting Started Guide
Page 16
3. Once the Digi ESP for Python framework has been downloaded, run the Digi ESP for Python
framework installation wizard. Follow the steps in the wizard until the Choose Components
dialog is displayed.
4. When the Choose Components dialog is displayed, select the installation specic to your
ConnectPort X3 gateway. For the example used in this guide, the ConnectPort X3 R Kit
installation is selected.
5. Follow the installation until arriving at the Completing the Digi ESP for Python Setup Wizard
dialog. Uncheck both options, then click Finish.
6. Close the Digi ESP for Python program.

ConnectPort®X3 Family Getting Started Guide
Page 17
4 ConguringtheInitialConnectPortX3GatewaySettings
The Digi X3 Dashboard is a simple Microsoft Windows application for conguring basic settings of the
ConnectPort X3 gateway.
Note: The Digi X3 Dashboard program was included in the Digi ESP for Python download mentioned
in the previous chapter.
To congure your unit:
1. Open the Digi X3 Dashboard. To do so, navigate to Start > Digi > Digi X3 Dashboard > Digi
X3 Dashboard. Once the Digi X3 Dashboard opens the Device Information tab should be
displayed as shown below.
Note: The Digi X3 Dashboard will not open unless the ConnectPort X3 gateway is connected to your
PC via a USB port.
Note: The Digi X3 Dashboard OK button applies changes then exits the program; the Apply button
applies changes without exiting. Use the apply button throughout this conguration process until all
conguration settings have been applied, and you are instructed to exit the Digi X3 Dashboard program.

ConnectPort®X3 Family Getting Started Guide
Page 18
2. To congure your mobile settings click, on the Mobile tab. Enter your service plan/APN information
into the Service Plan/APN eld then click Apply.
Note: “i2gold” is for example purposes only. Enter your specic service plan/APN information in place
of this text.

ConnectPort®X3 Family Getting Started Guide
Page 19
3. The Remote Management tab is used to provide the address of the iDigi Device Cloud which
is “developer.idigi.com” in this case. Click on the Remote Management tab and congure your
settings to match what is displayed in the image below, then click Apply.

ConnectPort®X3 Family Getting Started Guide
Page 20
4. Go back to the Device Information tab. The Mobile IP Address eld should display the IP
address obtained on the cellular interface, and the CELLULAR LINK/ACT LED should have
turned green to indicate that a cellular connection has been established.
Note: For ConnectPort X3 and ConnectPort X3 H users, verify that the Cellular Link LED turned green.
Note: If an IP address is not displayed and the LED is not green, click the Refresh button and wait a
few seconds for the ConnectPort X3 gateway to refresh its conguration settings.
5. Click OK to exit the Digi X3 Dashboard program.
Table of contents
Other Digi Gateway manuals

Digi
Digi ConnectPort X2e ZB User manual

Digi
Digi M2M User manual

Digi
Digi ConnectPort X4 User manual
Digi
Digi Wi-Point 3G User manual

Digi
Digi XBee ZigBee User manual

Digi
Digi ConnectPort X4 User manual
Digi
Digi Connect Sensor+ User manual
Digi
Digi IX15 User manual
Digi
Digi 90001268 B User manual

Digi
Digi Connect Sensor User manual

Digi
Digi TM-WIFI440-Z User manual

Digi
Digi ConnectPort X4 User manual

Digi
Digi Connect Sensor User manual

Digi
Digi Xbee Gateway ZB User manual

Digi
Digi ConnectPort X4 User manual

Digi
Digi ConnectPort X2e Manual

Digi
Digi ConnectPort X2e Wi-Fi SmartEnergy User manual

Digi
Digi Smart User manual

Digi
Digi Connect Sensor Use and care manual
Digi
Digi ConnectPort X4 IA User manual