manuals.online logo
Brands
  1. Home
  2. •
  3. Brands
  4. •
  5. Dimplex
  6. •
  7. Heater
  8. •
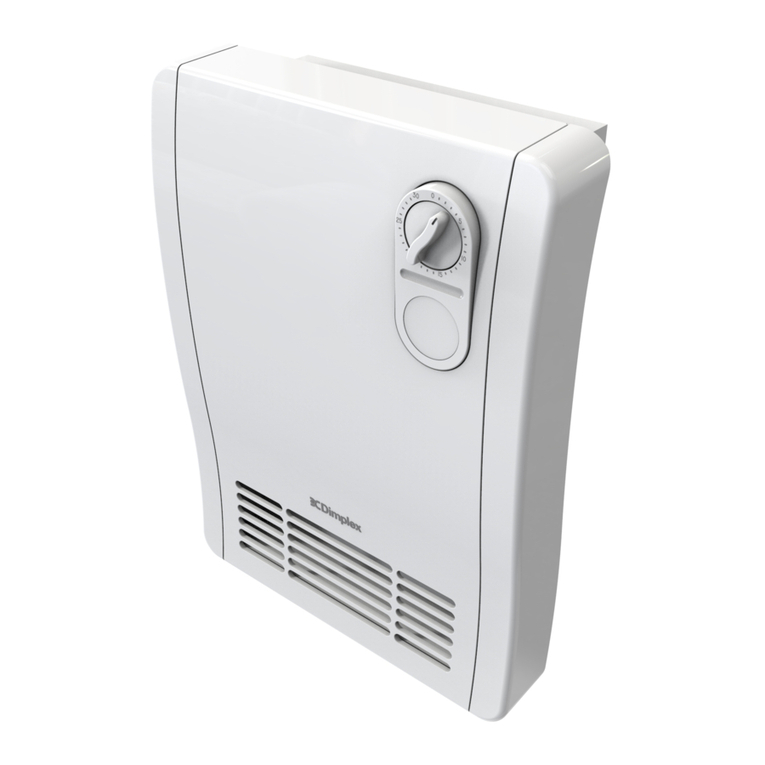
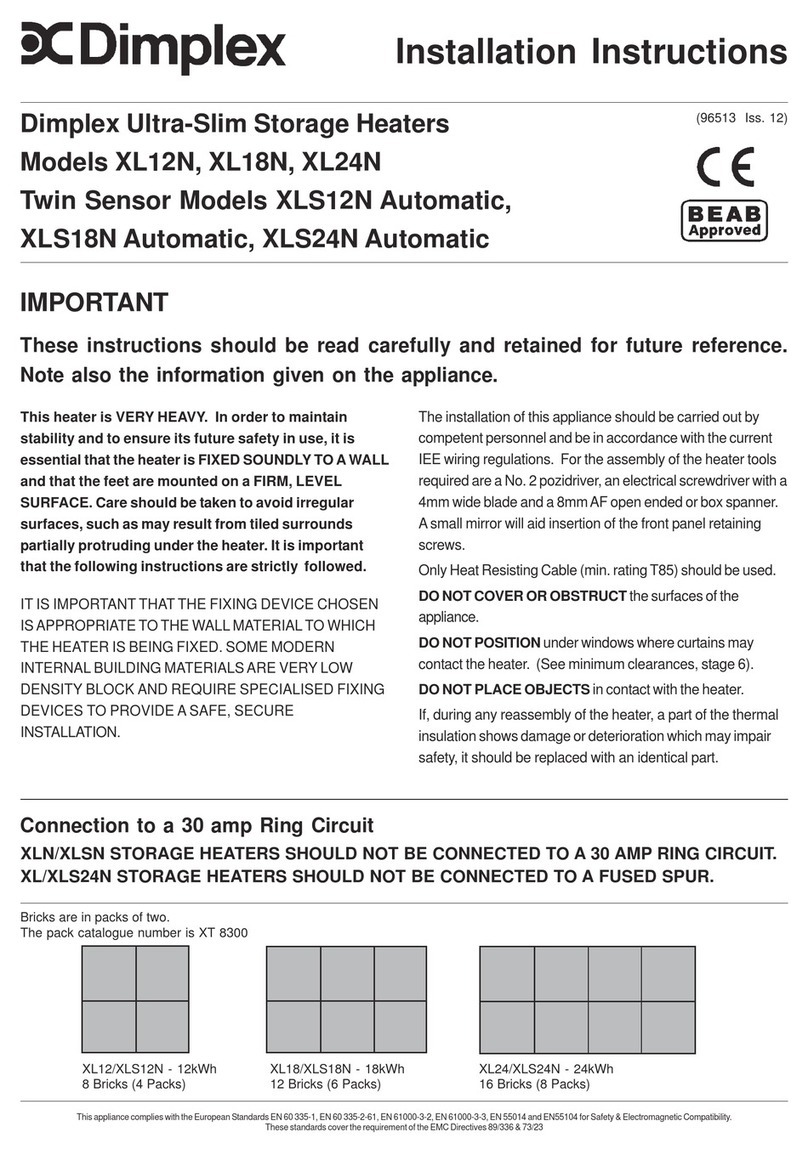
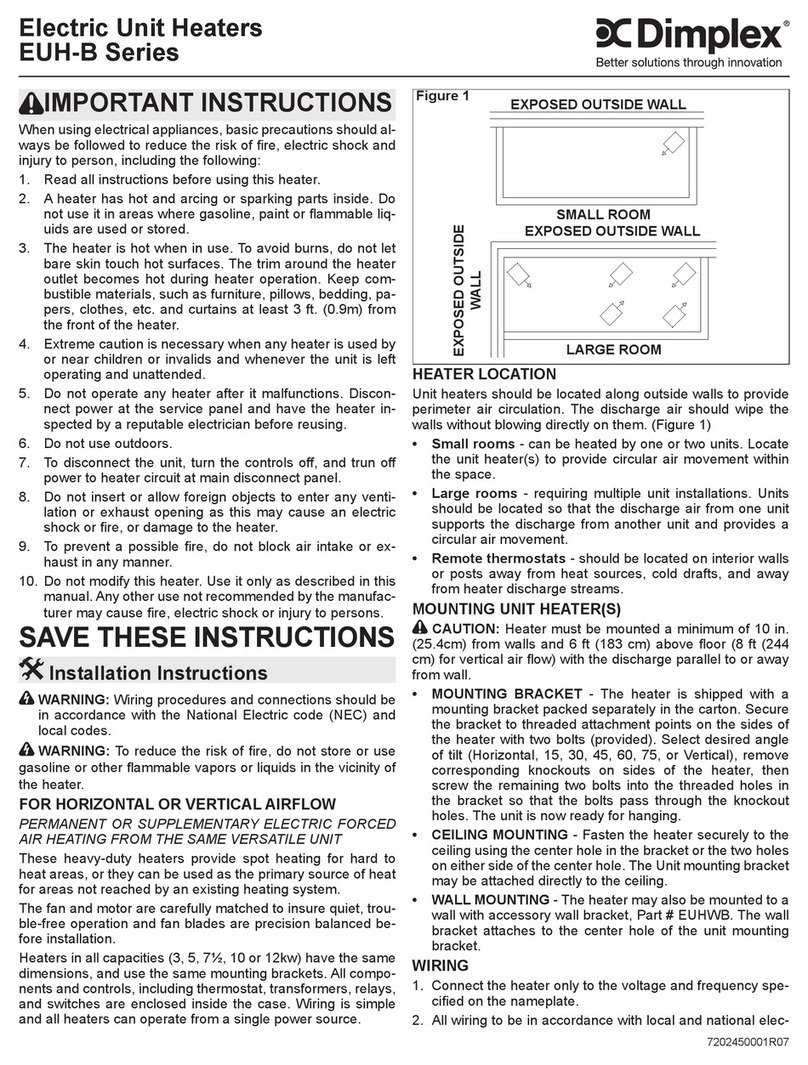
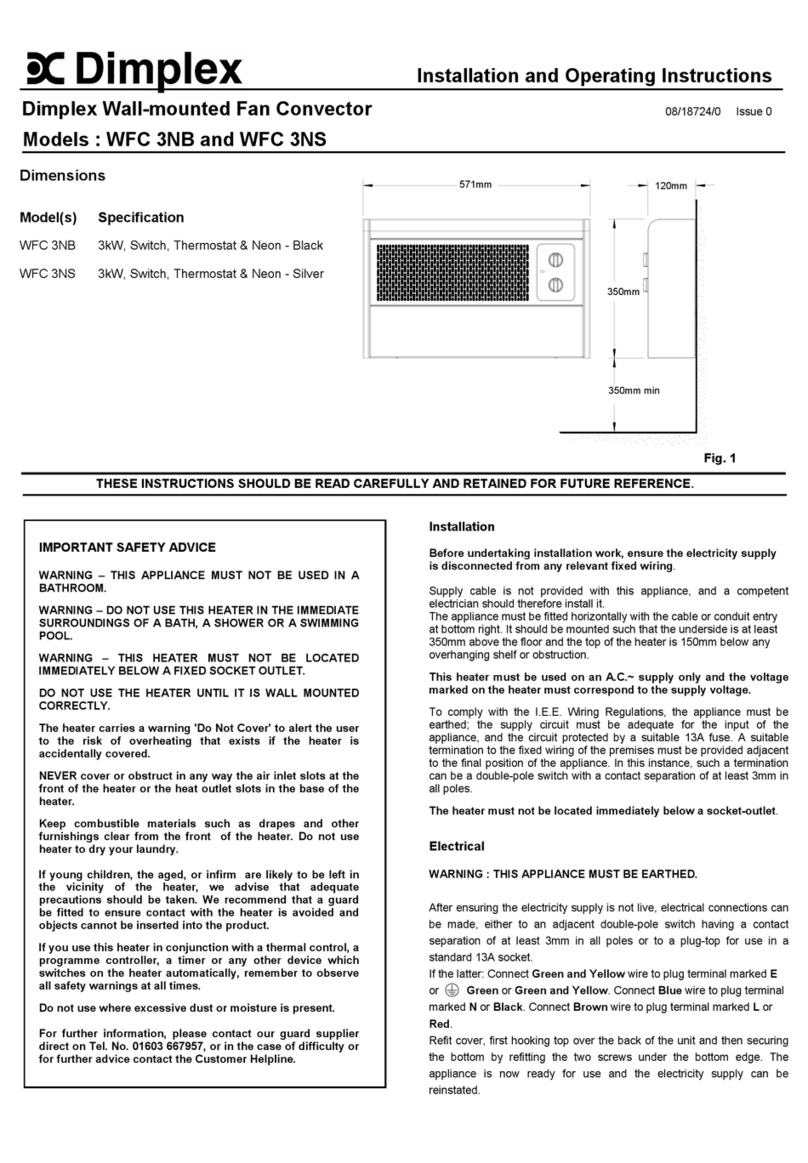
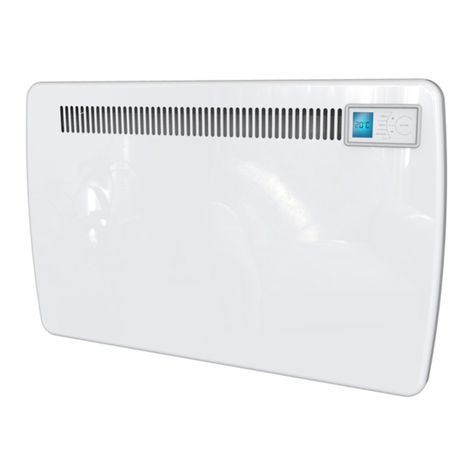
  9. Dimplex DTD2R05 User manual

Dimplex DTD2R05 User manual

IMPORTANT SAFETY ADVICE
When using electrical appliances, basic
precautions should always be followed to
reduce the risk of re, electrical shock, and
injury to persons, including the following:
IMPORTANT: The wall bracket supplied with
the appliance must be used.
WARNING: Do not use this heater in the
immediate surroundings of a bath, a shower
or a swimming pool
IMPORTANT: If the heater is installed in a
room containing a bath or shower, it must be
so installed that switches and other controls
cannot be touched by a person using a bath
or shower.
WARNING: In order to avoid overheating, do
not cover the heater. Do not place material
or garments on the heater, or obstruct the
air circulation around the heater, for instance
by curtains or furniture, as this could cause
overheating and a re risk.
NEVER cover or obstruct in any way the heat
outlet slots at the top of the heater or the air
inlet slots in the base of the heater.
This heater carries the warning symbol
indicating that it must not be covered.
CAUTION: Some parts of this product can
become very hot and cause burns. Particular
attention has to be given where children and
vulnerable people are present.
This appliance can be used by children aged
from 8 years and above and by persons with
reducedphysical,sensoryormentalcapabilities
or lack of experience and knowledge if they
have been given supervision or instruction
concerning use of the appliance in a safe way
and understand the hazards involved.
Cleaning and user maintenance shall not be
carried out by children without supervision.
Children of less than 3 years should be kept
away unless continuously supervised.
Children aged from 3 years and less than 8
years shall only switch on/off the appliance
provided that it has been placed or installed
in its intended normal operating position and
they have been given supervision or instruction
concerning use of the appliance in a safe way
and understand the hazards involved.
Children aged from 3 years and less than 8
years shall not plug in, regulate and clean the
appliance or perform user maintenance.
Note that due care and consideration must be
taken when using this heater in series with a
thermal control, a program controller, a timer
or any other device that switches on the heat
automatically, since a re risk exists when the
heater is accidentally covered or displaced.
If the supply cord is damaged it must be
replaced by the manufacturer or service agent
or a similarly qualied person in order to avoid
a hazard
WARNING: Servicing and product repai-
rs should only be undertaken by the
manufacturer’s approved service agent or a
similarly qualied person, using only exact
manufacturer approved spare parts.
IMPORTANT: The supply circuit to the heater
must incorporate a double pole isolating
switch having a contact separation of at least
3mm.
WARNING: Packaging should be disposed
of responsibly as the EPS used could be a
potential choking hazard for children.
WARNING: Do not locate the heater
immediately below a xed socket outlet or
connection box.
THESE INSTRUCTIONS SHOULD BE READ CAREFULLY AND RETAINED FOR FUTURE REFERENCE
Installation and Operating Instructions
Alta WiFi Panel Heater
(IP24)
300002588 ISSUE: 2 Series: A
50mm (min)
Fig. 1
95
200
2
B C B
A
A
B C B
400
200
75
50mm (min)
Watt A
mm
B
mm
C
mm
250 427 139 150
500 527 164 200
750 627 164 300
1000 727 214 300
1250 927 264 400
1500 1027 214 600
2000 1127 264 600
Dimensions
Watt A
mm
B
mm
C
mm
500 727 214 300
750 1027 214 600
1000 1327 364 600
Dimensions
Energy Related Product Directive
This product complies with Lot20 of the Energy Efciency Directive (2015/1188)
General Information
The heater is designed for wall mounting using the wall bracket
supplied. It should only be operated when in the upright position
as shown (see Fig. 1). All models are splash proof to IP24. Before
connecting the heater check that the supply voltage is the same as
that stated on the heater.
Model Identier(s): DTD2R
05
DTD2R
07
DTD2R
10
DTD2R
12
DTD4R
05
DTD4R
07
DTD4R
10
DTD4R
15
DTD4R
20
Nominal heat output Pnom 500 W 750 W 1000 W 1250 W 500 W 750 W 1000 W 1500 W 2000 W
Minimum heat
output (indicative) Pmin 500 W 750 W 1000 W 1250 W 500 W 750 W 1000 W 1500 W 2000 W
Maximum heat
output Pmax,c 500 W 750 W 1000 W 1250 W 500 W 750 W 1000 W 1500 W 2000 W
Auxiliary electricity consumption
At nominal heat
output elmax,c 0
00000000
At minimum heat
output elmin
0
00000000
In standby mode elSB
<0.0005 <0.0005 <0.0005 <0.0005 <0.0005 <0.0005 <0.0005 <0.0005 <0.0005
Control options
Electronic room temperature
control plus week timer Yes Ye s Yes Ye s Yes Ye s Yes Ye s Yes
With distance control option Yes Ye s Yes Ye s Yes Ye s Yes Ye s Yes
Electrical Connection
WARNING: THIS APPLIANCE MUST BE EARTHED
WARNING:- The electrical installation of this heater must be carried out
by a suitably qualied or trained electrician, and be in strict accordance
with the current wiring Regulations BS 7671. The supply must be
connected via a switched fused spur with a fuse rated suitably for the
appliances ex. Failure to follow these instructions will mean that the
manufacturer’s instructions have not been adhered to.
THERE ARE NO EXCEPTIONS.
Mains lead are coloured in accordance with the following code:
GREEN AND YELLOW: EARTH
BLUE: NEUTRAL
BROWN: LIVE
The heater is tted with a length of exible cable type H05VV-F size
3 x 1.5mm2 models for connection to the xed wiring of the premises
through a suitable connection box positioned adjacent to the heater.
A means for disconnection must be incorporated in the xed wiring
of the premises in accordance with the current wiring regulations.
Products that are supplied without a plug are for installation into the
xed wiring of the property, via a suitable double pole switched fused
spur with a fuse rated suitably for the appliances ex.
WARNING: This heater must not be connected to the electricity supply
via an external switching device.
Wall Mounting
IMPORTANT The wall bracket supplied with the heater must be
used and the heater must be installed in the correct orientation.
The xings should be used to secure the bracket to the particular
wall on which the heater will be installed.
The heater should be positioned observing the minimum clearances
stated around the heater (see Fig. 2).
WARNING:
This product is heavy and care should be taken in installation
Min.200mm
Min 50mm
Min.
30mm
Min.
50mm
DT
Min.
30mm
Ensure minimum distances are maintained as shown in Fig. 2 below
Fig. 2
Wall Bracket Installation Steps:
10
10 cm
(3.94 in.)
STEP 2
STEP 1
1
2
3
4
STEP 3 STEP 4
1. Use the wall bracket as a measuring device to place the heater on the
wall.
2. Mark the location for the two bottom screws (A-A) and fasten the two
screws in the wall.
3. Place the wall bracket onto the bottom screws (A-A). Then fasten the wall
bracket with the top screws.
4. Place the heater on the wall bracket (1), secure the tilt strap (2) and click
the heater onto the top catches (3).
5. Once the heater has been connected through a suitable connection box
to the xed wiring of the premises, the heater can be switched on (4).
Quick Start Guide
Temperature Settings
Key Lock
To activate/deactivate key lock, press ‘ + ‘ and ‘ - ‘ simultaneously.
Heating ON
Override
Pressing ‘ ‘ overrides the status from Comfort to Eco or vice versa.
The override is terminated automatically upon the next event in
the program, or at 00:00. (Correct time setting requires WiFi
connection).If the red/green light fl ashes, the heater is in override
mode.
Download Capa Connect Application
Download the Capa Connect app to your
smartphone or tablet, and follow the
instructions on screen.
Setup Capa Connect & Voice assistant
Use your smartphones camera to scan the QR code
and open web instructions. Click on Adding heater to
a Site for step by step instructions.
Application Setup
To add a heater to your site, press the “+” button in the
top, right corner of the Control screen.
Enter the product identi cation code (GDID)
and PIN code. Both codes are found on a
label at the back of the heater. The codes can
be entered manually, or by scanning the QR
code on the label.
The heater needs to be paired with your
WiFi network. This is done by activating the
Bluetooth (BLE) discovery mode on the heater.
To activate Bluetooth search, press ‘ + ‘ and ‘ ‘
simultaneously for 3 seconds.
Make sure Bluetooth is activated on your smartphone or tablet,
and follow the instructions in the app. For Android devices, device
location services must also be switched on.
Select your preferred WiFi network from the list and enter the
WiFi password when prompted.
Once paired the Bluetooth LED will remain lit.
Red = Comfort
Adjust Comfort
temperature by
pressing + or -
To switch between
“Comfort” and “Eco,”
press ‘ ‘
Green = Eco
Adjust Eco
temperature by
pressing + or -
Yellow LED will reamin lit when element is in heating state.
!Opening up full programme schedules is only available via the
APP.
Recycling
Your Guarantee
For electrical products sold within the European Community.
At the end of the electrical product’s useful life it should not be disposed of with household waste.
Please recycle where facilities exist. Check with your Local Authority or retailer for recycling advice in your country.
Batteries should be disposed of or recycled in accordance with WEEE Directive 2012/19/EU. Packaging should be recycled where
possible.
Your Product is manufactured by Glen Dimplex UK operating as Glen Dimplex Heating & Ventilation. GDHV designs and manufactures products
to ensure they deliver reliable service for normal use in domestic dwellings and, where speci ed by us, in light commercial premises.
GDHV products are individually tested before leaving the factory, Your product comes with a 2 year parts and labour guarantee for repair or
replacement of faulty goods and/or partial refund in the event that a repair or replacement is not available.
Your guarantee is provided by Glen Dimplex UK Ltd operating as Glen Dimplex Heating & Ventilation Ltd, Millbrook House, Grange Drive,
Southampton SO30 2DF. Terms and conditions apply.
The GDHV guarantee does not in any way diminish or affect your statutory consumer rights in connection with your product.
If you experience a problem with your product during or after the guarantee period, visit our online help centre:
https://www.dimplex.co.uk/gdhv-help-centre
If you cannot solve your issue online, contact the customer care team on 0344 879 3588
Please note that when you contact us you will need to provide the model and serial number of your product and a description of the fault which
has occurred.
© Glen Dimplex UK Limited. All rights reserved. Material contained in this publication may not be reproduced in whole or in part, without prior permission in writing of Glen Dimplex
Customer Helpline: 0344 879 3588
www. dimplex.co.uk
Glen Dimplex Heating & Ventilation
Millbrook House, Grange Drive, Hedge End, Southampton, SO30 2DF
This product complies with the European Safety Standards EN60335:2-30 and the European Standard Electromagnetic Compatibility (EMC) EN55014:1,
EN55014:2, EN61000:3-2 and EN61000:3-3 which cover the essential requirements of EMC Directive 2014/30/EU and the LVD Directive 2014/35/EU.
To view the full guarantee terms and conditions scan this QR code using your smartphone or go to
https://www.gdhv.co.uk/guarantee-terms-and-conditions.
Why Register Your Products With Us?
Your product is under guarantee for 2 years from the date of purchase or the date of delivery of the product, if later. The 2 year guarantee is
extended for an additional 3 years when you register the product with Dimplex, within 28 days of purchase. If you do not register the product
with Dimplex within 28 days, your product will remain guaranteed for 2 year only.
To validate your extended guarantee register with us online at: http://register.dimplex.co.uk or simply scan this QR code using your
smartphone.
If you do not have access to the internet, call us on 0344 879 3588.
On registering you will automatically receive a copy of the terms and conditions of your guarantee, which can also be downloaded at any time
from https://www.gdhv.co.uk/guarantee-terms-and-conditions. If you do not have access to the internet, call us on 0344 879 3588 and we will
send them to you by post.
Faster Customer Service
Once you have registered your product,
our customer service team will be able
to quickly access your details when you
contact us, allowing them to help you
sooner.
Guarantee Management
Upon registration, you will receive a
con rmation email including a summary
of your product guarantee, a copy of our
terms and conditions and a copy of your
proof of purchase (optional).
Product Recall Noti cation
If your product is registered you will
automatically be contacted with
applicable safety noti cations, or in
the unlikely event of a product recall.

This manual suits for next models

8

Other Dimplex Heater manuals

Dimplex EUL-B Series User manual

Dimplex

Dimplex EUL-B Series User manual

Dimplex ARLWP800TI User manual

Dimplex

Dimplex ARLWP800TI User manual

Dimplex DESC2TN User manual

Dimplex

Dimplex DESC2TN User manual

Dimplex DXC20 User manual

Dimplex

Dimplex DXC20 User manual

Dimplex DX 422 T User manual

Dimplex

Dimplex DX 422 T User manual

Dimplex QM070 Quantum User manual

Dimplex

Dimplex QM070 Quantum User manual

Dimplex DuoHeat Duo300i User manual

Dimplex

Dimplex DuoHeat Duo300i User manual

Dimplex Heater User manual

Dimplex

Dimplex Heater User manual

Dimplex DX 521 User manual

Dimplex

Dimplex DX 521 User manual

Dimplex XLS User manual

Dimplex

Dimplex XLS User manual

Dimplex LC Series User manual

Dimplex

Dimplex LC Series User manual

Dimplex PCH2000TCW User manual

Dimplex

Dimplex PCH2000TCW User manual

Dimplex PLX050E User manual

Dimplex

Dimplex PLX050E User manual

Dimplex BFH24T User manual

Dimplex

Dimplex BFH24T User manual

Dimplex Studio G DXSTG25 User manual

Dimplex

Dimplex Studio G DXSTG25 User manual

Dimplex XMS718N User manual

Dimplex

Dimplex XMS718N User manual

Dimplex Studio G DXSTG25 User manual

Dimplex

Dimplex Studio G DXSTG25 User manual

Dimplex 403TSFTIE7 User manual

Dimplex

Dimplex 403TSFTIE7 User manual

Dimplex LST100 User manual

Dimplex

Dimplex LST100 User manual

Dimplex OFRC20 User manual

Dimplex

Dimplex OFRC20 User manual

Dimplex CMH Series User manual

Dimplex

Dimplex CMH Series User manual

Dimplex EF12 Series User manual

Dimplex

Dimplex EF12 Series User manual

Dimplex DXW 307 User manual

Dimplex

Dimplex DXW 307 User manual

Dimplex TDTR 175C User manual

Dimplex

Dimplex TDTR 175C User manual

Popular Heater manuals by other brands

THOMSON THRAY03M instruction manual

THOMSON

THOMSON THRAY03M instruction manual

Vermont Castings The Intrepid 1695CE Installation and operating manual

Vermont Castings

Vermont Castings The Intrepid 1695CE Installation and operating manual

ARDES AR449TI Instructions for use

ARDES

ARDES AR449TI Instructions for use

Bimar Murano S600.EU Instruction booklet

Bimar

Bimar Murano S600.EU Instruction booklet

Energy ENERGY ERGO Series user manual

Energy

Energy ENERGY ERGO Series user manual

MaxxHome 20501 user manual

MaxxHome

MaxxHome 20501 user manual

ECG OR 2090 instruction manual

ECG

ECG OR 2090 instruction manual

Sonnenkonig VENTUS 200 user manual

Sonnenkonig

Sonnenkonig VENTUS 200 user manual

EUROM 340013 instruction manual

EUROM

EUROM 340013 instruction manual

Star Progetti HELIOSA Hi design 66 Series operating instructions

Star Progetti

Star Progetti HELIOSA Hi design 66 Series operating instructions

solamagic 500W user guide

solamagic

solamagic 500W user guide

Thermoscreens TX36AFAL006D INSTALLATION, OPERATION & MAINTAINANCE ORIGINAL INSTRUCTIONS

Thermoscreens

Thermoscreens TX36AFAL006D INSTALLATION, OPERATION & MAINTAINANCE ORIGINAL INSTRUCTIONS

ITS Telecom ITS-4.7HDP Installation instructions manual

ITS Telecom

ITS Telecom ITS-4.7HDP Installation instructions manual

Dr.Prepare DCH03 user guide

Dr.Prepare

Dr.Prepare DCH03 user guide

VOV Heating VHS-3002F instruction manual

VOV Heating

VOV Heating VHS-3002F instruction manual

Desa "A" Models OWNER'S OPERATION AND INSTALLATION MANUAL

Desa

Desa "A" Models OWNER'S OPERATION AND INSTALLATION MANUAL

HELLER CTH5162 instruction manual

HELLER

HELLER CTH5162 instruction manual

CLAS CH 0033 manual

CLAS

CLAS CH 0033 manual

manuals.online logo
manuals.online logoBrands
  • About & Mission
  • Contact us
  • Privacy Policy
  • Terms and Conditions

Copyright 2025 Manuals.Online. All Rights Reserved.