manuals.online logo
Brands
  1. Home
  2. •
  3. Brands
  4. •
  5. Dimplex
  6. •
  7. Indoor Fireplace
  8. •
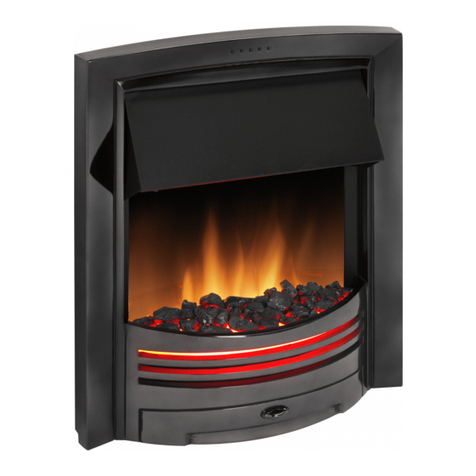
  9. Dimplex IN-STUD V1525BT User manual

Dimplex IN-STUD V1525BT User manual

Other manuals for IN-STUD V1525BT

3

This manual suits for next models

1

Other Dimplex Indoor Fireplace manuals
Dimplex BLF50 User manual

Dimplex

Dimplex BLF50 User manual

Dimplex DWF120330B User manual

Dimplex

Dimplex DWF120330B User manual

Dimplex MILANOef EDS7001F Quick start guide

Dimplex

Dimplex MILANOef EDS7001F Quick start guide

Dimplex BF 30' series Operation manual

Dimplex

Dimplex BF 30' series Operation manual

Dimplex Revillusion Osbourne User manual

Dimplex

Dimplex Revillusion Osbourne User manual

Dimplex EF3003-230 User manual

Dimplex

Dimplex EF3003-230 User manual

Dimplex DF3020-EU User manual

Dimplex

Dimplex DF3020-EU User manual

Dimplex DF2524G User manual

Dimplex

Dimplex DF2524G User manual

Dimplex SCANDIC User manual

Dimplex

Dimplex SCANDIC User manual

Dimplex Osbourne User manual

Dimplex

Dimplex Osbourne User manual

Dimplex DF2024 User manual

Dimplex

Dimplex DF2024 User manual

Dimplex DCF44GS User manual

Dimplex

Dimplex DCF44GS User manual

Dimplex Opti-myst RTOPW20 User manual

Dimplex

Dimplex Opti-myst RTOPW20 User manual

Dimplex OPTIMYST RTOPCS20 User manual

Dimplex

Dimplex OPTIMYST RTOPCS20 User manual

Dimplex BFL50-EU User manual

Dimplex

Dimplex BFL50-EU User manual

Dimplex 314 CHE User manual

Dimplex

Dimplex 314 CHE User manual

Dimplex EWT SP16-LED User manual

Dimplex

Dimplex EWT SP16-LED User manual

Dimplex DCF7850 User manual

Dimplex

Dimplex DCF7850 User manual

Dimplex BFSL33 User manual

Dimplex

Dimplex BFSL33 User manual

Dimplex DF2624L-EUE User manual

Dimplex

Dimplex DF2624L-EUE User manual

Dimplex DF2690 User manual

Dimplex

Dimplex DF2690 User manual

Dimplex DF2608 User manual

Dimplex

Dimplex DF2608 User manual

Dimplex BF33STP/DXP User manual

Dimplex

Dimplex BF33STP/DXP User manual

Dimplex CAS500P-RGB-EU Instruction Manual

Dimplex

Dimplex CAS500P-RGB-EU Instruction Manual

Popular Indoor Fireplace manuals by other brands

Napoleon NEFL42CHD-1 manual

Napoleon

Napoleon NEFL42CHD-1 manual

Masport WOOD FIRE installation guide

Masport

Masport WOOD FIRE installation guide

JAYLINE SS280 Installation & operation instructions

JAYLINE

JAYLINE SS280 Installation & operation instructions

Heat-N-Glo SL-32S Installation

Heat-N-Glo

Heat-N-Glo SL-32S Installation

kozy heat Bellingham 52 quick start guide

kozy heat

kozy heat Bellingham 52 quick start guide

Paragon Fires ROOM SEALED INSET LIVE FUEL EFFECT GAS FIRE owner's manual

Paragon Fires

Paragon Fires ROOM SEALED INSET LIVE FUEL EFFECT GAS FIRE owner's manual

Monessen Hearth LCUF32CR-B Installation & owner's manual

Monessen Hearth

Monessen Hearth LCUF32CR-B Installation & owner's manual

PuraFlame Galena owner's manual

PuraFlame

PuraFlame Galena owner's manual

SEI TENNYSON FA8544AO Assembly instructions

SEI

SEI TENNYSON FA8544AO Assembly instructions

Dru G25 installation manual

Dru

Dru G25 installation manual

Capital fireplaces Designline DL700 Installation and user instructions

Capital fireplaces

Capital fireplaces Designline DL700 Installation and user instructions

IronStrike VINTAGE VINT-DVS-U Installation and operation

IronStrike

IronStrike VINTAGE VINT-DVS-U Installation and operation

ACR Heat HERITAGE N25 Installation and operating instruction manual

ACR Heat

ACR Heat HERITAGE N25 Installation and operating instruction manual

European Home HVF-42 Installation, operation and owner's manual

European Home

European Home HVF-42 Installation, operation and owner's manual

Quadra-Fire MTVERNINSAE-MBK Owner's manual operation & care

Quadra-Fire

Quadra-Fire MTVERNINSAE-MBK Owner's manual operation & care

Harman Home Heating Accentra Insert Installation & operating manual

Harman Home Heating

Harman Home Heating Accentra Insert Installation & operating manual

Trimline Fires Zircon 1024 installation instructions

Trimline Fires

Trimline Fires Zircon 1024 installation instructions

Cannon Fitzroy Inbuilt installation instructions

Cannon

Cannon Fitzroy Inbuilt installation instructions

manuals.online logo
manuals.online logoBrands
  • About & Mission
  • Contact us
  • Privacy Policy
  • Terms and Conditions

Copyright 2025 Manuals.Online. All Rights Reserved.

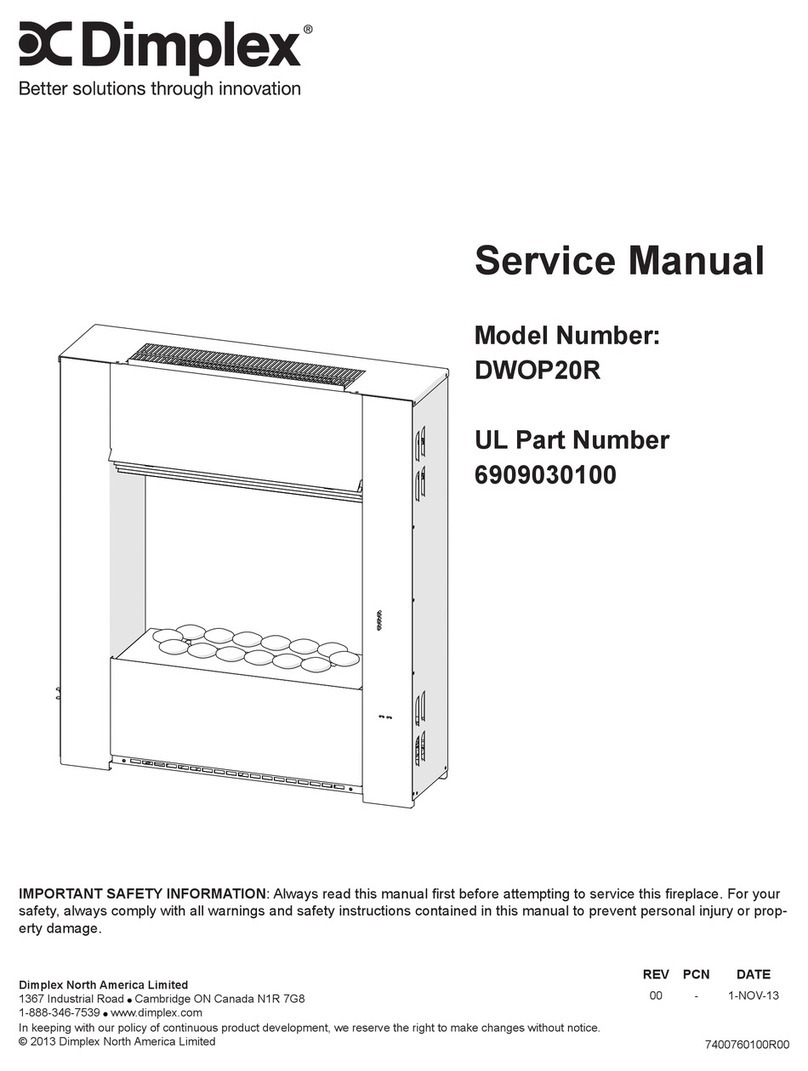
7208630100R01
PRACTICAL USER’S GUIDE
FOR THE IN-STUD FIREPLACE
MODEL NUMBER:
V1525BT
V1525RT
Valued Customer,
We are pleased that you have chosen to purchase an
electric fireplace manufactured by Dimplex North America
Limited.
Over the years, valuable memories will occur around the
warmth and comfort of your hearth. Thank you for allowing
our product to be the backdrop for those special moments.
Serial Number _______________
Model Number _______________
Quality checked by:
CONTENTS
PAGE 1 – 2 Important Instructions
PAGE 4 Fireplace Installation
PAGE 13 Operation
PAGE 15 Maintenance
PAGE 18 Warranty
QUICK REFERENCE GUIDE
FOR THE IN-STUD FIREPLACE
1. Before using the In-Stud fireplace verify:
•Are the circuit breakers for the unit on?
•Are the light bulbs loose? (to check,
follow the instructions for replacing the
light bulbs under the maintenance
section of this manual)
2. The heater may emit a slight, harmless odor
when first used. This odor is a normal condition
caused by the initial heating of internal heater
parts.
3. The information regarding the model of your unit
can be found on the rating plate located on the
side of the unit. See page 4 for an illustration on
how to locate the rating plate.
4. If you have any questions or concerns regarding
the operation of your fireplace, contact Dimplex
customer service at 1-888-DIMPLEX (1-888-
346-7539)
IMPORTANT INSTRUCTIONS
RETAIN THIS USER’S GUIDE
FOR FUTURE REFERENCE
When using electrical appliances, basic
precautions should always be followed to reduce
the risk of fire, electric shock, and injury to persons.
1. Read all instructions before using the In-Stud
fireplace.
2. The heater is hot when in use. To avoid burns,
do not let bare skin touch hot surfaces. The
trim around the heater outlet becomes hot
during heater operation. Keep combustible
materials, such as furniture, pillows, bedding,
papers, clothes, and curtains at least 3 feet
(0.9m) from the front of the unit.
3. Extreme caution is necessary when any heater
is used by or near children and whenever the
unit is left operating and unattended.
4. Always disconnect power to the fireplace when
not in use for extended period of time.
5. Do not operate with a damaged cord or plug (for
units supplied with a cord), or if the heater has
malfunctioned, or if the fireplace has been
dropped or damaged in any manner. Contact
Dimplex Customer Services 1-888-346-7539
immediately.
6. Do not use outdoors.
7. Never locate heater where it may fall into a
bathtub or other water container.
8. Do not run the cord under carpeting (for units
supplied with a cord). Do not cover cord with
throw rugs, runners, or the like. Arrange cord
away from traffic area and where it will not be
tripped over.
1
9. To disconnect the unit, turn the controls off, and
then remove the plug from the outlet or switch
off at main power supply panel if the unit is
hardwired.
10. Do not insert or allow foreign objects to enter
any ventilation or exhaust opening as this may
cause an electric shock or fire, or damage to
the heater.
11. To prevent a possible fire, do not block air intake
or exhaust in any manner.
12. All electrical heaters have hot and arching or
sparking parts inside. Do not use in areas
where gasoline, paint, or flammable liquids are
used or stored or where the unit will be exposed
to flammable vapors.
13. Do not modify the fireplace. Use it only as
described in this manual. Any other use not
recommended by the manufacturer may cause
fire, electric shock or injury to persons.
14. This unit may have a polarized plug (one blade
is wider than the other). The plug will fit in a
polarized outlet only one way. If the plug does
not fit fully in the outlet, reverse the plug. If it still
does not fit, contact a qualified electrician to
install the proper outlet. Do not change the plug
in any way. Avoid the use of an extension cord.
Extension cords may overheat and cause a risk
of fire. If you must use an extension cord, the
cord must be No. 16 AWG minimum size and
rated no less than 1875 watts.
15. Do not burn wood or other materials in the
fireplace.
16. Do not strike the glass front.
17. Always use a certified electrician for build-in
hard-wired installation.
18. Always use properly grounded, fused and
polarized outlets.
2
3
19. Disconnect all main power supply (unplug the
unit or switch off at main service panel) before
performing any cleaning, maintenance or
relocation of the unit.
20. Do not operate the fireplace without the glass
assembly and/or frame.
21. When transporting or storing the unit and cord,
keep in a dry place, free from excessive
vibration and store so as to avoid damage.
22. Do not put combustible material, liquid, small
articles such as sand inside glass assembly.
SAVE THESE
INSTRUCTIONS
If you have any questions about our products please
have the product model and serial numbers available
upon calling Dimplex customer service. To locate the
model and serial number see below.
4
NOTE: Procedures and techniques that are
considered important enough to emphasize.
CAUTION: Procedures and techniques, which, if not
carefully followed, will result in damage to the
equipment.
WARNING: Procedures and techniques, which, if not
carefully followed, will expose the user to the risk of
fire, serious injury, illness or death.
Step-by-Step Installation
NOTE
A 15amp, 120-volt circuit is required. A dedicated
circuit is preferred but not essential in all cases. A
dedicated circuit will be required if, after installation, the
circuit breaker trips or the fuse blows on a regular
basis when the heater is operating. Additional
appliances on the same circuit may exceed the current
rating of the circuit breaker.
WARNING
Ensure the power cord is not installed so that it is
pinched or against a sharp edge and ensure that the
power cord is stored or secured to avoid tripping or
snagging to reduce the risk of fire, electric shock or
injury to persons.
Construction and electrical outlet wiring must comply
with local building codes and other applicable
regulations to reduce the risk of fire, electric shock and
injury to persons.
Do not attempt to wire your own new outlets or circuits.
To reduce the risk of fire, electric shock or injury to
persons, always use a licensed electrician.
WARNING
The In-Stud fireplace is wall mountable and can be
build-in the wall space 16" over-center between 2"x4"
wall studs. Follow the installation instructions for either
wall mount or built-in mounting; failure to do so may
cause damage or injury.
5
Remove glass assembly before installing fireplace
on or into a wall.
1. Remove screws securing glass assembly on
the mounting tabs. (Figure 1)
2. Use both handles on the sides of the glass
assembly, lift and remove the assembly from
the fireplace.
3. Please glass assembly with it’s back facing
down on a flat surface.
Wall Mounting Instructions:
1. Leave the trim uninstalled until step 9.
2. Select a location for the fireplace, preferably
above an electrical outlet and there must be at
least one wall stud behind for the fireplace to
mount onto. The bottom of the unit must be a
minimum of 4" space above the floor (mounting
holes 29.5" minimum above the floor). Access to
the electrical outlet must be maintained. Ensure
the installation meets the national and state/
provincial electrical codes.
FIGURE 1
6
NOTE
It is recommended that the bottom of the unit not be
mounted higher than 48" from the ground to
maintain an optimized viewing angle of the flame.
CAUTION
The fireplace must be mounted at two points, one
of which must be on a wall stud.
WARNING
High temperatures may be generated under
certain abnormal conditions. Do not partially or
fully cover or obstruct the front of this heater.
Bottom of unit must be a minimum of 4" above
floor or any surface such as a tabletop to ensure
adequate ventilation through air intake located at
the bottom of the fireplace. (Figure 3)
Figure 2
7
Figure 3
3. With a wall stud finder, locate the center of the
wall stud, drive a wood screw into stud and
leave approximately 1/8" exposed threads for
the fireplace to hang on.
4. The second mounting point should be picked
such that it is farthest (to the left or right)
relative to the first one among the seven
keyholes (A to G shown in figure 2) on the
fireplace for wall mounting, these keyholes
are 2" apart. For example, if you plan to use
hole B as the first mounting hole, the second
mounting hole must be G. Other available
combinations are A-G, C-G, A-F, A-E, A-D and
D-G.
5. Mark the second mounting screw location;
ensure that is level with the first with the help
of the provided bubble level and the fireplace
itself. Screw the threaded drywall anchor in
the drywall with a Philip’s head screwdriver
until the head is flat against the wall surface.
Caution should be taken when using a power
Air Circulation
8
tool to install a threaded drywall anchor as the
drywall may distort, tear or slightly buckle as a
result of over-torque.
6. With a Philip’s head screw driver, screw that
drywall anchor screw into the drywall anchor
already in the wall, leave about 1/8" exposed
threads for mounting the fireplace.
7. With the glass assembly taken off, mount the
firebox onto the two mounting screws.
8. Tighten both mounting screws with a
screwdriver. Be caution not to over tighten
the one mated with the drywall anchor.
9. Screw supplied wood screw into
corresponding hole that aligns with stud.
(Fig. 2)
10. Re-install glass assembly into fireplace.
11. Install frame onto the firebox as shown in
below.
Install supplied
brackets as shown
on bothsides of
frame
Secure frame on
fireplace with
supplied self-tapping
screws
Install frame on to
fireplace
Figure 4