manuals.online logo
Brands
  1. Home
  2. •
  3. Brands
  4. •
  5. Dish Network
  6. •
  7. DVR
  8. •
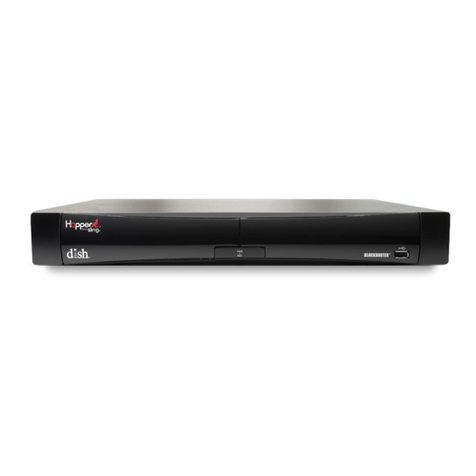
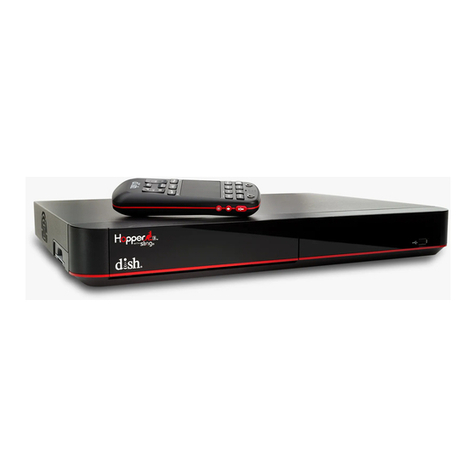
  9. Dish Network Hopper User manual

Dish Network Hopper User manual

Other manuals for Hopper

4

This manual suits for next models

1

Other Dish Network DVR manuals

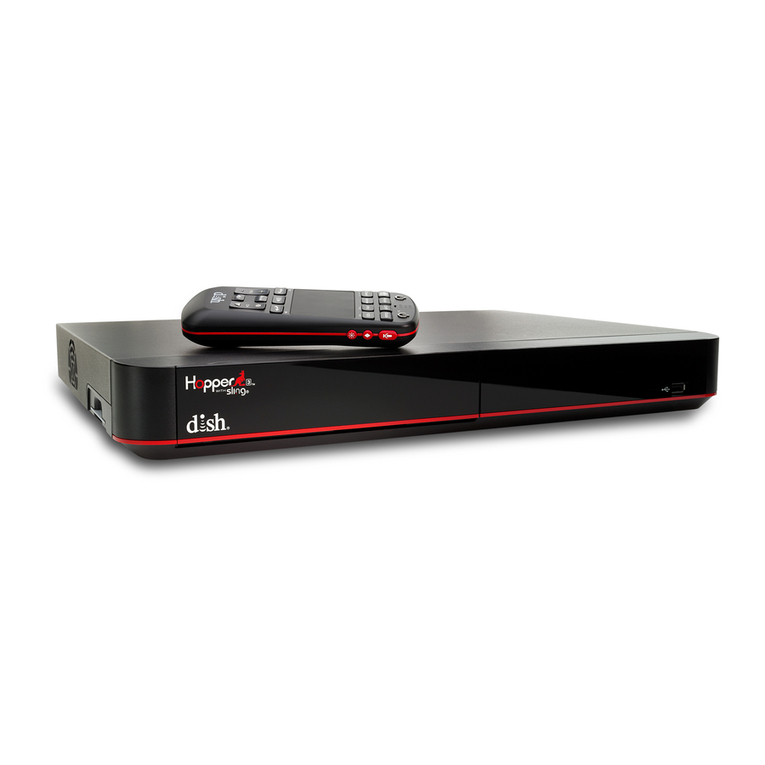
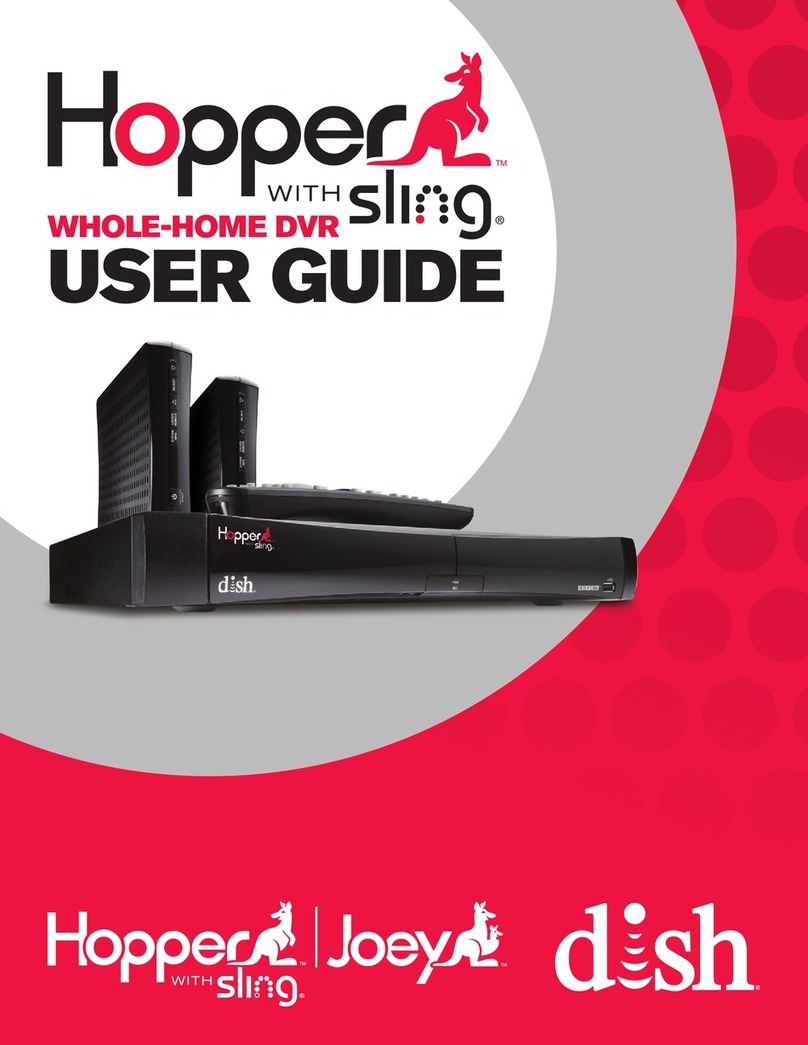
Dish Network Hopper with Sling User manual

Dish Network

Dish Network Hopper with Sling User manual

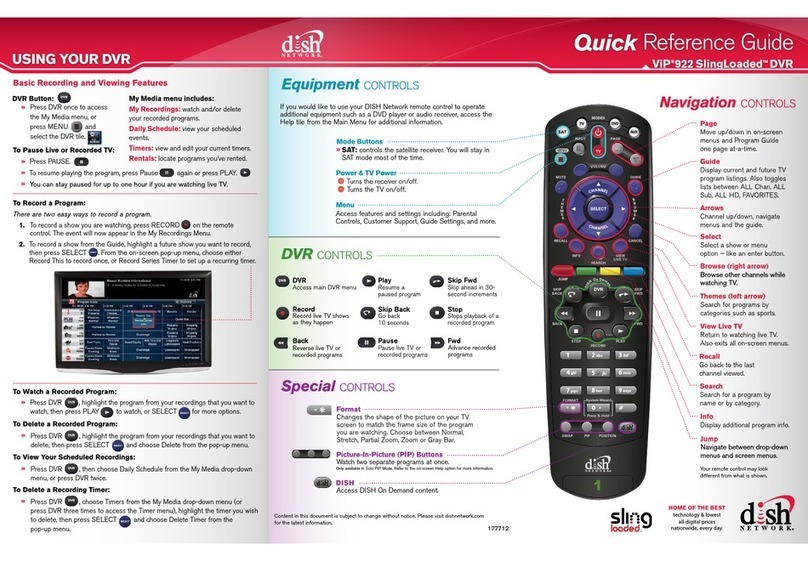
Dish Network 622  guide User manual

Dish Network

Dish Network 622 guide User manual

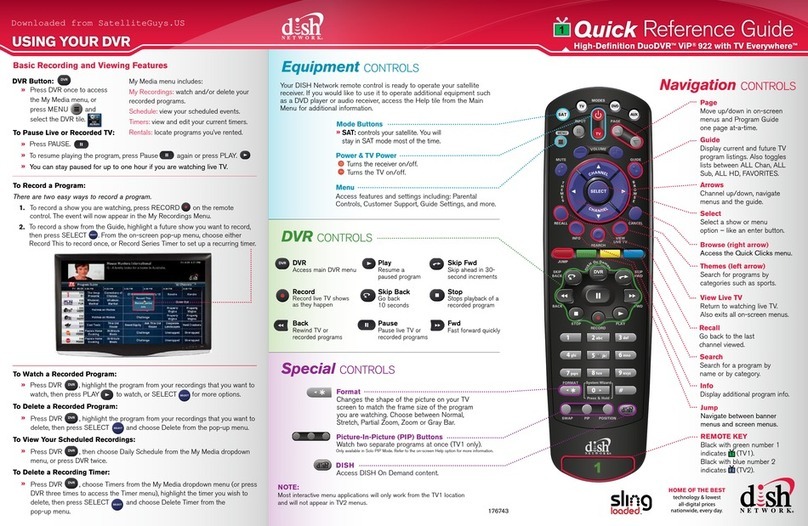
Dish Network DuoDVR ViP 622 User manual

Dish Network

Dish Network DuoDVR ViP 622 User manual

Dish Network Hopper User manual

Dish Network

Dish Network Hopper User manual

Dish Network ViP 722 User manual

Dish Network

Dish Network ViP 722 User manual

Dish Network Hopper with Sling User manual

Dish Network

Dish Network Hopper with Sling User manual

Dish Network Hopper 3 User manual

Dish Network

Dish Network Hopper 3 User manual

Dish Network DP512 User manual

Dish Network

Dish Network DP512 User manual

Dish Network DuoDVR ViP 622 User manual

Dish Network

Dish Network DuoDVR ViP 622 User manual

Dish Network DVR Satellite System User manual

Dish Network

Dish Network DVR Satellite System User manual

Dish Network Two-TV DVR User manual

Dish Network

Dish Network Two-TV DVR User manual

Dish Network DuoDVR ViP 922 User manual

Dish Network

Dish Network DuoDVR ViP 922 User manual

Dish Network Hopper Manual

Dish Network

Dish Network Hopper Manual

Dish Network VIP 922 SingLoader DVR User manual

Dish Network

Dish Network VIP 922 SingLoader DVR User manual

Dish Network Dish Player-DVR User manual

Dish Network

Dish Network Dish Player-DVR User manual

Dish Network DISH Player-DVR 522 User manual

Dish Network

Dish Network DISH Player-DVR 522 User manual

Dish Network Hopper Joey User guide

Dish Network

Dish Network Hopper Joey User guide

Popular DVR manuals by other brands

Pace TDC577X manual

Pace

Pace TDC577X manual

Zavio NQ2040 user manual

Zavio

Zavio NQ2040 user manual

KGuard Security KG-SHA104 user manual

KGuard Security

KGuard Security KG-SHA104 user manual

SanDisk V-Mate Quick manual

SanDisk

SanDisk V-Mate Quick manual

Panasonic WJND200 - NETWORK DISK RECORDER Setup instructions

Panasonic

Panasonic WJND200 - NETWORK DISK RECORDER Setup instructions

Hunt Electronic HVRM-T1600Q Install & user's guide

Hunt Electronic

Hunt Electronic HVRM-T1600Q Install & user's guide

Portwell PIVS-6104 user manual

Portwell

Portwell PIVS-6104 user manual

AVer EXR6004 Mini Quick user guide

AVer

AVer EXR6004 Mini Quick user guide

Security Labs SLD261 owner's manual

Security Labs

Security Labs SLD261 owner's manual

Swann DIGITAL VIDEO RECORDER instruction manual

Swann

Swann DIGITAL VIDEO RECORDER instruction manual

EverFocus ECOR 4 instruction manual

EverFocus

EverFocus ECOR 4 instruction manual

Xoro HRK 7550 user manual

Xoro

Xoro HRK 7550 user manual

FLIR M3100E Series instruction manual

FLIR

FLIR M3100E Series instruction manual

VTRACKPRO FPRO300 user manual

VTRACKPRO

VTRACKPRO FPRO300 user manual

Swann NVR-7085 models instruction manual

Swann

Swann NVR-7085 models instruction manual

RMRC FPV1000 manual

RMRC

RMRC FPV1000 manual

urmet domus 1093/004AHD instructions

urmet domus

urmet domus 1093/004AHD instructions

Toshiba D-VR3SU Service manual

Toshiba

Toshiba D-VR3SU Service manual

manuals.online logo
manuals.online logoBrands
  • About & Mission
  • Contact us
  • Privacy Policy
  • Terms and Conditions

Copyright 2025 Manuals.Online. All Rights Reserved.

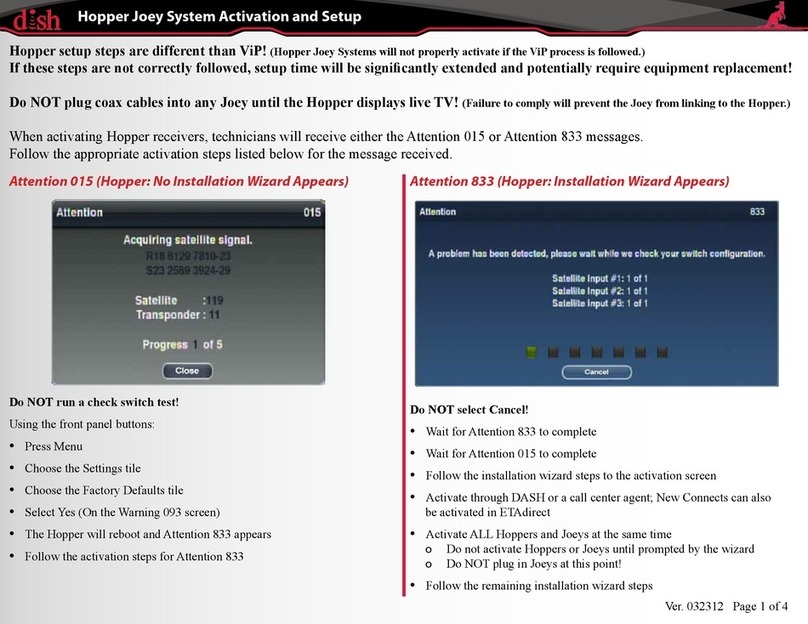
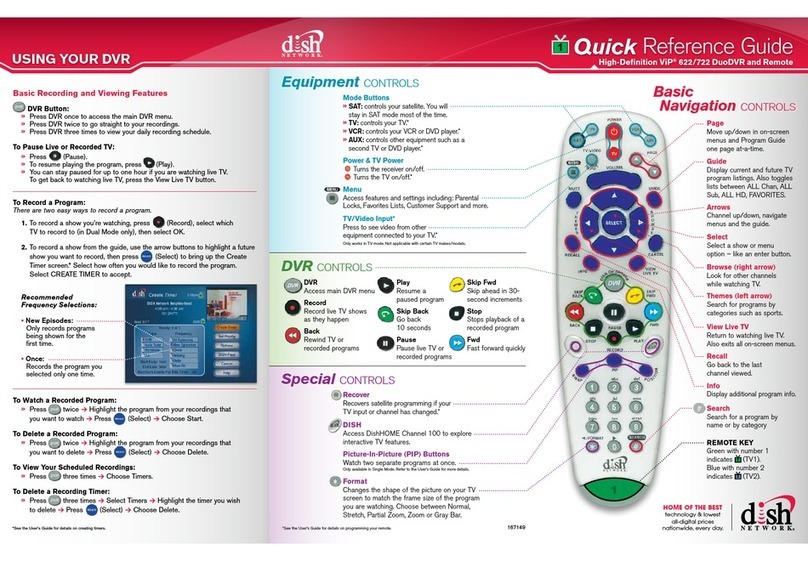
Setup and Activation - Hopper
STEP SCREEN RECEIVER ACTION TECH ACTION
APPROX.
TIME
1
White tear drop (may
ash to a black screen) Hopper starting up
Plug in Hopper
02:02
2
01:30
2a 015 (only on certain
units)
Factory software set
incorrectly on certain units;
need to reset factory settings
Workaround (A)
3833 Check switch
4015 Acquiring signal
Startup Actions (B)
02:31
03:22
5Setup wizard: pair
remote (step 1 of 5) Pairs remote to Hopper 00:04
Press the SAT button on the
Hopper remote
Setup wizard: name
location (step 2 of 5)
Assigns a room name to the
receiver
Choose correct name for the
Hopper location 00:09
7Setup wizard: download
software (step 3 of 5) Hopper software download 03:49
6
8
9
10
303
Hopper reboots
833
11 015
Memory burn
Check switch
Acquiring signal
12 Setup wizard: download
software (step 3 of 5) Joey software download
06:58
00:15
02:03
02:31
04:47
13 Setup wizard: set
resolution (step 4 of 5) Sets TV resolution Select TV resolution
14 756 (black screen while
setting) Saves settings Select “Yes”
00:09
00:08
15
16
Setup wizard: authorize
receiver (step 5 of 5)
03:09
04:08
Activation process
Activation screen; hit sent
Activate all receivers via tablet or
DASH
Enter installation details in
ETAdirect
17 “Watch TV” is available
on the screen Authorization is complete 00:21Select “Watch TV”
Continue entering installation
details in ETAdirect
18 015 Acquiring signal 02:14
19 Live TV EPG download
1. Congure Remote to TV (D)
11:36
(A) Workaround
A1. Press the MENU button
A2. Select the “Settings” tile
A3. Select the “Factory
Defaults” tile
A4. “Warning 093” appears
on screen
A5. Select “Yes”
The Hopper will reboot;
continue on with step 3
(B) Startup Actions
(07:55 total time)
B1. Unwrap remote and batteries
B2. Place batteries in the remote
B3. Put room/input sticker on remote
B4. Fill out room and input
information in the GSG
B5. Clean up Hopper box/other trash
B6. Take trash to the vehicle and
bring back the vacuum
(C) Software Download Actions (20:23 total time)
C1. Open and unpack Joeys at each location
C2. Unwrap remotes and batteries
C3. Place batteries in each remote
C4. Place room/input stickers on each Joey remote
C5. Attach each Joey mount (if applicable)
C6. Attach power cords to the back of each Joey and the HIC. Do
NOT plug in to power yet
C7. Connect each Joey to its TV
C8. Prepare coax cables; do NOT connect them yet
C9. Clean up all boxes
C10. Clean up inside/outside, including vacuuming
C11. Take tools, supplies and trash back to the vehicle
(E) Verify Client ID
Do NOT plug any Joey or HIC to power until the Client ID# populates
E1. From live TV, press the blue shortcut button (Network Setup)
E2. Select the “Tests” tile
E3. Select “View Counters”
E4. Page down to “Client ID”
E5. If the Client ID# is populated, move to Joey setup
E6. If the Client ID# is not populated
a. Put the Hopper in standby
b. Wait 5 minutes and check again
c. Replace the receiver after 3 attempts
If there are multiple Hoppers,
repeat steps 1-6
If there are no more Hoppers
to start up, complete Software
Download Actions (C)
00:10
Hopper startup screen
(D) Congure Remote to TV
D1. Press MENU button
D2. Select “Settings” tile
D3. Select “Remote Manager”
D4. Program TV code
D5. Program Limited Mode
D6. Program other components (DVD player, audio receiver, etc.)
2. Verify Client ID (E)
3. Move on to Joey setup
Startup Actions (B)
Setup and Activation - Joey
The following steps will be performed after there is live TV at the Hopper location and the Client ID is veried
They can be performed one after the other in sequence with minimal downtime
Step Action
1.
2.
3.
4.
5.
Attach coaxial cable
Plug Joey into power
Pair the remote
Name location
Initiate download and move on
(1) Joey Download Initiation
(2) Joey Setup Completion
6.
7.
8.
9.
10.
11.
Set and save video resolution
Link receivers
Select “Watch Live TV”
Program remote to the TV
Check MoCA Signal in System Info>Box C
Tune to a basic satellite channel
(3) Hopper
Action
Repeat these steps for any additional
Hoppers, then give the customer a
walkthrough of the installation and perform
customer education
Verify EPG Download (F)
F1. Press the red shortcut button (TV
Viewing Status Screen)
F2. The TV Viewing Status Screen
displays three tuner status boxes on
the top half of the screen
F3. If the EPG is still downloading,
“Guide Update” will be displayed in
two of the status boxes
F4. One at a time, these two status
boxes will stop displaying “Guide
Update.” At that time, the DVR/EPG
will be ready for customer ed.
Note
After you complete step 5 and initiate the
download, move to the next Joey. Do NOT
wait for the software download to complete.
Step
Connectivity
The HIC and other connectivity
devices can be connected to
power and to the system any
time after the Hopper has live
TV and the Client ID populates.
Hierarchy
1. Direct Ethernet connection
2. HIC (using existing cable)
3. Wireless adapter
4. HIC (new cable run required)
Additional
Joeys?
Step Action
YES
NO
Additional
Joeys?
NO
YES
20. Access the TV Viewing Status Screen and
verify EPG download is complete (F)
21. Check signal level via STBH Live or
through the Point Dish Screen
22. Record a family-friendly premium program
for customer education