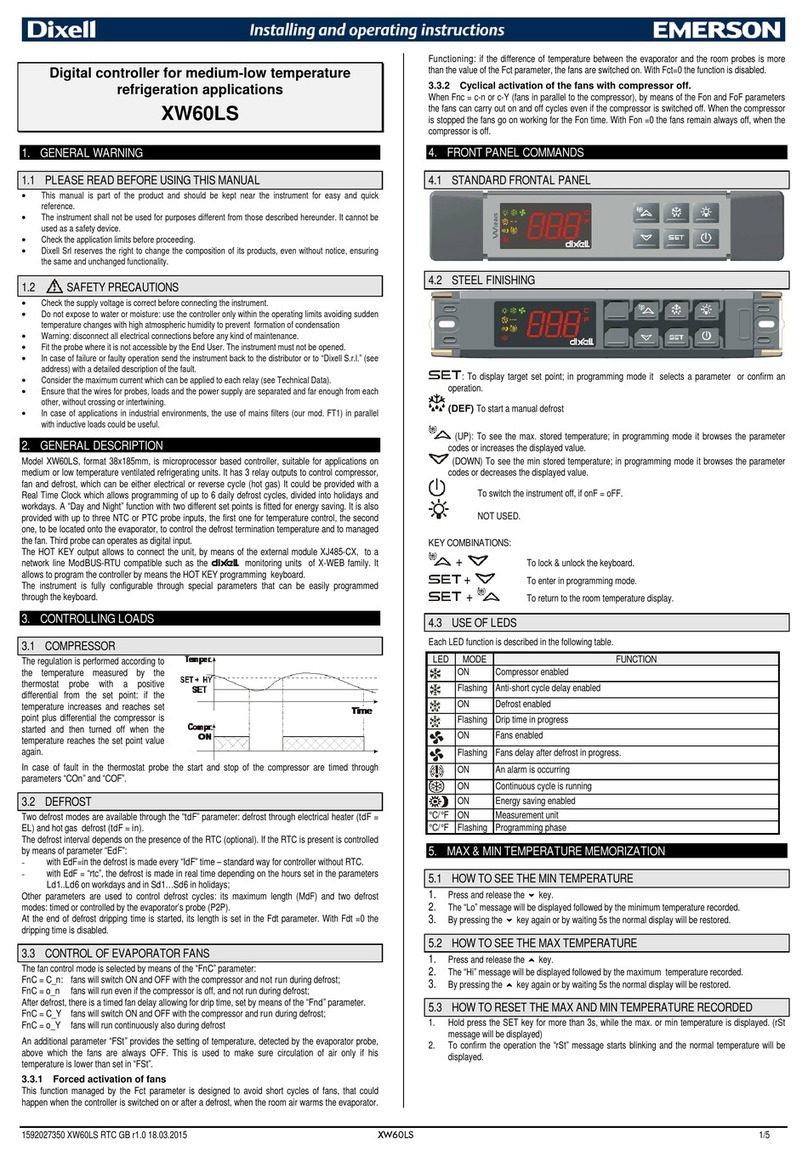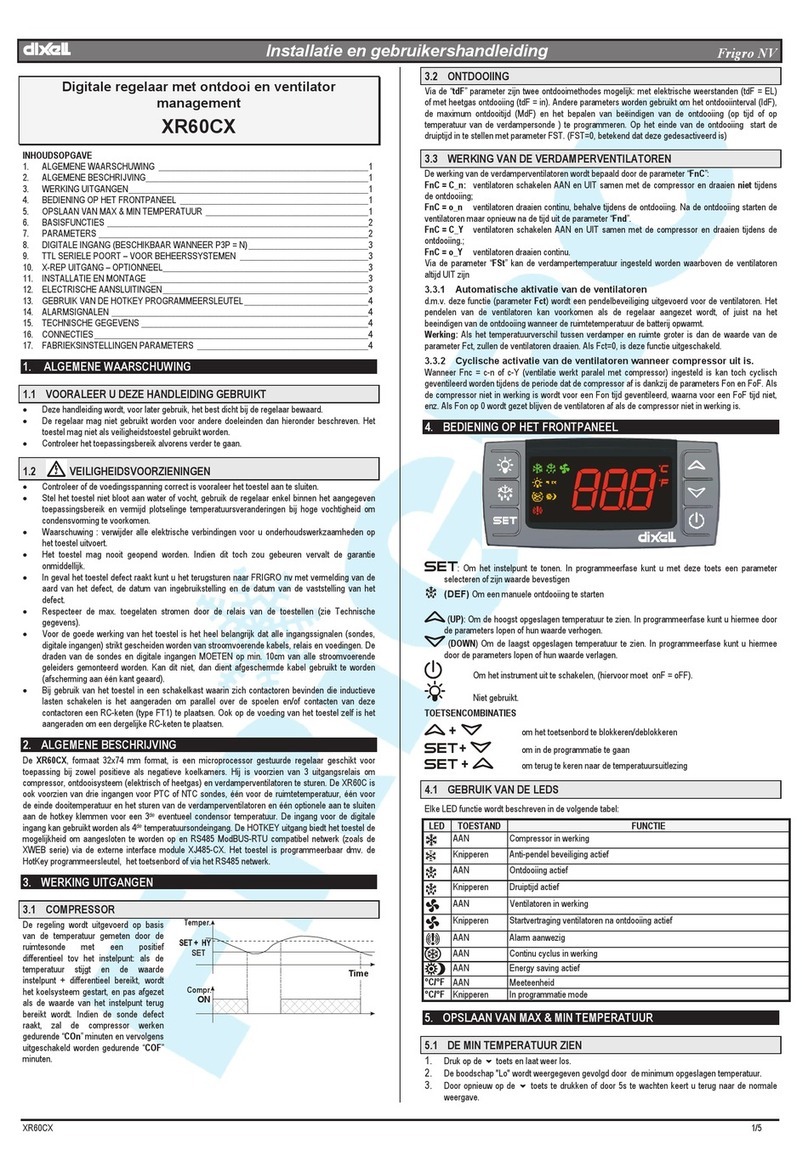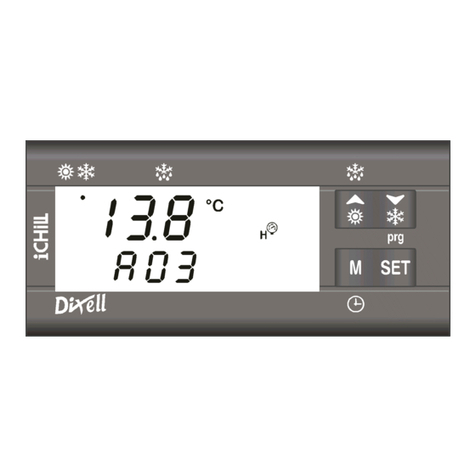
IC100CX
1592022550 Quick reference guide IC100CX GB rel.1.0 03/03/2008 Page 6 di 39
3. Select “ PL” function wit t e arrow keys
4. Pus “SET” key. T e Upload starts immediately.
During t is p ase t e w ole regulation is locked and t e
“PL” message is flas ing.
“End “ message will appear if t e programming result is
good, after 15s t e regulation automatically restarts.
If “Err” message appears t e operation as given bad
result. Repeat t e points 1-4 for a new Upload.
9. PARAMETERS PROGRAMMING
9.1 “Pr1” Programming Level ( ser Level)
How to access t e “Pr1” User Level:
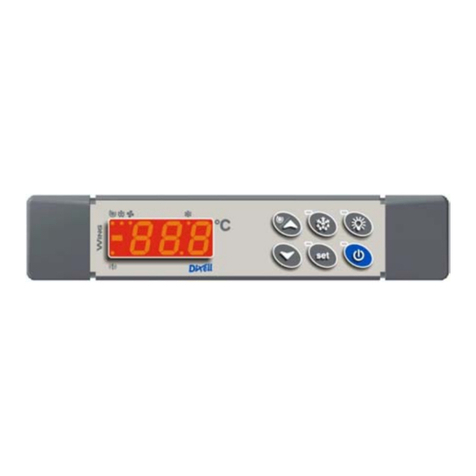
1) Pus “SET” + n
nn
n
key for some seconds; t e upper
display s ows “ALL” (first family of parameters).
and icons are flas ing.
2) Using o
oo
o
and n
nn
n arrows scroll t e ot er family labels.
3) Pus “SET” to enter and see all t e parameter
belonging to t at family. T e display s ows t e first
parameter label and its value.
Scroll t e parameter list wit o
oo
o
and n
nn
n arrows or modify
t e value as described in 9.4.
9.2 “Pr2” Programming Level (Factory Level)
“Pr2” parameters level is accessible t roug password:
1. Enter t e “Pr1” level as described in 9.1.
2. Searc parameter “Pr2”; “PAS” label appears on
t e upper side.
3. Pus “SET”: t e lower display s ows “Pas” and t e
upper display s ows “0” flas ing.
4. Set t e password using o
o o
o and n
n n
n keys.
5. Pus SET key to confirm t e value.
9.3 How to Move a Parameter from “Pr2” Level
to “Pr1” Level
Enter t e “Pr2” level and select t e parameter to move;
keeping pressed “SET” key, pus and immediately release
t e n
nn
n key.
T e led in lower display will lig t to indicate t e presence of
t e parameter in “Pr1”. T en release also SET key.
To move t e parameter in “Pr2” again: keep pressed SET
key and immediately release t e n
nn
n key. T e led turns off
so as t e parameter is not more visible in “Pr1” but just in
“Pr2”.
9.4 Changing a Parameter Value
1. Access to programming mode Pr1 or Pr2
2. Select t e parameter to modify
3. Pus “SET”
4. Modify t e value wit o
o o
o and n
nn
n keys
5. Pus SET key again to confirm t e new value; after
some seconds next parameter will be displayed
6. Exit t e programming mode: pus “SET” and o
oo
o
w en a parameter label is displayed, or wait 15s
(time-out) wit out pus ing any keys.
NOTE: T e new parameter value is also confirmed if, after
c anging it, no SET key is pressed for t e time-out to exit.
ATTENTION:
CF parameters (Configuration parameters) can be modified
only if t e controller is in OFF (digital input) or STD-BY.
10. HOW TO CHANGE THE PASSWORD
To c ange t e password you must know t e previous
value. T is operation is possible only starting from Pr2
level.
1) Enter t e Pr1 level
2) Select a family of parameters (ST, or CF, or SD,…)
and pus “SET” key
3) Using o
o o
o and n
n n
n keys select t e parameter “Pr2”,
t en pus “SET” key. T e lower display s ows
“PAS” and t e upper display s ows 0 flas ing
4) Use n and o keys to input t e active
PASSWORD; pus “SET” to confirm t e value and
enter to Pr2 level
5) Searc “Pr2” parameter wit n and o keys
6) Pus “SET” key to enter t e new value (flas ing)
7) Insert t e new password wit o
oo
o
and n
n n
n keys.
8) Pus “SET” key to confirm it.
9) T e upper display will flas for few seconds t en,
next parameter will be s owed.
10) Exit t e programming by pus ing “SET” and o
oo
o
toget er or wait t e time-out.
11. START / STOP CHILLER OR HEAT PMP
Press key for 3 seconds:
•t e unit starts or stops t e C iller cycle if t e parameter
CF31 =0
•t e unit starts or stops t e Heat Pump cycle if t e
parameter CF31 =1
T e icon flas es for 3 seconds w en t e controller is
waiting to turn on/off.
To move from C iller mode to Heat Pump mode or vice
versa, it is necessary to stop t e current cycle and t en
restart t e new (C iller STD-BY Heat Pump) .
Press key for 3 seconds:
•t e unit starts or stops t e Heat Pump cycle if parameter
CF31 =0
•t e unit starts or stops t e C iller cycle if parameter
CF31 =1
