manuals.online logo
Brands
  1. Home
  2. •
  3. Brands
  4. •
  5. Dobinsons
  6. •
  7. Automobile Accessories
  8. •
  9. Dobinsons BU59-3545 User manual

Dobinsons BU59-3545 User manual

Dobinsons Springs and Suspension www.dobinsonsprings.com
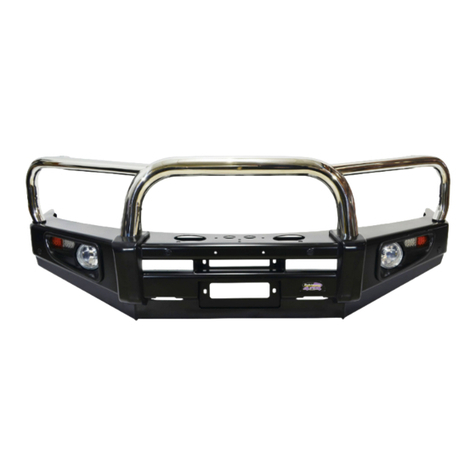
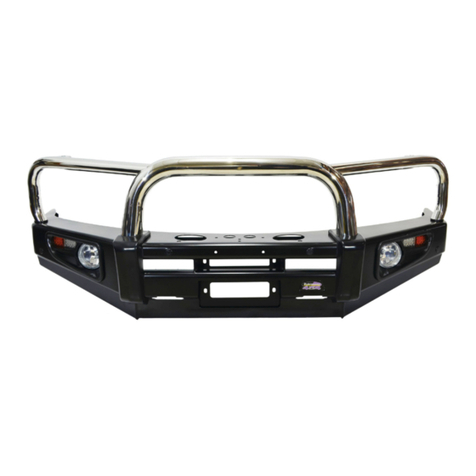
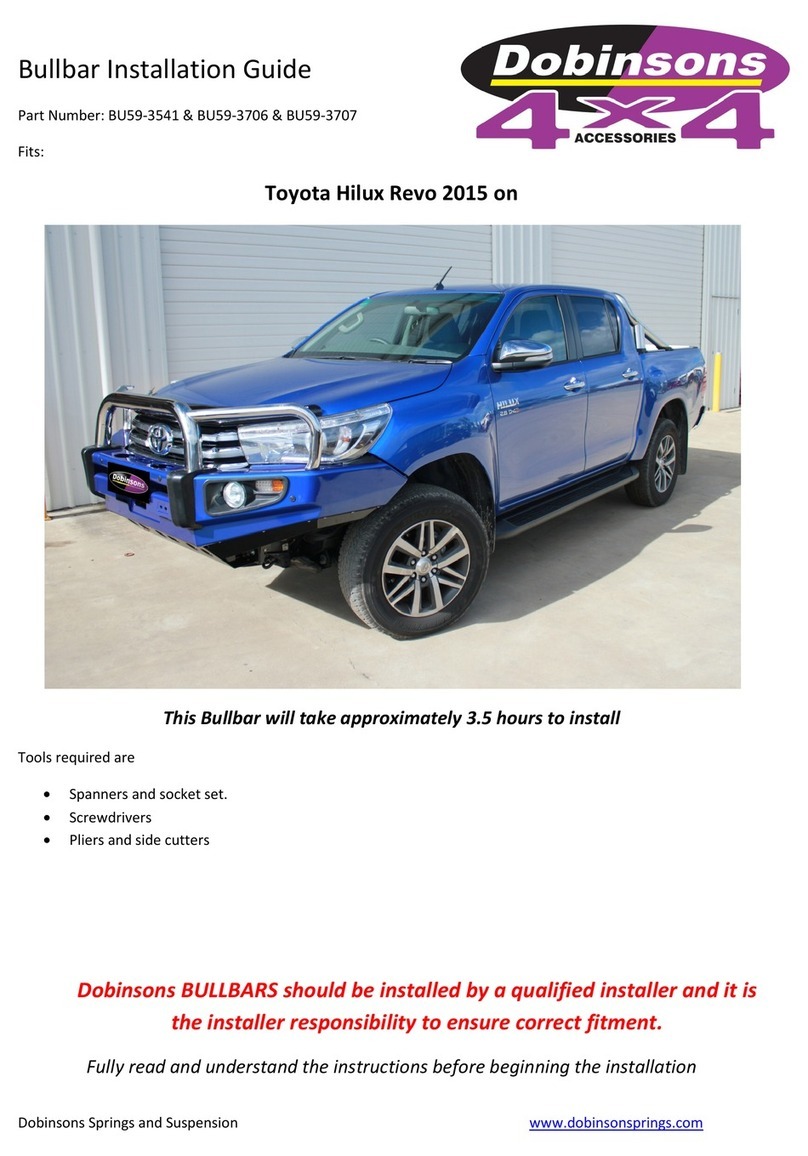
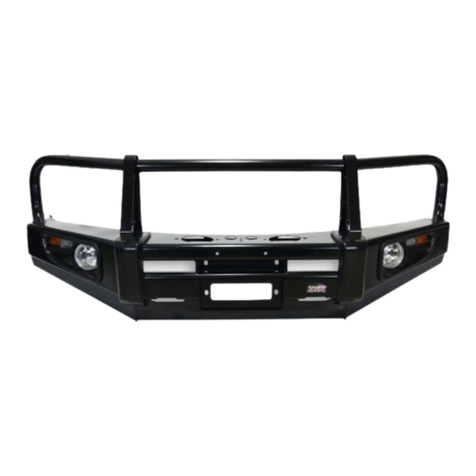
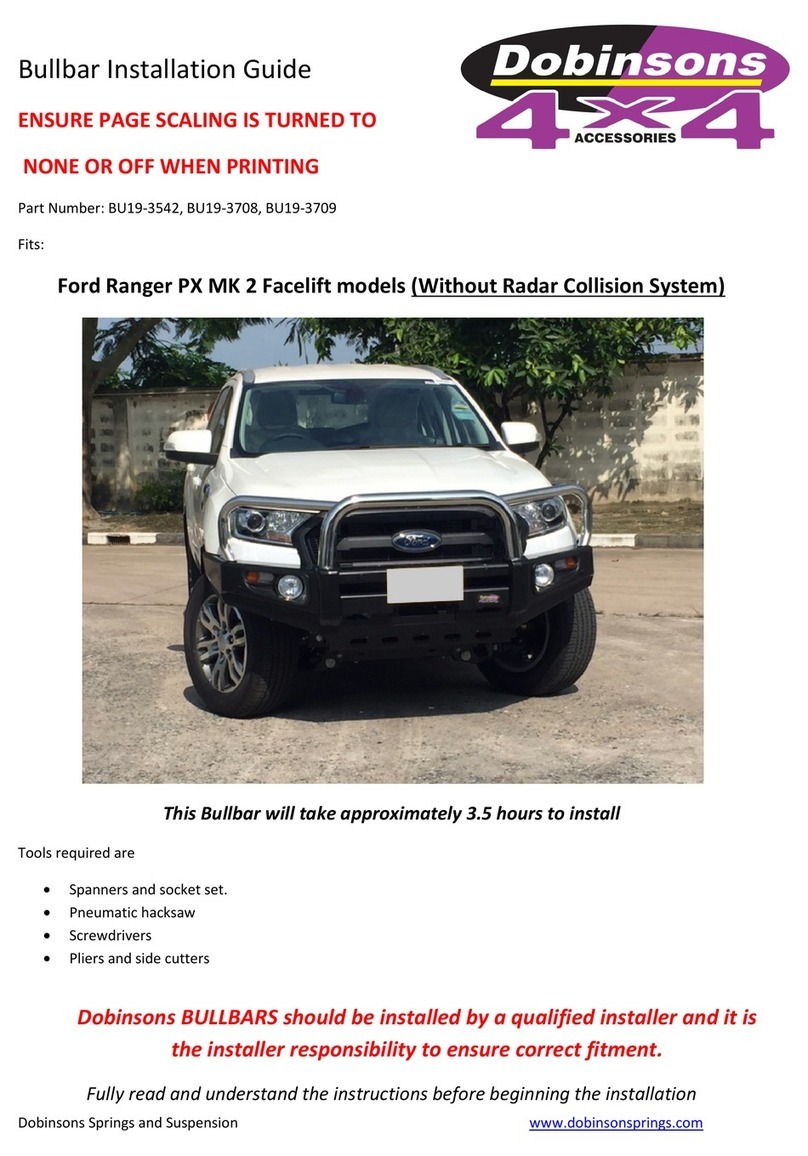
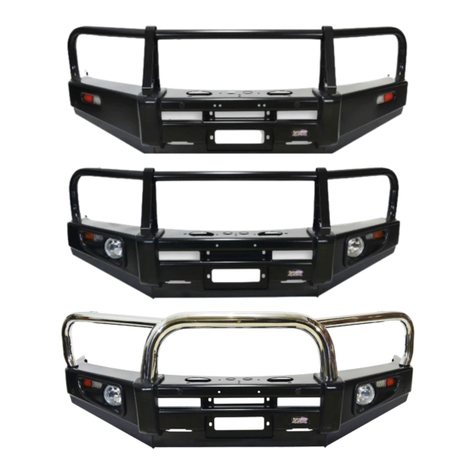
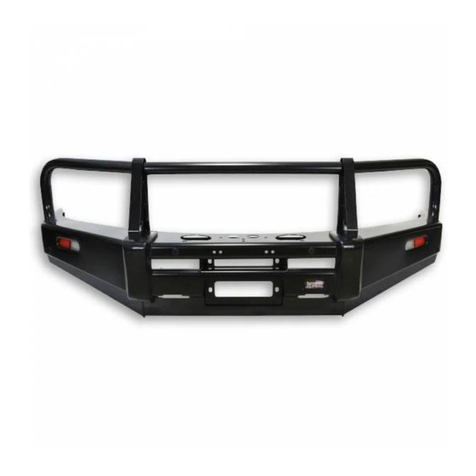
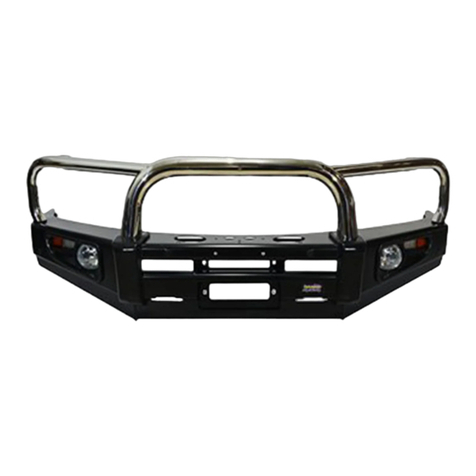
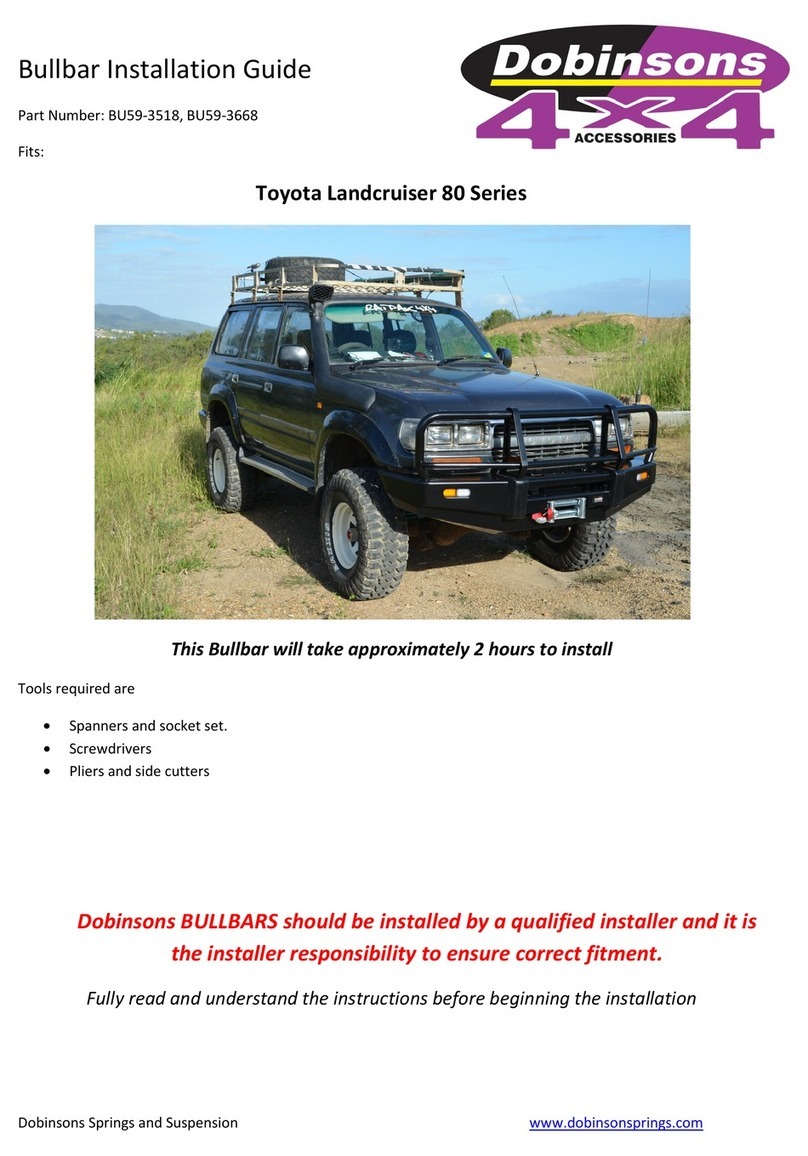
Bullbar Installation Guide
ENSURE PAGE SCALING IS TURNED
OFF WHEN PRINTING. CHECK TEMPLATE SCALE LINE FIRST
Part Number: BU59-3545 & BU59-3714 & BU59-3716
Fits:
Toyota Landcruiser 200 Series Mid-2015 on
This Bullbar will take approximately 4 hours to install
Tools required are
•Spanners and socket set.
•Pneumatic hacksaw.
•Screwdrivers
•Pliers and side cutters
Dobinsons BULLBARS should be installed by a qualified installer and it is
the installer responsibility to ensure correct fitment.
Fully read and understand the instructions before beginning the installation
Dobinsons Springs and Suspension www.dobinsonsprings.com
Fitting Guide
1. Remove the number plate.
2. Remove the grill top cover by removing the
clips.
3. Remove the 2 out bolts attaching the top of
the grill to the vehicle and reach in behind the
grill and remove the pop clips attached the
bumper and grill to the chassis support.
4. Remove all the fasters along the wheel arch
edge of the bumper and the bottom of the
bumper that attach the bumper to the
vehicle. Reach in behind the bumper and
disconnect the fog lights.
5. With help from another person starting at the
outer edge of the bumper at the wheel arch
on each side, pull away the wheel arch splash
liner and gently unclip the bumper from its
fixings. The bumper and grill should come off
in once piece, take care, if it seems to difficult
there may still be fixings you have missed.
Dobinsons Springs and Suspension www.dobinsonsprings.com
6. Remove the foam bumper support,
aluminium bumper mount, aluminium crush
can mounts (keep the bolts nuts), the bumper
support brackets and the tow hooks.
7. Install the chassis bracket to the chassis. This
will require the plastic air dams to be trimmed
with an air-hacksaw or similar to allow
clearance to the bracket.
8. The Original flange nuts can be used on the
chassis studs. Re-install the tow hooks under
the chassis bracket. With everything loose
centralise the bracket and tighten all
fasteners.
9. The longer flat plates can be fitted later –
these are the outer bulbar winch supports as
seen in the picture above. It is best to leave
these off for now until the bullbar is fitted.
10. Take the template from the end of this
manual and first measure the scale line on
each sheet to ensure each sheet has been
printed at the full size, not scaled down. If this
is not correct contact your dealer for another
copy.
11. Once confirmed hold the 2 pages against a
window so you can align both alignment
marks directly on top of each other and tape
together. Cut out the template.
12. Tape the outer edges of the bumper to
prevent scratching and to allow a suitable
Dobinsons Springs and Suspension www.dobinsonsprings.com
surface to mark the cutting line. This does not
have to be exact.
13. Align the template onto the bumper, aligning
the wheel arch edge, the top edge and then
carefully hold the template down against the
bumper, keep it straight and align the
template to the bumper fold edge and also
align the inner bottom corner with the top of
the recess in the bumper.
14. Tape the template down, mark the cut edge
and remove the template.
15. Flip the template upside down and mark the
other side.
16. Mask a line across the bumper from the
bottom cut edge on each side (at the top of
the fog light recess) across the centre of the
bumper across the top of the registration
number plate screw clips.
Dobinsons Springs and Suspension www.dobinsonsprings.com
17. Have another person help to hold the
bumper, and carefully cut along the bumper
cut line marked in the previous steps with an
air hacksaw or similar. Take time to ensure
the cuts are as neat as possible.
18. The installer may choose to install rubber
edging to the cut or not depending on how
neat the cut edge is.
19. Carefully un-wrap the bulbar taking care not
to scratch it especially on the top loops.
Reinstall the number plate. If installing driving
lights to the bullbar it is easiest to install now.
20. If not installing a winch skip to step 30.
21. See the Installation section of your Dobinsons
4x4 Winch manual for specific detailed fitting
instructions. For a brief overview see the
following steps.
22. Test fit your winch to the mounting bracket
and do up loosely with the clutch handle on
the left hand side of the vehicle.
23. You may have to cut and bend the centre
brace to allow clear the winch drum as seen
below.
24. This may require the clutch handle and gear-
box housing to be rotated forward a few bolt
holes to allow easy access through the bulbar
holes. See instructions in winch user manual.
25. Determine where the winch control box will
be located and mount the control box. See
instructions in winch user manual for control
box mounting options. If mounting to the top
of the bullbar using the supplied bracket,
check clearance of control box to grill and also
check where the wires will route as if the
wires are passing through the holes in the top
of the bullbar the control box may not be able
to be wired until the bullbar has been fitted as
below.
26. Now test fit the bumper to the vehicle again
and you will see that you need to cut away
the centre section of the bumper to clear the
winch, control box and clutch handle as seen
below. Take small amounts away each time
until you are happy with the access.

This manual suits for next models

2

Other Dobinsons Automobile Accessories manuals

Dobinsons BU59-3506 User manual

Dobinsons

Dobinsons BU59-3506 User manual

Dobinsons BU45-3539 User manual

Dobinsons

Dobinsons BU45-3539 User manual

Dobinsons BU59-3518 User manual

Dobinsons

Dobinsons BU59-3518 User manual

Dobinsons BU59-3541 User manual

Dobinsons

Dobinsons BU59-3541 User manual

Dobinsons BU59-3660 & BU59-3510 User manual

Dobinsons

Dobinsons BU59-3660 & BU59-3510 User manual

Dobinsons BU19-3542 User manual

Dobinsons

Dobinsons BU19-3542 User manual

Dobinsons BU59-3533 User manual

Dobinsons

Dobinsons BU59-3533 User manual

Dobinsons BU59-3661 User manual

Dobinsons

Dobinsons BU59-3661 User manual

Dobinsons BU59-3508 User manual

Dobinsons

Dobinsons BU59-3508 User manual

Dobinsons BU45-3505 User manual

Dobinsons

Dobinsons BU45-3505 User manual

Dobinsons BU63-3523 User manual

Dobinsons

Dobinsons BU63-3523 User manual

Dobinsons Isuzu D-Max 2012 on User manual

Dobinsons

Dobinsons Isuzu D-Max 2012 on User manual

Popular Automobile Accessories manuals by other brands

Magneti Marelli AC161 Installation instruction

Magneti Marelli

Magneti Marelli AC161 Installation instruction

FDI uEZ GUI Start here

FDI

FDI uEZ GUI Start here

JCROffroad JT Install instructions

JCROffroad

JCROffroad JT Install instructions

Rostra VOXXElectronics 250-1930 owner's guide

Rostra

Rostra VOXXElectronics 250-1930 owner's guide

TOP VEHICLE TECH GR3FORD5 installation manual

TOP VEHICLE TECH

TOP VEHICLE TECH GR3FORD5 installation manual

Safe Fleet PRIME DESIGN AR-2000-BLK manual

Safe Fleet

Safe Fleet PRIME DESIGN AR-2000-BLK manual

Skoda Fabia Combi 5J Fitting instructions

Skoda

Skoda Fabia Combi 5J Fitting instructions

Camcar 40077 Al Mounting instructions

Camcar

Camcar 40077 Al Mounting instructions

Camcar 40089 AL Mounting instructions

Camcar

Camcar 40089 AL Mounting instructions

Impac Tradesman 2000 installation manual

Impac

Impac Tradesman 2000 installation manual

DVB OFFROAD BRSB-01 installation manual

DVB

DVB OFFROAD BRSB-01 installation manual

Safari Snorkel SS385HF installation guide

Safari Snorkel

Safari Snorkel SS385HF installation guide

ULTIMATE SPEED 279746 Assembly and Safety Advice

ULTIMATE SPEED

ULTIMATE SPEED 279746 Assembly and Safety Advice

SSV Works DF-F65 manual

SSV Works

SSV Works DF-F65 manual

ULTIMATE SPEED CARBON Assembly and Safety Advice

ULTIMATE SPEED

ULTIMATE SPEED CARBON Assembly and Safety Advice

Witter F174 Fitting instructions

Witter

Witter F174 Fitting instructions

WeatherTech No-Drill installation instructions

WeatherTech

WeatherTech No-Drill installation instructions

TAUBENREUTHER 1-336050 Installation instruction

TAUBENREUTHER

TAUBENREUTHER 1-336050 Installation instruction

manuals.online logo
manuals.online logoBrands
  • About & Mission
  • Contact us
  • Privacy Policy
  • Terms and Conditions

Copyright 2025 Manuals.Online. All Rights Reserved.