manuals.online logo
Brands
  1. Home
  2. •
  3. Brands
  4. •
  5. domi outdoor living
  6. •
  7. Outdoor Furnishing
  8. •
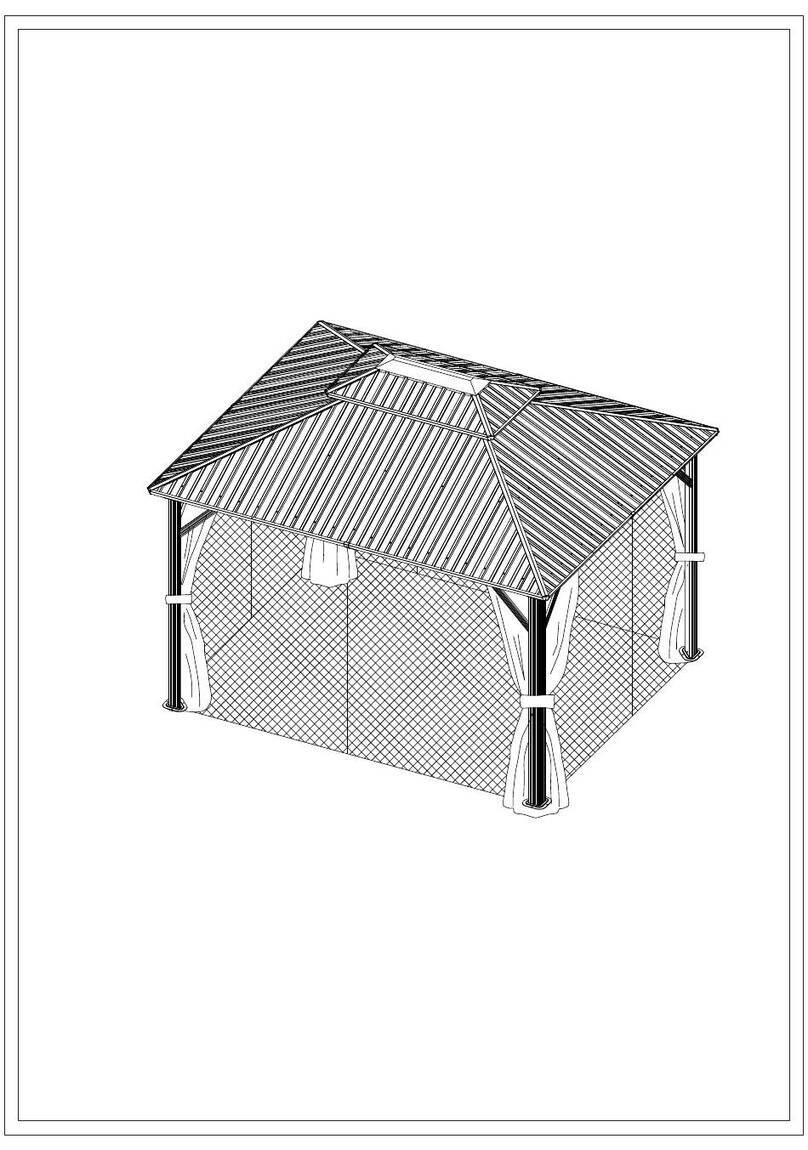
  9. domi outdoor living LGCD1576 User manual

domi outdoor living LGCD1576 User manual

service@domioutdoorliving.com
4x Corner Post 4x Corner Post
2x Short Beam 2x Short Beam
2x Long Beam 2x Long Beam
4x
Corner Roof Tube Connector
4x Corner Roof Tube
2x
Middle Roof Tube Connector
2x Short Middle Roof Tube
2x
Long Middle Roof Tube 4x Post Base 4x
Plastic
Connector
4x Bracket
4x Corner Roof
Tube Connector
1x Roof Hub
1x Vent Cover &
Main Canopy
4x Mosquito
netting
8x Post Anchor
4x Guy Rope
Anchor
4x Guy Rope
1x Wrench 48x Bolt
12x Bolt and
Nut 4x Bolt and
Nut
(1) Attach Bracket G to the top of Corner Post A with bolt#1.
Corner Post A is inserted into the Plastic Connector B1 and then
attach Corner Post A to the top of corner post A1 with bolt#1.
(2) Attach post base B to the bottom of corner post A1 with bolt#1.
(3) Repeat the above procedures for the other three corner posts.
Step 1
28x Bolt
1x Wrench
4x Bracket
4x Post Base
4x
Plastic
Connector
4x Corner
Post
4x Corner
Post
60
60
(1) Insert Short Beam C into Short Beam C1.
(2) Use Bolt#3 to secure Short Beam C1 and Short Beam
C to form a complete short beam.
(3) Insert Long Beam D into Long Beam D1.
(4) Use Bolt#3 to secure Long Beam D1 and Long Beam D to
form a complete long beam.
(5) Repeat above procedures to assemble the other beams.
Step 2
2x Short Beam
2x Short Beam
2x Long Beam
2x Long Beam
1x Wrench
4x Bolt and Nut
(1) Please have a free standing ladder ready for ease of assembly.
(2) Use 2 Bolts #1 to attach the C side of the assembled Short Beams
to the outside right Corner Post A and 2 Bolts#1 to attach the C1 side
of the assembled Short Beams to the outside left Corner Post A.
(3) Use 2 Bolts#1 to attach the D1 side of the assembled Long Beams
to the outside right Corner Post A and 2 Bolts#1 to attach the D side
of the assembled Long Beams to the outside left Corner Post A.
(4)Repeat the above procedures until the frame is up.
Step 3
1x Wrench
16x Bolt
Step 4
4x Corner Roof
Tube
4x Corner Roof
Tube Connector
1x Wrench
8x Bolt and Nut
(1) Attach Connector H to the top of Corner Roof Tube Connector
E with bolt#2,Connect Corner Roof Tube Connector E and Corner
Roof Tube E1 to form one complete corner roof tube.Repeat this
to form four complete corner roof tubes.
4x Corner Roof
Tube Connector
G
1x Wrench
4x Bolt and
Nut
(1) Please have a freestanding ladder ready at the center of the canopy
gazebo.
(2) Place Corner Roof Tubes E1 into the Bracket G located on the top
of each Corner Post.Secure with Bolts and Nuts #2.
Step 5
2x Middle Roof
Tube Connector
2x Short Middle
Roof Tube
2x Long Middle
Roof Tube
(1) Connect Middle Roof Tube Connector F and Short Middle Roof
Tube F1 to form one complete corner roof tube.Repeat this to form
two complete corner roof tubes.
(2) Insert Long Middle Roof Tube F2 to Roof Hub J,Repeat this to
form two complete middle roof tubes.
Step 6
1x Wrench
4x Bolt
(1) Please have a freestanding ladder ready at the center of the canopy
gazebo.
(2) Place Middle Roof Tubes F1 or F2 into the Bracket G located on the
middle of each Corner Post.Secure with Bolts and Nuts #1.
Step 7
J
(1) Gently place Main Canopy over roof frame. Pull the canopy down to each corner until all
Corner Roof Tubes fit well into the corner pockets on Canopy.Use the pockets in the middle
of each side to cover each middle roof tube. IMPORTANT: The corner roof tubes should be
placed into the corner pock ets prior to placing the middle roof tubes into the middle
pockets. This will help to place the canopy onto the roof with ease.
(2) Gently place Vent Cover(from under the Main Canopy)over Corner Roof Tube Connector
H. Pull the Vent Cover down to each corner until all Roof Tubes fit well into the corner
pockets on Vent Covers.
(3) Velcro Vent Cover to Main Canopy from underneath.
Step 8
1x Vent Cover
& Main Canopy
4x Mosquito
netting
8x Post Anchor
4x Guy Rope
Anchor
4x Guy Rope
(1) From the Tie Backs on the Mosquito Netting L, find the long side and short side of each panel. Attach the
mosquito netting up from the inside of the garden house with loop straps according 4PCS to the long side and short
side of frame.
(2) Slide the mosquito netting open and close and test the zippers to make sure they match and run smoothly.
(3) Please locate tiebacks sewn at the outer corner of the netting and always wrap around the corner posts.
(4) The mosquito netting can also be held back to the posts. Unzip and slide the curtain to the corner. Use the fabric
tiebacks sewn to the inside of the curtain corner to wrap the curtain all around the corner posts.
(5) Carefully adjust the position of the canopy gazebo and make sure four posts are standing completely upright on
level ground.Hammer two Post Anchors M through the holes on each post base into the ground.
(6) Measure out from post to the longest possible distance(to best use the length of the Guy Rope P) and secure Guy
Rope Anchor N to ground at 45 degree.
(7) Repeat the above processes at each corner until the canopy gazebo is firmly anchored.
(8) Again your canopy gazebo is a shade and privacy structure and not meant to be permanent. Please read warning
page again for safety precaution.
Step 9
2019-2023 Domi Outdoor Living LLC. All Rights Reserved.
service@domioutdoorliving.com

Other domi outdoor living Outdoor Furnishing manuals

domi outdoor living LGMF8008 User manual

domi outdoor living

domi outdoor living LGMF8008 User manual

domi outdoor living LGMF1596 User manual

domi outdoor living

domi outdoor living LGMF1596 User manual

domi outdoor living LGMF1404 User manual

domi outdoor living

domi outdoor living LGMF1404 User manual

domi outdoor living LGMF1618 User manual

domi outdoor living

domi outdoor living LGMF1618 User manual

domi outdoor living LGMD1608 User manual

domi outdoor living

domi outdoor living LGMD1608 User manual

Popular Outdoor Furnishing manuals by other brands

Alice's Garden VICENZO WKS4 quick start guide

Alice's Garden

Alice's Garden VICENZO WKS4 quick start guide

Hanover ORLEANS4PCFP-NVY-B Assembly instructions

Hanover

Hanover ORLEANS4PCFP-NVY-B Assembly instructions

Canvas HIGH PARK 088-0098-0 Assembly instructions

Canvas

Canvas HIGH PARK 088-0098-0 Assembly instructions

VICTOR STANLEY GreenSite Series Assembly instructions

VICTOR STANLEY

VICTOR STANLEY GreenSite Series Assembly instructions

Northbeam BCH0350110010 manual

Northbeam

Northbeam BCH0350110010 manual

FIM P Series installation guide

FIM

FIM P Series installation guide

Forever Redwood HONEYMOON Assembly instructions

Forever Redwood

Forever Redwood HONEYMOON Assembly instructions

Alice's Garden NAPOLI W004 manual

Alice's Garden

Alice's Garden NAPOLI W004 manual

McCue CartPark Architectural installation instructions

McCue

McCue CartPark Architectural installation instructions

Safavieh LEROS PAT2006A Assembly

Safavieh

Safavieh LEROS PAT2006A Assembly

Foremost Veranda Classics 966650 Assembly & care instructions

Foremost

Foremost Veranda Classics 966650 Assembly & care instructions

Yard Butler YARD TREE BIRD CENTER Assembly instructions

Yard Butler

Yard Butler YARD TREE BIRD CENTER Assembly instructions

Sunjoy L-GZ238PST Assembly instruction

Sunjoy

Sunjoy L-GZ238PST Assembly instruction

Everwood Cordoba Assembly instructions

Everwood

Everwood Cordoba Assembly instructions

Polyteak KING-ADI owner's manual

Polyteak

Polyteak KING-ADI owner's manual

LF Garden Treasures C-582DND manual

LF

LF Garden Treasures C-582DND manual

modway Endeavor EEI-3023 manual

modway

modway Endeavor EEI-3023 manual

Sunjoy A102032601 Assembly instructions

Sunjoy

Sunjoy A102032601 Assembly instructions

manuals.online logo
manuals.online logoBrands
  • About & Mission
  • Contact us
  • Privacy Policy
  • Terms and Conditions

Copyright 2025 Manuals.Online. All Rights Reserved.