manuals.online logo
Brands
  1. Home
  2. •
  3. Brands
  4. •
  5. Dormakaba
  6. •
  7. Door Opening System
  8. •
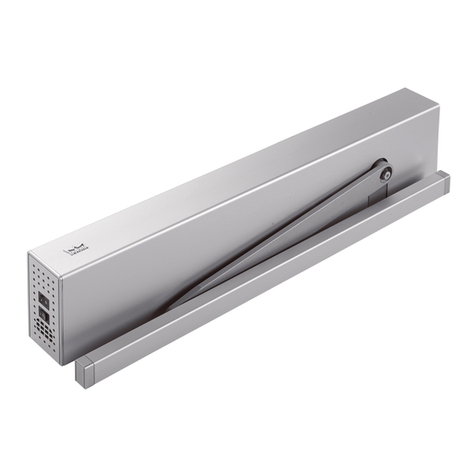
  9. Dormakaba PT 10 User manual

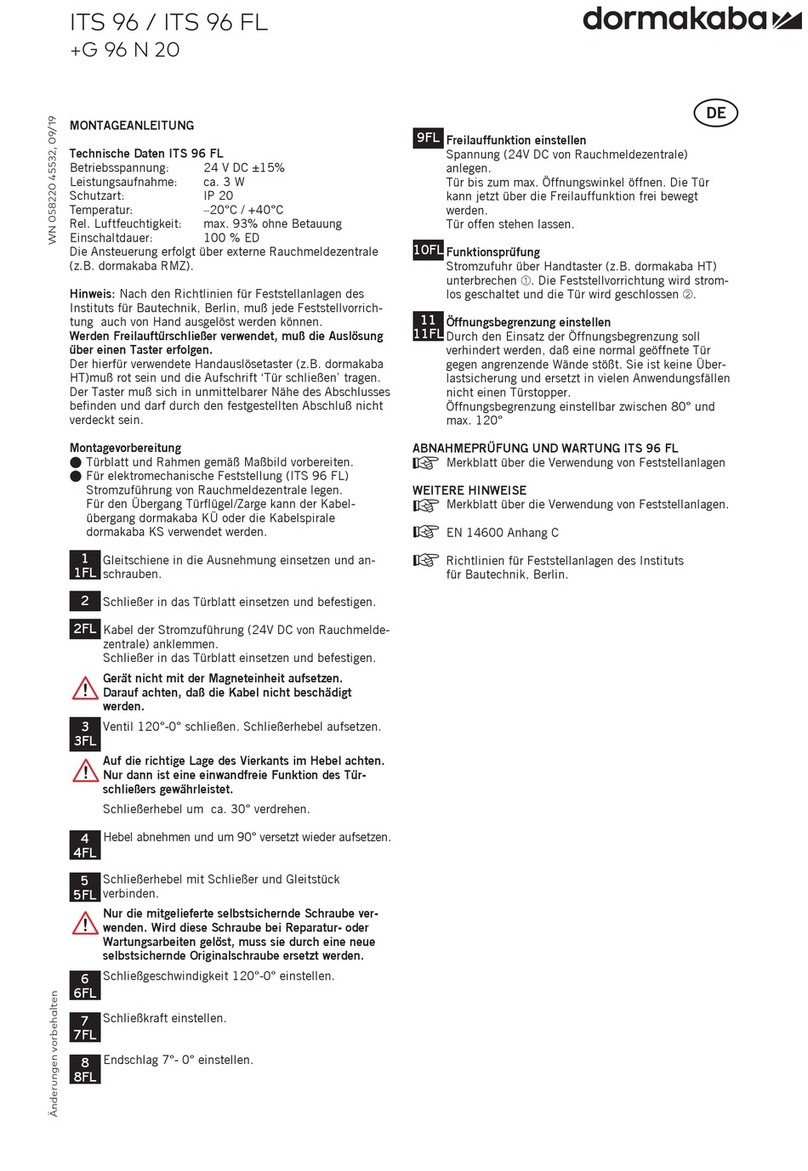
Dormakaba PT 10 User manual

DE | EN
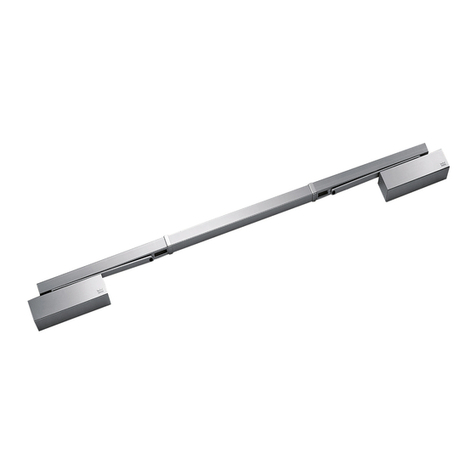
UNIVERSAL
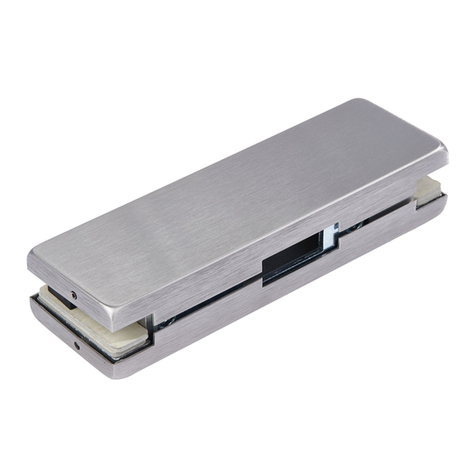
Eckbeschläge PT 10 / PT 20
Patch fittings PT 10 / PT 20
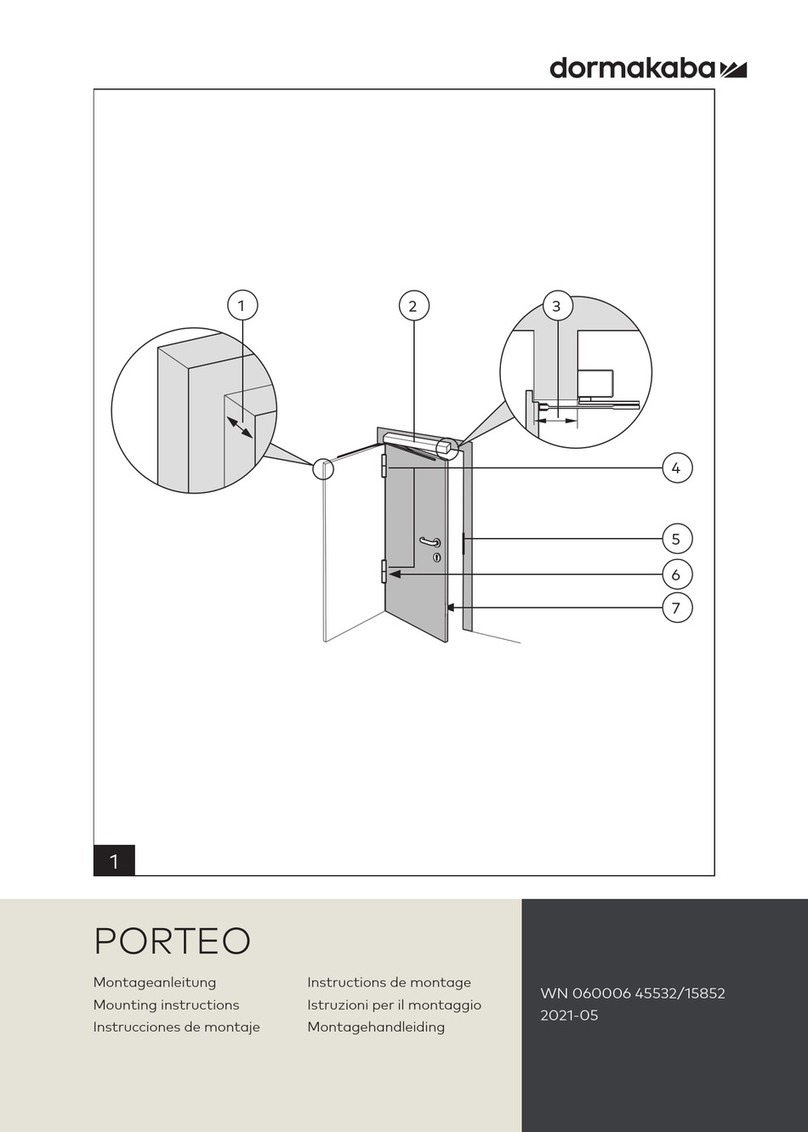
Montageanleitung
Mounting instructions
WN 800.52.794.6.32 – 2018-11
DE Wichtige Sicherheitshinweise für die Montage und Nutzung von DORMA
Glasbeschlägen (Zusätzlich zur Montage- und Bedienungsanleitung zu
beachten, um Schäden am Produkt sowie Personen- und Sachschäden
zu vermeiden).
Wichtig: Alle Nutzer sind über die sie betreffenden Punkte der nachfolgenden
Hinweise sowie die Hinweise aus Montage- bzw. Bedienungsanleitung zu infor-
mieren!
Allgemein
1. DORMA empfiehlt die Verwendung von ESG-H (heißgelagertem Einscheiben-
sicherheitsglas) nach DIN EN 12150-1.
2. DORMA Glasbeschläge sind für Räume, in denen Chemikalien (z.B. Chlor)
zum Einsatz kommen, z.B. Schwimm-, Sauna- und Solebäder, nicht geeignet.
3. Schiebeflügel dürfen nicht schneller als mit Schrittgeschwindigkeit bewegt
werden und müssen vor Erreichen der Endlage von Hand abgestoppt werden.
4. Drehflügel dürfen nicht zu hart zugeworfen werden. Wenn eine Überdrehung
zu befürchten ist, ist diese durch einen Türstopper zu verhindern.
Montage
1. Der Einbau von DORMA Glasbeschlägen darf ausschließlich durch Fachperso-
nal, das speziell für die Glasmontage geschult wurde, erfolgen.
2. Gläser mit Ausmuschelungen und/oder Kantenverletzungen dürfen nicht ver-
baut werden.
3. Es besteht die Gefahr von Quetschungen - unter anderem im Bereich der
Nebenschließkante - sowie von Verletzungen aufgrund von Glasbruch während
der Montage. Entsprechend ist die erforderliche Schutzkleidung (insbesonde-
re Handschuhe und Schutzbrille) zu tragen.
4. Vor der endgültigen Beschlagsmontage muss das Glas im Klemmbereich mit
fettlösenden Haushaltsmitteln von Fetten befreit werden.
5. Die Verwendung von Klemmbeschlägen auf strukturierten Glasoberflächen
(ausgenommen davon sind satinierte Gläser) oder Gläsern mit großen Schwan-
kungen in der Glasdicke ist nur mit Auftrag einer Ausgleichsschicht zulässig.
6. Die Verwendung von Klemmbeschlägen auf selbstreinigenden Beschichtungen
ist unzulässig.
7. Beim Ausrichten der Glaselemente müssen die für den jeweiligen Beschlag
vorgegebenen Spaltmaße beachtet werden. Die Spaltmaße müssen so einge-
stellt werden, dass ein Kontakt des Glases mit harten Werkstoffen (z.B. Glas,
Metall, Beton) verhindert wird.
8. Es ist ein zwängungsfreier Einbau (ohne lokale Spannungsüberschreitung
durch zu fest angezogene Schrauben) sicherzustellen.
Wartung
Der Sitz und die Gängigkeit der Beschläge sowie die Justierung der Tür müssen
regelmäßig kontrolliert werden. Insbesondere im Falle von hochfrequentierten
Anlagen sollte die Prüfung von einem Fach- oder Installationsbetrieb erfolgen.
Beschädigte Glaselemente (Abplatzungen und/oder Ausmuschelungen) müssen
unverzüglich ausgetauscht werden! Die Reinigung der Oberflächen darf nur mit
geeigneten Reinigern und Pflegemitteln erfolgen.
EN Important safety-related information for the mounting and use of
DORMA glass fittings (Follow these instructions in addition to the
mounting and operating instructions in order to avoid damage of product
and damage to person or property.)
Important: All users have to be informed about relevant points mentioned in these
safety-related information and the mounting and operating instructions!
General information
1. DORMA recommends using TSG-H (heat soaked toughened safety glass) to
DIN EN 12150-1.
2. DORMA glass fittings are not suitable for application in rooms where che-
micals (e. g. chlorine) are used such as indoor swimming pools, saunas or
salt-water pools.
3. Never move sliding panels faster than walking speed and always stop the door
manually before it reaches end position.
4. Do not shut swing doors with excessive force. Install door stop to prevent door
from opening too far.
Mounting
1. Only properly qualified and specially trained staff is authorised to mount
DORMA glass fittings.
2. Never use glass with conchoidal fractures and/or damaged edges.
3. Due to crushing hazards - among others in the area of the secondary closing
edge - and possible injury caused by breakage of glass during mounting,
corresponding protective clothing (especially gloves and protective goggles)
is required.
4. Clean clamping area with fat solvent (standard commercial cleaning agent)
before mounting the glass fitting.
5. Never use clamping shoes on structured glass surfaces (except on satined
glass) or glass of heavily varying thickness unless with a corresponding
levelling layer.
6. Never use clamping shoes on self-cleaning coatings.
7. When adjusting glass elements, always stick to the required clearance for
the respective fitting. Adjust clearance so that the glass does not touch hard
components such as glass, metal or concrete.
8. Make sure not to use excessive force when installing the glass (avoid local
stress resulting from very tight screws).
Maintenance
Check fittings at regular intervals for proper positioning and smooth running and
door for correct adjustment. Especially highly-frequented door systems require
inspection by properly qualified staff (specialised companies or installation firms).
Immediately replace damaged class elements (no glass flaking and/or conchoidal
fractures)! Only use suitable cleaning and care products to clean the surfaces.
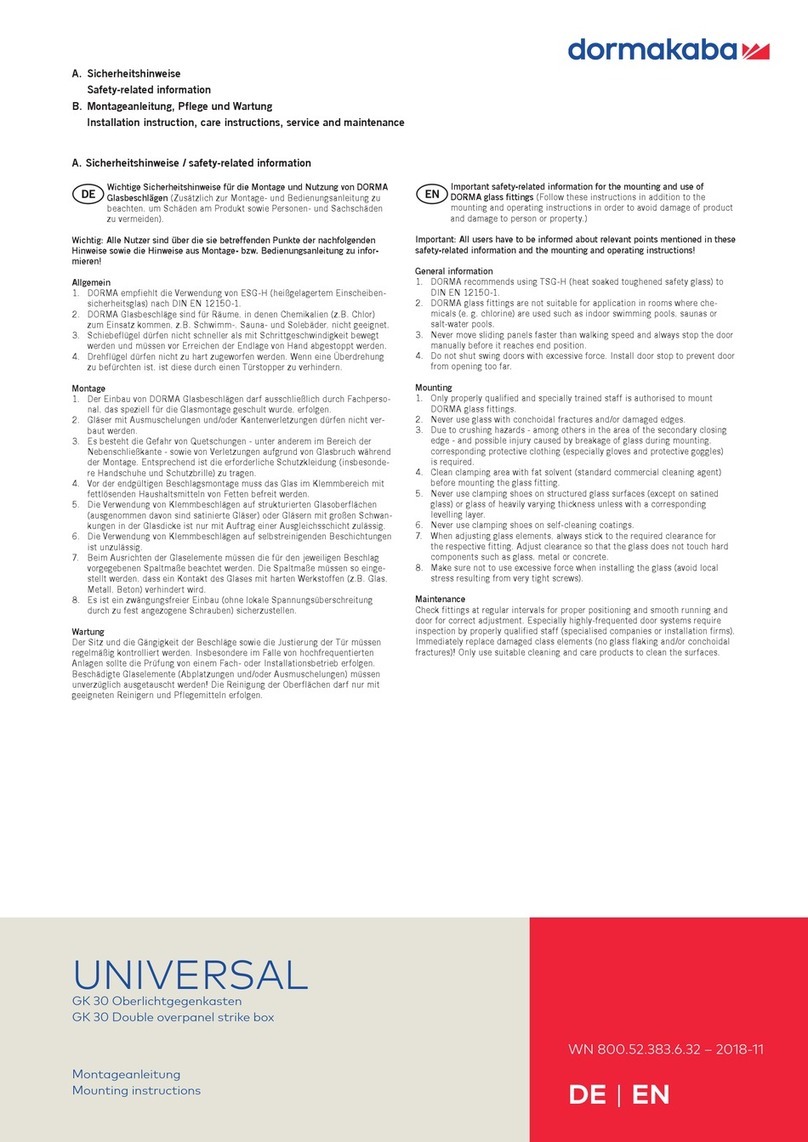
A. Sicherheitshinweise
Safety-related information
B. Montageanleitung, Pflege und Wartung
Installation instruction, care instructions, service and maintenance
A. Sicherheitshinweise / safety-related information
2UNIVERSAL PT 10 / PT 20 2018-11
dormakaba Montageanleitung
Mounting instructions
WN 800.52.794.6.32
B. Montageanleitung, Pflege und Wartung / installation instruction, care instructions, service and maintenance
Wichtige Informationen
Important information
Es werden zwei Personen zur Montage benötigt !
Two persons are necessary for the installation work !
Bauteil/Baugruppe
Component
Montagefolge
Installation sequence
Vor der Montage Glasflächen mit handelsüblichem
Glasreiniger im Bereich der Klemmflächen reinigen.
All glass clamping areas have to be cleaned with
standard glass cleaning products prior to installation.
Keine Verdünnung verwenden!
Do not use thinners!
1.:1.1:...
1
37
R55
R80
161
148
68
ø20
36
1. ; 1.1 ; ... =
1=
Glasbearbeitung
Glass preparation
Montagewerkzeug
Requisite tool
5mm
Pflege allgemein:
Die Oberflächen der Beschläge sind nicht wartungsfrei und
sollten gemäß ihrer Ausführung gereinigt werden.
– Für metallische Oberflächen (Eloxaltöne, Edelstahl) bitte
nur geeignete Reiniger ohne Scheuermittelanteil ver-
wenden.
– Für lackierte Oberflächen bitte nur entsprechende löse-
mittelfreie Reiniger verwenden.
– Messing Oberflächen (ohne Oberflächenschutz) müssen
von Zeit zu Zeit mit geeignetem Pflegemittel behandelt
werden, um Anlaufen zu vermeiden.
Wartung allgemein:
Wir empfehlen, die Funktion der Beschläge alle 500.000
Bewegungen durch Fachleute zu prüfen.
General care instructions:
The surface finishes of the fittings are not maintenance-free and
should be cleaned according to their material and texture.
– For metallic surfaces (anodised finishes, stainless steel) please
only use appropriate cleaning agents without abrasive additives.
– For varnished surfaces please only use appropriate solvent-free
cleaning agents.
– To avoid tarnishing, brass surfaces (without surface
protection) occasionally have to be treated with an
appropriate care product.
Service and maintenance:
We recommend to check the function of the fitting all 500.000
movements by specialists.
3UNIVERSAL PT 10 / PT 20 2018-11
dormakaba Montageanleitung
Mounting instructions
WN 800.52.794.6.32
Lieferumfang PT 10
Scope of delivery PT 10
Lieferumfang PT 20
Scope of delivery PT 20
4UNIVERSAL PT 10 / PT 20 2018-11
dormakaba Montageanleitung
Mounting instructions
WN 800.52.794.6.32
1
1. Vorbereitung Grundkörper PT10 / PT20
1. Preparation of base unit PT10 / PT20
1.2 Holz-/ Kunststoffklötze entsorgen!
1.2 Dispose the spacer!
1.3 Folienstreifen 1.4 abziehen und Zwischenlagen 1.3
aufkleben
1.3 Pull off the backing tape 1.4 and stick on the gasket
1.3 into right place
2
15 Nm
5 mm
Federstift
spring pin
2. Montage Grundkörper PT 10/20:
2. Installation of the base unit PT 10/20:
5UNIVERSAL PT 10 / PT 20 2018-11
dormakaba Montageanleitung
Mounting instructions
WN 800.52.794.6.32
3a 3b
12 Nm
5 mm
12 Nm
5 mm
3a. Montage Z-Einsatz PT 10:
3a. Installation of the z-insert PT 10:
3.1 Bestimmung des Drehpunktes, mit Hilfe des Einsatzes:
3.1 Determination of pivot point by means of insert:
Zwängungsfreie Montage des Z-Einsatzes:
Restrain-free installation of the z-insert:
Schrauben wechselseitig einschrauben und
anschließend wechselseitig anziehen!
Tighten screws alternately!
1. einschrauben / screw in
2. anziehen / tighten
Außen
Outside
Außen
Outside
Außen
Outside
Außen
Outside
Ansicht von unten
Bottom view
Ansicht von unten
Bottom view
Ansicht von unten
Bottom view
Ansicht von unten
Bottom view
55 mm Drehpunkt
55 mm pivot point
55 mm Drehpunkt
55 mm pivot point
65 mm Drehpunkt
65 mm pivot point
65 mm Drehpunkt
65 mm pivot point
Verschraubung innen
Screw connection inside
Verschraubung innen
Screw connection inside
SeitenteilSeitenteil
Side panelSide panel
3b. Montage Einsatz PT 20:
3b. Installation of the insert PT 20:
3.1 Bestimmung des Drehpunktes, mit Hilfe des Einsatzes:
3.1 Determination of pivot point by means of insert:
6UNIVERSAL PT 10 / PT 20 2018-11
dormakaba Montageanleitung
Mounting instructions
WN 800.52.794.6.32
3c
4
3c. Montage Einsatz PT 30:
3c. Installation of the insert PT 30:
Anbindung an oberes Drehlager, beispielhaft an PT 30.
Drawing shows the top connection between pivot bearing and PT 30.
3.8 Der Einsatz muss mit etwas Kraft auf den Zapfen gedrückt werden, um die Wulst in der Buchse (PT 20) zu überbrücken.
Diese dient zur Absturzsicherung des Beschlages bei evtl. Glasbruch.
3.8 To overcome the rim in the bushing (PT 20), the insert should be pressed slightly with small force.
This creates antifall guard protection if glass should break.
4. Komplette Tür einsetzen:
4. The insertion of the complete door: 4.2 Den Einsatz (PT30) verschrauben.
4.2 Tighten insert (PT30).
7UNIVERSAL PT 10 / PT 20 2018-11
dormakaba Montageanleitung
Mounting instructions
WN 800.52.794.6.32
5
5. Montage der Kappen:
5. Installation of the cover caps:
5.2 Federstift mit der Kappe eindrücken.
5.2 Push in spring pin with the aid of cover cap.
Federstift
spring pin
013514 – Originaldokument, Änderungen vorbehalten / Original document, subject to change without notice
DORMA-Glas GmbH
Max-Planck-Straße 33 – 45 32107 Bad Salzuflen Deutschland T: +49 2333 793-0 F: +49 2333 793-4950 www.dormakaba.com

This manual suits for next models

1

Other Dormakaba Door Opening System manuals

Dormakaba TS 97 FLR-K XEA User manual

Dormakaba

Dormakaba TS 97 FLR-K XEA User manual

Dormakaba TS93 Series User manual

Dormakaba

Dormakaba TS93 Series User manual

Dormakaba ORACODE 480 Series User manual

Dormakaba

Dormakaba ORACODE 480 Series User manual

Dormakaba Muto Premium XL150 Owner's manual

Dormakaba

Dormakaba Muto Premium XL150 Owner's manual

Dormakaba TS93 GSR PT User manual

Dormakaba

Dormakaba TS93 GSR PT User manual

Dormakaba ED50 User manual

Dormakaba

Dormakaba ED50 User manual

Dormakaba Muto Premium XL80 User manual

Dormakaba

Dormakaba Muto Premium XL80 User manual

Dormakaba 8600 IS User manual

Dormakaba

Dormakaba 8600 IS User manual

Dormakaba 7400 PT User manual

Dormakaba

Dormakaba 7400 PT User manual

Dormakaba RTS88 User manual

Dormakaba

Dormakaba RTS88 User manual

Dormakaba G-SR EMR Series Manual

Dormakaba

Dormakaba G-SR EMR Series Manual

Dormakaba SVI 2 Series Training manual

Dormakaba

Dormakaba SVI 2 Series Training manual

Dormakaba ES 200 EASY PLUS User manual

Dormakaba

Dormakaba ES 200 EASY PLUS User manual

Dormakaba 8600 SIS User manual

Dormakaba

Dormakaba 8600 SIS User manual

Dormakaba ED50LE User manual

Dormakaba

Dormakaba ED50LE User manual

Dormakaba ED100 User manual

Dormakaba

Dormakaba ED100 User manual

Dormakaba Muto Premium XL120 User manual

Dormakaba

Dormakaba Muto Premium XL120 User manual

Dormakaba HSW EASY SAFE User manual

Dormakaba

Dormakaba HSW EASY SAFE User manual

Dormakaba ED250 User manual

Dormakaba

Dormakaba ED250 User manual

Dormakaba TS9356 PKT 120/170 User manual

Dormakaba

Dormakaba TS9356 PKT 120/170 User manual

Dormakaba ED100 User manual

Dormakaba

Dormakaba ED100 User manual

Dormakaba 8900 SIS User manual

Dormakaba

Dormakaba 8900 SIS User manual

Dormakaba TS 98 XEA User manual

Dormakaba

Dormakaba TS 98 XEA User manual

Dormakaba G-SR Series Manual

Dormakaba

Dormakaba G-SR Series Manual

Popular Door Opening System manuals by other brands

Assa Abloy Securitron EEB3N Installation and operating instructions

Assa Abloy

Assa Abloy Securitron EEB3N Installation and operating instructions

raumplus 1200 Series Installation instruction

raumplus

raumplus 1200 Series Installation instruction

Nitto Kohki NSC-C23 installation manual

Nitto Kohki

Nitto Kohki NSC-C23 installation manual

GFS e-Bar 700 71 Series Assembly instruction

GFS

GFS e-Bar 700 71 Series Assembly instruction

Alecto ADI-250 user manual

Alecto

Alecto ADI-250 user manual

Dorma CS 80 MAGNEO Technical documentation

Dorma

Dorma CS 80 MAGNEO Technical documentation

Mhouse GA1 Installation instructions and warnings

Mhouse

Mhouse GA1 Installation instructions and warnings

CAMDEN CM-300 installation instructions

CAMDEN

CAMDEN CM-300 installation instructions

Genie GCL OPGSX Series installation manual

Genie

Genie GCL OPGSX Series installation manual

GAL MOVFE 2500 MECHANICAL MANUAL

GAL

GAL MOVFE 2500 MECHANICAL MANUAL

Amazon B07GDXCX87 manual

Amazon

Amazon B07GDXCX87 manual

Eco TS-31 Assembly instruction

Eco

Eco TS-31 Assembly instruction

Yale UNOplus 3000 quick start guide

Yale

Yale UNOplus 3000 quick start guide

Erreka RINO-I Quick installation and programming guide

Erreka

Erreka RINO-I Quick installation and programming guide

Nabco GT20 owner's manual

Nabco

Nabco GT20 owner's manual

Crown Aut-o-doR 1502-1 GENERAL INSTALLATION, OPERATION, MAINTENANCE, and PARTS MANUAL

Crown

Crown Aut-o-doR 1502-1 GENERAL INSTALLATION, OPERATION, MAINTENANCE, and PARTS MANUAL

EINHELL FH 70 operating instructions

EINHELL

EINHELL FH 70 operating instructions

Tucker SW10 installation guide

Tucker

Tucker SW10 installation guide

manuals.online logo
manuals.online logoBrands
  • About & Mission
  • Contact us
  • Privacy Policy
  • Terms and Conditions

Copyright 2025 Manuals.Online. All Rights Reserved.