Dormakaba PT30 User manual

Universal Patch Fittings
PT30
Overpanel
Installation instructions
833002 – 07-2019
| EN |

2Universal Patch Fittings 07-2019
833002
dormakaba Universal Patch Fittings PT30
Installation Instructions
Table of Contents
Table of contents
1 Technical specifications 3
1.1 Overview 3
1.1.1 General information 3
1.1.2 Intended use 3
1.1.3 Glass requirements/fittings/mounting 3
1.1.4 Requirements for glass panel 3
1.1.5 Safety instructions 3
1.1.6 Symbols used - Safety/Installation 3
1.1.7 Maintenance, care, repair 3
1.1.8 Disposal 3
1.2 Door dimensions & options 4
2 Installation instructions 5
2.1 Overall 5
2.2 Install the gaskets 5
2.3 Secure wall plate to fitting 6
2.4 Install fittings on glass 6
2.5 Install inserts 6
2.6 Install door (for pivot insert only) 7
2.7 Install covers 7

dormakaba Universal Patch Fittings PT30
Installation Instructions
833002 07-2019Universal Patch Fittings 3
Technical specifications
1 Technical specifications
. Overview
These instructions are for installation of the Universal
PT30 Overpanel Patch Fittings for the following
mounting and style versions:
1. Glass mounting
1.1.1 General information
• dormakaba requires use of tempered monolithic
glass.
• dormakaba glass hardware is not suitable for harsh
environment; for example, applications where
chemicals (e.g. chlorine) are used such as indoor
swimming pools, saunas, or salt-water pools.
• Do not swing doors with excessive force. Install
limiting stop to prevent door from opening too far.
1.1.2 Intended use
• For pivoting doors in indoor or covered areas only.
• For manual slowly opening and closing only.
1.1.3 Glass requirements/fittings/mounting
• The substructure/wall must be able to bear
permanent loads, and be level (max. tolerance:
1/16” [2] per 39” [1m]).
• Fasteners must be sufficiently dimensioned for the
substructure/wall and weight of the door.
• When adjusting glass elements, always stick to the
required clearance for the respective hardware.
Adjust clearance so glass does not come in contact
with any hard surfaces such as glass, metal or
concrete.
• Do not use excessive force when installing the glass
(avoid over tightening screws.)
1.1.4 Requirements for glass panel
• dormakaba requires use of fully tempered glass,
which complies with ASTM C 1036 and ASTM C
1048. Secondary heat soaking processes are
optional but not required.
• Clamping area must be flat and uncoated (no
self-cleaning coating!)
• Never use glass with conchoidal fractures and/or
damaged edges.
1.1.5 Safety instructions
• Installation requires two people.
• Always wear protective clothing.
• Only properly qualified and specially trained staff
are authorized to mount dormakaba glass
hardware.
• Due to crushing hazards and possible injury caused
by breakage of glass during mounting,
corresponding protective clothing (especially gloves
and protective goggles) is required.
• Never clamp metal fitting hardware directly to
glass surface.
1.1.6 Symbols used - Safety/Installation
CAUTION
Mounting components must meet the
requirements of substructure/wall and door
weight. Please read the technical information
for fittings.
WARNING
Risk of breaking glass. When installing the
door, support the door panel with a block of
wood or similar object.
CLOSING EDGE OF DOOR
1.1.7 Maintenance, care, repair
• Immediately replace damaged parts.
• Always use original dormakaba parts.
• Clean clamping area with alcohol-based standard
commercial cleaning agent before mounting the
glass hardware.
• Use a damp cloth for occasional cleaning.
• Always use silicone - and oil-free cleaners (e.g.
acetone).
• Check glass hardware at regular intervals for
proper positioning, smooth operation and correct
adjustment.
• High traffic door systems require inspection by
properly qualified staff (specialized companies or
installation firms.)
• Function of fittings is recommended to be
inspected every 500,000 movements by a specialist.
1.1.8 Disposal
Disposal in accordance with local, state and national
regulations.

dormakaba Universal Patch Fittings PT30
Installation Instructions
833002 07-2019Universal Patch Fittings
4
Technical specifications
. Door dimensions & options
PT30 with Pivot
PT30 with Stop
PT30 with Blank
Pivot
Stop
Blank
PT30
PT20
PT10
BTS
PT30
PT20
PT10
BTS
PT30
PT20
PT10
BTS

dormakaba Universal Patch Fittings PT30
Installation Instructions
833002 07-2019Universal Patch Fittings 5
Overall
Install gaskets
. Overall
2 Installation instructions
Fig.
2.1 Covers
2.2 Patch plates/fitting
2.3 Gaskets
2.4 Pivot/blank/stop
(application dependent)
2.5 Insert fasteners (2x included)
2.6 Patch fasteners (3x included)
2.7 Glass grommets (1x included)
2.2.1 If have 1/2” [13] or 3/4” [19] glass:
• Fittings will come with 2mm [3/32”] glass
gaskets pre-secured.
2.1
2.7
2.6
2.4
2.3
2.2
2.5
2.6
2.1
2.2
2.3
2.2.2 If have 3/8” [9] or 5/8” [15] glass:
• Fittings will come with 2mm [3/32”] glass
gaskets pre-secured.
• PLUS additional (2) 3mm [1/8”] glass gaskets.
• Remove 2mm gaskets and replace with 3mm
gaskets.
Glass gasket
. Install the gaskets
Fig.

dormakaba Universal Patch Fittings PT30
Installation Instructions
833002 07-2019Universal Patch Fittings
6
Install wall plate
Install fittings
Install inserts
2.3.1 Secure wall plate to
fitting shown above.
• Hand tighten using
5mm hex key.
Hex key size
5mm
. Install fittings on glass
Fig.
Wall plate
. Secure wall plate to fitting
Fig.
2.4.1 Insert glass grommet.
2.4.2 Place fittings onto
glass.
2.4.3 Hand tighten fittings
with included M6x27
flat head screws.
1/16”
[1.5]
1/16”
[1.5]
Glass
grommet
Wall
plate
Wall plate
fasteners (x2)
Hex key size
5mm
2.5.1 Place pivot
pin into
insert.
2.5.2 Secure with
set screw.
2.5.3 Place pivot
insert into
top of PT20.
Fittings
2.4.4 Temporarily
support transom
to mark wall
plate location.
2.4.5 Lift and secure transom to ceiling/
frame surface using product
appropriate to transom weight and
height.
2.4.6 Secure wall plate with
two included
fasteners.
2.4.7 Tighten
and
torque
fitting.
Torque value
Fittings 10 ft lbs
[15Nm]
. Install inserts
Fig.
2-3/4” [70] from
wall/sidelight to
center of insert
PT30 Stop Insert PT30 Blank Insert
2.5.1 Align stop insert.
• Ensure white bumper is
facing operator.
2.5.2 Secure with included
fasteners.
2.5.1 Align blank insert.
• Ensure fastener-side is
facing operator.
2.5.2 Secure with included
fasteners.
Stop
Blank
Pivot
PT20
Set
screw
PT30 Pivot Insert
Pivot
pin
Mark hole
location
Right hand door shown Right hand door shown
White
bumper Fastener-
side

dormakaba Universal Patch Fittings PT30
Installation Instructions
833002 07-2019Universal Patch Fittings 7
Install door (for pivot insert only)
Covers
. Install door (for pivot insert only)
Fig.
Torque value
PT30
insert
9 ft lbs
[12Nm]
Hex key size
5mm
PT30
pivot
insert
PT30
M6x16
2.7.1 Aligh hole in cover with spring pin on end of
fitting.
2.7.2 Snap covers onto patch fittings.
2.7.3 To remove:
• Depress spring pin and pop cover off.
. Install covers
Fig.
PT20
PT30
PT10 Floor
pivot
spindle
2.6.1 Place bottom patch
fitting onto floor pivot
spindle.
2.6.2 Tip glass panel up and
align PT30 pivot insert
with PT30 patch
fitting.
2.6.3 Secure insert with
included M6x16 socket
head screws.
PT30
pivot
insert
Hole in cover
Cover
Spring pin

www.dormakaba.com
dormakaba
DORMA USA, Inc.
1 Dorma Drive, Drawer AC
Reamstown, PA 17567
USA
T: 717-336-3881
F: 717-336-2106
Table of contents
Popular Industrial Equipment manuals by other brands
STM
STM ROCKETBOX instruction manual

HERKULES
HERKULES EnKon OFC7 owner's manual

Donaldson
Donaldson A119 Rotorcraft Flight Manual Supplement
Bosch
Bosch rexroth Sytronix SvP 7020 PFC 03 operating instructions
Scheppach
Scheppach HF60 Translation of original instruction manual
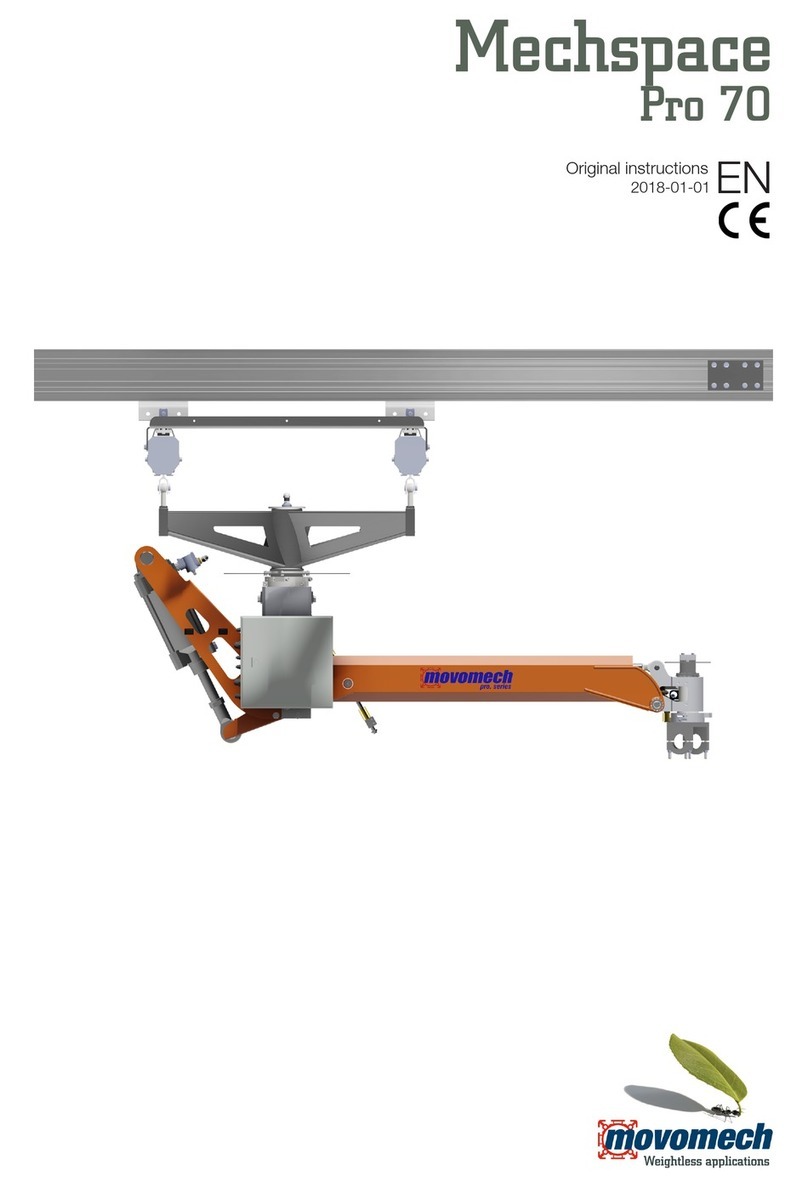
movomech
movomech Mechspace Pro 70 Original instructions

Emerson
Emerson ESC Series operating instructions
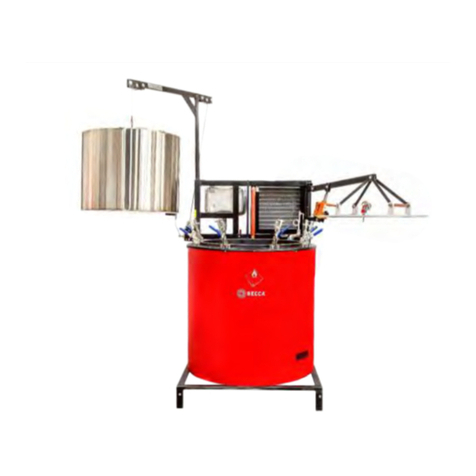
Becca
Becca SOLVENT SAVER Operator's guide
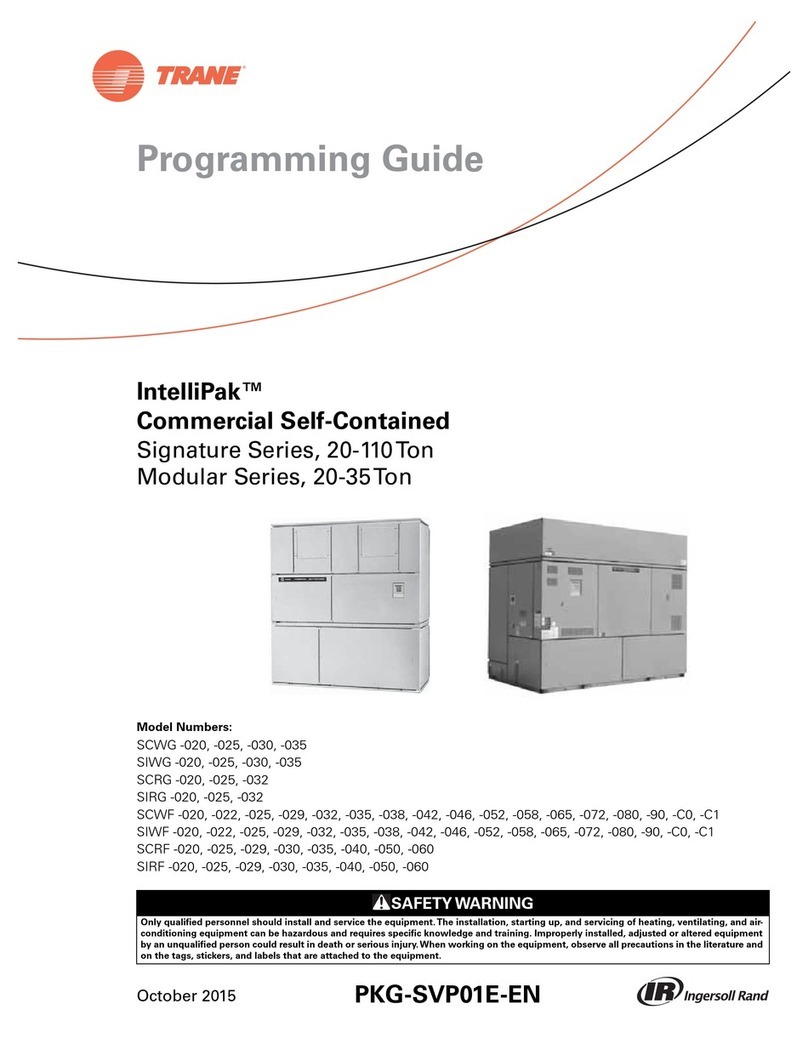
Trane
Trane IntelliPak Signature Series Programming guide

Pack Leader
Pack Leader ELF-50 Operation manual
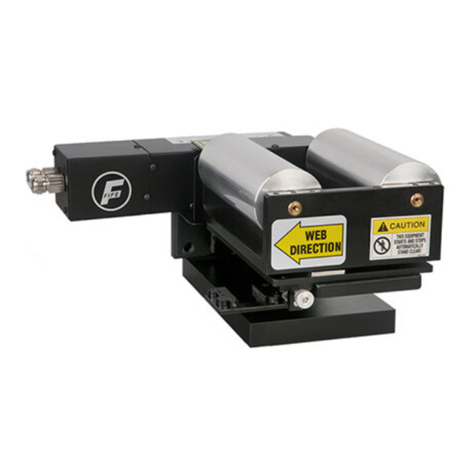
Maxcess
Maxcess Fife-200 Installation and service manual
Storch
Storch Airless ST 1700 Translation of the original instruction
