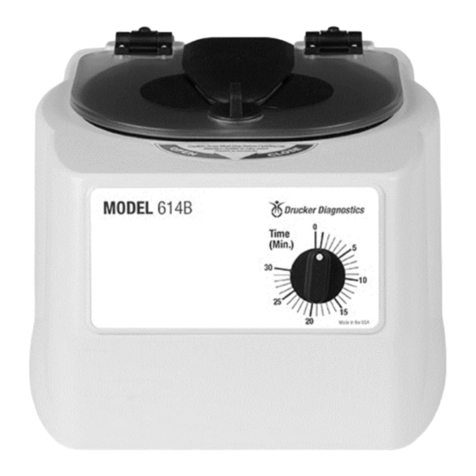
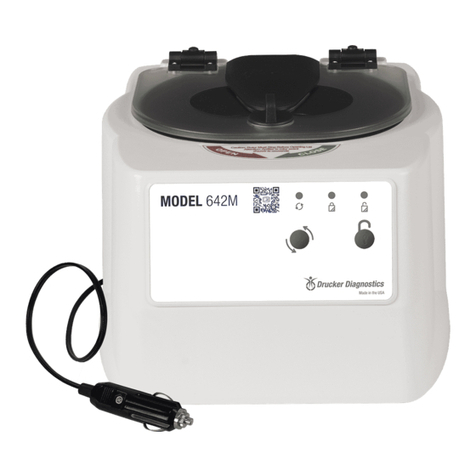
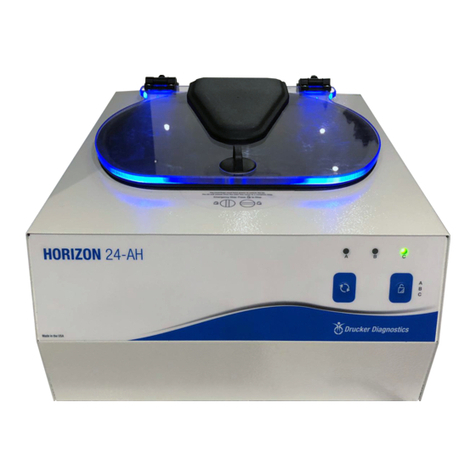
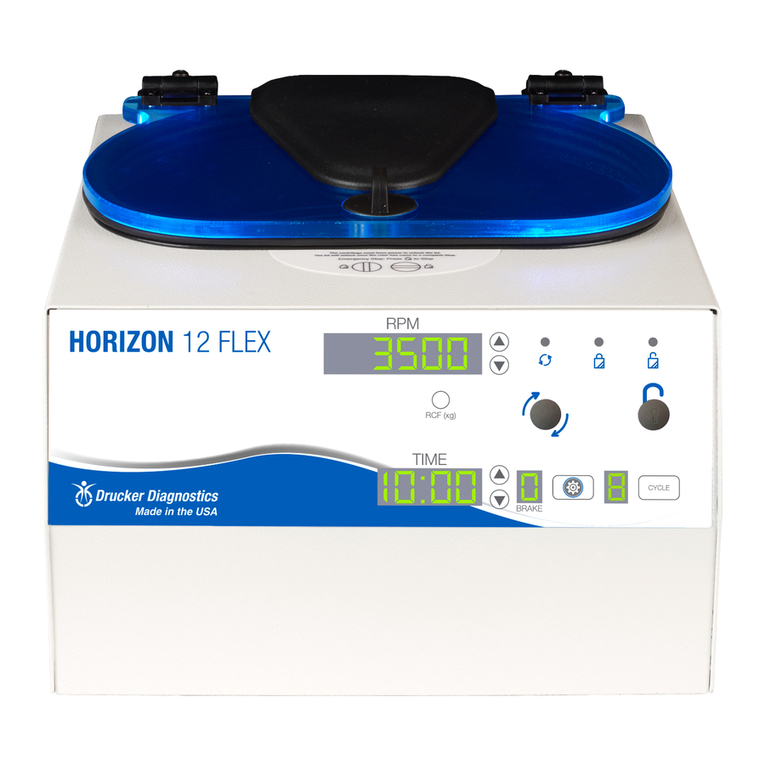
Page 4 Page 9
Setup Location:
1. Unpack the centrifuge and verify that all of the supplied equipment is present.
2. Choose a setup location which meets the following criteria:
a) A bench top clearance height of 20” is required in order to open the lid.
b) The clearance envelope is the space around the centrifuge which is required for safety.
Choose a setup location which will allow for a clearance envelope of at least 24” x 24”,
(with the centrifuge at the center). Do not position the centrifuge in such a way
that it would be difcult to disconnect the power in the case of emergency. No person
or hazardous material shall be permitted in the clearance envelope during operation. The
operator time within the envelope shall be limited to the time necessary for loading,
unloading and centrifuge operation only.
c) Proper ventilation is necessary to prevent the overheating of samples as well as
premature failure of the centrifuge. Choose an area which will allow unencumbered air
ow.
d) The centrifuge is designed to secure to the operating surface by four suction feet. No
adjustment is necessary for leveling the centrifuge, however, the surface should be at
and level.
e) Be sure the outlet is always within reach as the line cord is the means of
emergency disconnection!
Initial Setup Procedure:
If any problems are found during the initial setup procedure, refer to the troubleshooting
section on page 9.
1. Plug the female end of the supplied line cord into the power input module located on the
rear of the centrifuge. Plug the male end into an approved
electrical outlet. For electrical safety, the unit must always be
properly grounded.
2. Flip the switch on the power input module located on the rear of
the centrifuge to the ON ( | ) position.
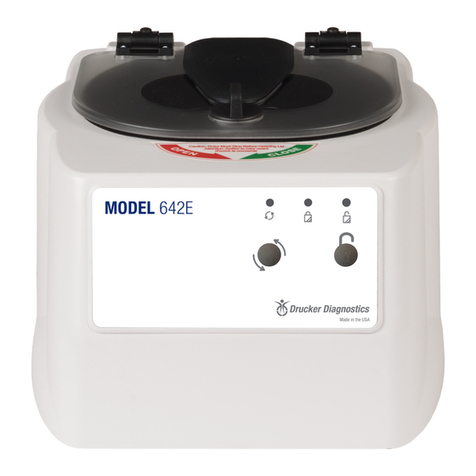
3. For safety purposes, the locking system is always activated.
To deactivate the system, (in order to insert or retrieve
samples), press the OPEN/STOP button on the
control panel. The UNLOCKED indicator light should illuminate. If it does not,
refer to page 9 on troubleshooting. The lid will be unlocked for 15 seconds after pushing
the OPEN/STOP button.
4. Turn the latch counterclockwise and open the lid.
5. Spin the rotor by hand; check for free and level rotation. If the rotor does not spin freely,
refer to page 9 on troubleshooting.
6. Place the six test tube holders inside the rotor (as shown to the right), and verify that
they are seated properly.
7. Close the lid. Rotate the lid knob clockwise to its complete stop position. The ’LATCHED’
indicator light should be illuminated. If it is not, make sure that the lid is latched properly.
The centrifuge will not run unless the lid is latched and the ‘LATCHED’ light is
illuminated.
8. Start a centrifugation cycle by pushing the START (BLOOD) button.
9. The ‘RUNNING’ indicator light will illuminate.
10.The test tube holders will slide up into the horizontal position and the unit will accelerate
to full speed.
11.Listen to the sound of the centrifuge. A smooth whirring sound should be heard. If
there are any loud or unusual sounds, stop the centrifuge by pushing the OPEN/STOP
button immediately and refer to page 9 on troubleshooting.
12.Push the OPEN/STOP button. The ‘RUNNING’ indicator light should go out and the
motor should slow to a stop.
12.The lid should remain locked until the rotor has nearly stopped. If the machine unlocks
prematurely, contact Drucker Diagnostics for assistance. Once the rotor has stopped, the
interlock system will become disengaged for sixty (60) seconds. The ‘UNLOCKED’
indicator light will illuminate during this time.
13.To gain entry into the centrifuge after this period has ended, simply press the OPEN/
STOP button. The lid will unlock for fteen (15) additional seconds.
After the centrifuge has passed this procedure it is ready for operation.
Horizontal Rotor Shown
Problem:
The rotor does not spin freely.
Solutions:
– Make sure nothing has fallen into the rotor chamber.
– If there is nothing obstructing the rotor, contact Drucker Diagnostics or further assistance.
Problem:
Excessive noise when the machine is running.
Solutions:
– Check to see that the load is balanced.
– Make sure that nothing has fallen into the rotor chamber.
– Make sure that the nut in the center of the rotor is tight.
– Have a technician test the motor and replace it if necessary.
Problem:
The centrifuge does not run.
Solutions:
– Check the electrical outlet.
– Make sure the lid latch is turned completely clockwise to its stop position. When the lid is closed properly, the
latched light on the control panel will illuminate.
– Check the circuit breaker switch at the bottom left of the machine. If the switch is white, the breaker has tripped.
Contact Drucker Diagnostics for further assistance.
– The printed circuit board may be damaged. Have a technician test and replace the circuit board if necessary.
Problem:
The latch light does not come on when the lid is closed.
Solutions:
– Make sure that the unit has power.
– Make sure the lid latch is turned completely clockwise to its stop position. The latch makes contact with a switch
underneath the front top of the cabinet. If this switch is not activated, the light will not turn on and the machine will
not run.
Problem:
The machine does not unlock after a run has completed.
Solutions:
– The lid should remained locked until the rotor has nearly come to a complete stop and then unlock for 60 seconds.
If additional unlock time is needed, press the ’OPEN / STOP’ button with the machine plugged in and the
rotor stopped. If the lid remains locked after this and will not unlock, the electronics may have been
damaged. Contact Drucker Diagnostics for assistance. To access the rotor chamber, follow the procedure on
page 10,“Emergency Rotor Chamber Entry”.
Troubleshooting:
NOTE:
The lid latch must be turned completely
clockwise to its stop position in order for
the centrifuge to operate.
9.
Problem:
Problem:
The yellow and green LED indicators are blinking with 4 short audible beeps repeating continuously. (VES will display ‘Motor Error’)
The centrifuge cycle stops prematurely and the yellow LED indicator is blinking.
Solutions:
Solutions:
- The internal tachometer has either not sensed a speed, the sensed speed is out of range, or the wrong rotor is installed.
(NOTE: if the wrong rotor is installed the centrifuge will not run without reprogramming the rotor selection)
- Verify that the rotor being used is programmed correctly in the settings. Reprogram the correct rotor selection if
necessary. Refer to page 7 for instructions.
- Remove the rotor following the instructions on page 7. Check to see that there is a small silver reective sticker on the
exterior vertical wall of the rotor.
- If the reective sticker is present on the rotor and the correct rotor is programmed in the settings, contact Drucker
Diagnostics for further assistance.
For servicing information or additional technical support,
contact Drucker Diagnostics or your authorized distributor.
Problem:
Problem:
All LED indicators are blinking with 2 short audible beeps repeating continuously.(VES will display ‘Imbalance Error’)
The yellow and red LED indicators are blinking with 3 short audible beeps repeating continuously. (VES will display ‘Motor Power Err’)
Solutions:
Solutions:
- The imbalance detection threshold has been reached during the cycle indicating a full cycle was not completed.
- Check the balance of the load. Refer to BALANCED LOADS on page 7.
- If it is determined that the detection is too sensitive this can be adjusted by increasing the imbalance detection
threshold. Refer to page 6 for programming settings.
- The electrical current to the motor has exceeded the allowable limit, indicating that the full cycle was not completed.
- Make sure that nothing has fallen into the rotor chamber preventing the rotor from spinning freely.
- If there is nothing obstructing the rotor, the motor may be damaged. Contact Drucker Diagnostics for further assistance.
- This is an indication that the lid is not properly latched and the cycle has entered the “paused” state.
- Turn the knob clockwise to re-latch the lid and resume the cycle.
- If the cycle does not resume and the knob is fully turned, contact Drucker Diagnostics for further assistance.
Problem: The run time is not set to the desired length.
Solutions: – Check the run preset by following the instructions on page 5. If the preset is not the desired length follow the
instruction on page 6 to change the run preset time.
