manuals.online logo
Brands
  1. Home
  2. •
  3. Brands
  4. •
  5. DSI
  6. •
  7. Turnstile
  8. •
  9. DSI DS400 Series User manual

DSI DS400 Series User manual

DS400 Series Tandem Full Height Turnstile
Service & Installation Manual
Note: Successful turnstile installation depends on reading this manual.
Please keep this service manual after installation. If an installation is done by a construction company
or outside installer, please pass this book along to the end user. This book is required for maintenance,
troubleshooting & repairs.
512-321-4426
INS-DS400T-190401
Designed Security, Inc - 1402 Hawthorne Street, Bastrop Texas 78602 - (800) 272-3555
[email protected]
1
Important Electrical Information
Installation of the control head mechanism into the turnstile requires a grounding-type outlet recep-
tacle installed inside of the frame or cabinet through the provided conduit access points.
To reduce the risk of electric shock, this equipment has a grounding type plug that has a third
Additionally, the P24-60W power supply from this appliance must be grounded to the frame of the
turnstile. Utilize the green colored grounding screw threaded into the grounding tab located near the
power supply along with the provided grounding wire from the power supply to ensure the equip-
ment is properly grounded.
Do not connect to a receptacle controlled by a switch.
Feature Level
Destructive Attack Test I
Line Security I
Endurance IV
Standby Power I
ULC S319, Class 1
Wiring methods shall be in accordance with:
National Electrical Code, ANSI/NFPA 70
Canadian Electrical Code, CSA C22.1, Part I, Safety Standard for Electrical Installations
When in an appropriate turnstile or gate model, the 6500 Series Control Head is suitable for indoor
and outdoor use.
512-321-4426
INS-DS400T-190401
Designed Security, Inc - 1402 Hawthorne Street, Bastrop Texas 78602 - (800) 272-3555
[email protected]
2
Table of Contents
Important Electrical Information 2
DS400 Series Tandem Full Height Data Sheet 4
DS400 Series Tandem Full Height Components 6
DS400 Series Tandem Full Height Fastener List 7
Pre-Installation Tips 8
Wedge Type Concrete Anchor Instructions 10
Installation Instructions 11
6500 Series Control Head Mechanical Overview 18
Internal Parts Breakdown 19
Control Head Parts List 20
21
Locking Bar Information 22
Hydraulic Shock & Indexing 24
Electrical Introduction 25
Wiring Diagram 26
Wiring Legend 27
Limit Switch & Limit Switch Cam Information 28
Logic Controller Settings 29
Testing Procedure 30
Maintenance & Cleaning 31
Troubleshooting 32
Proper Turnstile Usage 35
Warranty 36
Appendix
512-321-4426
INS-DS400T-190401
Designed Security, Inc - 1402 Hawthorne Street, Bastrop Texas 78602 - (800) 272-3555
[email protected]
3
The High-Security Series DS427-T |DS430-T
Full-Height Turnstile (Tandem) |Interior & Exterior Application
The High-Security Series units can be
engineered to meet all your security and
control requirements, and can be created as
stand-alone units, or as part of an integrated
system. Available in stainless steel (304 or
316), carbon steel with powder coating,
leading edge technology and features.
Controls and Interfaces:
• Biometric Integration
• Fail-Open or Fail-Secure Locking
• Card Readers
• Push-Button and Wireless Remotes
• Electronic/LCD Counters
• Manual Key Override – both directions
• Indicator Lights
Size Options:
(pedestrian clearance)
DS427-T: 27” (685.8mm)
DS430-T: 30” (762mm)
304 Stainless, No. 4 Satin
nish (shown)
Optional black or safety
orange end caps available.
Hot-dipped galvanized nish
Also available in stainless
steel or powder coated nishes.
Built in the USA
* Dimensions subject to change without notice. See CAD drawings on reverse side
WidthDepth
59.375”
(1508.1mm)
94.250”
(2394mm)
27”
(685.8mm)
84”
(2133.6mm)
91”
(2311.4mm)
62”
(1574.8mm)
102”
(2590.8mm)
30”
(762mm)
84”
(2133.6mm)
91”
(2311.4mm)
DS427-T
DS430-T
A*B*C*D*E*
Passage
Width
Passage
Height
Overall
Height
60%
Gloss
Black
60%
Gloss
White
RAL 1013
Oyster
White
RAL 5023
Distant
Blue
RAL 5010
Gentian
Blue
RAL 6002
Leaf
Green
RAL 8028
Terra
Brown
RAL 9007
Grey
Aluminum
Additional colors available and can be quoted upon request.
Standard powder coating color selections:
512-321-4426
INS-DS400T-190401
Designed Security, Inc - 1402 Hawthorne Street, Bastrop Texas 78602 - (800) 272-3555
[email protected]
4
The High-Security Series DS427-T |DS430-T
Full-Height Turnstile (Tandem) |Interior & Exterior Application
Available Finishes:
• Hot dipped galvanized carbon steel
• Carbon steel with powder coating
(standard color is black/ other colors available upon request)
• Our signature 304 stainless steel, No. 4 satin
Operation Features
6500 Series Control Head:
• Auto-indexing (self-centering) with adjustable
hydraulic shock suppression
• Hardened tool steel locking bars, cam and
roller assemblies
• Permanently lubricated bearings
• Your choice of manual or electronic control on
both directions
• Nearly universal integration to any number of
access control systems
• Your choice on each electronic direction of
locking or unlocking on power failure
Options:
• Card reader mounting plates
• Daylight visible indicator lights
• Bi-directional key overrides
• Lockout bar (padlock not included)
• Decorative arm caps
• Stainless steel overhead full canopy
• Half canopy (covers passageway)
• 8 digit key resettable LCD counter with seven
year lithium battery
• Cold weather package, including thermostat
controlled heater and insulated mainframe
• Push button and wireless remotes
• Heel guard arm covers
• Additional options available upon request
Warranty:
Units are warranted against defects in materials
and workmanship for a period of one year from
date of delivery. See warranty information for
Matching Swing Gate available:
(see model DS336 and model DS348 Manual
Passage Gate information)
* Dimensions are approximate based on chart on reverse side
(per rotor)
Input Voltage: 100-240 VAC
Input Current: 1.3 - .55 A
Frequency: 50/60 Hz
Storage Temperature: -40 to 158°F
Operating Temperature: -4 to 131°F
(Cold weather package available)
Operating Voltage: 24VDC
Operating Current: 1.2 A (typical)
Standards and Codes:
Austenitic stainless steel:
ASTM A240, A249, A276
Hot rolled steel:
AISI C-1020, AISI C-1018
Hot dipped galvanizing:
ASTM A-143, ASTM A-153-80
All fasteners provided meet IFI ANSI/
ASME Fastener Standards
American Welding Society (AWS)
Standard D 1.1
The 6500 Series Control Head
UL 294, UL 325, UL Subject 2593,
CAN/ULC S319 & CSA C22.2#247
4008027
DS336 - Back
(stainless steel
with optional
mesh push bar)
* Dimensions are subject to change without notice
Applications:
both indoor and outdoor settings
Design & Construction:
• Designed for secure operation with
aesthetics in mind
• Featuring fully welded exterior components
• Minimal exposed stainless steel hardware
• Heavy gauge materials meeting
ASTM standards
Dimensions:
DS427-T
• Pedestrian Clearance: 27” (685.8mm)
• Width: 94.250” (2394mm)
• Depth: 59.375” (1508.1mm)
DS430-T
• Pedestrian Clearance: 30” (762mm)
• Width: 102” (2590.8mm)
• Depth: 62” (1574.8mm)
Arm & Barrier Tubing Sizes
(DS427-T & DS430-T):
• Standard: 1 1/2” (38.1mm) diameter 14 gauge
• Optional: 1 3/4” (44.4mm) diameter 14 gauge
(16 gauge – Stainless Steel models)
All Models:
• Overall Exterior Height: 91” (2311.4mm)
• Passage Height: 84” (2133.6mm)
• Removal of Cover: Minimum of 4” needed
512-321-4426
INS-DS400T-190401
Designed Security, Inc - 1402 Hawthorne Street, Bastrop Texas 78602 - (800) 272-3555
[email protected]
5
Each DS400 Series tandem full height turnstile comes with the following components:
DS400 Series Tandem Full Height Components
1x Main Channel
Not Shown: Fastener Kit, Optional Components
I1
A B OKESC
I2 IB IC ID IE
+
+
–
–
01 02 03 04
XD10
+–
+–
L N
VOut
PS24-60W
2x 6500 Series Control Heads
1x ABBC Barrier1x AABB Barrier1x A Rotor 1x B Rotor
with bottom
Lowest arm recessed several
inches from bottom
Standing upright and facing
forward, lowest arm is
to the left.
Standing upright and facing
forward, lowest arm is
to the right.
4x Yoke Assemblies
Quantity of poles varies between model sizes.
512-321-4426
INS-DS400T-190401
Designed Security, Inc - 1402 Hawthorne Street, Bastrop Texas 78602 - (800) 272-3555
[email protected]
6
High Security Series Tandem Full Height Turnstile Fasteners
For mounting the cross arms to the main channel
For mounting the control head to the mainframe
For mounting the four yoke assemblies to the cross arms
For mounting the barriers to the cross arms
Qty 14 - 3/8“-16 x 3.75” wedge type concrete anchors with nuts and washers
For mounting yoke assemblies and barrier assembles to concrete
Qty 2 - 5/8”-11 x 4.5“ wedge type concrete anchors with nuts, bearing blocks
and greased roller bearings
For the rotor bearing assemblies to the concrete
Qty 8 - 2” x 2“ square ribbed black plugs
For decorative plugging of the ends of the yoke cross arms
Qty 2 - 2” x 4”rectangle ribbed black plugs
For decorative plugging of the ends of the barrier cross arm
All High Security Series Full Height Tandem Turnstiles
Note: DS427 & DS430 models share a universal fastener kit.
If some bolts seem like they are too long, this is the reason.
Properly assembled, they will not be visible.
Some options (such as canopies) may alter fastener requirements.
Fun fact: the threads on stainless steel fasteners have a tendency to malform and bind under some
circumstances. This is known as galling and can make life very inconvenient. Galling can cause the
threads to fuse together with friction welding, making the nuts impossible to remove. Fortunately,
there are some simple steps that can be taken to prevent it from occurring.
alloy used in the nut prevents the galling from occurring. Not only that, but this type of nut makes
than standard lock washers, which rely on spring tension for gripping. We are also coating these
nuts with carnauba wax for an additional layer of protection against galling.
512-321-4426
INS-DS400T-190401
Designed Security, Inc - 1402 Hawthorne Street, Bastrop Texas 78602 - (800) 272-3555
[email protected]
7
Tandem Full Height Pre-Installation Electrical Tips
If the unit is to be electronically controlled, pre-plan how it will be wired. We provide
several options for running conduit to each turnstile.
Each end of the main channel is designed to accept up to two 3/4”conduits, and also allow for multiple units to be bolted together.
The stationary barriers (which run vertically from the concrete to the mainframe) connects to the 2” x 4” cross arm with a 1.25”hole for
conduit races.
If equipped with optional card reader plates, the reader’s cabling goes through the back of the plate into the vertical yoke tube (drilling
should be at least 18 gauge. A normally open contact closure is required for each direction (and if used, each directional override).
512-321-4426
INS-DS400T-190401
Designed Security, Inc - 1402 Hawthorne Street, Bastrop Texas 78602 - (800) 272-3555
[email protected]
8
Use in concrete ONLY. Not recommended for use in lightweight masonry such as block or brick.
Warning!
Always wear safety glasses and other necessary protective devices or apparel when installing or working with anchors.
Caution: Use of core drills is not recommended to drill holes for use with this anchor.
The use of carbide drill bits manufactured with ANSI B212.15 drill bit diameter requirements is recommended for installation of this anchor.
Anchor spacing and edge distance (anchor installation locations) are the responsibility of the engineer of record.
Installing product in oversized holes is not recommended. Product will not set properly or achieve full designed load in oversized holes.
* Setting torque only applies at the time of installation.
4
Select a carbide drill bit with a diameter equal to the anchor diameter. Drill hole at least 1/4”deeper than nominal anchor embedment.
Clean hole with pressurized air or vacuum to remove any excess dust/debris.
Using the washer and nut provided, assemble the anchor, leaving nut one half turn from the end of anchor to protect threads. Drive
Wedge Type Concrete Anchor Instructions
512-321-4426
INS-DS400T-190401
Designed Security, Inc - 1402 Hawthorne Street, Bastrop Texas 78602 - (800) 272-3555
[email protected]
9
Installation Instructions
1.) If needed, pour a level concrete pad at least 4”thick and 4” greater than the unit’s
2.) Unpack turnstile(s) and verify all parts are included. Use the parts checklist in the
beginning of this book.
3.) Unwrap the main channel from the cardboard & foam packaging. Remove the 9x
canopy diagram provided with option for proper assembly technique in that instance.
Upper View (4x Holes)
Touching the main channel
Under View (4x Holes)
Center holes may be large or small depending on model.
Short Yoke Cross Arms
Has holes on two sides. Length varies by model.
Upper View (5x Holes)
Touching the main channel
Under View (4x Holes)
Side View (2x Holes)
Facing in towards center
Long Yoke Cross Arms
Has holes on three sides. Length varies by model.
Barrier Cross Arm
Has holes on two sides. Length varies by model.
Upper View (4x Small Holes, 7x Large Holes)
Touching the main channel
Under View (10x Small Holes, 2x Large Holes)
512-321-4426
INS-DS400T-190401
Designed Security, Inc - 1402 Hawthorne Street, Bastrop Texas 78602 - (800) 272-3555
[email protected]
10
Installation Instructions (continued)
5.) Assemble cross arms to mainframe using the provided 3/8”x 3” carriage bolts as
illustrated below. Ensure cross arms are square to mainframe and that the cross arms
heads and may need to be hammered into the round holes of the cross arms.
6.) Utilizing the assembled mainframe, mark holes on the ground for the 14x 3/8”
concrete anchors to each of the marked holes below.
Upper View
Side hole on
long cross arm
Side hole on
long cross arm
Side hole on
long cross arm
Side hole on
long cross arm
Under View
Side hole on
long cross arm
Side hole on
long cross arm
Side hole on
long cross arm
Side hole on
long cross arm
512-321-4426
INS-DS400T-190401
Designed Security, Inc - 1402 Hawthorne Street, Bastrop Texas 78602 - (800) 272-3555
[email protected]
11
Installation Instructions (continued)
7.) Following the concrete anchor installation directions, drill each of the marked holes
marked for the 3/8”anchors. Be sure to remove debris from holes before installing the
anchors.
8.) Install the curved yoke assemblies onto the concrete over the anchors. Take special
notice of the two screws and extra hole on one side of the yoke strap. These screws and
holes are for card reader mounting plates and should be facing outward when bolting
down.
Screws & hole
on one end
of the strap.
Each yoke assembly has two
button head cap screws and a
larger hole in the center strap.
Take notice of this for the next
step.
Screws & Hole Screws & Hole
Screws & HoleScrews & Hole
512-321-4426
INS-DS400T-190401
Designed Security, Inc - 1402 Hawthorne Street, Bastrop Texas 78602 - (800) 272-3555
[email protected]
12
Installation Instructions (continued)
9.) Install vertical barrier assemblies over the anchors onto the concrete as shown below.
The concept is that the left side of the tandem will have one set of arms from each
barrier that are raised while the right side will have arms that are lower.
10.) If ordered with optional card reader mounting enclosures, remove the plastic
(packaged with enclosures in control head box) by placing the threaded chase
need to be pointing downward to the ground when complete.
ABBC BarrierAABB Barrier AABB Barrier
ABBC Barrier
512-321-4426
INS-DS400T-190401
Designed Security, Inc - 1402 Hawthorne Street, Bastrop Texas 78602 - (800) 272-3555

[email protected]
13
Installation Instructions (continued)
11.) Place assembled mainframe on top of yokes and stationary barriers. Attach
barriers and yokes to cross arms by using the provided 14x 2”carriage bolts and
serrated ange nuts. A 9/16“ deep wall socket will be required for this step.
Unless ordered with optional canopy or yoke guards, insert black plastic plugs
into the 1.125”holes to keep water from entering the cross arms when nished.
installed will insert into top of the yoke assembly for easy wire pickup from the
plate below.
512-321-4426
INS-DS400T-190401
Designed Security, Inc - 1402 Hawthorne Street, Bastrop Texas 78602 - (800) 272-3555
[email protected]
14
Installation Instructions (continued)
Step 1 Step 2 Step 3 Step 4
12.) If necessary, level the mainframe by shimming from under the yokes and the
barrier. Once level, secure these components to the concrete by adding the nuts
to the anchors.
dropping it from the mainframe’s output holes. Mark the concrete for drilling in
these positions.
14.) Drill holes for 5/8”concrete anchors in the marked positions and remove dust.
Install concrete anchors, bearing blocks, greased roller bearings and nut as shown
Drop Plumb Bob Here Drop Plumb Bob Here
512-321-4426
INS-DS400T-190401
Designed Security, Inc - 1402 Hawthorne Street, Bastrop Texas 78602 - (800) 272-3555

[email protected]
15
Installation Instructions (continued)
CRITICAL INSTALLATION STEP: Place rotors onto bearings and align them so that there is one set of arms
pointing to the center of the half-moon shaped yokes, meshed together with the arms of the stationary
barriers (unlike single full height turnstiles).
Failure to properly align the rotors can cause inconsistent operation and the possibility to become trapped
within the turnstile
alignments. Do not adjust access control or logic controller settings to accommodate the improper
alignments.
Simply remove the four carriage bolts holding each of the 6500 Series Control Heads to the mainframe, pull
up on the control heads to remove them as assemblies, spin the rotors to the correct position, then reinstall
the control heads into the mainframe.
Correct Alignment Incorrect Alignment
Rotors should NOThave two sets of
arms pointing to the outsides of the
half-moon yokes, with one set of arms
meshed together with the other rotor.
Rotors have one set of arms in
between two half-moon yokes in
home position. Arms are meshed with
stationary arms on the barriers (unlike
a single full height).
15.) Place rotor assemblies on the roller bearing assemblies. Rotor A will have the
properly, the arms should mesh through the arms on the stationary barriers.
16.) Utilizing the diagram below, align the rotors to the correct position. This step
is critical, and failure to properly align the rotors will result in operational issues.
A Rotor B Rotor
B RotorA Rotor
AABB Barrier
ABBC Barrier
512-321-4426
INS-DS400T-190401
Designed Security, Inc - 1402 Hawthorne Street, Bastrop Texas 78602 - (800) 272-3555

[email protected]
16
Installation Instructions (continued)
17.) Mount the two control heads to the mainframe using the provided 3/8-16
carriage bolts. Unless equipped with key overrides, it does not matter if the
springs are pointed to the left or the right. Be aware that the control heads
18.) If required, refer to the wiring diagram & legend for connecting access control
to the turnstile.
19.) Refer to the hydraulic shock information to properly adjust the rotor’s rotation.
Ideally, the rotor should rotate to the home position, but do so without slamming.
This prevents wear and tear on the control head assembly.
Mobilgrease XHP 222 Special with Lithium Thickener, but a simple white lithium or
similar grease is suitable.
21.) Test the turnstile to ensure it is functioning properly, reinstall the cover on the
Tuck smaller half of cover under
larger half and over the main
channel, fasten into place.
Place larger half of cover onto
the main channel and fasten
it into place.
Main Channel Larger Main Cover Notched Cover Panel
512-321-4426
INS-DS400T-190401
Designed Security, Inc - 1402 Hawthorne Street, Bastrop Texas 78602 - (800) 272-3555
[email protected]
17
6500 Series Control Head Mechanical Information
All of our turnstiles and ADA gates operate with a mechanism called the 6500 Series Control Head.
This sturdy and easy to maintain drive for the turnstile has replaced all previous model control heads.
It is adaptable to nearly any existing turnstile and comes with each new turnstile purchase. This control
job site.
An internal view of an electronically controlled two way 6500 series control head.
potential is reached in the case of an electronic two way control head. In this instance, each rotational
per valid entry request. Our anti-backup cams are designed so that it is mechanically impossible to
become trapped within the turnstile when properly installed.
recommendations. Installation is simple: connect inputs from access control devices into the logic
controller and plug the unit’s power supply into a 100-240 VAC (single phase) receptacle. The power
supply will automatically set itself to function on your local voltage and convert it to 24VDC.
512-321-4426
INS-DS400T-190401
Designed Security, Inc - 1402 Hawthorne Street, Bastrop Texas 78602 - (800) 272-3555
[email protected]
18
512-321-4426
INS-DS400T-190401
Designed Security, Inc - 1402 Hawthorne Street, Bastrop Texas 78602 - (800) 272-3555
[email protected]
19
Complete control heads are
available upon request.
Contact us for pricing details.
Locking Bar Linkages
6519 - Fail Open
6518 - Fail Lock
Locking Bar Assemblies
0382 - Fail Open Assembly
0383 - Fail Lock Assembly
Limit Switch Cams
2267 - Standard
2268 - ADA
2269 - One-Way
Limit Switches
2180 - Standard
(Z-15GW2-B7-K)
1700 - One Way
(BZ2RW825-A2)
0372 - Top Casting
0373 - Bottom Casting
Control Head Castings
6532 - Index Pin
Proximity Sensor & Accessories
7211 - 24VDC PNP Prox. Sensor
w/ M12 Connector (Sick 1040763)
6589 - Turnstile Prox. Bracket
w/ 3x Mounts - LH, RH & Home
0766 - 3 Branch M12 Splitter
Cam Assemblies
0401 - 427/430/T80/WH (7/8 Hex)
0407 - 439/448/P60/HD (1.25" Hex)
0402-ADA (Must specify model)
Shock Housing Assemblies
6535 - WH/427/430/T80/ADA
6541 - 439/448/P60/HD
Control Head Bearings
Indexing Springs
1106 - Waist High (Light)
1108 - Full Height (Heavy)
1107 - ADA (Extra Heavy)
Solenoid Springs
6510 - Fail Open Spring
6016 - Fail Lock Spring
6051 - Solenoid
Deltrol D4A53717-82
Hydraulic Shock Absorbers
6560 - WH/427/430/T80/ADA
6561 - 439/448/P60/HD
0381 - Locking Bar Casting
w/ Oil Impregnated Bushings
6520 - Index Pin Tubing
+–
+–
L N
V Out
PS24-60W
0740 - Logic Controller (XD10)
1641 - 1” ID for HD Top Castings
&All Pre-2018 Tops (1641-2RSNR)
7208-Bottom Casting (6007RSNR)
1640 - 7/8” ID for Standard Duty
Top Castings (1640-2RSNR)
0750 - 24VDC Power Supply (60 W)
w/ NEMA 5-15 Drop Cord
I1
A B OKESC
I2 IB IC ID IE
+
+
–
–
01 02 03 04
XD10
512-321-4426
INS-DS400T-190401
Designed Security, Inc - 1402 Hawthorne Street, Bastrop Texas 78602 - (800) 272-3555
[email protected]
20

This manual suits for next models

2

Other DSI Turnstile manuals

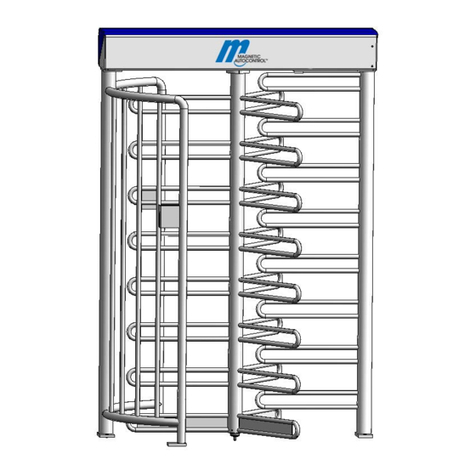
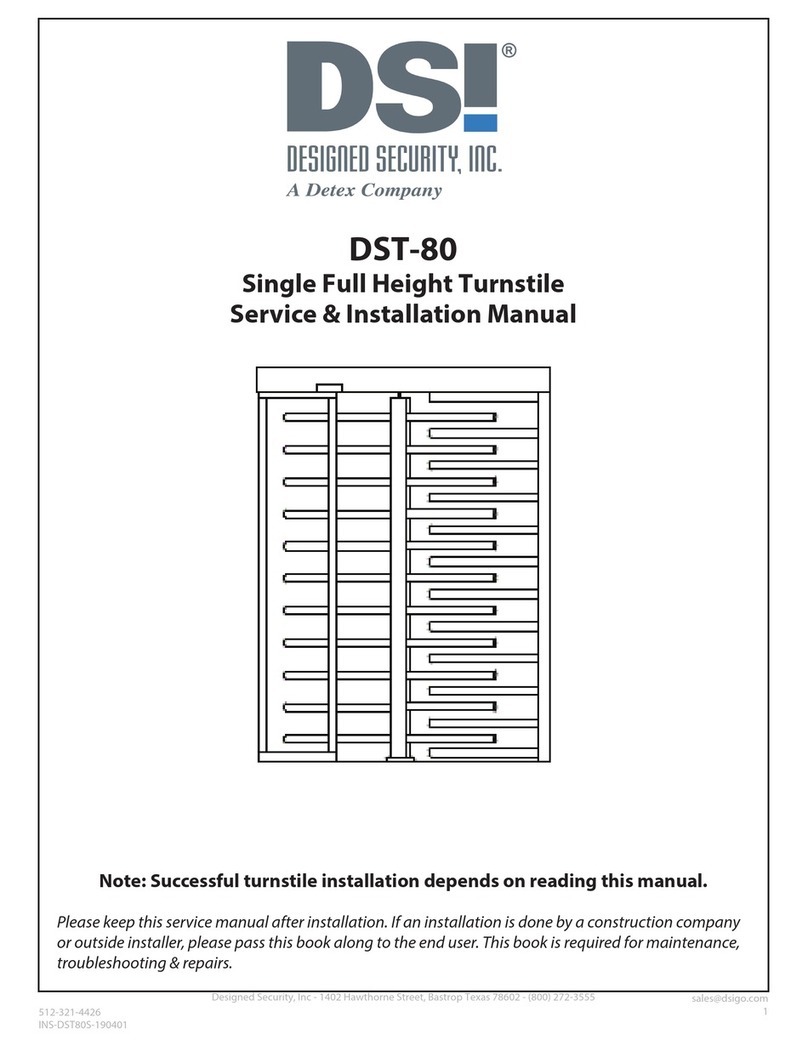
DSI DST-80 User manual

DSI

DSI DST-80 User manual

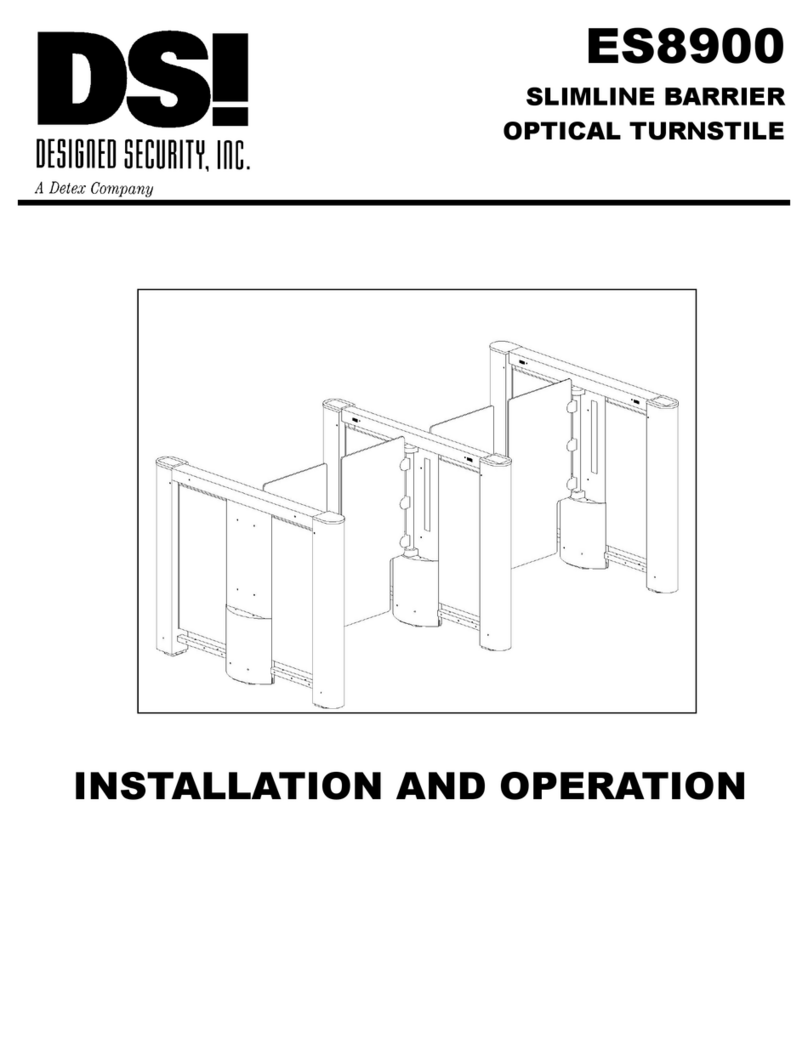
DSI ES8900 Owner's manual

DSI

DSI ES8900 Owner's manual

Popular Turnstile manuals by other brands

ZKTeco mTS1000 Series user manual

ZKTeco

ZKTeco mTS1000 Series user manual

Automatic Systems TR491 installation manual

Automatic Systems

Automatic Systems TR491 installation manual

Oxgard Praktika T-04K Operational manual

Oxgard

Oxgard Praktika T-04K Operational manual

Alvarado UltraQ Guide

Alvarado

Alvarado UltraQ Guide

Oxgard Cube C-02 Installation guidelines

Oxgard

Oxgard Cube C-02 Installation guidelines

ZKTeco SBT1000S user manual

ZKTeco

ZKTeco SBT1000S user manual

HZ Security HZ-TTS01 installation manual

HZ Security

HZ Security HZ-TTS01 installation manual

Rise RTF installation manual

Rise

Rise RTF installation manual

Automatic Systems SL930 user manual

Automatic Systems

Automatic Systems SL930 user manual

EMIT SmartLog Pro SE Installation, operation and maintenance

EMIT

EMIT SmartLog Pro SE Installation, operation and maintenance

ZKTeco Mars-S1011 installation guide

ZKTeco

ZKTeco Mars-S1011 installation guide

Alvarado SUPERVISOR 5000 installation instructions

Alvarado

Alvarado SUPERVISOR 5000 installation instructions

Oxgard CUBE C-10 manual

Oxgard

Oxgard CUBE C-10 manual

manuals.online logo
manuals.online logoBrands
  • About & Mission
  • Contact us
  • Privacy Policy
  • Terms and Conditions

Copyright 2025 Manuals.Online. All Rights Reserved.