Dualit Cino Technical specifications

Milk Steamer
Instruction Manual & Guarantee

02 03
CONTENTS
Safety precautions 04
Know your Dualit CinoTM 06
Priming - Before Each Use 07
Steaming & Frothing 08
Cleaning After Each Use 09
Cleaning & Descaling 10
Troubleshooting 11
Tips & Recipes 12
Guarantee 14
Unpack the box with care, keeping all the packaging materials until you are satised everything
is present and in working order. Once satised remove any tags from the appliance body and
recycle the packaging appropriately. Do not remove tags from the cord. You may wish to keep
the box to store your appliance.
All illustrations are for representation only; your model may vary from illustrations shown.
DON’T FORGET TO
REGISTER YOUR
DUALIT CINOTM
WWW.DUALIT. COM/REGISTER
OR BY POST
STEAM AND FROTH YOUR WAY
TO PERFECT MILK
No more delayed hot drink orders or waiting to use the steam wand on the
coffee machine, our CinoTM milk steamer will change the way your coffee
service is run. Our easy to use, compact, freestanding milk steamer is perfect
for making cappuccinos, babycinos, lattes, mochas and hot chocolates.
Creating perfectly steamed and frothed milk every time, effortlessly and quickly,
you will get through hot drinks orders in no time. The Cino’s simple sleek
stainless steel design means it will also be a great addition to your café or
kitchen for those who enjoy coffee shop style coffee at home.

04 05
IMPORTANT SAFETY PRECAUTIONS
READ ALL THE
INSTRUCTIONS
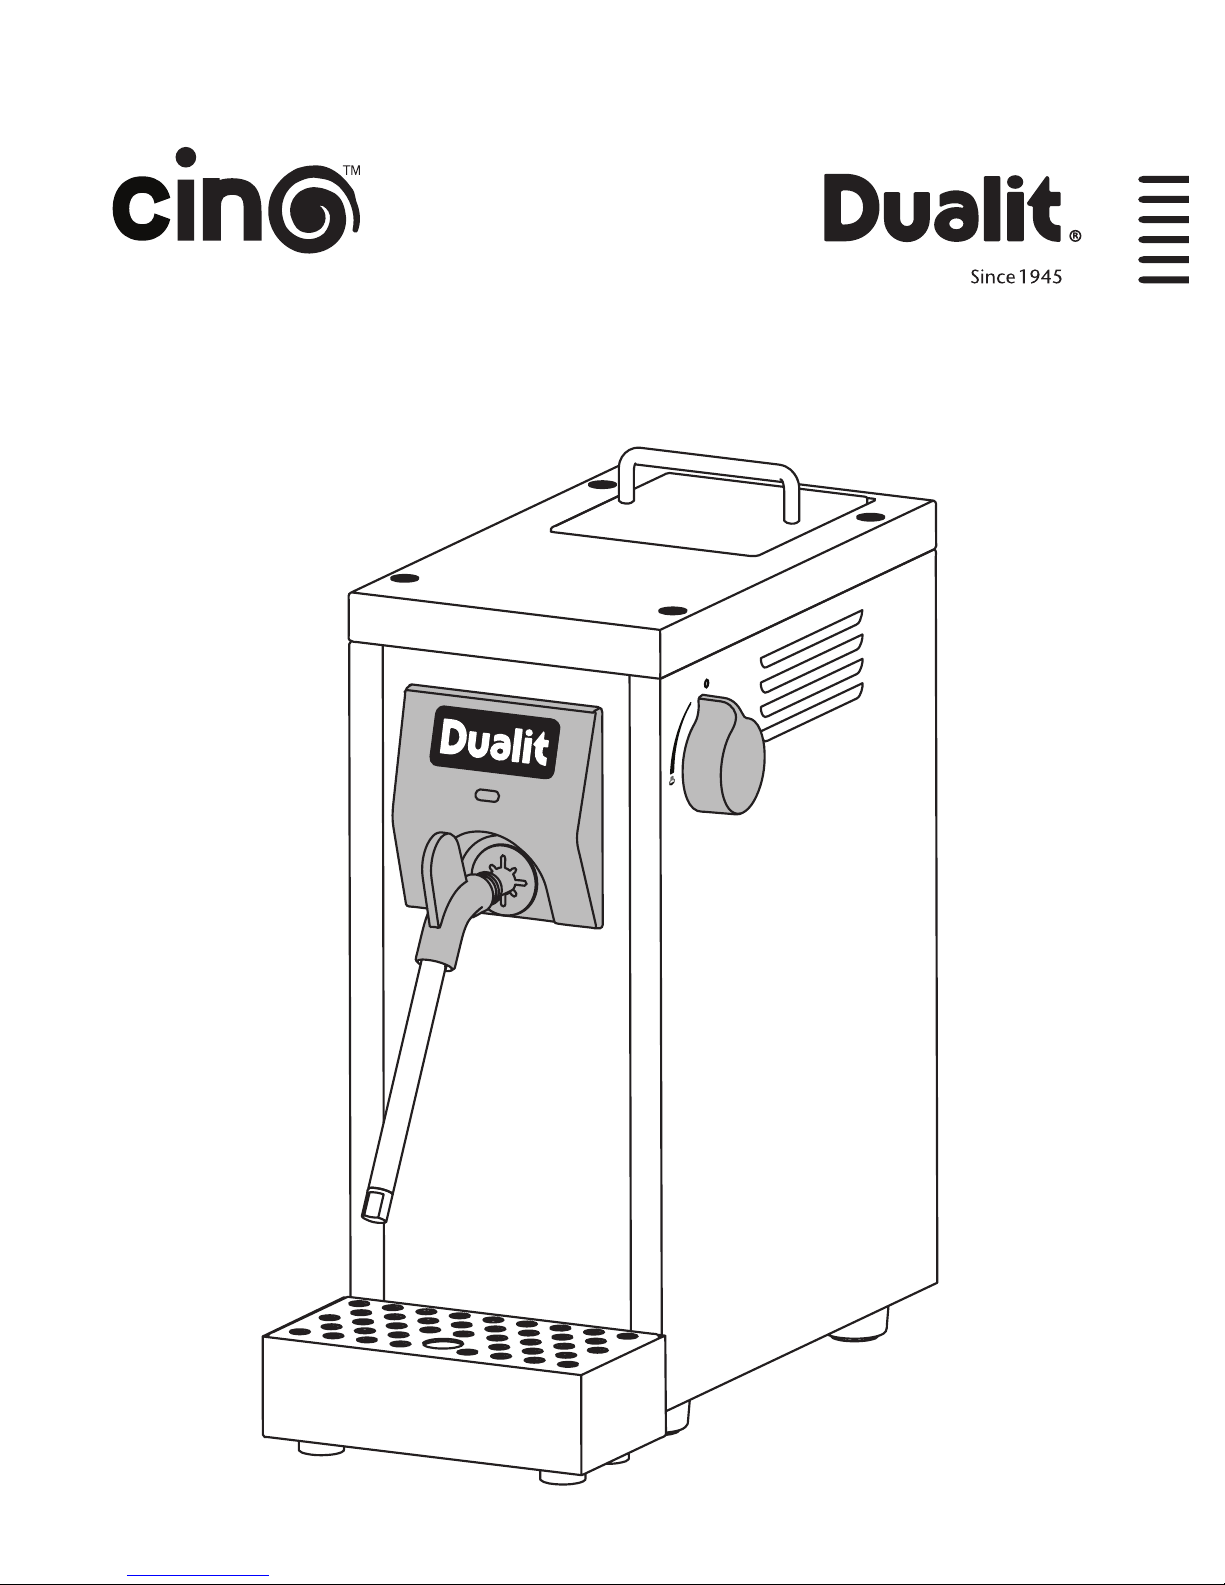
BEFORE USING THE DUALIT CINO.
KEEP THESE INSTRUCTIONS FOR
FUTURE REFERENCE.
•THIS IS AN ATTENDED APPLIANCE. Do
not leave unattended during use, unplug
after each use (risk of re if an unattended
appliance is left operating).
•This appliance must not be used by
children younger than 8 years old and
persons with very extensive and complex
disabilities. Children aged 8-14 years and
persons with reduced physical, sensory or
mental capabilities or lack of experience
and knowledge shall not use this appliance,
unless they are supervised and have been
given instruction concerning the use of the
appliance in a safe way and understand
the hazards involved. Children shall not
play with the appliance. Cleaning and user
maintenance shall not be made by children
unless they are older than 8 and supervised.
Keep the appliance and its cord out of reach
of children less than 8 years old.
Electrical safety
•Ensure that the voltage of the appliance
corresponds to that of the mains supply.
•WARNING: This appliance must be
earthed.
•Unplug the appliance from the mains before
cleaning or maintaining.
•Do not operate any appliance with a
damaged lead or plug, or after the appliance
malfunctions or has been damaged, cracked
or dropped in any manner.
•We recommend that the milk steamer
is plugged into a socket that has no other
appliance connected to it. Failure to do this
may cause an overload, trip a circuit breaker
or blow a fuse. preferably the socket outlet
should be protected by a Residual Current
device (RCD).
•The power supply cable should not be
allowed to come into contact with hot
surfaces.
•This appliance conforms to directive 89/336
CEE regarding electromagnetic compatibility.
•Dualit does not recommend using extension
cables as they may cause damage or
accidents.
General safety
•Do not touch the metal parts, or its housing
when the appliance is in use, as this may
cause burns or scalding.
•Do not lift the appliance up using the steam
wand. Only hold the appliance body.
Unplug and allow to cool prior to moving.
•Do not place the appliance on a polished
wood surface or any porous surface, it could
damage the surface.
•Do not place on a tray or surface that may
collect liquid.
•Do not operate on an uneven surface.
•Do not place the appliance over or close
to sources of heat such as electric rings, hot
ovens or open ames.
•Do not use the appliance without water as
this may cause damage to the pump/boiler.
•Do not leave the appliance in a room with
a temperature below 0°C, as any water
remaining in the appliance could freeze and
cause damage.
•Do not place hands in direct contact with
the metal parts of the steam wand.
•Do not place hands directly under the
steam as this may cause burns or scalding.
•Before relling the water reservoir, unplug
the appliance from the mains.
•Do not overll the water reservoir.
•Do not use sparkling water (with carbon
dioxide).
•Never ll the reservoir with hot or boiling
water.
•Only use the appliance with the drip tray
correctly located.
•Do not immerse in water or other liquids.
•Turn the appliance and main power off
when not in use.
INSTRUCTIONS ON ENVIRONMENT
PROTECTION
Do not dispose this product in the
usual household garbage at the end
of its life cycle. Please hand it over to
a collection point for the recycling of
electrical and electronic appliances.
The symbol on the product, the
instruction of use or the packaging will inform
you about the methods of disposal. The materials
are recyclable as mentioned on its marking. By
recycling, material recycling or other forms of
re-utilization of old appliances you are making
an important contribution to protect our
environment. Please enquire at the community
administration for the authorised disposal location.
SAVE THESE
INSTRUCTIONS
BEFORE FIRST USE
•Read this instruction manual before you start
using the Dualit Cino. It gives you important
safety information and will ensure you get
the most out of your Dualit product.
•Keep this manual and your proof of purchase
in a safe place.
•Don’t forget to register your product at
www.dualit.com/register
•The Dualit Cino must be ushed through
with water before the rst use.
•Empty a reasonable amount of water
through the steam wand, this will rinse the
internals ready for steaming.
•NOTE: The control knob may be harder
to turn when the machine is new. This will
loosen with use.

06 07
KNOW YOUR
DUALIT CINOTM
ADJUSTABLE
STEAM WAND
STEAM NOZZLE
INDICATOR
LIGHT
STEAM WAND
HANDLE
WATER TANK LID
1.0L WATER TANK
FLOAT
STEAM VALVE
THERMOMETER
JUG
STEAM VALVE
OFF POSITION
ON/OFF SWITCH
DRIP TRAY COVER
DRIP TRAY
1REMOVE 2FILL
Remove the stainless steel lid
and the water tank using the
handle. DO NOT FILL TANK
IN MACHINE AS SPILLED
WATER COULD DAMAGE
THE MACHINE, CAUSE
SHOCK OR INJURY.
The stainless steel lid should
sit ush with the milk steamer
body when the water tank is
tted correctly.
Ensure the steam valve is set
to the off position.
Fill with fresh water only.
Note: The milk steamer
has a low water level sensor
(approx 160ml). NB: LED
will ash red and the pump
will stop. Therefore place a
minimum of 500ml into the
water tank.
3WATER TANK
Ensuring that the oat is
facing towards the steam
wand, push the water tank
rmly back into position.
Tip: You will see air bubbles
at the connection when
correctly located.
MIN
500ML
PRIMING - BEFORE EACH USE
4 5
WATER TANK LID STEAM VALVE TURN ON
Plug the milk steamer in and
turn on. The on/off button
will illuminate solid red.
6

08 09
8READY
7WAIT
Once temperature is
reached, the indicator light
will turn solid blue and beep
3 times. The machine is now
ready to steam.
Wait for the machine to
warm up. The indicator
light will ash green until
temperature is reached.
Note: The machine may
whistle whilst pre-heating.
This is normal operation.
WAIT
PRIMING -CONTINUED
STEAMING & FROTHING
STEAMING & FROTHING -CONTINUED
1
4
GETTING STARTED
FROTHING MILK
2
5START STEAMING
Remove the red silicon nib
from the thermometer and clip
onto the side of the jug.
To froth milk however,
introduce air to the milk
by slowly lowering the jug
ensuring the nozzle remains
under the surface of the milk.
Pour 75 - 230ml of cold
semi-skimmed milk into the
milk jug.
Turn the steam valve anti-
clockwise to start the ow
of steam. You will hear the
pump operating, this is
normal operation.
3
6
STEAMING MILK
TURN OFF
To heat milk using steam,
leave the steam wand
positioned just under the
surface of the milk. Do not
move the jug.
To stop steaming, turn the
steam valve clockwise to
the off position. Turn the
machine off using the off
switch and unplug.
ADD MILK
Tip: Do not exceed the steam graphic on the thermometer. After each use wipe the nozzle and ush
and descale regularly (see Cleaning and Care). Failure to do so will break the machine and invalidate
your warranty.
MILK
CLEANING AFTER EACH USE
IT IS IMPORTANT TO CLEAN THE DUALIT CINOTM AFTER EACH USE. MAKE SURE
THE MACHINE IS SWITCHED OFF, UNPLUGGED AND ALLOWED TO COOL.
1FLUSH 3UNPLUG
2WIPE
Flush the steam wand by
dispensing steam to remove
any milk residue from inside
the steam wand after each use.
Unplug the machine, and
allow to cool.
Thoroughly wipe the steam
wand to clean off any milk
residue with a damp cloth.

10 11
1
4
CLEAN THE
STEAM NOZZLE
FILL TANK
Unscrew the steam nozzle
anti-clockwise and use a pin
to remove dried milk. If too
tight to unscrew, use an 8mm
spanner.
Fill the water tank with the
descaling solution. Follow the
instructions on the pack.
DESCALER
WATER
TROUBLESHOOTING
POSSIBLE CAUSE(S) SOLUTION(S)
MY MACHINE IS MAKING A LOUD WHISTLING NOISE WHILST PRE-HEATING
1. The machine is pumping water through
the system at high pressure.
1. This is normal operation.
AFTER FROTHING MILK, MY MILK IS NOT FOAMY
1. Your milk is not cold or fresh enough. 1. It is easier to make froth using fresh, cold
semi-skimmed milk.
2. The steam wand is blocked with milk
residue.
2. Clean steam wand and nozzle and descale
machine (see page 10). If you are unable to
unblock your steam wand then contact Dualit
on 01293 652500 for advice or spare parts.
3. My milk is burning. 3. Reduce steam ow, rotate steam valve anti-
clockwise between the steam and off position
(see page 9) or steam for a shorter period.
NO STEAM OR REDUCED STEAM IS FLOWING FROM THE STEAM WAND
1. Steam wand is blocked with milk
residue.
1. Clean steam wand and nozzle and descale
machine (see page 10). If you are unable to
unblock your steam wand then contact Dualit
on 01293 652500 for advice or spare parts.
2. The machine has been turned on with
the steam valve left open.
2. Close the steam valve and open again to
steam.
MY MACHINE IS MAKING A BEEPING NOISE
1. The water tank is empty or not
correctly seated into position.
1. Press rmly on the water tank to locate. You
will see air bubbles at the connection when
correctly located (see page 7). Remove water
tank and ll with fresh water.
2. Once the machine has reached its
operating temperature it will beep 3
times.
2. This is normal operation.
MY MACHINE HAS STOPPED DURING USE AND THE INDICATOR LIGHT IS
FLASHING RED
1. The water level is below the minimum
required to operate.
1. Remove water tank and top up. Ensure there
is a minimum of 500ml of water in the water
tank.
2. The water tank is not correctly seated
into position.
2.1. Press rmly on the water tank to locate.
You will see air bubbles at the connection when
correctly located (see page 7).
MY MACHINE IS NOT WORKING – THE LIGHTS ARE OFF AND THE MACHINE
CEASES TO OPERATE.
Fuse may have failed. Check and replace fuse. Contact the Dualit
customer helpline on 01293 652500.
2
5
Screw steam nozzle back onto
the steam wand. NB: ensure
the nozzle is tightly screwed
on before using.
Dispense steam through the
steam wand for 30 seconds.
Rinse the water tank and ll
with fresh water.
3
6
DESCALER
FLUSH
Use a descaler that is suitable
for coffee machines or milk
steamers. Descale once a
month for hard water areas.
Flush steam through the
machine, following the
instructions on the Descaler’s
recommendations. This will
remove any traces of the
descaling solution.
SCREW
STEAM
CLEANING & DESCALING -MONTHLY
TO REPLACE FUSE,
REMOVE SILVER LABEL
TO ACCESS SCREW.

12 13
TIPS
GENERAL TIPS
•To avoid hot milk spillages when steaming, never ll the jug more than half way as the milk
volume will double when you froth.
•Use the thermometer to ensure the milk has steamed/frothed to the optimum temperature.
•Operate the steam once you have nished making coffees to remove any remaining milk
residue from inside the steam wand.
•Wipe the steam wand after each use.
WHAT IS STEAMING?
•Heating the milk using steam.
•For best results hold the jug still.
•Great for making lattes, mochas and hot chocolate, as dense froth is not required.
WHAT IS FROTHING?
•Combining the milk with air by slowly lowering the jug.
•Keep the jug slightly at an angle with the steaming wand, just under the surface of the milk.
WHAT IS TEXTURING?
•Combining the steamed and frothed milk to create a creamy glossy texture.
•Perfect for making cappuccinos, Babycinos and avoured cinos.
CAPPUCCINO
1. Make espresso for the cappuccino
2. Steam, froth and texturise the milk by following steps 1- 7 (pg 9)
3. Pour a third of the hot textured milk then spoon a third of
the foamed milk over the espresso.
4. Sprinkle with cinnamon or powdered cocoa to nish (optional).
RECIPES
RECIPES
LATTE
1. Make espresso for the latte
2. Steam the milk by following steps 1-5 (pg 9)
3. Pour steamed milk over the espresso, adding a little
froth at the end.
4. Tip: Add avoured syrups to enhance the avor of the
coffee (optional).
MOCHA
1. Add 3 teaspoons of cocoa powder with a little water and
stir into a paste
2. Make and add the espresso to the cocoa powder paste
3. Steam the milk by following steps 1-5 (pg 9)
4. Pour steamed milk over the cocoa espresso mix, adding a
little froth at the end.
5. Finish off with whipped cream and dust with cocoa
powder (optional).
HOT CHOCOLATE
1. Add 3 teaspoons of cocoa powder with a little water and
stir into a paste
2. Steam the milk by following steps 1-5 (pg 9)
3. Pour steamed milk over the cocoa mix, adding a little
froth at the end.
4. Finish off with whipped cream and dust with cocoa
powder (optional).
FLAT WHITE
1. Less milk more coffee
2. Make a double espresso for the at white
3. Steam the milk by following steps 1-5 (pg 9)
4. Pour steamed milk over the espresso and serve
BABYCINO
1. Cappuccino without the coffee.
2. Steam, froth and texturise the milk by following steps 1- 7
(pg 9)
3. Pour straight into a cup, top with cocoa powder and
serve with marshmallows.
4. Add sugar to taste or avoured syrups to add a new
dimension to the Babycino (optional).
All coffees start with an espresso, we recommend Dualit NX or Origins capsules as a base; add
milk to create different types of drinks. If using ground or instant coffee please make espresso
to taste.
Espresso 60ml
Heated milk 120ml
Espresso 60ml
Heated milk 60ml
Frothed milk 60ml
Espresso 60ml
Chocolate 60ml
Frothed milk 120ml
Espresso 60ml
Heated milk 200ml
Frothed milk 2ml
Cocoa 10ml
Heated milk 250ml
Frothed milk 2ml
Heated milk 60ml
Frothed milk 60ml

14 15
GUARANTEE
This appliance is of excellent quality and construction. However, if any defects in materials or
workmanship do appear during the relevant guarantee period, we will, at our discretion, either
repair or replace the defective parts, free of charge, subject to the terms and conditions of our
Guarantee shown below.
This Guarantee covers both parts and labour.
Carriage is not included.
Your Guarantee period is as follows:
• 1 year
This Guarantee provides benets which
are additional to, and do not affect, your
statutory rights. This Guarantee does not
cover the cost of returning the product to
the dealer from whom it was purchased or
to ourselves. This Guarantee applies only to
products sold and located in mainland Great
Britain. It does not cover liability in respect of
or replacement of plugs, cables or fuses and
also does not cover defects due to:
• Failure to use or maintain product in
accordance with Dualit’s instructions
which includes rinsing and wiping after
every frothing cycle and descaling on a
monthly basis. See pages 9-10.
• The product being connected to an
unsuitable electricity supply.
• Accidental damage to or abuse or misuse
of the product including failure to use the
product for its normal intended purposes.
• The product modied, except by Dualit or
approved agent.
• Dismantling of or interference with the
product.
• Theft or attempted theft of the product.
Before returning any product under this
Guarantee, please check that:
• You have followed the product instructions
correctly.
• Your mains electricity supply is functional.
• The defect is not due to a blown fuse.
If you wish to claim under this guarantee you
should:
• Send the product, postage or carriage paid,
to the dealer from whom it was purchased
or to Dualit direct.
• Ensure that the product is clean and
packed carefully (preferably in its original
carton).
• Enclose details of your name, address and
telephone number and when and where
the product was purchased, together with
proof of purchase (e.g. a till receipt).
• Give exact details of the nature of the
defect.
This Guarantee does not cover any other
claims whatsoever, including, without
limitation, any liability for incidental, indirect
or consequential damage, nor does it cover
any claims for conversion or modication
or for the costs of repair carried out by any
third party without the prior consent of
Dualit. If replacement parts are tted to the
product this will not extend the period of
the Guarantee.
For further advice contact the Dualit
customer helpline on +44 (0)1293 652 500
(09:00 to 17:00 Monday to Friday).
Alternatively, email Dualit at [email protected]
or visit www.dualit.com
DON’T FORGET TO
REGISTER YOUR
DUALIT CINOTM
WWW.DUALIT. COM/REGISTER
OR BY POST

Dualit Limited County Oak Way Crawley West Sussex RH11 7ST
Telephone: +44(0)1293 652 500 Facsimile: +44(0)1293 652 555
GB-A
TEA & COFFEE CAPSULES
Our patented tea & coffee capsules and ESE pods provide
something for every taste and occasion. We use the nest coffee
beans and tea leaves, carefully sealed in individual servings.
Convenient and mess-free, for excellent results every time.
Order your tea & coffee at
www.dualit.com/capsules
Other manuals for Cino
1
Table of contents
Other Dualit Kitchen Appliance manuals

Dualit
Dualit Juice Extractor Technical specifications

Dualit
Dualit CC807 User manual

Dualit
Dualit 88810 User manual

Dualit
Dualit 84140 User manual

Dualit
Dualit DMF1 User manual

Dualit
Dualit DMF1a User manual

Dualit
Dualit Milk Frothing Jug & Thermometer User manual

Dualit
Dualit 84145 User manual

Dualit
Dualit 88860 User manual

Dualit
Dualit CORKSCREW User manual