04 05
READ ALL
INSTRUCTIONS
BEFORE USING THE STERILISER KEEP
THESE INSTRUCTIONS FOR FUTURE
REFERENCE.
IMPORTANT
SAFEGUARDS
• THIS IS AN ATTENDED APPLIANCE.
Do not leave unattended during use, unplug
after each use (risk of re if an unattended
appliance is left operating or plugged in).
•This appliance must not be used by children
younger than 8 years old and persons with very
extensive and complex disabilities. Children aged
8-14 years and persons with reduced physical,
sensory or mental capabilities or lack of experience
and knowledge shall not use this appliance, unless
they are supervised and have been given instruction
concerning the use of the appliance in a safe way
and understand the hazards involved. Children shall
not play with the appliance.
•Cleaning and user maintenance shall not be
made by children unless they are older than 8 and
supervised. Keep the appliance and its cord out of
reach of children less than 8 years old.
•Appliances can be used by persons with reduced
physical, sensory, or mental capabilities or lack of
experience and knowledge if they have been given
supervision or instruction concerning use of the
appliance in a safe way and understand the hazards
involved.
•This appliance is intended for household use
only. If the appliance is used improperly or for
professional or semi-professional purposes or if
it is not used according to these instructions the
Guarantee becomes invalid and Dualit refuses any
liability for damage caused.
Before Connecting to the Mains Supply
•Check that the voltage marked on the appliance
corresponds with the supply voltage.
•Note: any plug cut from the power supply cord
should be disposed of immediately. Inserting any cut
off plug into a 13A socket-outlet is hazardous.
•Never use the plug without the fuse cover tted.
Ensure replacement fuse is the same current value
as the original. Replacement fuses are available and
should be ASTA approved to BS1362.
•We recommend that the appliance is plugged into
a socket that has no other appliance connected to
it. Failure to do this may cause an overload, trip a
circuit breaker, or blow a fuse. Preferably the socket
outlet should be protected by a residual current
device (RCD).
•This appliance conforms to directive 2014/30/EU
regarding electromagnetic compatibility.
•Should the light remain illuminated after using the
appliance, immediately unplug the appliance and call
service centre. Risk of re and electric shock.
•Do not place the appliance or mains lead on or
near any hot surface, hot hob, gas burner or in a
heated oven.
•To be protected against electrical hazards, re, and
injury to persons, do not immerse the mains lead,
plug or appliance in water or any other liquid. Risk
of electric shock.
•Do not operate any appliance with a damaged
lead or plug, or after the appliance malfunctions
or has been dropped, damaged, or cracked in any
manner.
•In order to avoid a hazard, if the power cord is
damaged it must, for safety reasons, be replaced by
Dualit or an authorised Dualit repairer. Call Dualit’s
Customer Helpline on +44 (0)1293 652 500.
•A short power-supply cord is provided to reduce
risks resulting from becoming entangled in or
tripping over a longer cord.
•Do not allow cable to hang over the edge of a
table or countertop.
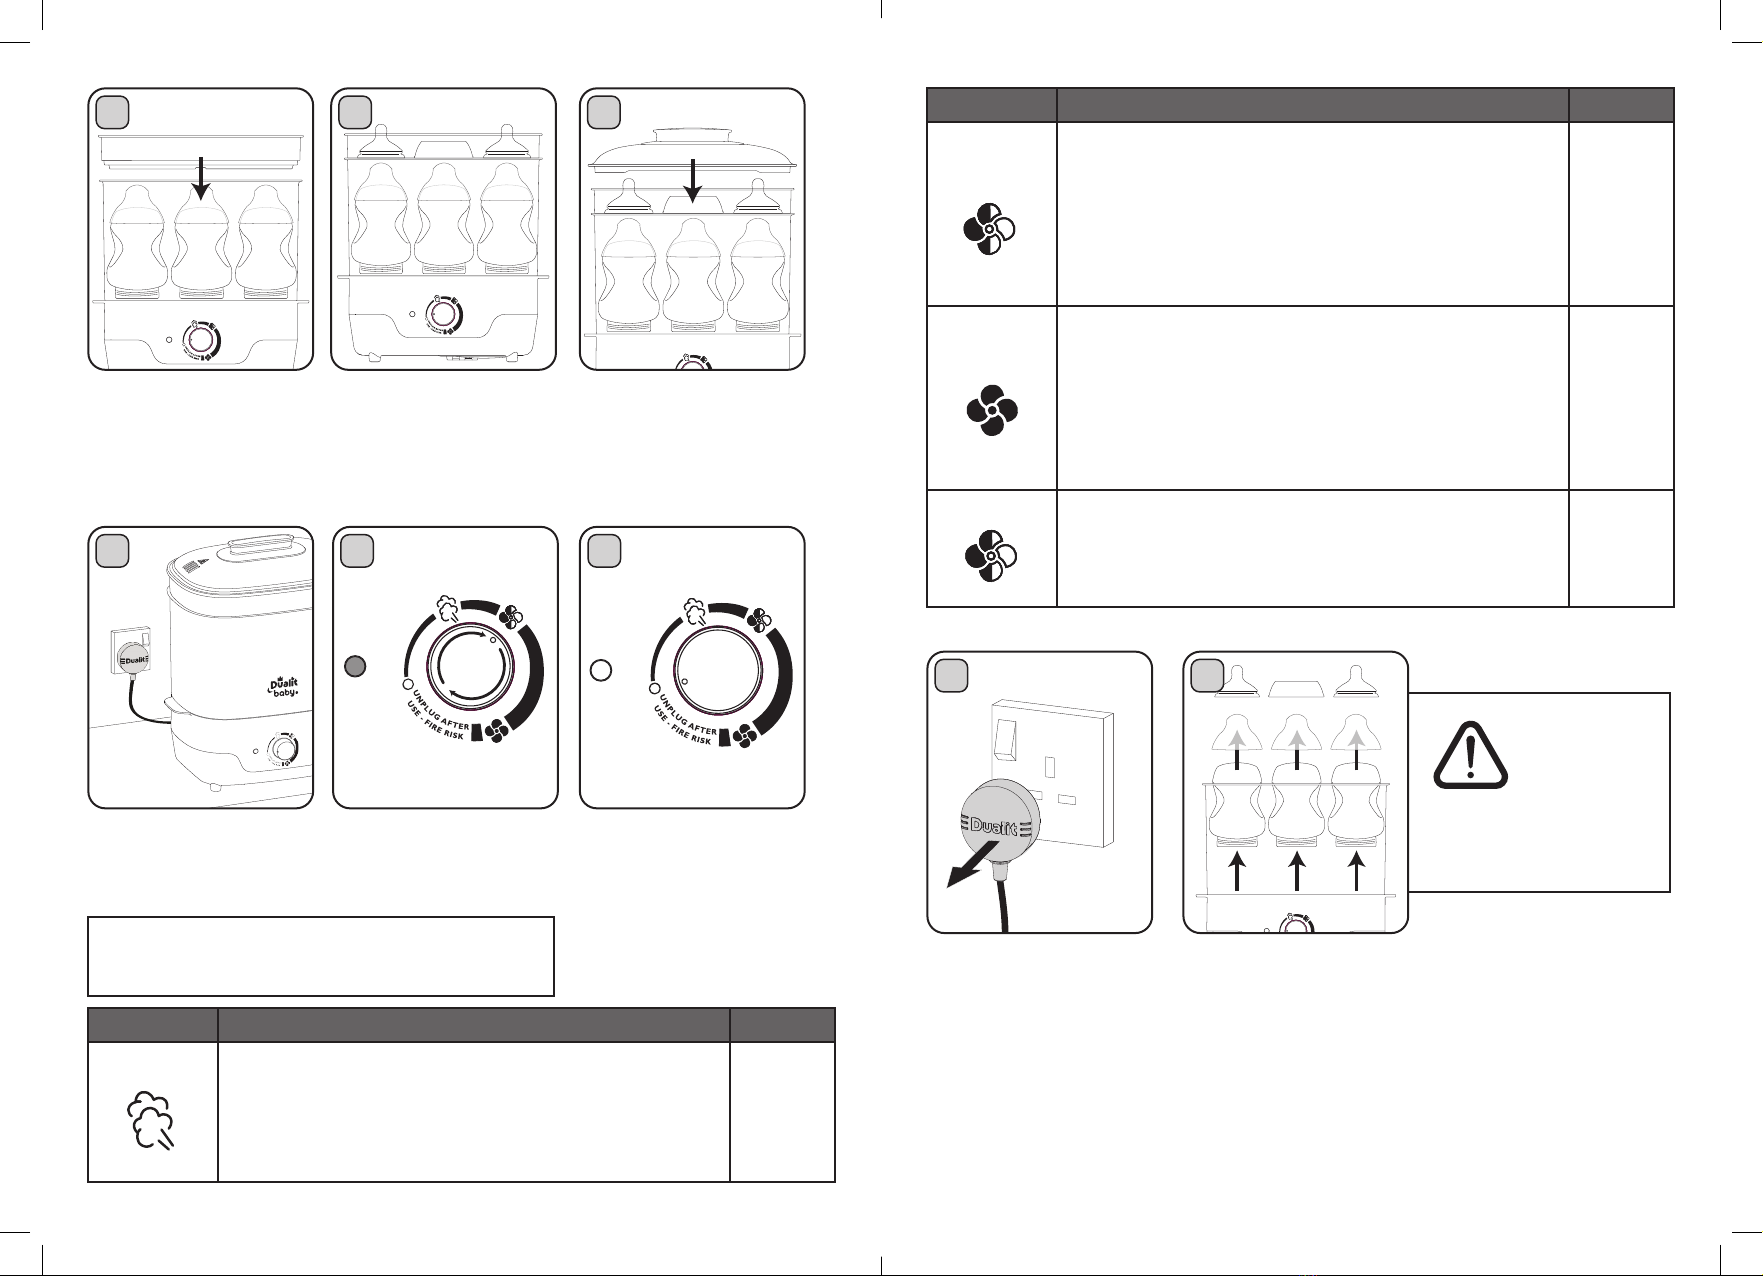
•Do not ll above the ‘max’ mark on the water
level indicator. Risk of re and electric shock.
•Do not operate on an uneven surface. The
machine must only be operated on a at,
horizontal surface.
•Do not use in bathroom or outdoors. If it is not
used according to these instructions the Guarantee
becomes invalid and Dualit refuses any liability for
damage caused.
•Do not store or use in an appliance garage or
under cupboards. Risk of re.
•Ensure that the appliance is assembled with all
components in place before switching on.
•Do not move the appliance while it is switched
on.
•Do not remove or open the lid while appliance is
switched on.
•Do not remove items from the appliance while it
is switched on.
• Caution: Product surface, Heating Element and
appliance interior is subject to residual heat after
use. Risk of scalding.
• Warning: Do not place items in the Water
Recess or on the Element; risk of re. Only place
items to be sterilised on the racks provided.
•Use handles or knobs – do not touch hot
surfaces.
• Hot Water Hazard. Avoid direct contact with
hot water. Unplug the appliance from the mains to
allow to cool before cleaning, maintaining, moving,
or storing. For details, please refer to cleaning
section.
• Warning - steam hazard: When boiling, hot
steam will be emitted from the appliance. Scalding
may occur if you are within 400mm of the steam
vent.
•Scalding may occur if the lid is opened during the
boiling cycle.
• Caution: vents are hot risk of scalding.
•This appliance features boil-dry protection. If the
appliance overheats, the boil-dry device will switch
off the heating element to prevent damage to the
appliance. Wait approximately ten minutes for
the appliance to cool down, and rell as normal.
The appliance is now ready to use again. Note:
if discolouration of the heating plates has
occurred, this can be easily removed by
descaling your appliance.
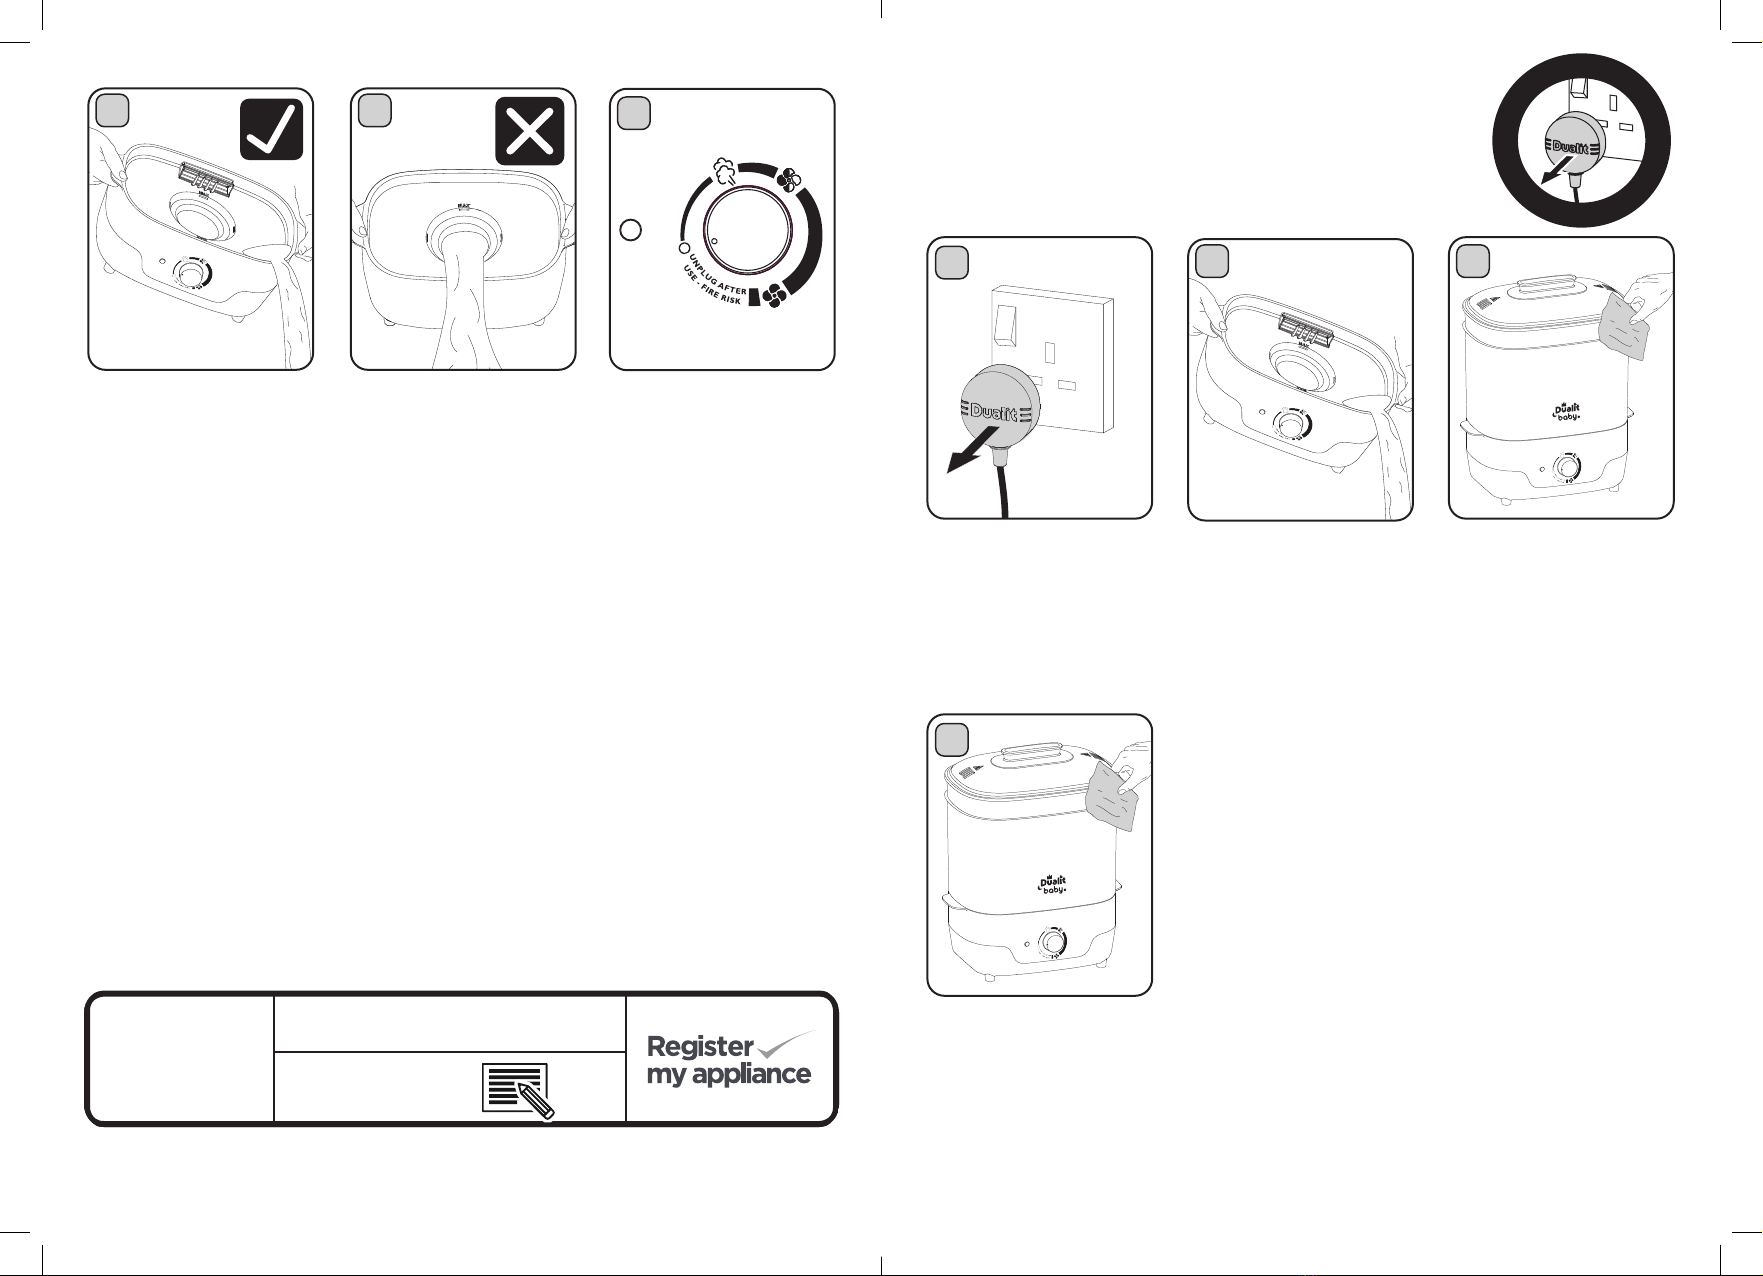
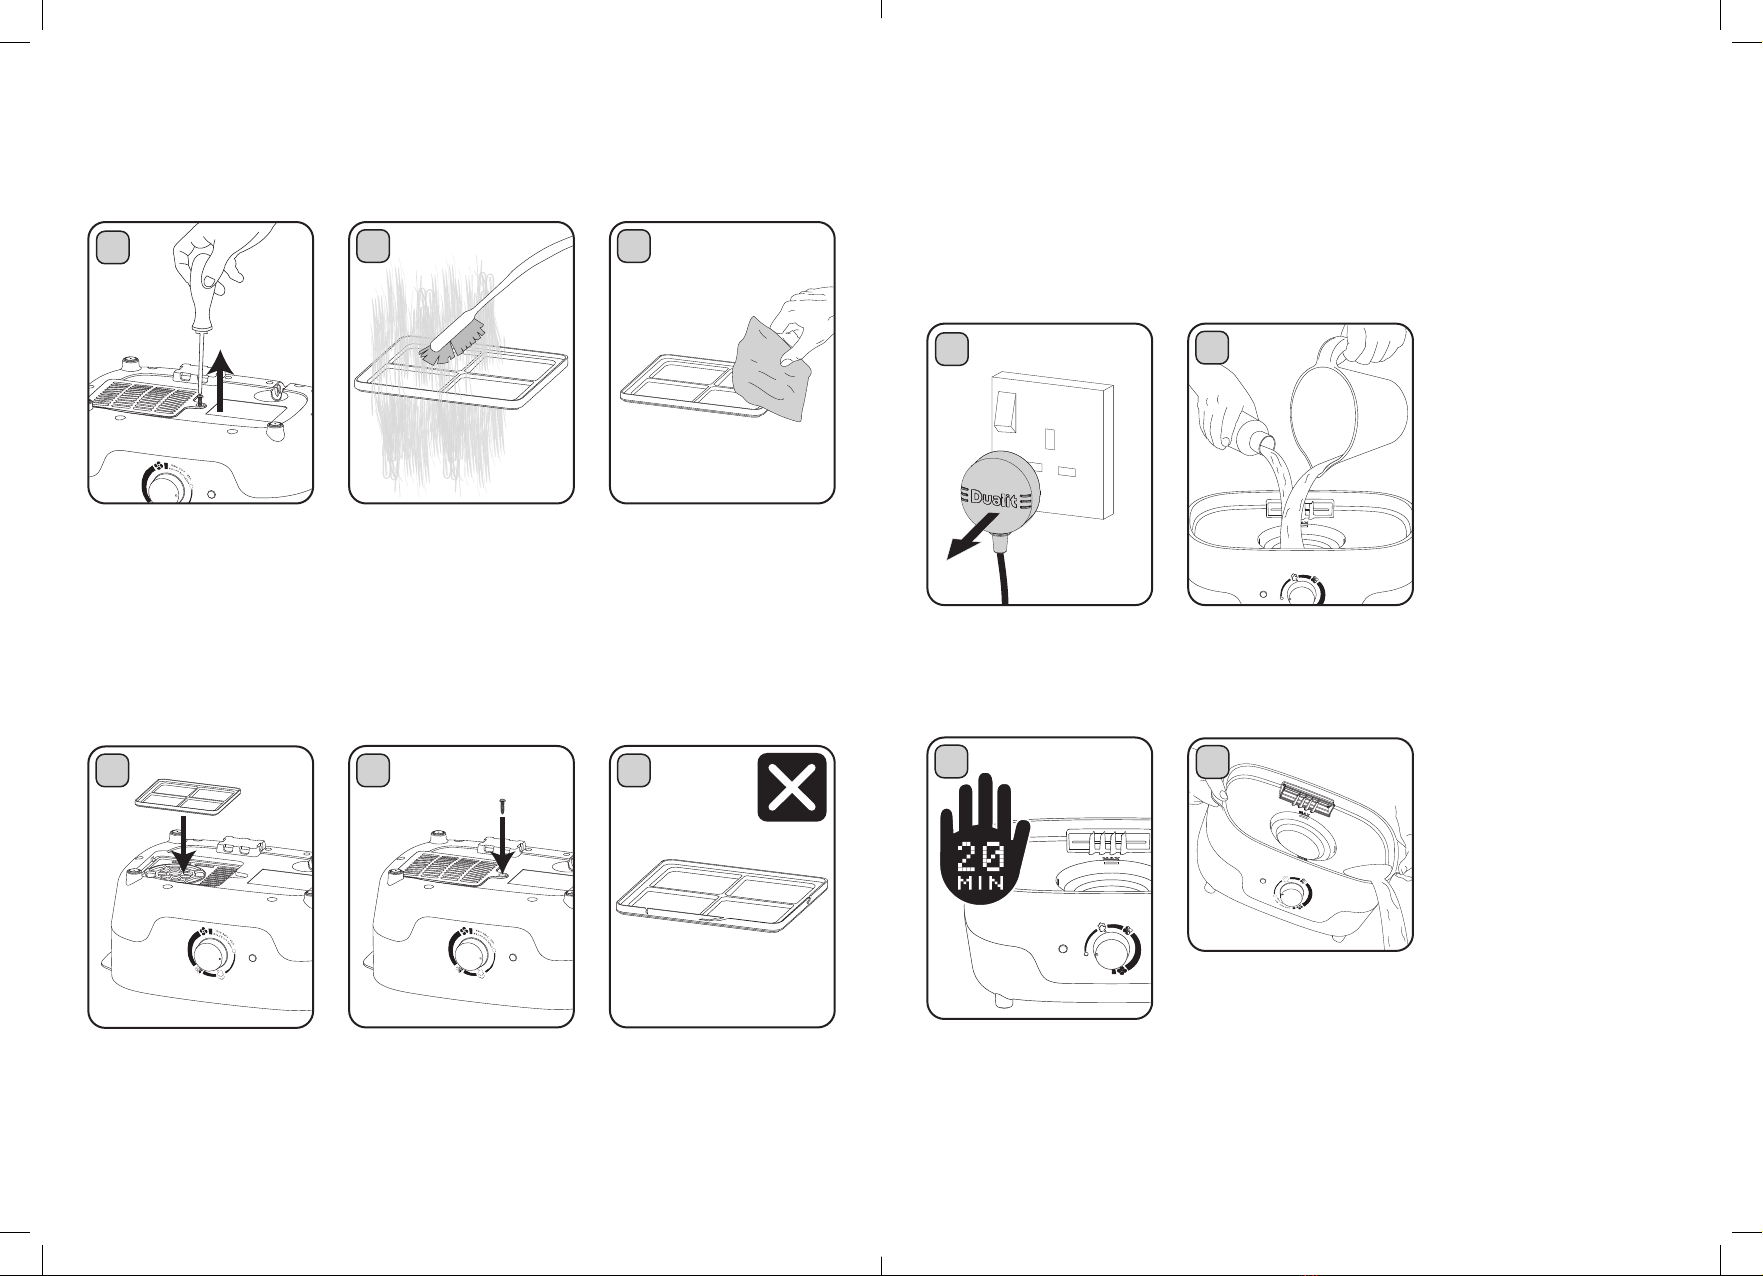
•Unplug the appliance from the wall socket when
not in use, or before moving and cleaning.
•To disconnect, turn any control to off, then remove
plug from wall outlet.
• Caution: to prevent damage to the appliance, do
not use alkaline cleaning agents. When cleaning, use
a soft cloth and a mild detergent.
•Do not use scouring pad or abrasive cleaner on the
appliance body.
•Never operate the appliance with a blocked lter
or without the lter. Risk of re.
•Always pour any remaining water out of the
appliance after use, after the appliance has cooled
down and has been unplugged. Pour water away
from the Air Vents. Risk of re and electric
shock.
•The use of accessory attachments is not
recommended by Dualit and may result in re,
electric shock, or injury to persons.
Descale Regularly
• Do not operate the appliance if lled with
descaling solution. This can cause damage
to the machine and burning / scalding risk
to user.
SAVE THESE
INSTRUCTIONS
In the interest of improving products, Dualit Ltd. reserves
the right to change the product specication
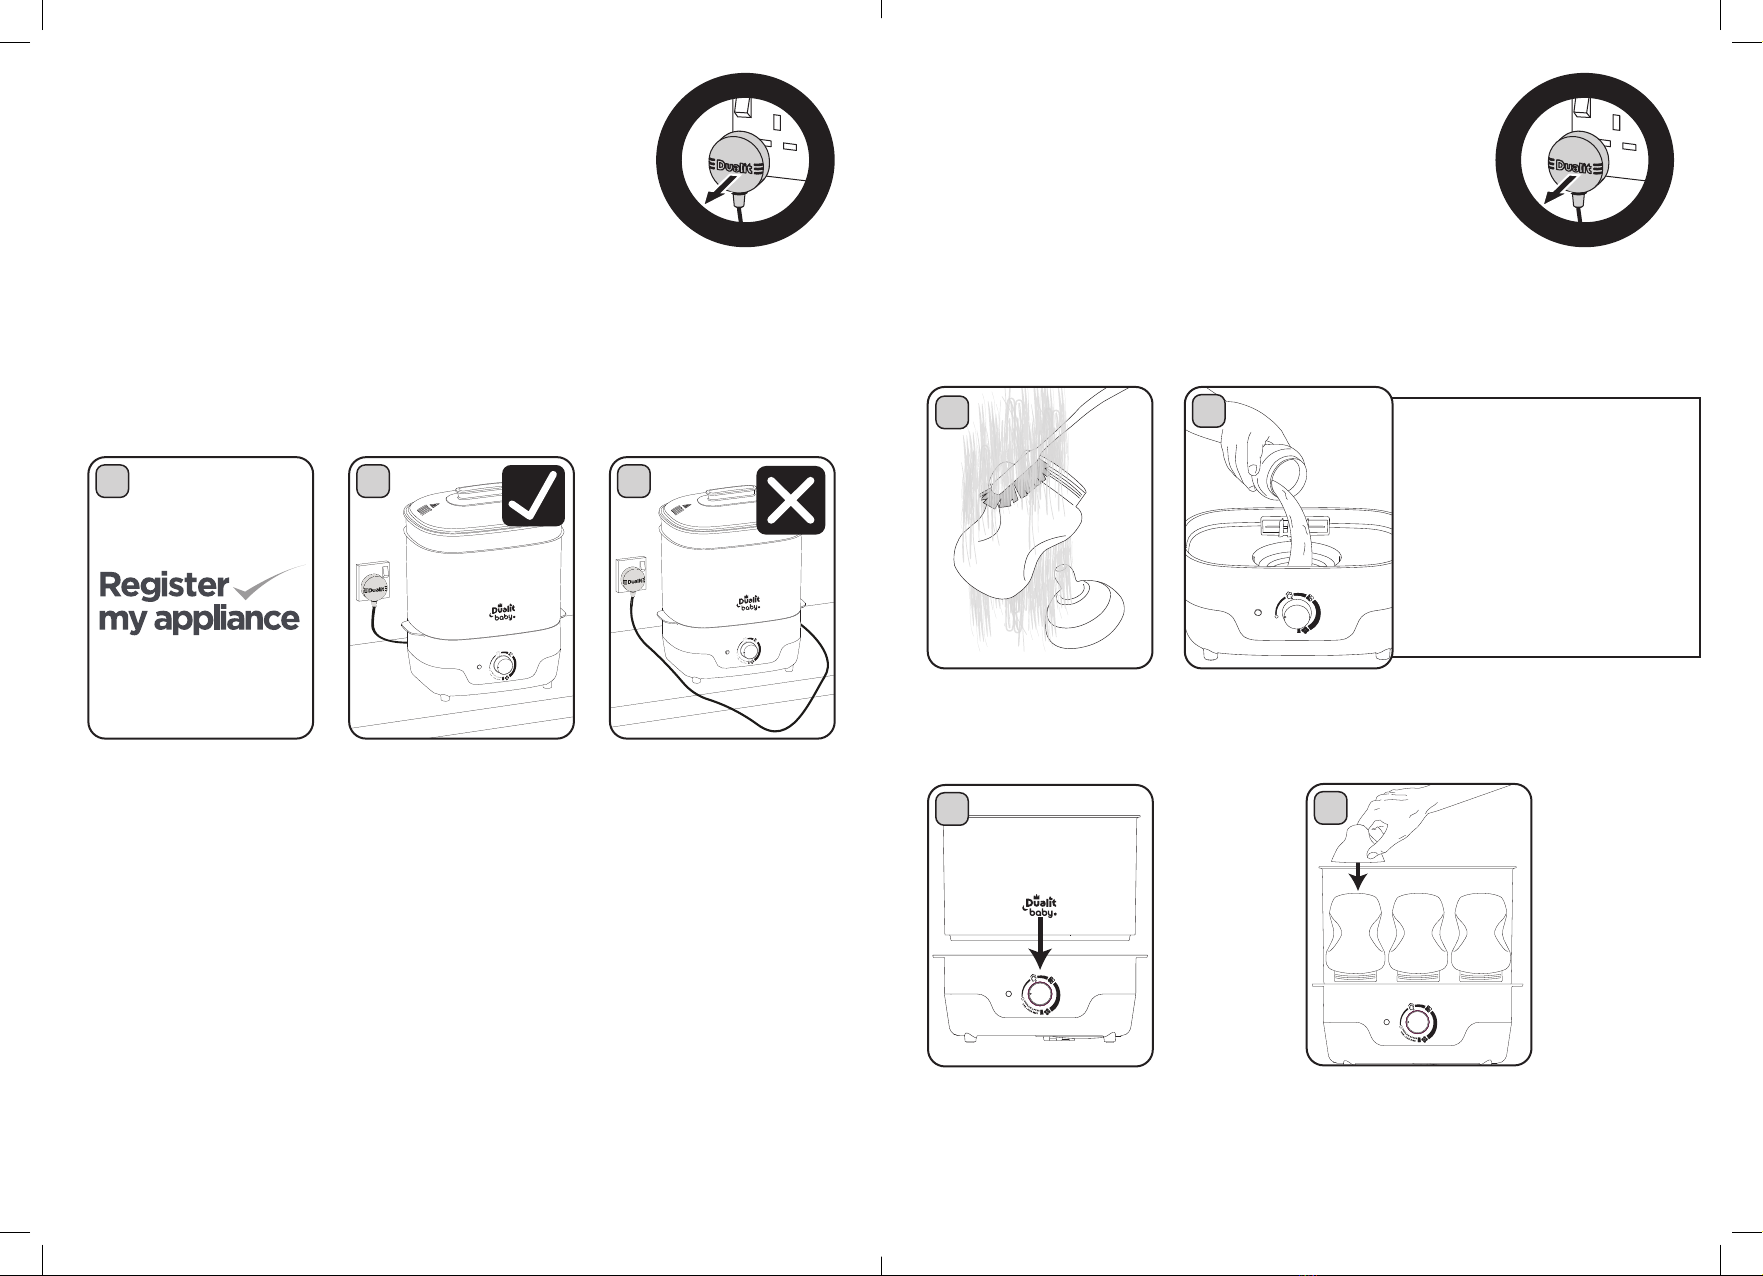
Unpack the box with care, keeping all the packaging
materials until you are satised everything
is present and in working order. Once
satised remove any tags from the
appliance body and recycle the packaging
appropriately. Do not remove tags from
the cord. You may wish to keep the box
to store your appliance.
IMPORTANT SAFETY PRECAUTIONS