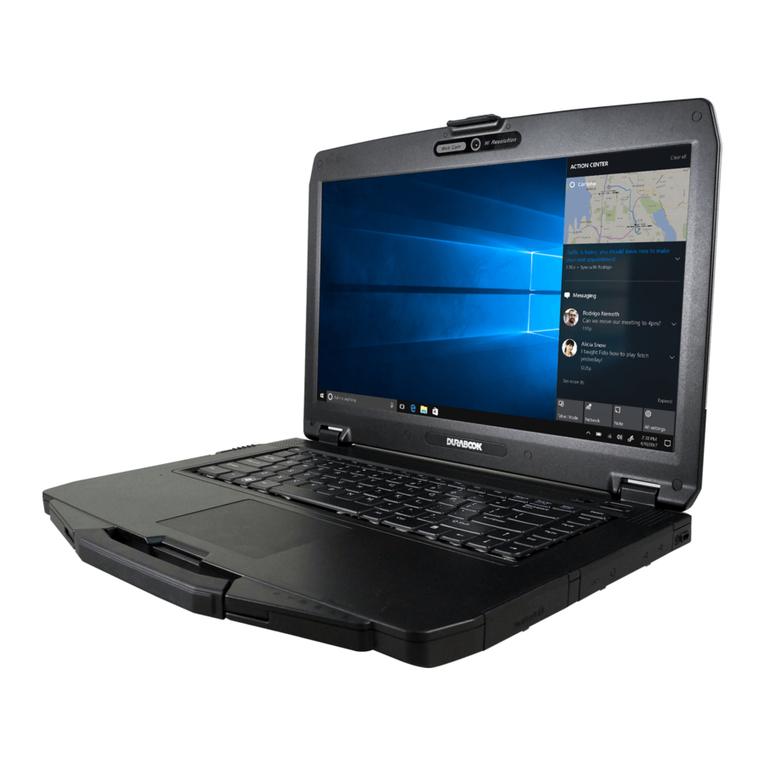
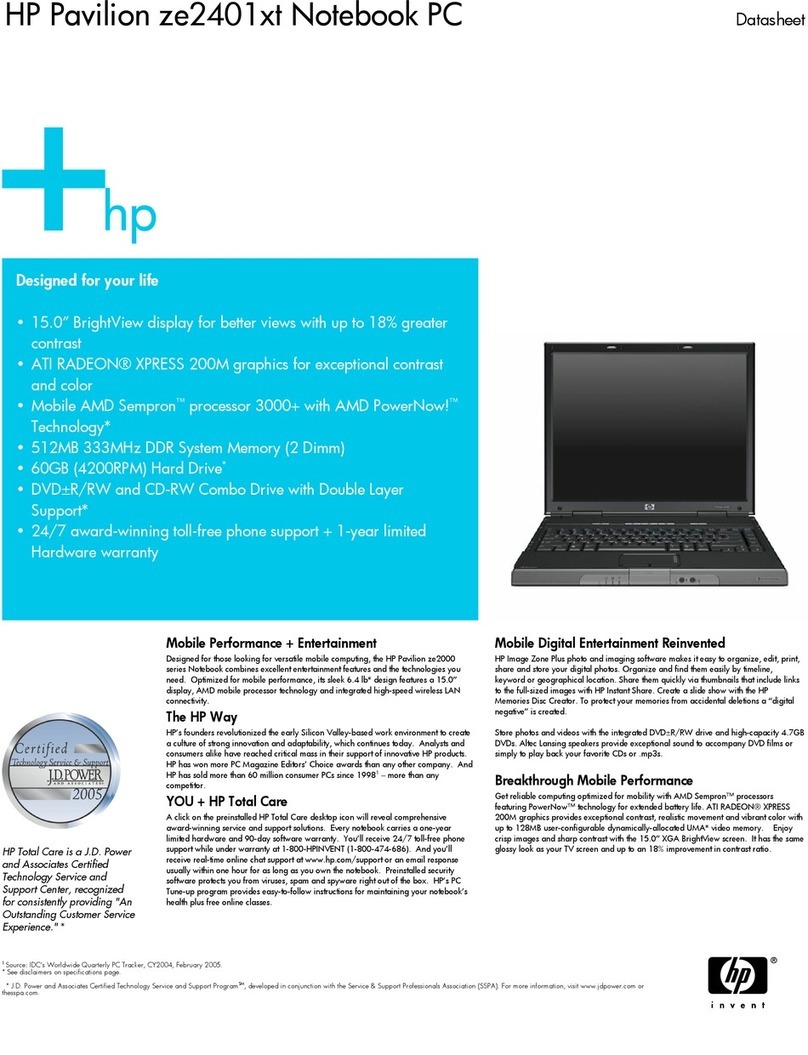
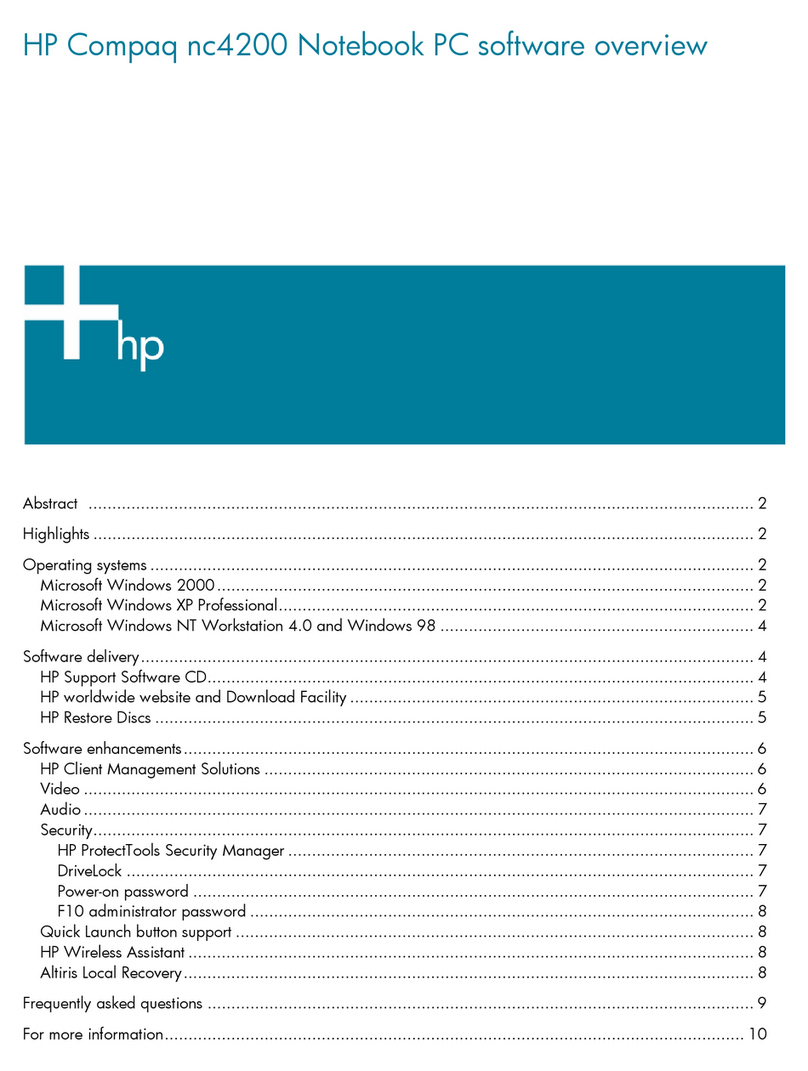
Durabook S15AB2 User manual

©2023 Twinhead International Corp and/or its affiliates. All rights reserved.

EN-2
Table of Contents
BEFORE YOU START .......................................................................................5
PACKAGE CONTENTS ......................................................................................5
PRODUCT OVERVIEW ......................................................................................6
Front View ............................................................................................................... 6
Back View ................................................................................................................ 7
Right View ............................................................................................................... 8
Left View.................................................................................................................. 9
Rear View .............................................................................................................. 10
STATUS INDICATORS .................................................................................... 11
GETTING STARTED................................................................ 12
INSTALLING THE BATTERY............................................................................... 12
Charging the Battery............................................................................................... 13
Charging Time........................................................................................................ 13
Checking the Battery Level ...................................................................................... 14
When to replace the Battery Pack............................................................................. 14
Removing the Battery ............................................................................................. 14
USING THE OPTICAL DISC DRIVE (ODD) ........................................................... 16
Placing a Disk......................................................................................................... 16
Manual Ejection ...................................................................................................... 16
USING THE STORAGE DRIVE ........................................................................... 17
Replacing the Storage Drive..................................................................................... 17
CONNECTING TO POWER................................................................................ 20
Connecting the AC Adapter ...................................................................................... 20
Using Battery Power................................................................................................ 20
Configuring the Power Settings ................................................................................ 21
STARTING YOUR NOTEBOOK ........................................................................... 22
Turning On Your Device........................................................................................... 22
Turning Off Your Device........................................................................................... 22
USING THE KEYBOARD .................................................................................. 23
USING THE TOUCH PAD................................................................................. 24
OPERATING YOUR NOTEBOOK
.................................................... 26
USING THE CAMERA ..................................................................................... 26
Opening Camera App .............................................................................................. 26
Taking Photos......................................................................................................... 27
Recording Videos .................................................................................................... 27
Adjusting Brightness ............................................................................................... 28
Setting Photo Timer ................................................................................................ 29
Configuring Camera Settings ................................................................................... 30
Viewing Photos/Videos ............................................................................................ 31
EN-3
MAKING CONNECTIONS........................................................ 32
INSTALLING THE MEMORY CARD....................................................................... 32
REMOVING THE MEMORY CARD........................................................................ 32
USING THE SIM CARD.................................................................................. 33
USING THE SMART CARD ............................................................................... 36
CONNECTING THE MICROPHONE/HEADSET................................................................... 36
CONNECTING USB DEVICES ........................................................................... 37
CONNECTING TO EXTERNAL DISPLAYS ................................................................ 38
CONNECTING TO A LOCAL AREA NETWORK (LAN) ................................................. 39
CONNECTING TO WIRELESS CONNECTIONS.......................................................... 40
USING THE BIOS SETUP UTILITY.......................................... 45
BIOS SETUP MENU ..................................................................................... 45
MAIN MENU .............................................................................................. 47
ADVANCED MENU ........................................................................................ 48
BOOT MENU .............................................................................................. 52
SECURITY MENU ......................................................................................... 53
SAVE & EXIT MENU ..................................................................................... 54
MAINTAINING AND CARING FOR YOUR NOTEBOOK............. 55
PROTECTING YOUR NOTEBOOK ........................................................................ 55
STORING AND HANDLING YOUR NOTEBOOK ......................................................... 55
CLEANING YOUR NOTEBOOK ........................................................................... 58
TRAVELING WITH YOUR NOTEBOOK .................................................................. 59
TROUBLESHOOTING.............................................................. 60
PRELIMINARY CHECKLIST ............................................................................... 60
SOLVING COMMON PROBLEMS ......................................................................... 60
DISPLAY PROBLEMS ..................................................................................... 62
HARD DISK PROBLEMS ................................................................................. 63
OTHER PROBLEMS ....................................................................................... 67
APPENDIX ............................................................................. 68
COPYRIGHT ............................................................................................... 68
SPECIFICATIONS ......................................................................................... 68
REGULATORY STATEMENT ............................................................................... 70
Federal Communications Commission Statement ....................................................... 70
IC Regulations........................................................................................................ 70
Declaration of Conformity ........................................................................................ 71
RF exposure warning............................................................................................... 71
Battery Disposal ..................................................................................................... 71
European Union CE Marking and Compliance Notices.................................................. 71

EN-4
CLASS 1 LASER PRODUCT ....................................................................................... 72
SAFETY INSTRUCTIONS ................................................................................. 75
SHOPFLOOR DATE CODE FORMAT DESCRIPTION.................................................... 77

Before You Start
EN-5
Before You Start
Congratulations on your purchase of this notebook.
This semi-rugged notebook is portable and provides users with maximum mobile
computing experience in a wide range of working environments. Before you
begin using your notebook, read this chapter to familiarize yourself with the main
components installed in the system.
Package Contents
If any of following items is damaged, please contact your retailer.
Notebook
Power cord
DC 19V 65W power adapter
Lithium Battery Pack
NOTE
•These pictures are for reference only. Actual items may slightly differ.

Before You Start
EN-6
Product Overview
Front View
No.
Item
Description
1
Microphones
Record the surrounding sound.
2
Web camera
Use for video conference.
3
Display screen
Provide visual output.
4
Power button
Press to turn your notebook on or off.
5
Keyboard
Press the keys to input information.
6
Touch pad
Use to point, select, drag, or scroll objects on the
screen.
7
Touch pad button
Press to select objects or display a shortcut menu.

Before You Start
EN-7
No.
Item
Description
8
Device Indicators
(Power, Wireless,
HDD, Caps Lock, Num
lock, Battery)
Indicate the corresponding function status.
Back View
No.
Item
Description
1
Battery latch
Slide to the unlock position to release the
battery.
2
Battery compartment
Install the battery.
3
Speakers
Emit sound.
4
CTO door
Remove the door to access the SIM card slot.

Before You Start
EN-8
Right View
No.
Item
Description
1
Card reader
Use to insert memory cards to transfer pictures,
music, and data between your notebook and
flash compatible devices. The card reader
supports SD (Secure Digital), SDXC, Mini-SD
(with adapter).
2
Earphone jack
Connect headphones or external speakers.
3
USB 3.1 (type A)
ports (x2)
Connect USB 3.1 (Gen.1) peripheral devices.
4
DC-in jack
Connect the power adapter.

Before You Start
EN-9
Left View
No.
Item
Description
1
Kensington lock slot
Connect to a Kensington-compatible notebook
security lock.
2
Media bay
Varies depending on SKU:
•Optical disk drive
•Secondary storage
3
Smart card reader
Use to insert smart cards.
4
RF switch
Slide it to the left to enable all wireless network
(WLAN) and Bluetooth communications.

Before You Start
EN-10
Rear View
No.
Item
Description
1
USB 3.1 (type A)
port
Connect USB 3.1 (Gen2) peripheral devices.
2
USB 3.1 (type C)
port
Connect USB 3.1 (Gen2) peripheral devices.
3
RJ-45 port
Connect to a local area network (LAN) using an
Ethernet cable.
4
HDMI output port
Connect an HDMI device such as an external
HDMI LCD TV.
5
VGA port
Connect to a display device such as an external
monitor or a projector.
6
RS-232 port
Connect a serial peripheral device.

Before You Start
EN-11
Status Indicators
The status indicators light up when a particular function of the notebook is
active. Each indicator is marked with a symbol.
Icon
Item
Description
Power
The LED always lights on (blue) when the system is
running. When the system is in standby mode, the LED
blinks. When the system is off or in hibernate mode,
the light is off.
RF
Indicate the status of RF (WLAN, Bluetooth, or
WWAN/GPS) communication. The LED always lights on
(blue) when the function is enabled.
HDD
A blinking HDD LED indicates HDD activity (data is
being read or written).
Num
Lock
Lights on when Num Lock is activated.
Caps Lock
Lights on when Caps Lock is activated.
Battery
Indicate the battery status:
•Green light means the battery is fully charged or the
battery capacity higher than 95%.
•Orange light means the battery is being charged.
•Blinking orange light means the battery cannot be
fully charged over 8 hours of charging.
•Blinking red light means the battery power is low
(less than 7%).
•When the light is off it means the battery is
discharging.

Getting Started
EN-12
Getting Started
This chapter will help you get started using the device.
CAUTION!
Before any internal installation procedures are carried out on the system, make
sure the system is turned off and cooled down for 5 minutes. Failing to turn off the
system before opening it can cause permanent damage to the system and serious
or fatal injury to the user.
Installing the Battery
To install the battery, follow the steps below:
1. Align and insert the battery into the battery compartment.

Getting Started
EN-13
2. Push completely until the battery locks into place.
3. Slide the latch to the lock position ( ) to secure the battery.
Charging the Battery
The Lithium-ion battery is not fully-charged upon purchase.
To charge the battery, follow the steps below:
1. Install the battery to your notebook. See procedures above.
2. Connect the AC adapter to the DC-in jack of your notebook.
3. Connect the AC adapter to the power cord.
4. Plug the power cord to an electrical outlet.
Charging Time
It takes approximately 3.5 hours to fully charge the battery.
NOTE
•The charging time may be longer if you are using your notebook while charging
the battery.
CAUTION!
•DO NOT charge the battery if the temperature is below 0ºC or higher than
45ºC.
•Use only the supplied AC adapter. Using other AC adapters may damage the
battery or your notebook.

Getting Started
EN-14
ATTENTION!
•NE PAS charger la batterie si la température est inférieure à 0° C ou
supérieures à 45º C.
•Utilisez uniquement l'adaptateur secteur fourni. L'utilisation d'autres
adaptateurs secteur peut endommager la batterie ou de votre tablette PC.
Checking the Battery Level
It is important that you monitor the battery status regularly to ensure you do not
run out of power at a critical moment.
To check the remaining battery power, click the
battery icon ( ) on the system tray.
The battery screen appears, as shown on the
right:
When to replace the Battery Pack
The battery performance gradually decreases over time and usage. We recommend
you replace your battery pack 18 to 24 months after purchase.
Removing the Battery
To remove the battery, follow the steps below:

Getting Started
EN-15
1. Slide the battery latch to the unlock position ( ).
2. Remove the battery out of the battery compartment.

Getting Started
EN-16
Using the Optical Disc Drive (ODD)
You can use the optical disk drive (ODD) to play or record DVD or CD disc.
Placing a Disk
To place a disk, follow the steps below:
1. Open the ODD cover.
2. Press the Eject button to eject the tray.
3. Place the disc on the tray.
4. Close the disc tray.
Manual Ejection
If the Eject button fails to work properly, insert a paper clip into the Pin Hole
Eject to open the tray.

Getting Started
EN-17
NOTE
•Be sure that the notebook is turned off before performing the manual ejection.
Using the Storage Drive
Replacing the Storage Drive
To replace the storage drive, follow the steps below:
1. Remove the screws securing the HDD compartment door to the device.
2. Remove the HDD compartment door.

Getting Started
EN-18
3. Use the pull tab to release the HDD module from the HDD compartment. DO
NOT remove the HDD module yet!
4. Disconnect the HDD module from the mainboard connector.
5. Connect the HDD module to the mainboard connector (visible inside the HDD
compartment).

Getting Started
EN-19
6. Lower the HDD module into its compartment.
7. Replace the HDD compartment cover.
8. Secure the HDD compartment cover to the device with the screws.

Getting Started
EN-20
Connecting to Power
Your notebook can be powered up using the AC adapter or the Lithium-ion battery.
Connecting the AC Adapter
The AC adapter powers up your notebook and charges the battery.
1. Connect the AC adapter to the DC-in jack on your notebook.
2. Connect the AC adapter to the power cord.
3. Plug the power cord into an electrical outlet.
Using Battery Power
1. Install the charged battery in the battery compartment.
2. Remove the AC adapter (if plugged in). Your notebook will automatically use
the battery power.
NOTE
•If you are using the notebook with the battery power for the first time, be sure
that the battery is fully charged before you operate the notebook.
This manual suits for next models
1
Table of contents
Other Durabook Laptop manuals

Durabook
Durabook S15 User manual

Durabook
Durabook SA14S User manual

Durabook
Durabook S15AB User manual

Durabook
Durabook S14I User manual

Durabook
Durabook Z14 User manual

Durabook
Durabook S15H User manual

Durabook
Durabook Z14I User manual

Durabook
Durabook S15AB User manual

Durabook
Durabook D13RL User manual

Durabook
Durabook R13S User manual