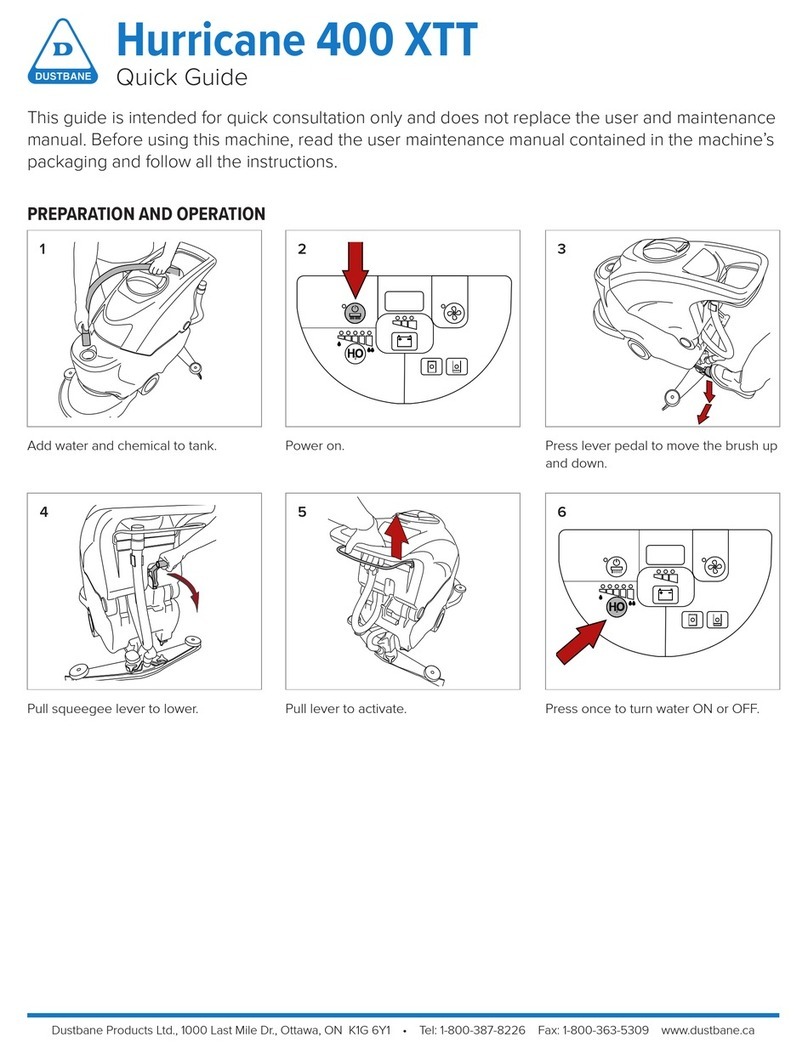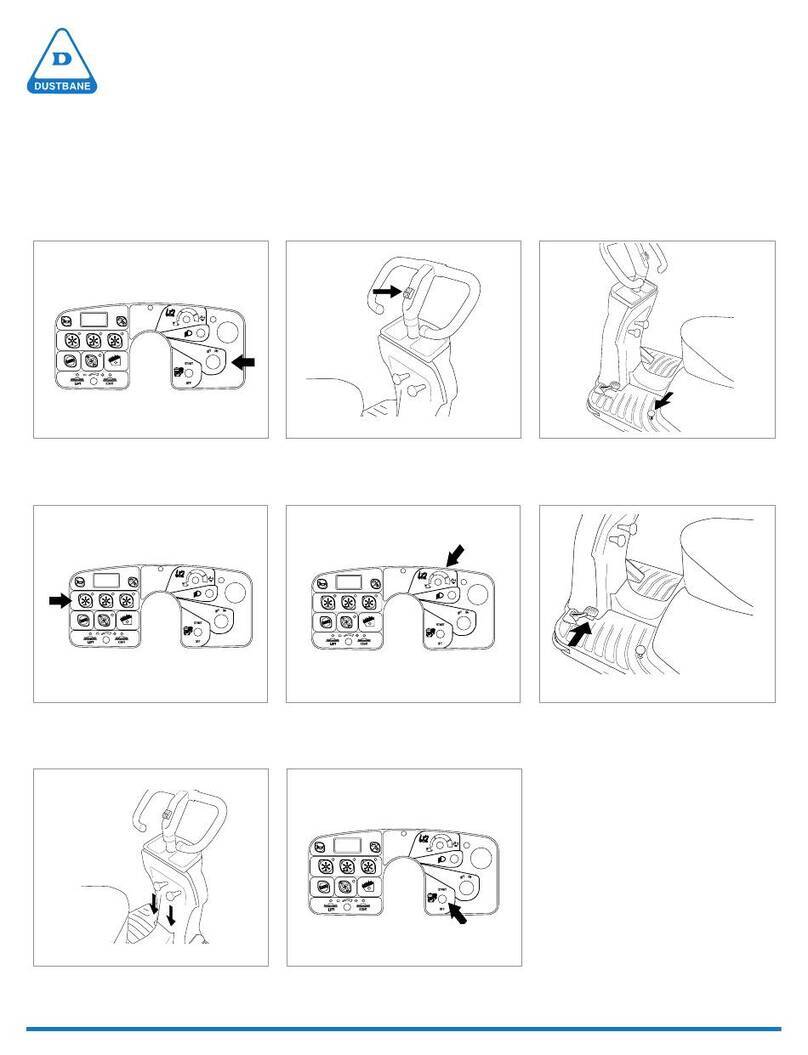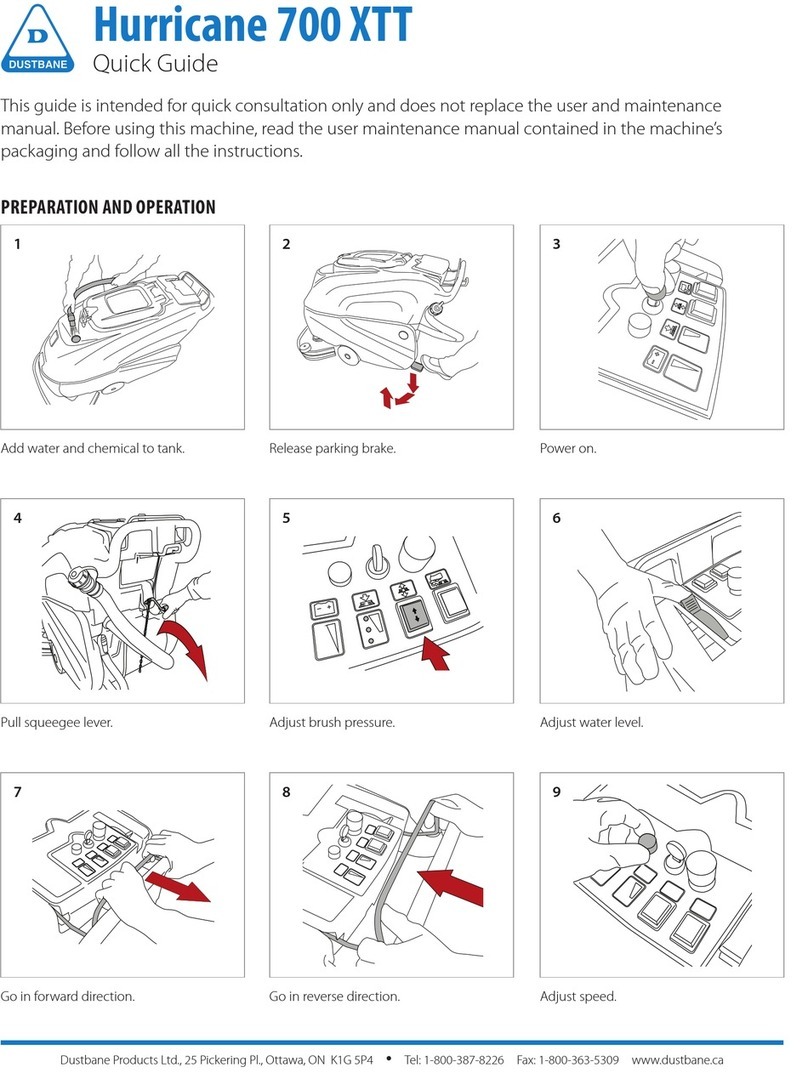
REPLACING THE SQUEEGEE BLADES ATTACHING/REMOVING THE BRUSHES
Open the clip (Ref. 1).
Remove the two blade retainers (Ref. 2) by pushing them
outwards then extracting them.
Remove the blade.
Reuse the same blade by reversing the edge in contact with the
oor until all four edges are worn out, or replace with a new blade,
tting it onto the screws on the bodyofthesqueegee.
Reposition the two blade pressing devices by centering the wider
part of the slots onthesqueegee body fastening pins, then push
the blade pressing devices inwards.
Close the hook again.
Replace the squeegee on its support, following the instructions
described previously.
Position the brush underneath the head, in the centre
(single-brush oor scrubber), position the brushes underneath
the head on both sides (double brush scrubber), switch the
machine on.
Press the ON-OFF switch, once after starting the machine releases
brush attachment. The button is only enabled when all the
functions are deactivated (suction motor and brushes).
Ref. 1 Ref. 2
REPLACING THE SQUEEGEE BLADES
ATTACHING/REMOVING THE BRUSH
Attaching the brush:
•rest the brush on the oor in front of the machine. Raise the front of the machine by levering on the handle, then lower it onto the brush, centring it with the brush cover. Action the drive lever repeatedly until the brush
engages..
Removing the brush:
•Raise the front of the machine by levering on the handle, then operate the brush lever repeatedly. After operating the lever a few times, the brush is released and falls to the ground.
DAILY MAINTENANCE
Clean the dirty
water tank.
Check the dirty water tank oat
is undamaged and clean and
moves freely on the pin.
Check that the
detergent outlet lter
is clean.
Check that the
brush is clean.
Check that the
squeegee is clean
and the blades are not
worn.
Open the clip (Ref. 1).
Remove the two blade retainers (Ref. 2) by pushing them outwards then extracting them.
Remove the blade.
Reuse the same blade by reversing the edge in contact with the oor until all four edges are worn out, or replace with a new blade, tting it onto the
screws on the body of the squeegee.
Reposition the two blade pressing devices by centering the wider part of the slots on the squeegee body fastening pins, then push the blade pressing
devices inwards.
Close the hook again.
Replace the squeegee on its support, following the instructions described previously.
PLDC02099
BATTERY
CHARGER ON
BOARD
1
2
DAILY MAINTENANCE
Clean the dirty water tank. Make sure the lids outer seal is
clean and not damaged. Replace
if necessary.
Make sure detergent outlet lter
is clean and free of debris.
Make sure the brushes/drive
pad are clean and not worn
out. Replace if necessary.
REPLACING THE SQUEEGEE BLADES
ATTACHING/REMOVING THE BRUSH
Attaching the brush:
•rest the brush on the oor in front of the machine. Raise the front of the machine by levering on the handle, then lower it onto the brush, centring it with the brush cover. Action the drive lever repeatedly until the brush
engages..
Removing the brush:
•Raise the front of the machine by levering on the handle, then operate the brush lever repeatedly. After operating the lever a few times, the brush is released and falls to the ground.
DAILY MAINTENANCE
Clean the dirty
water tank.
Check the dirty water tank oat
is undamaged and clean and
moves freely on the pin.
Check that the
detergent outlet lter
is clean.
Check that the
brush is clean.
Check that the
squeegee is clean
and the blades are not
worn.
Open the clip (Ref. 1).
Remove the two blade retainers (Ref. 2) by pushing them outwards then extracting them.
Remove the blade.
Reuse the same blade by reversing the edge in contact with the oor until all four edges are worn out, or replace with a new blade, tting it onto the
screws on the body of the squeegee.
Reposition the two blade pressing devices by centering the wider part of the slots on the squeegee body fastening pins, then push the blade pressing
devices inwards.
Close the hook again.
Replace the squeegee on its support, following the instructions described previously.
PLDC02099
BATTERY
CHARGER ON
BOARD
1
2
Make sure the squeegee is clean
and the blades are not worn.
REPLACING THE SQUEEGEE BLADES
ATTACHING/REMOVING THE BRUSH
•unscrew the nuts xing the blade retainers;
•remove the two blade retainers;
•remove the blade;
•put the same blade back, reversing the edge in contact with the oor until all four edges are worn, or replace with a new one;
•put the two blade retainers back on the squeegee and screw up the nuts again;
Attaching the brush:
•rest the brush on the oor in front of the machine. Raise the front of the machine by levering on the handle, then lower it onto the brush, centring it with the brush cover. Action the drive lever repeatedly until the brush
engages..
Removing the brush:
•Raise the front of the machine by levering on the handle, then operate the brush lever repeatedly. After operating the lever a few times, the brush is released and falls to the ground.
DAILY MAINTENANCE
Clean the dirty
water tank.
Check the dirty water tank oat
is undamaged and clean and
moves freely on the pin.
Check that the
detergent outlet lter
is clean.
Check that the
brush is clean.
Check that the
squeegee is clean
and the blades are not
worn.
PLDC01986
BATTERY
CHARGER ON
BOARD
TO CHARGE BATTERIES
Plug in On Board charger to
charge batteries if equipped.
NOTE: Never stop charge until
cycle is complete (green light).
Dustbane Products Ltd., 25 Pickering Pl., Ottawa, ON K1G 5P4 •Tel: 1-800-387-8226 Fax: 1-800-363-5309 www.dustbane.ca

