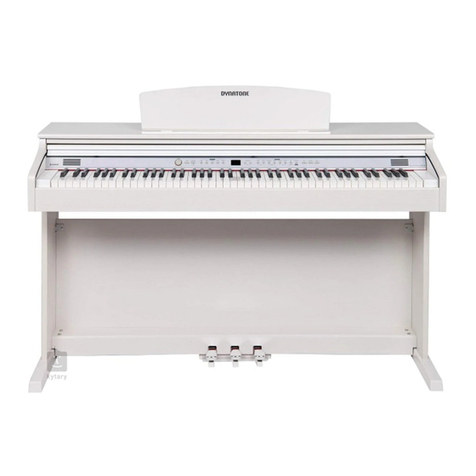
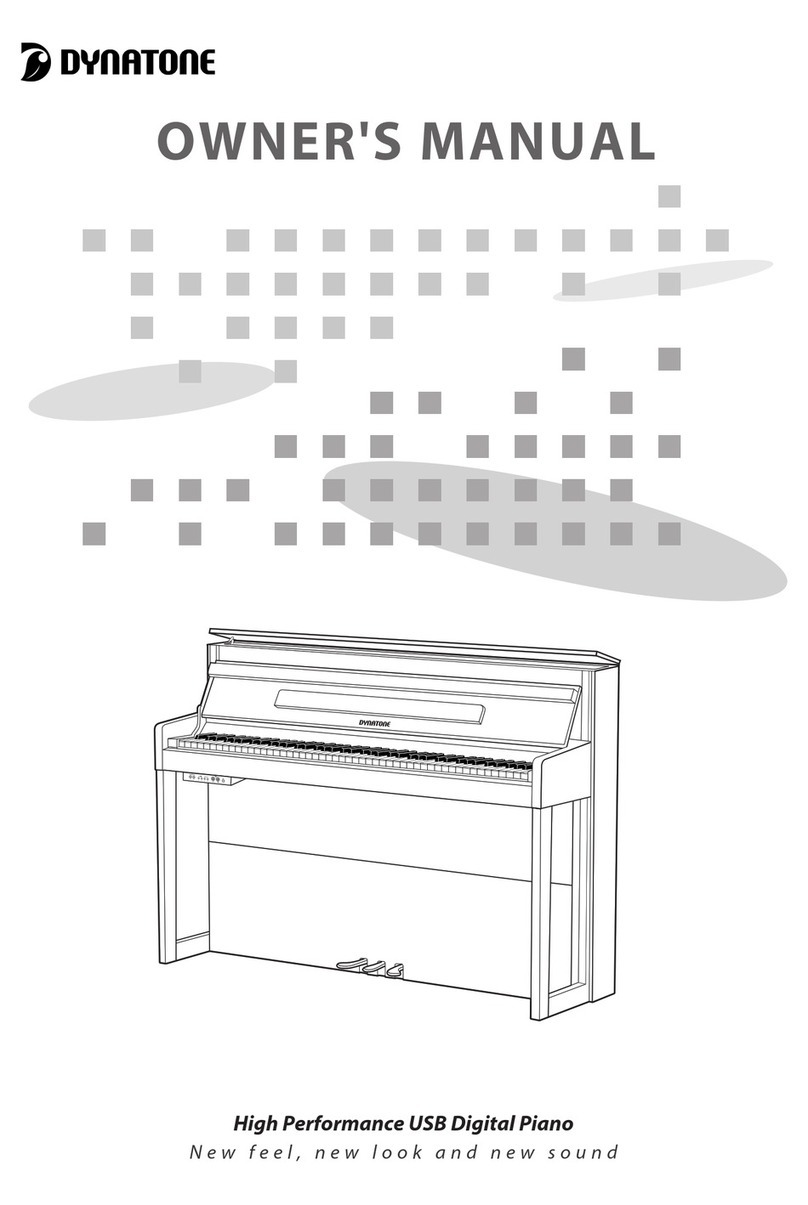
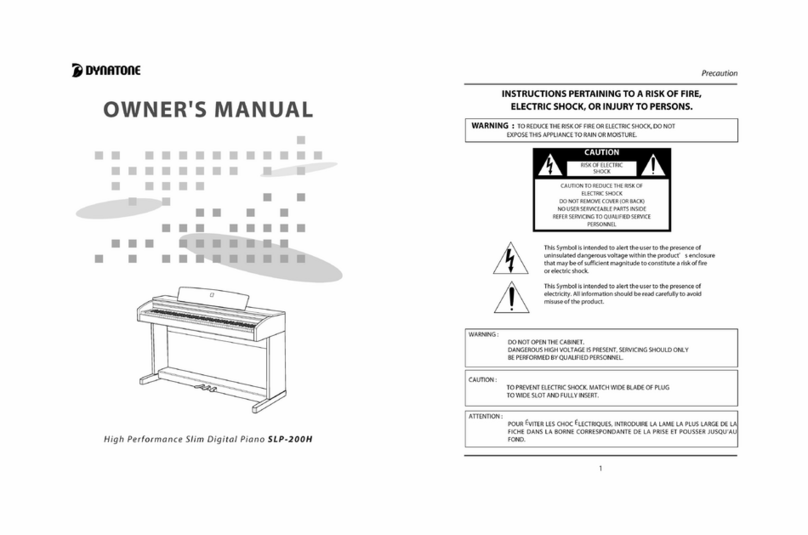
Dynatone SLP-200H User manual

OWNER'S MANUAL
High Performance Slim Digital Piano SLP-200H
SLP200H English Manual_내지.qxd 2013-12-10 오후 3:03 페이지 36

CAUTION
1
INSTRUCTIONS PERTAINING TO A RISK OF FIRE,
ELECTRIC SHOCK, OR INJURY TO PERSONS.
Precaution
WARNING : TO REDUCE THE RISK OF FIRE OR ELECTRIC SHOCK, DO NOT
EXPOSE THIS APPLIANCE TO RAIN OR MOISTURE.
RISK OF ELECTRIC
SHOCK
CAUTION TO REDUCE THE RISK OF
ELECTRIC SHOCK
DO NOT REMOVE COVER (OR BACK)
NO USER SERVICEABLE PARTS INSIDE
REFER SERVICING TO QUALIFIED SERVICE
PERSONNEL
This Symbol is intended to alert the user to the presence of
uninsulated dangerous voltage within the product’s enclosure
thatmaybeofsufficientmagnitudetoconstituteariskoffire
or electric shock.
This Symbol is intended to alert the user to the presence of
electricity. All information should be read carefully to avoid
misuse of the product.
WARNING :
DO NOT OPEN THE CABINET.
DANGEROUS HIGH VOLTAGE IS PRESENT, SERVICING SHOULD ONLY
BE PERFORMED BY QUALIFIED PERSONNEL.
CAUTION :
TO PREVENT ELECTRIC SHOCK. MATCH WIDE BLADE OF PLUG
TO WIDE SLOT AND FULLY INSERT.
ATTENTION :
POUR ÉVITER LES CHOC ÉLECTRIQUES, INTRODUIRE LA LAME LA PLUS LARGE DE LA
FICHE DANS LA BORNE CORRESPONDANTE DE LA PRISE ET POUSSER JUSQU’AU
FOND.
SLP200H English Manual_내지.qxd 2013-12-10 오후 3:02 페이지 1

2
Precaution
IMPORTANT SAFETY INSTRUCTIONS
WARNING - When using electric products, basic precaution should always be followed, including the
following:
1. Read all the instructions before using the product.
2. To reduce the risk of injury, close supervision in necessary when a product is used near
children.
3. Do not use this product near water - for example, near a bathtub, washbowl, kitchen
sink, in a wet basement, or near a swimming pool.
4. This product should be used only with the stand supplied by the manufacturer.
5. This product, either alone or in combination with an amplifier and headphones or
speakers, may be capable of producing hearing loss. Do not operate for a long period
of time at a high volume level or at a level that is uncomfortable. If you experience any
hearing loss or ringing in the ears, you should consult an audiologist.
6. The product should be located so that its location or position does not interfere with its
proper ventilation.
7. The product should not be placed close to heat sources such as radiators, fires, or other
products that produce heat.
8. The product should be connected to a power supply only of the type described in the
operating instructions or as marked on the product.
9. This product may be equipped with a polarized line plug (one blade wider than the
other). This is a safety feature. If you are unable to insert the plug into the outlet,
contact an electrician to replace your obsolete outlet. Do not interfere with the safety
purpose of the plug.
10. The power-supply cord of the product should be unplugged from the outlet when left
unused for a long period of time.
11. Care should be taken so that objects do not fall and liquids are not spilled into the
enclosure through openings.
12. The product should be serviced by qualified service personnel when:
A. The power-supply cord or the plug has been damaged; or
B. Objects have fallen, or liquid has been spilled into the product; or
C. The product has been exposed to rain; or
D. The product does not appear to operate normally or exhibits a marked change
in performance; or
E. The product has been dropped, or the enclosure damaged.
SLP200H English Manual_내지.qxd 2013-12-10 오후 3:02 페이지 2

3
Precaution
13. Do not attempt to service the product beyond that described in the user maintenance
instruction. All other servicing should be referred to qualified service personnel.
14. To clean the exterior surfaces, wipe lightly with a clean, dry cloth. Never use solvents
such as benzine or paint thinners.
15. The product should be located away from a television, radio, or heavy equipment that can
generate electromagnetic fields.
16. The product should be located on a flat, stable surface to reduce the chance of vibration.
17. Be careful to protect the product from knocks, particularly when carrying it.
18. During thunderstorms, turn the product off and disconnect the plug from the power outlet.
INFORMATION TO THE USER
This equipment has been tested and found to comply with the limits for a class B digital device, pursuant
to part 15 of the FCC Rules. These limits are designed to provide reasonable protection against harmful
interference. This equipment generates, uses and can radiate radio frequency energy and, if not installed
and used in accordance with the instructions,may cause harmful interference will not occur in a particular
installation. If this equipment does cause harmful interference to radio or television reception, which can
be determined by turning the equipment off and on, the user is encouraged to try to correct the
interference by one or more of the following measures:
- Relocate the receiving antenna.
- Increase the distance between the equipment and receiver.
- Connect the equipment into an outlet on a circuit different from that to which the receiver
is connected.
- Consult the dealer or an experienced radio/TV technician for help.
WARNING
Changes or modifications not expressly approved by the manufacturer could void the user’s warranty.
.
SLP200H English Manual_내지.qxd 2013-12-10 오후 3:02 페이지 3

4
Welcome
Thank you and congratulations on your purchase of a high-performance slim digital piano.
Your new digital piano is a state-of-the-art musical instrument which incorporates the latest
electronics technology to make its operation as easy as possible.
Your versatile digital piano is ideal for beginners or experienced musicians.
In order to enjoy the features and functions of this unit to their fullest, be sure to carefully read this
manual and follow the instructions contained herein.
Welcome
SLP200H English Manual_내지.qxd 2013-12-10 오후 3:02 페이지 4

Precaution
Welcome
Contents
Care of Your Digital Piano
Unpacking
Setting Up Your Piano
External Appearance
Panel Controls and Terminals
Adjusting the Volume
Using the Pedals
Selecting Voices
Layer
Split
EXV (Expanded Voice)
Twin Piano
Reverb
Effect
Tune
Transpose
Touch
Using The Metronome
Recording
MIDI & USB MIDI
MIDI Implementation Chart
GM Voice & Drum Table
Troubleshooting
Specifications
5
Contents
Contents
1
4
5
6
7
8
11
12
14
15
16
18
19
20
21
22
23
24
25
26
27
28
29
30
31
33
34
SLP200H English Manual_내지.qxd 2013-12-10 오후 3:02 페이지 5

●
Avoid heat, humidity or direct sunlight.
●
Keep the unit free from liquids, dust, etc...
● During thunderstorms, turn the product off
and disconnect the plug from the power.
●
Take care not to drop the unit and avoid
strong impact.
●
Never attempt to modify any parts of the
unit.
6
Care of your Digital Piano
SLP200H English Manual_내지.qxd 2013-12-10 오후 3:02 페이지 6

7
Unpacking
Unpacking
Carefully remove the Digital Piano and its accessories from the packing box. The Digital Piano
set consists of the following items.
[BOX 1] BODY
Main Unit
[BOX2] STAND
Right, Left Legs (a, b) Pedal Board (c) Back Panel (d)
☞
Inspect each item carefully to make sure that it is in good condition. If you find any item missing or
damaged, contact the place of purchase immediately for replacement.
Four Bolts for Main Unit
(g) (M6x15)mm, Black
Four Bolts
for Pedal Board (f)
(PT6x25)mm, Gold
Six Bolts
for Back Panel (h)
(4x22)mm
AC Power Adapter
SLP200H English Manual_내지.qxd 2013-12-10 오후 3:02 페이지 7

8
Setting Up Your Piano
1. Attaching both legs and pedal board assembly
2. Assembling the stand
① Securely combine both Legs (a,b)to
Pedal Board (c) using four Bolts (f).
② For pedal stability, rotate the
adjuster on the bottom of the
pedal assembly unit until it comes in
firm contact with the floor surface.
① Attach the BackPanel (d) to the
legs and pedal board using six Bolts (h)
for BackPanel.
② After fixing the back panel to the
legs, set the stand upright and make
sure the stand is parallel.
SLP200H English Manual_내지.qxd 2013-12-10 오후 3:02 페이지 8

9
Setting Up Your Piano
3. Attaching the main unit and stand
4. Connecting the pedal cord and AC adapter
Set the stand upright and gently lower
the main unit on to the stand, then
tighten the main unit with four Bolts (g)
for Main Unit as shown in the
illustration.
Plug the Pedal Cord (c) and AC
adapter plug into the corresponding
ports on the bottom of the main unit as
shown in the illustration.
SLP200H English Manual_내지.qxd 2013-12-10 오후 3:02 페이지 9

10
Setting Up Your Piano
Turning on the Power
① Connect the AC POWER ADAPTER. Insert DC plug
at the end of DC cord of the AC adapter into the piano
and AC plug at end of AC cord of the AC adapter into a
standard AC outlet.
☞ See 'Connecting the pedal cord and AC adapter' on page 9.
② Press the POWER switch. The power is turned on and
the initial display appears in the Multi Function Display.
The voice of Grand Piano is selected automatically.
☞ Adjust the volume by using MASTER VOLUME.
Press the POWER switch again when turning off the
power.
All lights and the LED display will turn off.
Headphones
Connect a set of stereo headphones (optional) to
HEADPHONE jack.
Insert plug of the headphone into the HEADPHONE
jack on the bottom of the main unit.
When the headphones are connected, the internal
speaker system is automatically turned off.
Since the piano has two HEADPHONE jacks, two sets of
headphones can be used simultaneously, which allows
two people to hear the piano.
SLP200H English Manual_내지.qxd 2013-12-10 오후 3:02 페이지 10

11
External Appearance
External Appearance
2
3
4
5
1
1. Keyboard Cover
2. Control Panel
3. Keyboard
4. Pedals
5. Stand
SLP200H English Manual_내지.qxd 2013-12-10 오후 3:02 페이지 11

VOLUME SECTION
ⓐ MASTER VOLUME
VOICE SECTION
ⓑ LAYER BUTTON
ⓒ SPLIT BUTTON
ⓓ EXV BUTTON
ⓔ TWIN PIANO BUTTON
ⓕ REVERB BUTTON
ⓖ EFFECT BUTTON
ⓗ MAIN VOICE KEYS
ⓘ EXTRA VOICE KEYS
ⓙ SPLIT VOICE KEYS
ⓚ LAYER VOICE KEYS
ⓛ SECONDARY VOICE VOL.
ⓜ REVERB LEVEL KEYS
ⓝ EFFECT LEVEL KEYS
FUNCTION SECTION
ⓞ SETUP Button
ⓟ DEFAULT ALL Key
ⓠ TRANSPOSE Keys
ⓡ TUNE Keys
ⓢ TOUCH Keys
ⓣ METRONOME Button
ⓤ METRONOME BEAT Keys
ⓥⓦ TEMPO UP/DOWN
RECORDING SECTION
ⓥ RECORD Button
ⓦ START/STOP Button
12
Panel Controls and Terminals
ⓕ
Panel Controls and Terminals
Page 14
Page 18
Page 19
Page 20
Page 21
Page 22
Page 23
Page 16
Page 17
Page 19
Page 18
Page 18
Page 22
Page 23
Page 21
Page 25
Page 24
Page 26
Page 27
Page 27
Page 27
Page 28
Page 28
ⓗ
ⓖ
ⓟ
ⓓⓔ
ⓥ
ⓣ
ⓑ
ⓐ
ⓒ
ⓞ
ⓦ
ⓘ
ⓙ ⓚ ⓛ
SLP200H English Manual_내지.qxd 2013-12-10 오후 3:02 페이지 12

13
Panel Controls and Terminals
POWER
① POWER
TERMINAL SECTION
② MIDI IN/OUT
③ USB IN
④ HEADPHONES
⑤ DC IN
⑥ PEDAL IN
PEDAL SECTION
⑦ SOFT PEDAL
⑧ SOSTENUTO PEDAL
⑨ DAMPER PEDAL
Page 10
Page 29
Page 29
Page 10
Page 9
Page 9
Page 15
Page 15
Page 15
②④
③
⑧⑨
⑤
⑦
ⓜ ⓝ ⓤ ⓠ ⓡ ⓢ
①
SLP200H English Manual_내지.qxd 2013-12-10 오후 3:02 페이지 13

14
Adjusting the Volume
The piano has one knob on the panel for adjusting the volume.
MASTER VOLUME
This determines the entire volume of the piano.
☞ This also determines the output level of the signal of the headphones.
SLP200H English Manual_내지.qxd 2013-12-10 오후 3:02 페이지 14

15
Using the Pedals
Using the Pedals
The piano has three pedals.
①Damper Pedal (Right) also known as the Sustain Pedal
The damper pedal performs the same function as the damper pedal on an actual
acoustic piano, letting you sustain the sound of the voices even after releasing your
fingers from the keys.
☞Certain voices in the PERCUSSION sounds may not be affected by use of the damper pedal.
☞Some voices may sound continuously or have a long decay after the notes have been released while the
damper pedal is held.
②Sostenuto Pedal (Centre)
If you play a note or chord on the keyboard and press the sostenuto pedal while
the note(s) are held, those notes will be sustained as long as the pedal is held, but all
subsequently played notes will not be sustained. This makes it possible to sustain a
chord, for example, while other notes are played staccato.
③Soft Pedal (Left)
Pressing this pedal reduces the volume and slightly changes the timbre of the
notes you play.
☞Certain voices in the PERCUSSION group may not be affected by use of the sostenuto pedal.
☞Certain voices such as STRINGS or BRASS sustain continuously when the sostenuto pedal is pressed.
☞When selecting some of voices with EXV function, left pedal may perform a special function. (See the
EXV SECTION on page 20.)
SLP200H English Manual_내지.qxd 2013-12-10 오후 3:02 페이지 15

☞Default voice is Grand piano 1.
☞When a split voice or layer voice is selected, layer or split function will automatically turn on.
See the LAYER/SPLIT section on pages 18~19.
16
Selecting Voices
Selecting Voices
The piano features a wealth of rich, authentic voices, including piano, strings and brass
instruments. It also features a keyboard percussion function that lets you play realistic drum and
percussion sounds directly from the keyboard.
There are 12 main voices, 2 split voices, 3 layered voices and 14 extra voices in this piano.
①Press and hold the SETUP button.
☞The light is on.
②Select a desired voice.
☞both the SETUP button and a voice key should be pressed.
☞Main Voice
Grand Piano 1, 2, Pipe Organ, Elec. Organ 1, 2, Elec. Piano 1, 2, Strings, Slow Strings, Choir
☞Split Voice
Acoustic Bass, Elec. Bass
☞Layered Voice
Acoustic Bass, Fingered Bass, Elec. Bass
☞Extra Voice
Grand Piano 3, Detuned Piano, Harpsichord, Vibraphone, Accordion, Elec. Organ 3,
Square Wave, Sawtooth Wave, Synth Piano, Flute, Saxophone, Guitar, Synth brass, Drum set
☞128 General MIDI Voice
When connecting with PC, it's available to use 128 GM voices.
(See the GM VOICE CHART/DRUMTABLE section on pages 31~32.)
SLP200H English Manual_내지.qxd 2013-12-10 오후 3:02 페이지 16

VOICE KEY MAP
17
Selecting Voices
SLP200H English Manual_내지.qxd 2013-12-10 오후 3:02 페이지 17

18
LAYER
Layer
The layer mode of the piano allows you to select and play two different voices simultaneously in a
layer. This makes it easy to create exceptionally rich and thick tonal textures. The volume balance can
be set for the two voices.
PLAYING WITH THE LAYER VOICE
①Select a main voice.
Select a voice in the normal way. (See the SELECTING VOICE section on page 16.)
②Call up the layer mode.
To call up the layer mode, press the LAYER button. The button lights and
the layer is set on.
③Select the layered voice.
Select a voice in the normal way. (See the SELECTING VOICES section on page 16.)
ADJUSTING THE LAYER VOLUME
This determines the volume of the layered voice.
②
Adjust the layer volume by pressing secondary volume up and down keys.
☞If you press both UP and DOWN keys at the same time, it automatically returns to the default secondary volume (11). The volume
range is 0 ~ 16.
☞Hold the key for continuous decrementing or incrementing.
☞Both split and layer volumes can be adjusted by using secondary volume keys.
①Press and hold the SETUP button.
☞The light is on.
☞If you select a layer voice, layer function automatically can be on without pressing the
LAYER button.
+
SLP200H English Manual_내지.qxd 2013-12-10 오후 3:02 페이지 18

19
Split
Split
The split mode of the piano allows you to select and play two different voices with your left and right
hands. For example, play bass with the left hand and piano with the right hand.
PLAYING WITH THE SPLIT VOICE
①Select a main voice.
Select a voice in the normal way. (See the SELECTING VOICE section on page 16.)
②Call up the split mode.
To call up the layer mode, press the SPLIT button. The button lights and the
split is set on.
③Select the split voice.
Select a voice in the normal way. (See the SELECTING VOICE section on page 16.)
ADJUSTING THE SPLIT VOLUME
See the LAYER section on page 18.
☞If you select a split voice, layer function automatically can be on without pressing the
SPLIT button.
CHANGING THE SPLIT POINT
You can set the point dividing the split voice and main voice ranges at any desired key position.
☞Default value is F#3.
①Press and hold the SPLIT button.
②Press a desired key. The pressed key is assigned to a new split point.
▼Split point (F#3)
②
Adjust the layer volume by pressing secondary volume up and down keys.
①Press and hold the SETUP button.
☞The light is on.
☞If you press both UP and DOWN keys at the same time, automatically return to the default secondary Volume (11).
The range of volume is 0 ~ 16.
☞Hold the key for continuous decrementing or incrementing.
☞Both split and layer volumes can be adjusted by using secondary volume keys.
SLP200H English Manual_내지.qxd 2013-12-10 오후 3:02 페이지 19
Other manuals for SLP-200H
1
Table of contents
Other Dynatone Musical Instrument manuals

Dynatone
Dynatone SLP-150 User manual

Dynatone
Dynatone SDP-500 User manual

Dynatone
Dynatone SLP-200H User manual

Dynatone
Dynatone SDP-600 User manual

Dynatone
Dynatone SGP-500 User manual

Dynatone
Dynatone DPR-3500 User manual

Dynatone
Dynatone UPRIGHT PIANO DPR2200 User manual

Dynatone
Dynatone SLP-360 User manual

Dynatone
Dynatone SLP-250H User manual

Dynatone
Dynatone DPR-1650 User manual