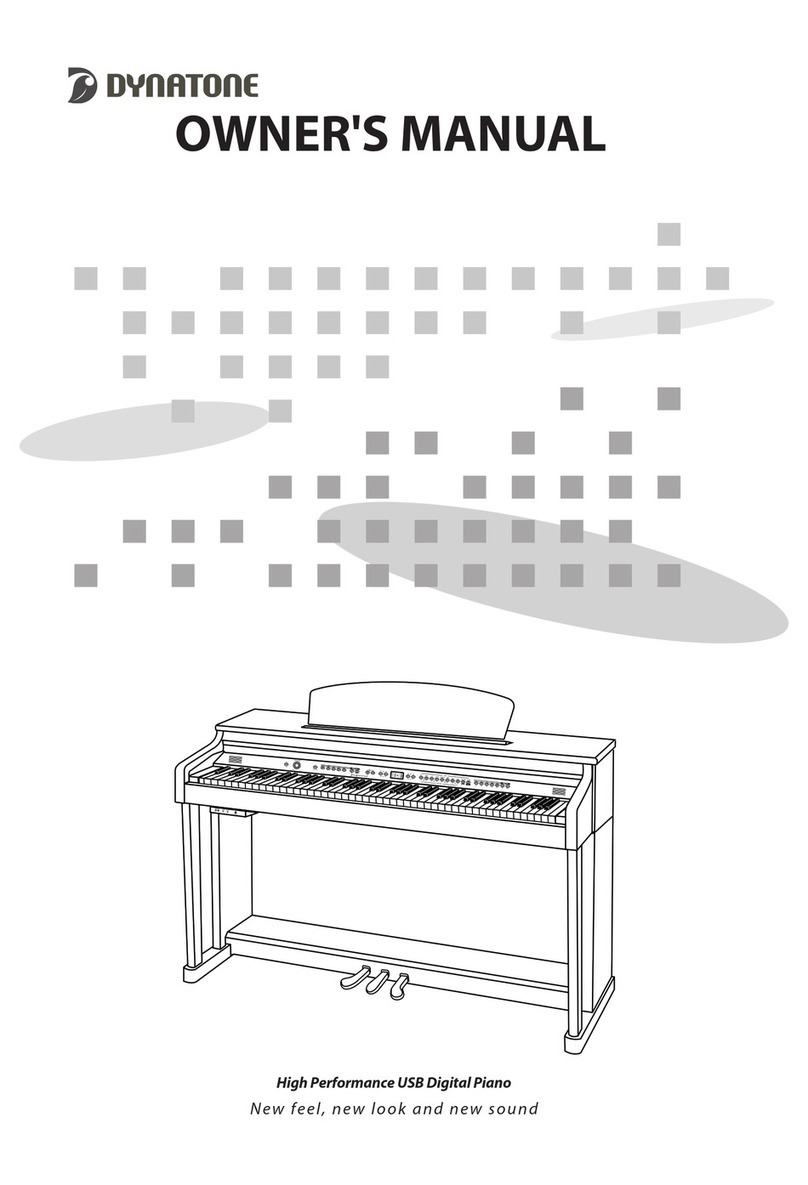
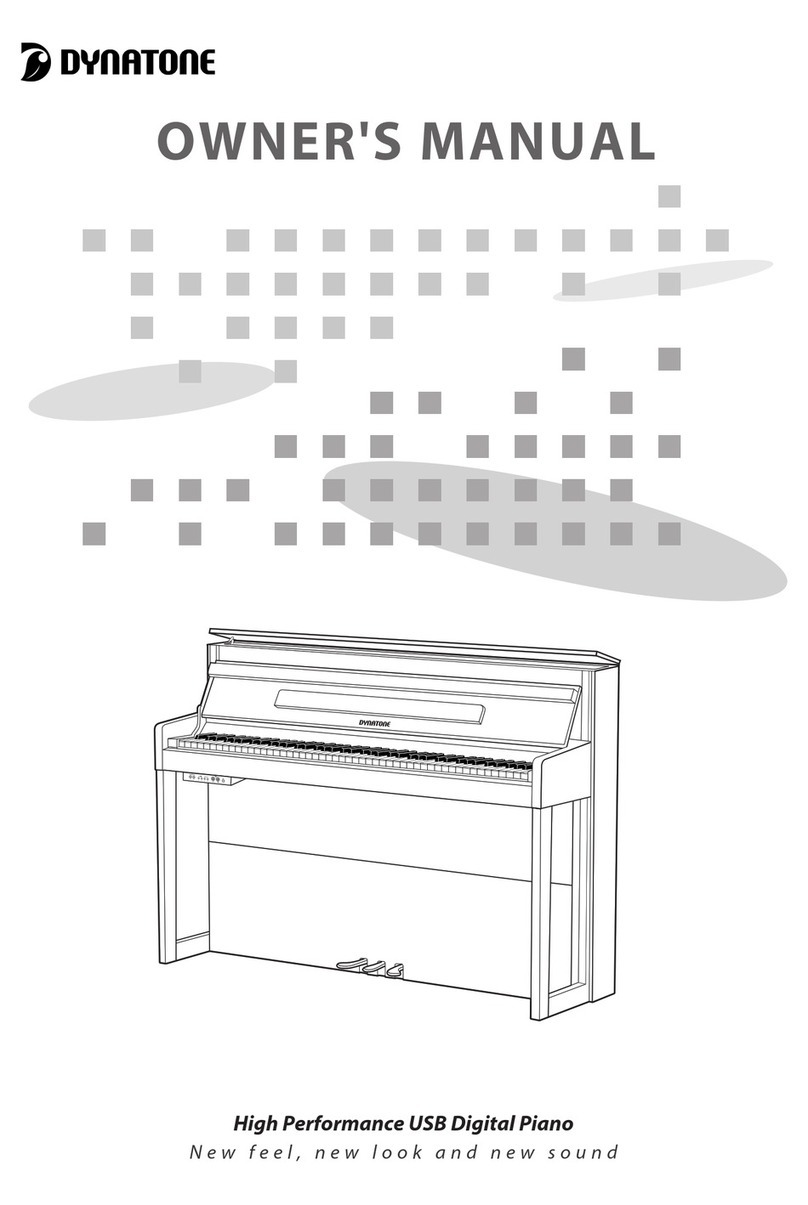
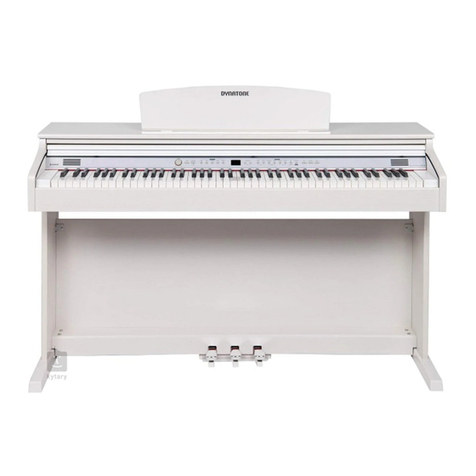
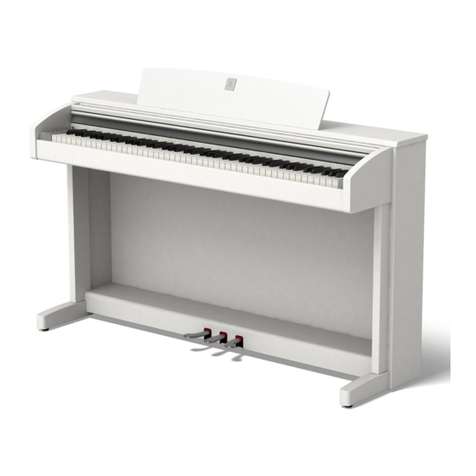
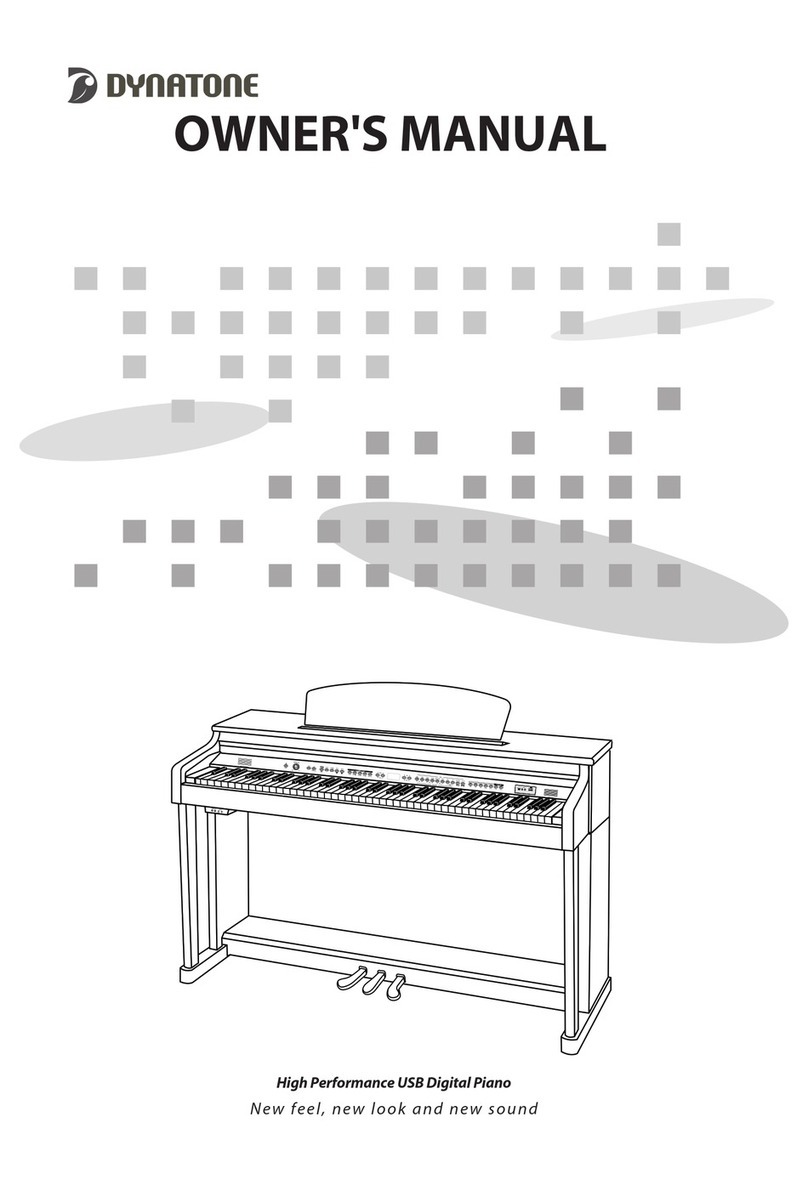
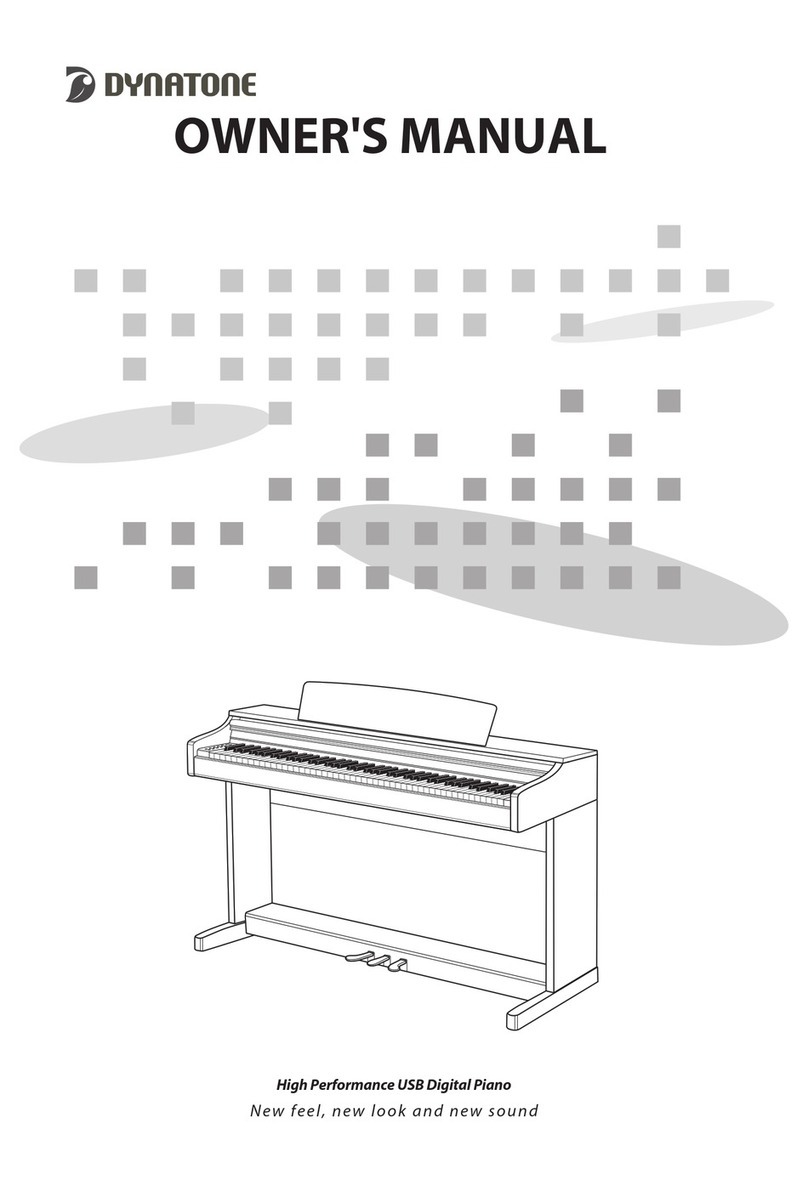
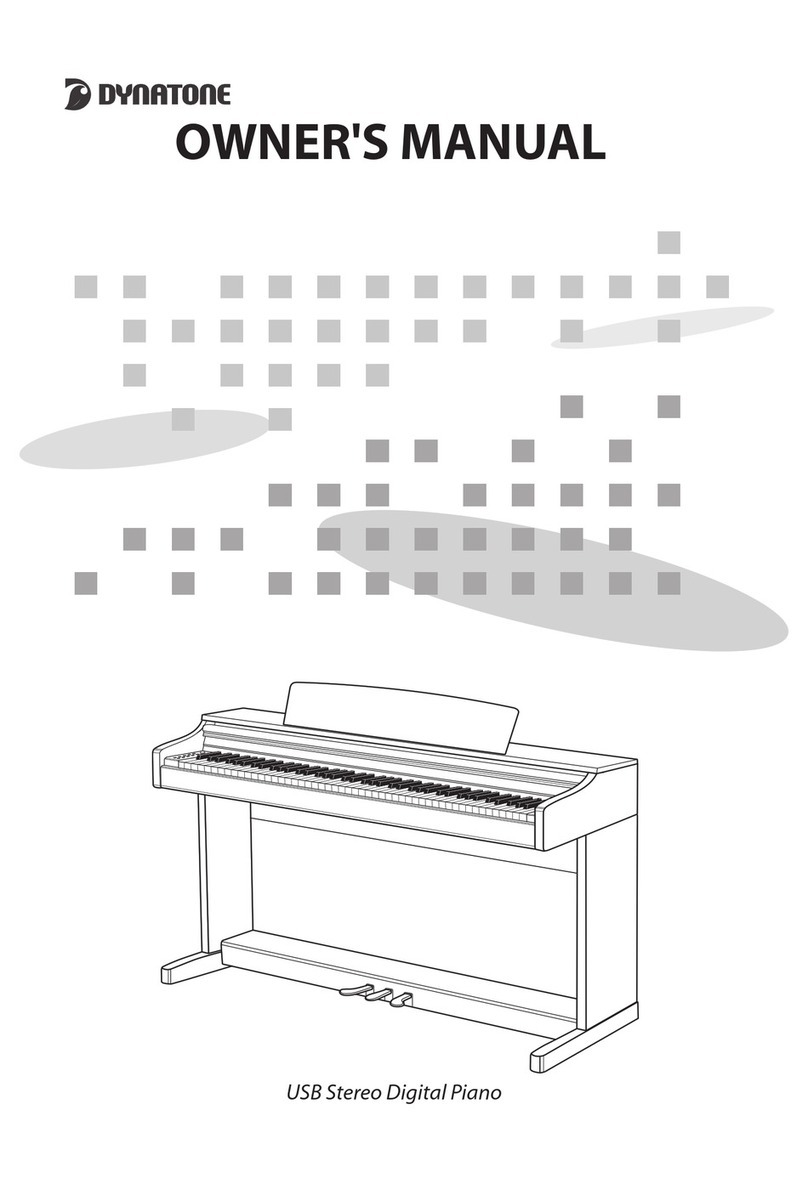
Dynatone SLP-360 User manual

OWNER'S ANUAL
High Performance USB Digital Piano
New feel, new look and new sound

Before Reading Safety Instructions
1
To avoid the risk of death or physical injury due to electric shock, short circuit, damage or fire,
please follow the fundamental safety instructions listed below:
ㆍNever open up this product or attempt to break
down or modify its inner parts. This product
contains no user-serviceable components. If it
seems to be malfunctioning, please immediately
cease use of the product and contact customer
service for repair.
ㆍDo not expose the product to rain. Do not use this
product under watery or wet environment, and do
not leave any liquid container on its top as it may
spill into the product. If any liquid is spilled into the
product, immediately turn off the product, take the
plug off the AC outlet and contact a designated
service center for inspection.
ㆍIf the power cable or plug is either worn off or
damaged, or the product suddenly stops sounding,
or any unknown smell or smoke seem to emerge
from the product, immediately turn off the product,
take the adapter plug off the AC outlet and contact
a designated service center for inspection.
ㆍAlways use the correct voltage for this product. The
voltage specification can be found on the name
label located behind this product.
ㆍAlways take the plug off the outlet prior to cleaning
the product. Never insert or take off the plug with
wet hands.
ㆍRegularly check the condition of the power plug,
and remove any substances or dusts that may have
accumulated on it. Make sure to properly plug the
power cord into the right outlet.
ㆍIn case of the gas leak, do not touch neither electric
outlet nor power switch and open the window to
ventilate the inside air.
WARNING:
Safety Instructions
Before Reading: This section is intended to ensure the user's safety and
prevent financial damage.
Please read this section carefully and use the product
properly according to it.
Not following this caution may result in injury and/or financial loss!
Not following this warning may result in serious physical injury!
WARNING:
CAUTION:

Before Reading Safety Instructions
2
To avoid the risk of physical injury, damage of this product or other financial loss, please follow
the fundamental safety instructions listed below. This caution includes the following:
CAUTION
ㆍDo not place the power cable nearby heat
generators like heaters or radiators. Bending the
cable too much could damage the cable. Do not put
heavy objects on the cable, or leave the cable on a
location where others may step on or trip over it.
When plugging the power cord, the cable should be
naturally downward.
ㆍWhen removing the plug from either the product or
the outlet, always seize the neck of the plug. Seizing
and pulling from the cable could damage it.
ㆍWhen using the multi-outlets, do not plug other
devices or appliances other than the piano onto.
Doing so may result in lowered sound quality
and/or overheat the outlet.
ㆍWhen not using the product for an extended period
of time, take the plug off the outlet.
ㆍWhen connecting this product to another electronic
product, turn off the powers of both products
before connecting. Set the volumes of all products
to minimum before turning on the products. After
making sure that all volumes are set to minimum,
begin using this product and gradually increase the
volume until the desired level is reached.
ㆍDo not expose this product to excessive dust,
vibration, or locations/sources of extreme heat
(under direct sunlight, nearby heaters, inside cars
during daytime), oil & water vapor (near kitchen or
humidifier), high-humidity (basement, warehouse)
or rapid changes in temperature (veranda).
xposure to such environments may result in
external and/or internal damage.
ㆍDo not use this product nearby devices like TVs,
radios, stereo sound devices, mobile phones or
other electronic devices. Doing so could result in
excessive noise from either this product or the
TV/radio.
ㆍDo not place the product on unstable locations
where it may fall off.
ㆍAlways remove all cables from the product before
moving it.
ㆍThis product is for indoor use.
ㆍBe sure to use the piano at the place where circuit
breaker is installed.
ㆍWhen cleaning the instrument, always use soft and
dry or lightly wet cloth. Do not use cloth imbued
with paint diluent, solvent, cleansing agent or
chemical substances. Do not place any objects
made of vinyl, plastic or rubber on the product.
Doing so may alter the color of the keys or the
panel.
ㆍDo not place your weight or heavy objects on the
product.
ㆍDo not use excessive force while manipulating the
buttons, switches or connectors.
ㆍBe careful not to leave fingers below the key cover
when closing it. Do not insert fingers below the key
cover or into any other gap between the parts of
this product.
ㆍDo not insert or drop objects like paper or metal
substances on the key cover, panel, or in the gap
between keys. When done so accidentally,
immediately turn off the power of the product, take
the plug off the outlet, and contact a designated
service center.
ㆍMaintain 3 inches of space between the piano and
the wall or other nearby objects. Insufficient space
may interfere with air circulation and result in
overheat.
ㆍCarefully read the guide on assembling procedure
and follow the instructions. Not doing so could
result in damage of the instrument and/or injury of
the user.
ㆍAvoid using the product on volume high enough to
be disturbing to ears for extended period of time, as
doing so could affect one's hearing permanently. If
you experience hearing difficulty, or excessive
ringing on the ears, contact a physician.
ㆍBefore thunderstorms, take the plug off the outlet.
ㆍIn case the piano is flooded, shut off the power and
then contact A/S center to check the condition.
Produc Fea ures
Before Reading Produc Fea ures
3
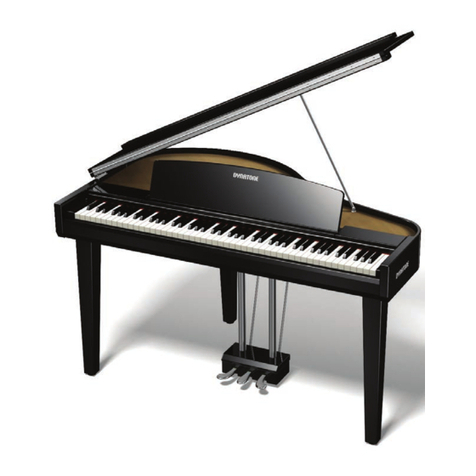
We thank you for purchasing our digital piano!
This product contains a maximum polyphony of 256 notes and a massive sound data collection as
much as 4G bit to offer its 5 distinguished concert grand piano sounds and other high quality voices.
Its HA-3W (Tri-sensor) Wooden keyboard, a vast improvement over its two-sensored predecessor,
and half-pedal feature that detects the precise movement of its keys add on its respectable quality.
There are the two-track recording system designed to aid the learning process, a USB terminal for
computer music and stereo audio terminals for audio devices like MP3 player.
It supports Bluetooth® wireless technology and can be used in connection with mobile devices or PCs.
Also, this piano has the pedagogical etude series of Classical Demo, Beyer, Czerny, Burgmüller and
selected sonatines by many composers for playing reference.
To take full advantage of the wide range of features and utilities offered on this instrument, please
read and examine this owner’s manual thoroughly.
Please keep this owner’s manual for future reference.
Thank you.
[FCC Rules]
No e: This equipment has been tested and found to comply
with the limits for a Class B digital device, pursuant to part
15 of the FCC ules. These limits are designed to provide
reasonable protection against harmful interference in a
residential installation. This equipment generates, uses and
can radiate radio frequency energy and, if not installed and
used in accordance with the instructions, may cause harmful
interference to radio communications. However, there is no
guarantee that interference will not occur in a particular
installation. If this equipment does cause harmful
interference to radio or television reception, which can be
determined by turning the equipment off and on, the user is
encouraged to try to correct the interference by one more of
the following measures:
- eorient or relocate the receiving antenna.
- Increase the separation between the equipment and
receiver.
- Connect the equipment into an outlet on a circuit different
from that to which the receiver is connected.
- Consult the dealer or an experienced radio/TV technician
for help.
WARNING
Any changes or modifications not expressly approved by
the manufacturer could void the user’s authority to operate
the equipment.
[CE Wireless equipmen use informa ion]
-Authorization for outdoor usage is limited to Channels 1~7
(2.400 ~ 2.454GHz).
-For outdoor usage a general authorization is required from
the national spectrum authorities.
-For outdoor usage an authorization is required from the
Electronic Communications Office.
-This equipment may be operated in all European Union
member countries and Turkey.
-Productor F specifications
1)Frequency mode(band): Bluetooth 5.0 dual-
mode(BD /ED /BLE) Class 2
2) F output power (EI P): Maximum power level is not
exceeding 5.47dBm
3) Frequency range(MHz): 2402MHz to 2480MHz
The Bluetooth® word mark and logos are
registered trademarks owned by Bluetooth SIG, Inc. and any
use of such marks by Microchip Technology is under license.
Other trademarks and trade names are those of their
respective owners.
[Owner’s Manual]
The specifications and appearance of this product may be
changed without prior notice for quality improvement.

Table of Contents
Table of Contents
4
BrainCare
BrainCare Mode
BrainCare Type
Start and Stop
BrainCare List
Volume Control
Timer Setting
Functions
Using S TUP
Master Tune
Key Transpose
Touch
Fixed Touch Velocity
Metronome Meter
Metronome Volume
Main Voice Volume
Layer Voice Volume
Split Voice Volume
Split Point
Reverb Type
Reverb Volume
ffect Type
ffect Volume
Stretch Tune
Hammer Sound Volume
String Resonance Volume
Damper Resonance Volume
Cabinet Resonance
Linear Damper
Piano Assist Mode
Multi-finger
Piano Assist Volume
Music Play Mode
Music Volume
Music Transpose
Bluetooth®
Bluetooth Volume
AUX in Volume
MIDI Local Control
Auto Power Off
Reset
emo
IDI Chart
G Voice & Percussion
GM Voice
Percussion
Trouble shooting
Product Specifications
1
1
3
4
5
6
8
8
8
9
10
11
12
12
12
12
13
13
13
14
14
15
16
16
16
16
17
17
17
18
18
19
20
20
21
21
21
22
22
23
24
25
26
26
26
26
27
27
27
28
28
29
29
29
29
29
30
30
30
30
30
30
31
31
31
31
31
31
32
32
32
32
32
32
33
33
33
33
34
34
34
34
34
35
36
37
37
38
41
42
Before Reading...
Safety Instructions
Product Features
Table of Contents
Product Components
Assembly
Parts
Power Switch
Headphone Jacks
Connections
Pedals
Control Panel
Basic Controls
Adjusting Volume
Choosing a Voice
PIANO button
Dual
Dual Mode
Layer
Split
Changing the Split Point
Twin Piano
Piano Assist
Metronome
Piano Assist Mode
Choosing a Rhythm
Rhythm List
Start and Stop
Adjusting Tempo
Using Piano Accompaniment
Chord Input Methods
Changing the Split Point
Record
Recording
Playing
rasing
Record Memory Bank
Demo/Edu
Listening to Music
Adjusting Tempo
Classical Demo List
Beyer / Czerny / Burgmüller tudes / Sonatines List

Product Components
5
Left/Right Legs(a, b) Pedal Plate(c) Backplate(d)
☞Keeping the original packing materials can be very useful in the event where you need to re-pack
the product in order to move it to a faraway location.
Product Components
After purchasing the product, carefully unpack
it and examine the existence and condition of
the items listed below. If an item is missing or
damaged, contact the place of purchase.
Pedal Plate Fixers
(e) (M6 ×25)mm, 4 A
Backplate Fixers
(f) (M3.5 ×25)mm, 4 A
(g) (M4×13)mm, 2 A
AC Adapter
Main Unit Fixers
(h) (M6 ×15)mm, 4 A
Main Unit Owner’s Manual

Assembly
6
Assembly
Assembling the backplate
2
1Assembling the legs and pedals
1 Place the pedal plate (c) between the legs
(a, b) like the picture below and use the pedal
plate fixers (e) to fix the pedal plate.
2 Manipulate the pedal plate knob (see picture)
so that it would be in firm contact with the floor
on which the piano is installed.
1 Place the backplate (d) between the leg
by inserting it from behind.
2 Use the backplate fixers (f), (g) to fix
the backplate.
3 Make sure that the plate is maintaining
the right angle.
(a)
(e)
(e)
(b)
(c)
(g)
(d)
(f)

Assembly
7
3Assembling the main unit
2 Raise the scoreboard on the top of the main unit and use the brackets on its back to keep it
standing. You can set the scoreboard to the desired angle.
1 Connect the pedal cable from the pedals to the pedal jack beneath the main unit. The pedal
cable is tied below the pedal box.
1 Carefully place the main unit onto the assembled lower unit according to the picture so that its
holes would match the brackets attached to the legs. Use the Main Unit Fixers (h, 4 A) to secure the
connection between the main and lower units.
Pedal & Power terminals
Connecting the pedal & power cables
4

Parts Power Switch / Headphone Jacks
8
Power Switch
Parts
Headphone Jacks
Two headphone jacks are located on the left beneath
the main unit.
☞When a headphone is connected to the piano, the speakers of
the piano are muted.
☞Two headphone jacks exist, allowing up to two people to listen
simultaneously.
☞The product has one stereo 6.35mm (1/4 inch) jack and one
stereo 3.5mm jack, so you can use both types of jacks.
☞Headphones are sold separately.
Insert the DC plug of the AC adapter into the
piano and AC plug into a household AC power
outlet, and press the POWER switch to turn on the
piano.
☞When the piano is first turned on, the initial default voice is
‘Grand Piano 1(G.P1)’
☞Use the ASTER VOLU E knob to adjust the volume.
To turn off the power, press and hold the power switch.
All parameters and settings except for the recording are
initialized whenever the piano is turned off and on again.
Auto Power Off(APO)
This product features an auto power management system which turns off the instrument
automatically when left unused for 30 minutes.
Refer to page34 to change the APO setting.
Headphone Jacks
Power Switch (on the right of the keyboards)

Parts Connections
9
Connections
q Connecting to a Computer(USB TO HOST)
The piano features a USB-to-host terminal to allow connecting directly to a computer.
By using this jack, the piano and computer may exchange MIDI data and audio data via USB.
1 Use a USB cable (sold separately) to connect the piano to the computer.
2 To use the piano as a MIDI device, run the MIDI software installed on the computer, and set the
input/output device of the software to the USB audio device.
3 To use the piano as an audio device, connect the piano to the computer via USB and set the
computer’s audio device to the piano.
☞If you use the piano as an audio device, the piano sound is able to be recorded on the computer.
☞The USB connector is USB 2.0 A-B type. It is recommended to use a cable that is 1.2m or less.
☞Usable on Windows XP or higher, and Mac OS X.
☞No extra driver is required since it utilizes the common Windows device driver.
☞Compatible with 4.0 or higher versions of iPhones and iPads.
☞Android compatibility may be limited depending on the specific manufacturer or version of the device.
☞If the device is not recognized, or the USB audio device is not seen on the list of the device setup menu, check the USB cable and
ensure proper connection.
☞When you connect the piano to a computer, please wait a few seconds. Using the piano at this time cause it to malfunction.
☞If connecting the instrument to a computer causes the computer to crash or stop functioning, do not reattempt the connection
(doing so may damage the computer or the piano) and immediately contact customer service.
w AUX OUT
This jack is used when the use of a more powerful external sound producer (amplifiers etc.) is desired
to reproduce the audio output of the piano.
Use an audio cable (sold separately) to connect the AUX OUT of the piano and the input jack of the
external device to hear the piano through the external device.
e AUX IN
By connecting external devices to this jack the piano may play via its internal speakers soundtracks
provided by external sources such as smart devices or MP3 audio devices.
Connect the output terminal of laptops, smart devices, MP3 players and the AUX IN of the piano using an
audio cable (sold separately) to reproduce the audio data of the devices through the piano's speaker
system.
☞When connecting to an external device using the AUX IN/OUT terminal, always turn on the external device first before
turning on the power of the piano. When quitting the use of the external device, reverse the order and turn the piano
off first before turning off the external device.
☞The audio connection jacks are stereo 3.5mm connectors.
External Connection Terminals(on the bottom of the piano)
q w e

Parts Pedals
10
Pedals
Pedal Functions
1 Sustain Pedal (Right Pedal)
This pedal performs the same function as the sustain pedal of an acoustic piano; playing notes while
keeping this pedal pressed will sustain the notes even if the keys have been released. It also provides
the Half Pedal feature, which detects and responds to the delicate control that pianists exercise on
acoustic pianos by pressing the pedal only halfway.
☞The duration of the sustained notes differs depending on the chosen voice.
☞The Half Pedal feature controls the sustain duration depending on how deep the pedal is pressed.
2 Sostenuto Pedal ( iddle Pedal)
This pedal performs the same function as the sostenuto pedal, which is the middle pedal of an
acoustic grand piano. It behaves similarly to the sustain pedal, but only the notes that are being
played at the moment the sostenuto pedal is pressed will be retained. Notes that are played after the
pedal was pressed will not be affected, even if the pedal is kept pressed.
3 Soft Pedal (Left Pedal)
This pedal performs the same function as the soft pedal of an acoustic piano. Pressing this pedal
causes the sound of the piano to be muffled a little bit and softens its character.
Rotary Effect Pedal (3Left Pedal & 2iddle Pedal)
When the effect option is set to Rotary(rot), the left (soft) and middle (sostenuto) pedals are
automatically set to the rotary effect control pedal. Rotary effects are the same sound effects as rotary
amplifiers in electronic organs. Pressing the left pedal advances the rotary effect at a high speed, and
releasing the pedal proceeds at a slower speed. Press the middle pedal to stop the rotary effect.
☞The rotary effect is only applied when playing the main voice.
Connecting the Pedal Cables
Retrieve the pedal cable tied below the pedal box, and connect it to the pedal input located below the main body.
The piano consists of three pedals that correspond to the three pedals of an acoustic piano.
1 Sustain Pedal
2 Sostenuto Pedal
3 Soft Pedal

Parts
11
Control Panel
Control Panel
ⓐ L D Screen
ⓑ DATA Down
ⓒ DATA Up
ⓓ PIANO
ⓔ DUAL
ⓕ R C/D MO
ⓖ ▶/■/ NT R
ⓗ TRACK1/L
ⓘ TRACK2/R
ⓙ S TUP
ⓚ PIANO ASSIST
ⓕ
Page 12
Page 13
Page 20, 22
Page 20, 22
Page 20, 23
Page 20, 23
Page 28
Page 16, 17, 23
ⓗ
ⓖ
ⓓ ⓔ
ⓑ
ⓐ
ⓒ
ⓘ
ⓚⓙ
CONNECTIONS
qP DAL
wUSB
eAUX IN/OUT
POWER
rDC IN
tPower Switch
Page 7,10
Page 9
Page 9
Page 7
Page 8
VOLU E CONTROL
yMAST R VOLUM
PEDALS
uSoft Pedal
iSostenuto Pedal
oSustain Pedal
Page 8,12
Page 10
Page 10
Page 10
q w e r ty
uio

Basic Controls Adjusting Volume / Choosing a Voice
/ PIANO Button
12
Choosing a Voice
This product is a high class digital piano which offers the refined deep sound of quality acoustic
grand pianos along with the sound of other diverse acoustic and electric musical instruments.
q Voice Types
The voices consist of 38 main voices, 1 percussion kit and 1 sound effect set.
The piano is capable of interpreting the MIDI standards, and once connected to a computer it is able
to exploit the full range of the 128 General MIDI voices.
List of Voices
w Selecting the voice
Press DATA buttons to select the desired voice.
☞When the piano is turned on, the initial default voice is ‘Grand Piano 1(G.P1)’.
☞The L D will display the choosen voice and change the voice with DATA buttons.
☞Hold down a DATA button to quickly run through the voices.
LED Voice LED Voice LED Voice LED Voice
G.P1
G.P2
G.P3
G.P4
G.P5
Ht.P
.P1
.P2
HSC
Vbr
Grand Piano1
Grand Piano2
Grand Piano3
Grand Piano4
Grand Piano5
Honky Tonk
lec. Piano1
lec. Piano2
Harpsichord
Vibraphone
P.Or
.O1
.O2
.O3
Acd
St1
St2
St3
P.St
Chr
Pipe Organ
lec. Organ1
lec. Organ2
lec. Organ3
Accordion
Symphony Strings
Synth Strings
Slow Strings
Pizzicato Strings
Choir Aahs
vcL
vln
HAP
Gt1
Gt2
A.bS
.bS
Sn.b
FLt
Obo
Vocal
Violin
Harp
Nylon Guitar
Drive Guitar
Acoustic Bass
lec Bass
Synth Bass
Flute
Oboe
CLA
br1
br2
S.br
A.SP
t.SP
Sn1
Sn2
dru
S. F
Clarinet
Brass Section1
Brass Section2
Synth Brass
Alto Saxophone
Tenor Saxophone
Synth1(Square)
Synth2(Sawtooth)
Drum
Sound ffect
☞ Refer to page 38 for a detailed list of Sound ffect.
☞ When you select an .O1–3, the effect is automatically set to Rotary, allowing you to operate the rotary pedal. (Refer to page 10)
Adjusting Volume
Basic Controls
Use the ASTER VOLU E to adjust the overall volume of the piano.
☞This also affects the volume of headphones.
PIANO button
When the PIANO button is pressed, the ‘Grand Piano1(G.P1)’ is selected as
the main voice. Use to instantly change the main voice to ‘Grand Piano1’.
☞ When the PIANO button is pressed, it turns on.
☞ In dual mode pressing the PIANO button turns off dual mode. (Refer to page 13)
☞ It doesn’t work in the recording mode. (Refer to page 20)

Dual Dual ode / Layer
13
Layer
Layer allows the player to sound two voices simultaneously when playing a key.
Dual ode
Choose the desired mode with pressing the DUAL button repeatedly. ach time pressing the DUAL
button, the mode changes.
q Choose the desired main voice first.
Refer to page 12 for voice selection.
w Press DUAL button.
When DUAL button is pressed, the layer mode is selected with displaying ‘LAr’.
After displaying ‘LAr’, the layer voice is displayed on the screen.
e Choose the desired layer voice.
Press DATA buttons to choose the layer voice. (Refer to page12)
Layer(LAr) →Split(SPL) →Twin Piano(tn) →Quit
☞When the dual mode is turned off, the L D display returns to previous screen.
Layer Split Twin Piano
Layer
☞ When changing the voice during dual mode, the secondary voice changes.
☞ You can adjust the balance between the two voices by adjusting the volume of the main and layer voices.
(Refer to page 30)
r Press DUAL button 3 times to turn off the layer.
Layer(LAr) →Split(SPL) →Twin Piano(tn) →Quit
St2 Synth Strings
The Dual Mode consists of Layer, Split and Twin Piano.
Dual

Dual Split / Changing the Split Point
14
Split
Split divides the piano keyboard into two sections, and allows the player to assign different voices to
each of the sections. For example, by using Split the melody part on the right could be played in
piano voice while the accompaniment on the left sounding in acoustic bass voice.
q Choose the desired main voice first.
The main voice will be assigned to the right part. Refer to page 12 for voice selection.
w Press DUAL button repeatedly.
Not in the dual mode, pressing the DUALbutton once will set the piano as Layer mode(‘LAr’) and pressing the DUAL
button once more will set it as Split mode(SPL). Afterdisplaying ‘SPL’, the split voice is displayed on the screen.
e Choose the desired split voice.
Press DATA buttons to choose the split voice. (Refer to page12)
Split A.bS Acoustic Bass
☞ When changing the voice during dual mode, the secondary voice changes.
☞ You can adjust the balance between the two voices by adjusting the volume of the main and layer voices.
(Refer to page 30)
r Press DUAL button twice to turn off the split.
Layer(LAr) →Split(SPL) →Twin Piano(tn) →Quit
Changing the Split Point
Split Point refers to the point where the keyboard is divided.
While holding DUAL button, press the key that you wish to set as the split point. The L D displays the
octave and the pitch name of the selected key. (e.g. Gb3, A4)
☞The default split point is G♭3 (third G♭from the left, ‘Gb3’ in the screen)
▼Split Point (Default G♭3)

Dual Twin Piano
15
Twin Piano
Twin Piano divides the piano keyboard into two equal smaller ("twin") keyboards with nearly identical
registers. This allows two people to play the piano simultaneously on the same range without running
into each other.
q Select a voice.
Refer to page 12 for voice selection.
w Press DUAL repeatedly.
Not in the dual mode, pressing DUAL button once will set the piano as Layer mode(‘LAr’) and pressing DUAL
button twice more will set it as Twin Piano mode(tn).
After displaying ‘tn’, the twin(main) voice is displayed on the screen. The keyboard will be divided into two parts
with nearly identical registers, with ♭4 as the point of division.
e Press DUAL button once again to quit using Twin Piano.
Layer(LAr) →Split(SPL) →Twin Piano(tn) →Quit
☞ The sustain pedal function can be applied separately in two parts.
☞ Part1: Soft pedal(Left pedal) / Part2: Sustain pedal(Right pedal)
▼E♭4

Piano Assist etronome / Piano Assist ode
/ Choosing a Rhythm
16
This product has a metronome that is essential for the
rhythm and piano education, and can be used to raise
the sense of the beat. There is also a piano assist
function that allows you to easily play various genres of
music.
Piano Assist
etronome
Metronome provides clicks over a steady beat to help the player keep in time while playing.
Turning etronome On/Off
☞Keep a DATA button pressed to quickly run through the values.
☞Pressing both DATA buttons simultaneously will restore the default tempo (120).
☞Refer to page 29~30 for adjusting the metronome meter and volume.
Press PIANO ASSIST to begin hearing metronome beats and press it again to turn off the metronome.
Default Tempo
Adjusting Tempo
The range of metronome tempo is from 40 to 250 bpm (beats per minute). It may be adjusted by
using DATA buttons.
Choosing a Rhythm
This product contains 60 exciting rhythms of various genres. (Refer to the next page for rhythm list)
The drum accompaniment is indicated by r01 to r40, and the piano accompaniment by p01 to p20.
q Press and hold down PIANO ASSIST button for 2~3 seconds.
Then, 'r01' is displayed on the screen and it is set to rhythm selection mode.
Rhythm Type
Piano Assist ode
The Piano Assist function consists of two modes: drum accompaniment and piano accompaniment
When piano accompaniment is selected, the accompaniment pattern consisting of only the piano will
be played.

Piano Assist Rhythm List / Start and Stop
/ Adjusting Tempo
17
☞ Pressing both DATA buttons simultaneously will restore the default value. (r01 or P01)
☞ Keep a DATA button pressed to quickly run through the values.
☞ Piano assist is not available for recording.
Rhythm List
LED Rhythm LED Rhythm LED Rhythm LED Rhythm LED Rhythm
r01
r02
r03
r04
r05
r06
r07
r08
r09
r10
r11
r12
Pop 1
Pop 2
Pop 3
Pop 4
Ballad 1
Ballad 2
Rock 1
Rock 2
Shuffle1
Shuffle2
Motown
Slow Rock
r13
r14
r15
r16
r17
r18
r19
r20
r21
r22
r23
r24
Funk
Latin 1
Latin 2
Latin 3
Rhumba
Salsa
Tango 1
Tango 2
Swing 1
Swing 2
Jazz 1
Jazz 2
r25
r26
r27
r28
r29
r30
r31
r32
r33
r34
r35
r36
Bossanova1
Bossanova2
Bossanova3
Waltz 1
Waltz 2
Waltz 3
Waltz 4
March 1
March 2
Polka
Bluegrass
Country 1
r37
r38
r39
r40
Country 2
Reggae
Chacha
Makarena
P09
P10
P11
P12
P13
P14
P15
P16
P17
P18
P19
P20
RocknRoll
Swing
Boogie
Waltz
Skate Waltz
Jazz Waltz
Beguine
Twist
Jive
Obladi
Dixieland
Country
P01
P02
P03
P04
P05
P06
P07
P08
Arpeggio 4/4
Arpeggio 3/4
Ballad
Slow Rock
Polka
March
Blues1
Blues2
w Select the desired rhythm with DATA buttons.
Start and Stop
Default Tempo
qStart
Drum Acc.(rhy): Press ▶/■ button to start piano assist.
Piano Acc.(Pno): Play a chord on the left part of the keyboard.
☞ In the Function menu, F21 Piano Assist Mode should be set to ‘Pno’ to play piano Accompaniment. (Refer to page 18)
wStop
Press ▶/■ button to stop piano assist.
To quit the piano assist mode, press PIANO ASSIST button. The screen returns to the previous display.
To use the piano assist, press and hold the PIANO ASSIST button to set the piano assist mode.
There are 2 methods to start the piano assist.
☞ You can adjust the piano assist volume. (Refer to page 32)
Adjusting Tempo
You can adjust the rhythm tempo using the DATA buttons during rhythm playback.
☞ When you operate the DATA button in the rhythm selection step, the rhythm type changes.
☞ You can adjust the tempo only when the tempo is on the display.
☞ Keep a DATA button pressed to quickly run through the values.
☞ Pressing both DATA buttons simultaneously will restore the default tempo of each rhythm.
☞ r01 ~ r40: Drum Accompaniment, P01 ~ P20:Piano Accompaniment
☞ Refer to page 18 for using Piano Accompaniment.

Piano Assist Using Piano Accompaniment
/ Chord Input ethods
18
Piano accompaniment is played only when there is a chord input. There are 2 types of chord input
methods and it is automatically recognized according to the input.
☞To use ‘fingered mode’ only, change the option in F22 of the function menu. (Refer to page 32)
Single Finger
The chords may be indicated on the lower register, using 1~3 fingers following the rules below.
Chord Example
ajor
Play a note to generate a major triad with that note
as its bass.
C
inor
Play a note and its left side black key to generate a
minor triad with the first note as its bass.
Cm
Seventh
Play a note and its left side white key to generate a
dominant 7th chord with the first note as its bass.
C7
inor Seventh
Play a note and its left side white and black keys to
generate a minor 7th chord with the first note as its bass.
C m7
Chord Input ethods
Using Piano Accompaniment(Pno)
q Press SETUP button once.
When SETUP button is pressed, the L D will show ‘F01’.
w Select a function menu with DATA buttons.
Select the F21(Piano Assist Mode) menu with DATA buttons, and press ▶/■/ENTER button. Then the
L D displays ‘rhy’.
e Choose ‘Pno’ option with DATA buttons.
Press SETUP button to exit the setup mode.
r Refer to page 17 for 'Start and Stop’.
☞ Select ‘rhy’ to use Drum Accompaniment. (Refer to page 32)

Piano Assist Changing the Split Point
19
Fingered
The fingered mode detects a chord only when it is fully spelled within the lower register, which is
capable of generating more advanced chords and is the most commonly used method.
Changing the Split Point
Split Point also determines the area of keyboard that is used for indicating chords when using the
accompaniment in the Single Finger or Fingered mode. In these modes, chords should be indicated
using the keys on the left part, otherwise they would not be recognized. While holding DUAL, press
the key that you wish to set as the split point. A 'bell' sound will be heard, indicating that a new Split
Point has been set. (default: G♭3)
+
G♭3
inor Add 9th: Cmadd9 inor ajor 7th♭5: Cm 7-5
ajor: C inor: Cm Dominant 7: C7 inor 7th: Cm7
ajor 7th: C 7 Augmented: Caug Diminished: Cdim Suspended 4: Csus4
inor 7♭5: Cm7-5 Dominant Sus4: C7sus4 Dominant Diminished:C7dim Dominant Augmented:C7aug
inor ajor 7th: Cm 7 Dominant 7th♭5: C7-5 Suspended 2: Csus2 ajor 7th Augmented:C 7aug
♭5th: C♭5 6th: C6 inor 6th: Cm6 Add 9th : Cadd9
Table of contents
Other Dynatone Musical Instrument manuals

Dynatone
Dynatone SGP-500 User manual

Dynatone
Dynatone SLP-150 User manual

Dynatone
Dynatone SDP-500 User manual

Dynatone
Dynatone DPP610 User manual

Dynatone
Dynatone DPP610 User manual

Dynatone
Dynatone SLP-250H User manual

Dynatone
Dynatone SDP-600 User manual

Dynatone
Dynatone DPR-3500 User manual

Dynatone
Dynatone DPS-90H User manual

Dynatone
Dynatone DPP-510 User manual

Dynatone
Dynatone SLP-200H User manual

Dynatone
Dynatone SGP-500 User manual

Dynatone
Dynatone SLP-200H User manual

Dynatone
Dynatone UPRIGHT PIANO DPR2200 User manual

Dynatone
Dynatone SLP-210 User manual

Dynatone
Dynatone DPR-3100 User manual

Dynatone
Dynatone DPR-1650 User manual

Dynatone
Dynatone SLP-50 User manual