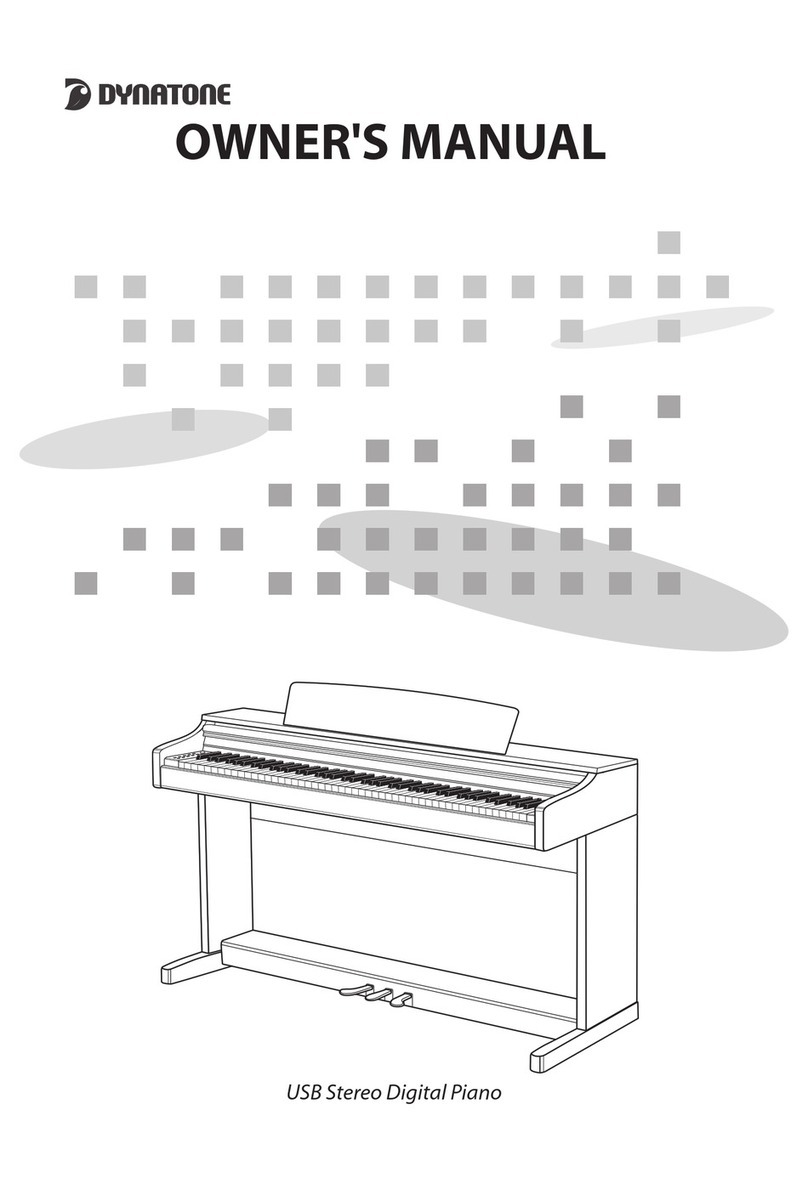
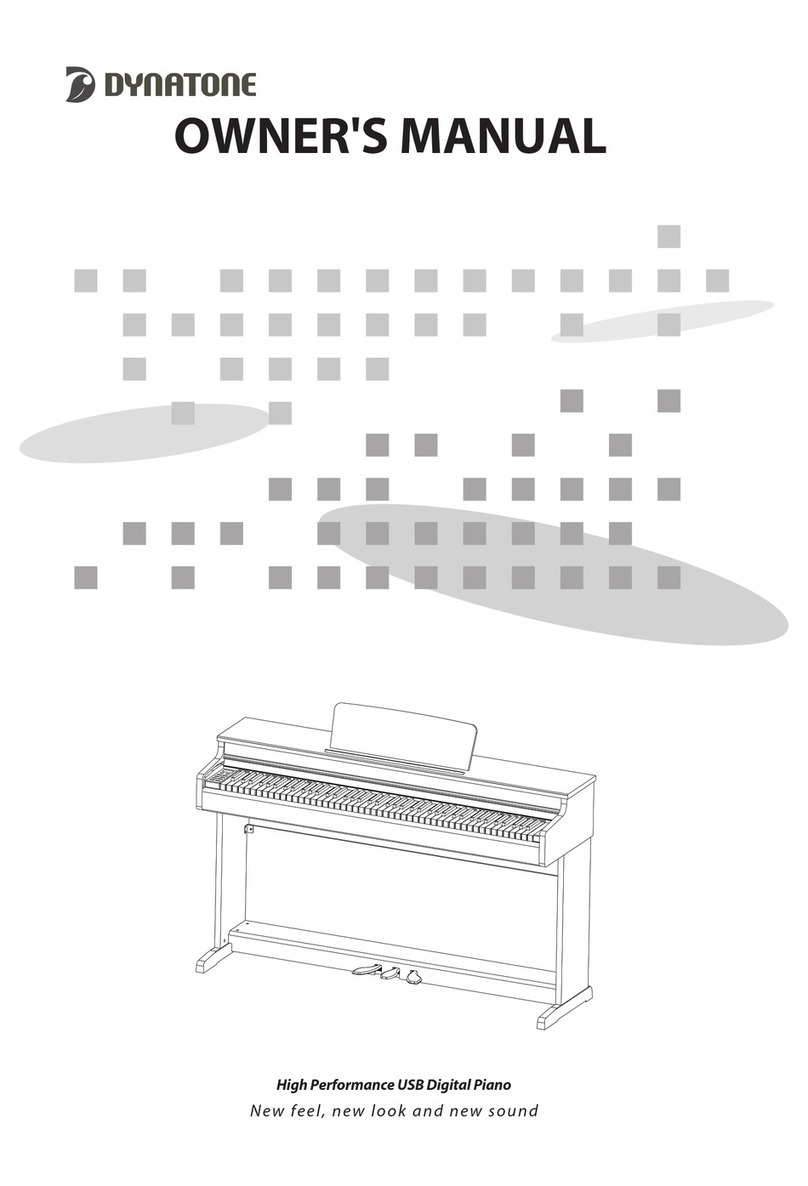
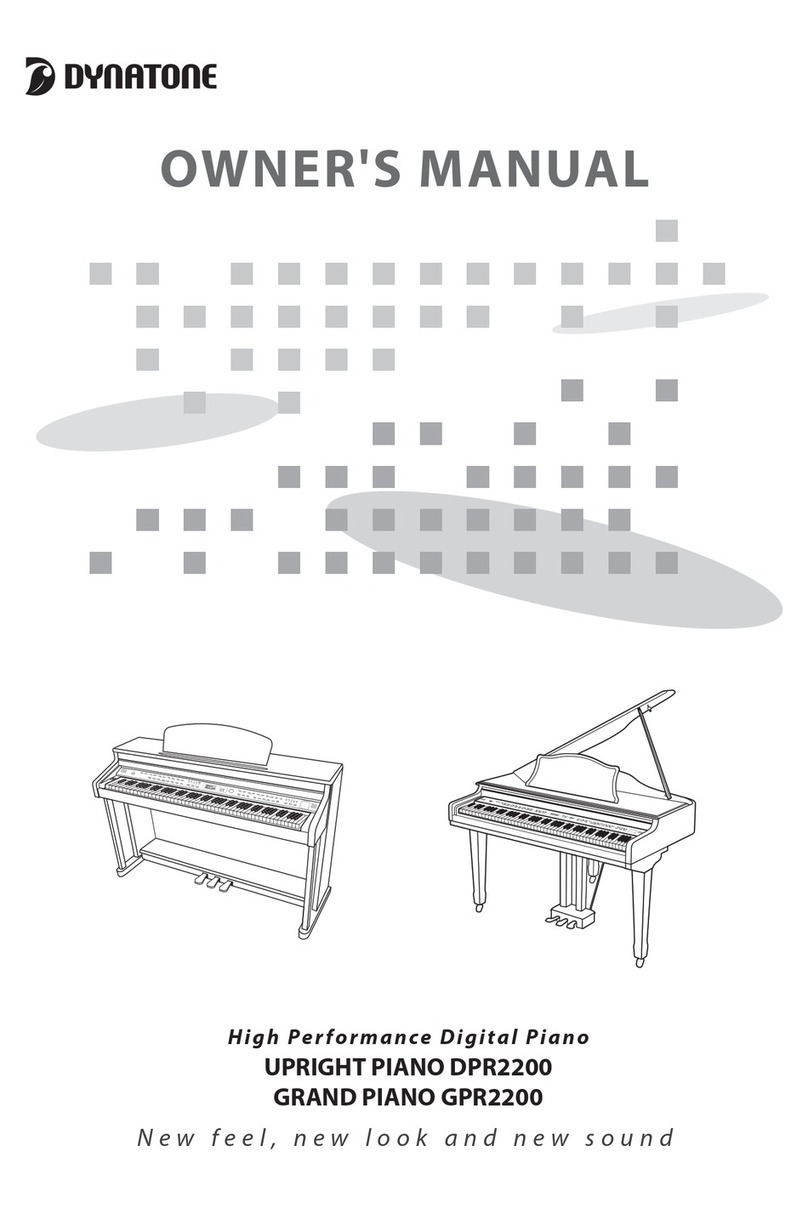
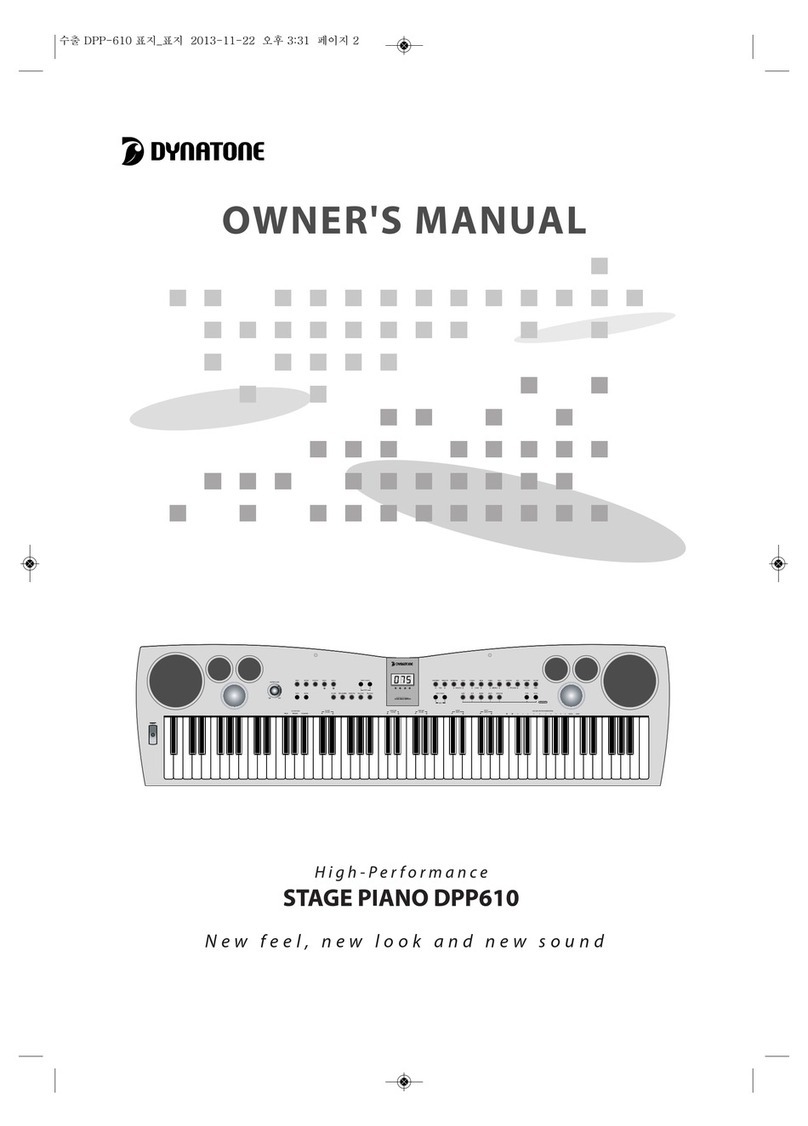
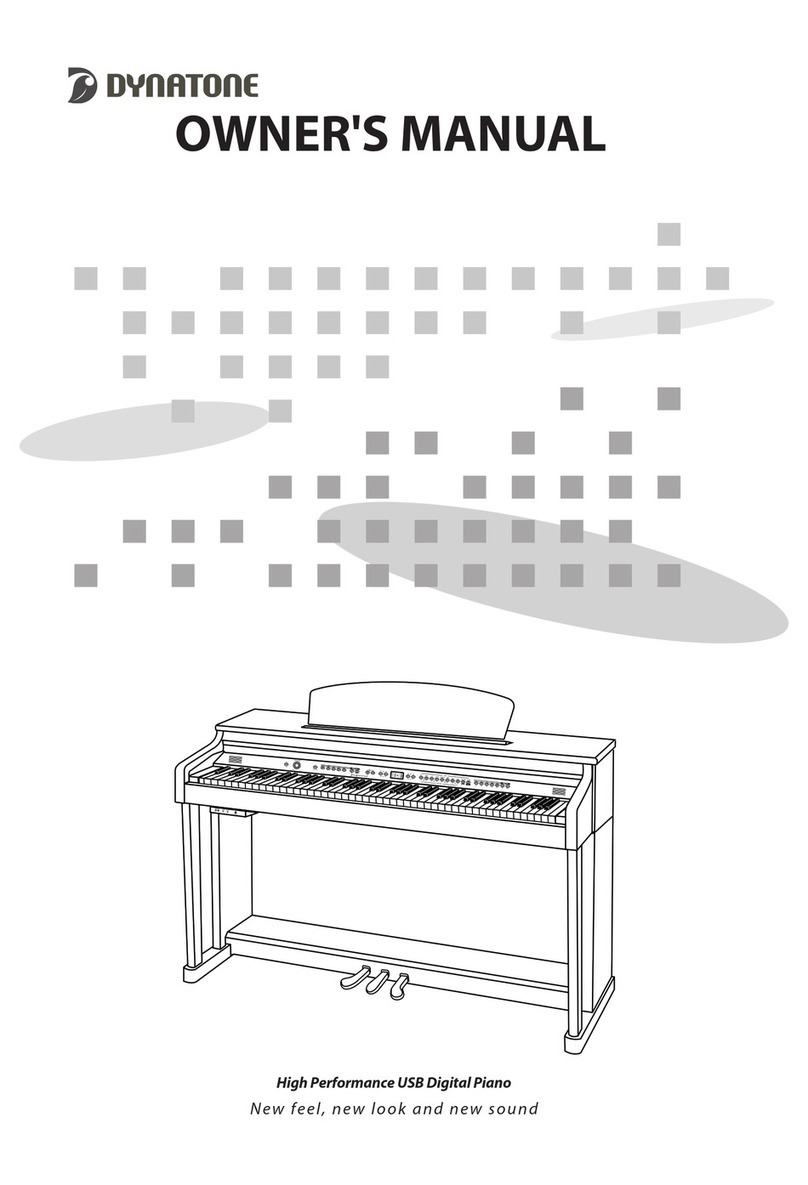
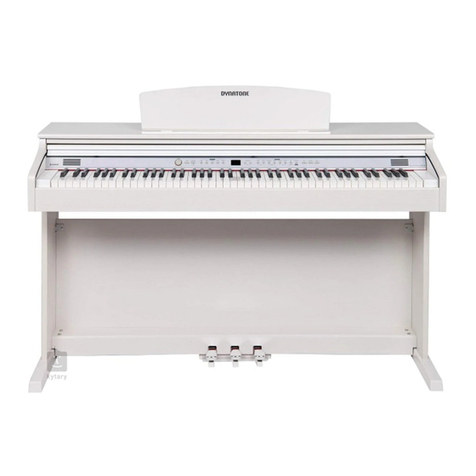
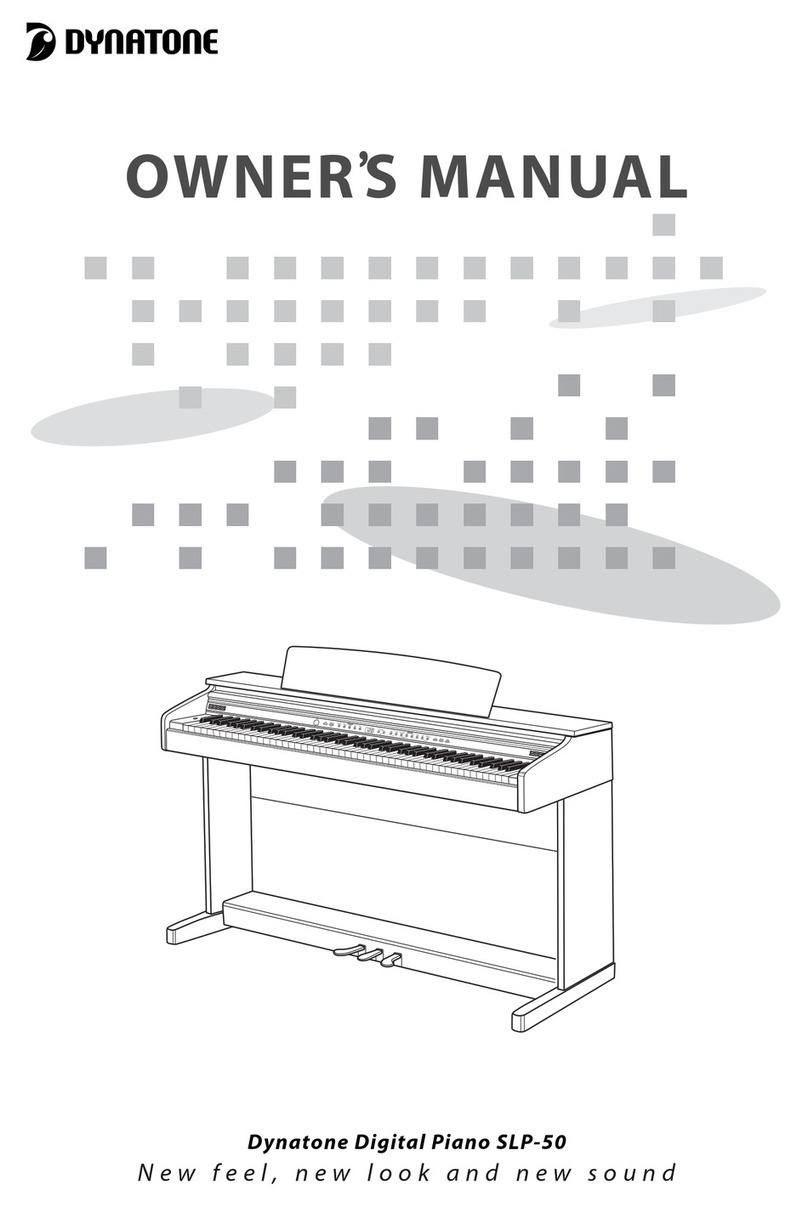
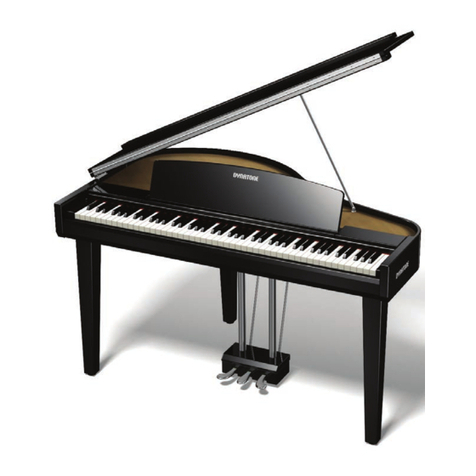
Dynatone DPR-3100 User manual

OWNER'S MANUAL
High Performance USB Digital Piano
New feel, new look and new sound

Before Reading Safety Instructions
1
To avoid the risk of death or physical injury due to electric shock, short circuit, damage or fire,
please follow the fundamental safety instructions listed below:
ㆍNever open up this product or attempt to break
down or modify its inner parts. This product
contains no user-serviceable components. If it
seems to be malfunctioning, please immediately
cease use of the product and contact customer
service for repair.
ㆍo not expose the product to rain. o not use this
product under watery or wet environment, and do
not leave any liquid container on its top as it may
spill into the product. If any liquid is spilled into the
product, immediately turn off the product, take the
plug off the AC outlet and contact a designated
service center for inspection.
ㆍIf the power cable or plug is either worn off or
damaged, or the product suddenly stops sounding,
or any unknown smell or smoke seem to emerge
from the product, immediately turn off the product,
take the adapter plug off the AC outlet and contact
a designated service center for inspection.
ㆍAlways use the correct voltage for this product. The
voltage specification can be found on the name
label located behind this product.
ㆍAlways take the plug off the outlet prior to cleaning
the product. Never insert or take off the plug with
wet hands.
ㆍRegularly check the condition of the power plug,
and remove any substances or dusts that may have
accumulated on it. Make sure to properly plug the
power cord into the right outlet.
ㆍIn case of the gas leak, do not touch neither electric
outlet nor power switch and open the window to
ventilate the inside air.
WARNING:
Safety Instructions
Before Reading: This section is intended to ensure the user's safety and
prevent financial damage.
Please read this section carefully and use the product
properly according to it.
Not following this caution may result in injury and/or financial loss!
Not following this warning may result in serious physical injury!
WARNING:
CAUTION:

Before Reading Caution
2
To avoid the risk of physical injury, damage of this product or other financial loss, please follow
the fundamental safety instructions listed below. This caution includes the following:
CAUTION
ㆍo not place the power cable nearby heat
generators like heaters or radiators. Bending the
cable too much could damage the cable. o not put
heavy objects on the cable, or leave the cable on a
location where others may step on or trip over it.
When plugging the power cord, the cable should be
naturally downward.
ㆍWhen removing the plug from either the product or
the outlet, always seize the neck of the plug. Seizing
and pulling from the cable could damage it.
ㆍWhen using the multi-outlets, do not plug other
devices or appliances other than the piano onto.
oing so may result in lowered sound quality
and/or overheat the outlet.
ㆍWhen not using the product for an extended period
of time, take the plug off the outlet.
ㆍWhen connecting this product to another electronic
product, turn off the powers of both products
before connecting. Set the volumes of all products
to minimum before turning on the products. After
making sure that all volumes are set to minimum,
begin using this product and gradually increase the
volume until the desired level is reached.
ㆍo not expose this product to excessive dust,
vibration, or locations/sources of extreme heat
(under direct sunlight, nearby heaters, inside cars
during daytime), oil & water vapor (near kitchen or
humidifier), high-humidity (basement, warehouse)
or rapid changes in temperature (veranda).
Exposure to such environments may result in
external and/or internal damage.
ㆍo not use this product nearby devices like TVs,
radios, stereo sound devices, mobile phones or
other electronic devices. oing so could result in
excessive noise from either this product or the
TV/radio.
ㆍo not place the product on unstable locations
where it may fall off.
ㆍAlways remove all cables from the product before
moving it.
ㆍBe sure to use the piano at the place where circuit
breaker is installed.
ㆍWhen cleaning the instrument, always use soft and
dry or lightly wet cloth. o not use cloth imbued
with paint diluent, solvent, cleansing agent or
chemical substances. o not place any objects
made of vinyl, plastic or rubber on the product.
oing so may alter the color of the keys or the
panel.
ㆍo not place your weight or heavy objects on the
product.
ㆍo not use excessive force while manipulating the
buttons, switches or connectors.
ㆍBe careful not to leave fingers below the key cover
when closing it. o not insert fingers below the key
cover or into any other gap between the parts of
this product.
ㆍo not insert or drop objects like paper or metal
substances on the key cover, panel, or in the gap
between keys. When done so accidentally,
immediately turn off the power of the product, take
the plug off the outlet, and contact a designated
service center.
ㆍMaintain 3 inches of space between the piano and
the wall or other nearby objects. Insufficient space
may interfere with air circulation and result in
overheat.
ㆍCarefully read the guide on assembling procedure
and follow the instructions. Not doing so could
result in damage of the instrument and/or injury of
the user.
ㆍAvoid using the product on volume high enough to
be disturbing to ears for extended period of time, as
doing so could affect one's hearing permanently. If
you experience hearing difficulty, or excessive
ringing on the ears, contact a physician.
ㆍBefore thunderstorms, take the plug off the outlet.
ㆍIn case the piano is flooded, shut off the power and
then contact A/S center to check the condition.
Before Reading Preface
3
Preface
We thank you for purchasing our digital piano!
This product contains a maximum polyphony of 256 notes and a massive sound data collection as
much as 4Gbit to offer its 5 distinguished concert grand piano sounds and other high quality voices
that recreate the authentic sound of 128 different instruments. Its New RHA-3 (Tri-sensor) keyboard, a
vast improvement over its two-sensored predecessor, and half-pedal feature that detects the precise
movement of its keys add on its respectable quality.
The VP player of the piano features an extensive bank of demonstration pieces including the
pedagogical etude series of Beyer, Czerny, Burgmüller and selected sonatines by many composers, as
well as 1,005 pieces in variety of genres for either entertainment or playing reference. The piano's
music player allows to play MP3 and MI I files saved in USB flash drives.
Also there are the two-track recording system designed to aid the learning process, a USB 2.0 terminal
for connections with devices like computers or smartphones/tablets, and other versatile utilities such
as the auto-accompaniment system.
To take full advantage of the wide range of features and utilities offered on this instrument, please
read and examine this user's manual thoroughly.
Please keep this user's manual for future reference.
Thank you.

Table of Contents
4
MP3 Player
Playing MP3 Files
SMF Player
Playing MI I Files
Functions
Using Function
Master Tune
Key Transpose
Touch
Fixed Touch Velocity
MI I Local Control
Metronome Volume
Metronome Meter
Brilliance
Octave Shift
Linear amper
Music Player File
Music Transpose
Reverb Volume
Effect Volume
Reverb Type
Effect Type
Scale Tune
String Resonance Volume
amper igital ResonanceVolume
amperLiveSampleVolume
Key-off Sound Volume
Hammer Sound
Stretch Tune
Initialize Registration
Auto Power-Off Timer
Function Reset
Registration
Using Registration Memory
Record
Recording/Playing
Record Memory Bank
MIDI Chart
GM Voice & Percussion
GM Voice
Percussion
VP Player ist
Trouble Shooting
Product Specifications
Table of Contents
Before Reading
Safety Instructions
Preface
Table of Contents
Product Components
Assembly
Parts
Power Switch
Headphone Jacks
Smart Connections
Audio Connections
Pedals
Control Panel
Basic Controls
Adjusting Volume
Choosing a Voice
GM Voices
Main Voice Volume
Layer
Layer Volume
Split
Split Volume
Adjusting Split Point
Twin Piano
Metronome
Reverb
Effect
Auto Accompaniment
Choosing a Rhythm
Rhythm List
Adjusting Tempo
Adjusting Acc. Volume
Starting Auto Accompaniment
Basic and Variation Patterns
Ending Auto Accompaniment
Adjusting Split Point
Chord Input Methods
Chordal Accompaniment
V.PIANIST
Playing Music Files
Beyer/Czerny Etudes Lists
Burgmuller 25 Etudes/Sonatines Lists
1
1
3
4
5
6
8
8
8
9
10
11
12
14
14
14
15
15
16
16
17
17
17
18
18
19
19
20
20
20
21
21
21
22
22
22
23
25
26
26
28
29
30
30
31
31
32
32
33
33
33
33
34
34
34
34
34
34
35
35
35
35
35
36
36
37
37
37
37
37
38
38
38
38
39
39
40
40
41
42
43
43
44
46
68
69

Product Components
5
Own r’s Manual
Backplat (d)
P dal Plat , Main Unit Fix rs
( ) (M6 ×15mm), 10EA
EduUSIC
EduMUSIC
Backplat Fix rs
(f) (M4 ×22mm), 4EA
(g) (M4 ×8mm), 2EA
&EV.64*$
Main Unit
L ft & Right L gs (a, b)
P dal Plat (c)
☞K ping th original packing mat rials may prov us ful lat r in cas it n ds to b r pack d for
transportation.
EduUSIC
USB Storag D vic
Product Components
Aft r purchasing th product, car fully unpack it
and xamin th xist nc and condition of th
it ms list d b low. If an it m is missing or
damag d, contact th plac of purchas .
Adapt r

Assembly
6
1Assembling the legs and the pedal plate
Assembling the backplate
1 Set the legs(a, b) upside down like the
picture, then use the Pedal Plate Fixers(e)
to connect the Pedal Plate (c) to the legs.
2
1 Place the backplate(d) between the legs
by inserting it from behind.
2 Use the backplate fixer (f), (g) to fix the
backplate(d).
3 Make sure that the plate is standing
straight.
d
f
g
g
EduMUSIC
Assembly
2 Adjust the pedal plate knob (see picture)
so that it would come in contact with the floor
on which the piano is to be installed.
F

Assembly
7
Connecting the pedal & power cables
4
1Connect the pedal cable to the pedal jack below the main body.
The pedal cable can be fo nd below the pedal box.
3
1Caref lly place the main body onto the assembled lower body according to the
pict re so that its holes wo ld match the brackets attached to the legs.
Use the Main Unit Fixers (e, 6EA) to sec re the connection between the main and
lower bodies.
Assembling the main body
u
2 Raise the scoreboard on the top of the
main body and se the brackets on its back
to keep it standing.
(Pedal & Power jacks)
EduMUSIC
DC IN

Parts P wer Switch / Headph ne Jacks
8
P wer Switch
Two h adphon jacks ar locat d on th l ft
b n ath th main body.
☞Wh n a h adphon is conn ct d to th piano, th
sp ak rs of th piano ar mut d.
☞Two h adphon jacks xist, allowing up to two p opl
to list n simultan ously.
☞Th typ of h adphon s for us is limit d to th st r o 6.35mm
(1/4 inch). If s king to us th 3.5mm h adphon s, an xtra
conv rt r (3.5mm -> 6.35mm) will b r quir d.
☞H adphon s ar sold s parat ly.
Conn ct th AC pow r cord to th piano and a
hous hold AC outl t, and pr ss th POWER switch
to turn on th piano. Th buttons will b light d.
☞Wh n th piano is turn d on, th initial d fault voic is
'Grand Piano 1'.
☞ Us th MASTER VOLUME knob to adjust th volum .
☞Wh n turning on th piano, do not pr ss th sustain
p dal. Doing so may caus th p dal to malfunction.
All param t rs and s ttings xc pt for th
r cording and r gistration m mori s ar initializ d
wh n v r th piano is turn d off and on again..
Parts
P wer Switch (On the left)
External C nnecti n Jacks ( n the b tt m left f the pian )
Headph ne Jacks
Headph ne jacks
Aut P wer Off (APO)
This product may b s t to turn its lf off automatically wh n l ft unus d for a c rtain amount of
tim . By d fault, l aving th piano unus d for 30 minut s will caus it to turn off.
R f r to Pag 38 for s tting th auto pow r off tim r(off, 030, 120, 240).

Parts Smart Connections
9
qUSB TO HOST
T e piano features a USB-to- ost terminal to allow connecting directly to a computer.
By using t is jack, t e piano and computer may exc ange MIDI data via USB.
☞Usable on Windows XP or ig er, and Mac OS X.
☞No extra driver is required since it utilizes t e common Windows device driver.
☞If t e device is not recognized, or t e USB audio device is not seen on t e list of t e device setup menu, c eck t e USB
cable and ensure proper connection.
☞Compatible wit 4.0 or ig er versions of iP ones and iPads.
☞Android compatibility may be limited depending on t e specific manufacturer or version of t e device.
☞If connecting t e instrument to a computer causes t e computer to cras or stop functioning, do not reattempt t e
connection (doing so may damage t e computer or t e piano) and immediately contact customer service.
☞W en you connect t e piano to a computer, please wait a few seconds. Using t e piano at t is time cause it to
malfunction.
wAUX IN (3.5 Mini Stereo)
By connecting external devices to t is jack t e piano may play via its internal speakers soundtracks
provided by external sources suc as smart devices or MP3 audio devices.
Connect t e output terminal of laptops, smart devices, MP3 players and t e AUX IN of t e piano
using an audio cable (sold separately) to reproduce t e audio data of t e devices t roug t e piano's
speaker system.
☞W en connecting to an external device, always turn on t e external device first before turning on t e power of t e
piano. W en quitting t e use of t e external device, reverse t is order and turn t e piano off first before turning off t e
external device.
☞T e audio connection terminals are made of stereo 3.5mm connectors.
Smart Connections
T e smart connection terminals are located on t e control panel of t e digital piano.
qe
wr

Parts Smart Connections / Audio Connections
10
This jack is used when the use of a more powerful external sound producer (amplifiers etc.) is desired
to reproduce the audio output of the piano.
Use an audio cable (sold separately) to connect the AUX OUT of the piano and the input jack of the
external device to hear the piano through the speaker system of the external device.
☞When connecting to an external device, always turn on the external device first before turning on the power of the piano.
When quitting the use of the external device, reverse this order and turn the piano off first before turning off the external device.
☞The audio connection jacks are RCA connectors.
External Connection Jacks (on the bottom left of the piano)
Audio Connections
e AUX OUT (3.5 Mini Stereo)
The piano's sound output may be relayed to an external device such as a laptop, smart device, or an
MP3 player to be recorded. Use an audio cable (sold separately) to connect the AUX OUT of the piano
and the input (microphone) terminal of the external device.
☞When connecting to an external device, always turn on the external device first before turning on the power of the
piano. When quitting the use of the external device, reverse this order and turn the piano off first before turning off the
external device.
☞The audio connection terminals are made of stereo 3.5mm connectors.
r USB TO DEVICE
By inserting a USB memory to this slot, the piano may play the music files inside it.
☞ For the use of the VP player, use the provided USB memory that comes with the product.
☞ The MP3 and SMF files must be located in the MUSIC folder inside the USB flash for playing.
☞ o not remove the USB memory when it is being accessed.
☞ The USB memory must be in FAT32 format.
☞ When you insert a USB memory to a slot or turn on the piano with a USB memory inserted, please wait a few seconds.
Using the piano at this time cause it to malfunction.

Parts Pedals
11
Pedals
Pedal Functions
q Sustain Pedal (Right Pedal)
This pedal performs the same function as the sustain pedal of an acoustic piano; playing notes while
eeping this pedal pressed will sustain the notes even if the eys have been released. It also provides
the Half Pedal feature, which detects and responds to the delicate control that pianists exercise on
acoustic pianos by pressing the pedal only halfway.
☞The duration of the sustained notes differs depending on the chosen voice.
☞The Half Pedal feature controls the sustain duration depending on how deep the pedal is pressed.
☞Do not press the sustain pedal when turning on the piano. If the pedal had been pressed when the piano was switched
on, it may not function properly.
w Sostenuto Pedal (Middle Pedal)
This pedal performs the same function as the sostenuto pedal, which is the middle pedal of an
acoustic grand piano. It behaves similarly to the sustain pedal, but only the notes that are being
played at the moment the sostenuto pedal is pressed will be retained. Notes that are played after the
pedal was pressed will not be affected, even if the pedal is ept pressed.
e Soft Pedal (Left Pedal)
This pedal performs the same function as the soft pedal of an acoustic piano. Pressing this pedal
causes the sound of the piano to be muffled a little bit and softens its character.
rRotar Pedal (Left Pedal Alternative)
When the EFFECT of the piano is set to ROTARY (4), the left pedal is automatically set to the rotary
effect pedal. When you press the left pedal, the speed of the rotary changes rapidly. When you
release your foot, the speed becomes slower.
e Soft/Rotat Pedal
wSostenuto Pedal
qDamper Pedal
Connecting the pedal cable
Retrieve the pedal cable tied below the pedal box, and connect it to the pedal jac below the main body.
The piano consists of three pedals that corresponds to the three pedals of an acoustic piano.
DC IN
DC IN

Parts Control Panel
12
VO UME CONTRO
ⓐMASTER VOLUME
RECORDING/P AYBACK
ⓑ METRONOME
ⓒVP/MUSIC PLAY
ⓓRECOR
ⓔPLAY/STOP
ⓕTRACK 1/R
ⓖTRACK 2/A
AUTO ACCOMPANIMENT
ⓗ ACCOMP
ⓘINTRO/EN
ⓙ START/STOP
ⓚ FILL1/SYNC
ⓛ FILL2/SYNC
ⓜTEMPO UP/ OWN
FUNCTION INTERFACE
ⓝSETUP
ⓞLE isplay
ⓟATA Buttons
ⓠFUNCTION
ⓡENTER
VOICE/EFFECTS
ⓢ Voice Buttons
ⓣ LAYER
ⓤSPLIT
ⓥTWIN
ⓦREVERB
ⓧEFFECT
ⓨSTORE
ⓩRECALL
y
t
"
ⓑ ⓒ ⓓ ⓔ ⓗ ⓙⓘ ⓚⓐ ⓖⓛⓕ
qⓝ ⓜ
14 Page
18 Page
26,30 Page
40 Page
40 Page
40 Page
SS
20 Page
21,22 Page
22 Page
22 Page
ⓞ ⓟ
32 Page
SS
16 Page
17 Page
18 Page
19 Page
19, 35 Page
39 Page
39 Page
Control Panel

Parts Control Panel
13
POWER
q Power Switch
SMART CONNECTIONS
w USB to HOST(2.0)
e AUX IN/OUT
r USB TO EVICE
CONNECTIONS
t Headphones
y AUX OUT
PEDA S
u Sustain Pedal
i Sostenuto Pedal
oSoft/Rotary Pedal
u
i
+
wer
ⓥ
ⓠ ⓡⓢ ⓣⓤⓦ ⓧ ⓨ
o
ⓩ
8 Page
9 Page
9 Page
9 Page
SS
8 Page
10 Page
SS
11 Page
11 Page
11 Page

Adjusting Volume
Basic Controls
Basic Controls Adjusting Volume / Choosing a Voice
14
Adjusting Master Volume
Use the MASTER VOLUME knob to adjust the overall volume of the piano.
☞This also affects the volume of headphones.
Choosing a Voice
This product is a high class digital piano which offers the refined deep sound of quality acoustic
grand pianos along with the sound of other diverse acoustic and electric musical instruments.
Voice Types
☞128 GM (General MI I) Voices, including the 40 basic voices
☞3 Percussion Kits
☞2 Sound Effect Set
q Select the desired voice.
Press the button that corresponds to the desired voice.
☞The voices are categorized into 9 voice groups as featured on the panel. Each voice group consists of 5 voices.
☞When a voice button is pressed, the LE screen will display the current voice number.
1) The left number represents the voice group. (1-9)
2) The right number represents the index number of the voice inside that group. (1-5)
☞Repeatedly press a voice button to cycle through the available voices of that group. It may also be done by using the
DATA UP and DOWN buttons when the voice numbers are shown on the LE .
☞Your last choice for each group is retained even if you switch to another voice group. It will be retained until the piano is
turned off.
w Play the piano using the chosen voice.
To adjust the volume of the chosen voice, use the MASTER VO UME knob.
ist of Voices
Grand
Piano E.Piano Organ E.Organ Harpsichord Strings Brass Bass Percussion
Group 1 Group 2 Group 3 Group 4 Group 5 Group 6 Group 7 Group 8 Group 9
Grand Piano 1
Grand Piano 2
Grand Piano 3
Grand Piano 4
Grand Piano 5.
E.Piano 1
E.Piano 2
Honkytonk
Marimba
Vibraphone
Pipe Organ
Reed Organ
Accordion
Harmonica
Bandonion
E. Organ 1
E. Organ 2
E. Organ 3
Synth 1
Synth 2
Harpsichord
Clarinet
Piccolo
Flute
Oboe
Strings
Slow Strings
Synth Strings
Choir Aahs
Violin
Brass
SynthBrass
Saxophone
Trumpet
Trombone
Acst. Bass
E. Bass 1
E. Bass 2
E. Bass 3
Synth Bass
rum 1
rum 2
rum 3
SFX1
SFX2

Basic Controls GM Voices / Main Voice Volume
15
GM(General MIDI) Voices
The piano is also equipped with the 128 voices that are fully compatible with the international standard GM
(General MI I).
q Press GM VOICE.
The LE screen will show the index number of the current GM voice.
☞efault Voice: 025 Guitar
w When the GM voice number is displayed on the ED, press DATA UP/DOWN to cycle
through the numbers.
☞Refer to the GM voice list on Page 43.
☞Your last choice of GM voice will be retained until the piano is turned off.
Main Voice Volume
By adjusting the Main Voice volume, the balance between volumes of different voices
(Main/Layer/Split) may be adjusted.
w When you're done adjusting, press SETUP again.
This will allow the piano to return to performing mode.
q Enter the SETUP mode.
Press and hold down SETUP, then use the MAIN VO UME Up/Down buttons to adjust the Main
voice volume. The LE will display the current value.
☞Pressing both MAIN VO UME Up/Down buttons simultaneously will restore the default value (100).
☞The DATA Up/Down buttons may be used instead of the MAIN VO UME buttons.
☞The numerical range of the volume is 0-100.
☞Keep a button pressed to quickly navigate through the values.
①
②
①②

ayer
Layer allows the player to sound two voices simultaneously when playing a key.
q Choose the desired main voice first.
Refer to page 14 for voice selection.
w Press AYER.
The Layer mode will be activated, indicated by the LE which shows current Layer voice number.
e Choose the desired ayer voice.
Refer to page 14 for voice selection.
Basic Controls ayer / ayer Volume
16
ayer Volume
By adjusting the Layer Voice volume, the balance between volumes of the Main and Layer voices may
be adjusted.
q Enter the SETUP mode to adjust the ayer volume.
Press SETUP, then use the AYER VOICE VO UME Up/Down buttons to adjust the Layer volume. The
LE will display the current value.
☞Pressing both AYER VOICE VO UME Up/Down buttons simultaneously will restore the default value (50).
☞When the LE is showing the Layer volume value, the DATA Up/Down buttons may be used instead of the AYER
VO UME buttons.
☞The numerical range of the volume is 0~100.
☞Keep a button pressed to quickly navigate through the values.
☞ Default Voice: 6-2 (Slow Strings)
w When you're done adjusting, press SETUP again.
This will allow the piano to return to performing mode.
②
①

Basic Controls Split / Split Volume / Adjusting Split Point
17
Split Volume
By adjusting the Split Voice volume, the balance between volumes of the Main (right) and Split (left) voices may be
adjusted.
q Enter the SETUP mode to adjust the Split volume.
Press SETUP, then use the SP IT VOICE VO UME Up/Down buttons to adjust the Split volume. The
LE will display the current value.
☞Pressing both SP IT VO UME Up/Down buttons simultaneously will restore the default value (50).
☞When the LE is showing the Split volume value, the DATA Up/Down buttons may be used instead of the SP IT
VO UME buttons.
☞The numerical range of the volume is 0~100.
☞Keep a button pressed to quickly navigate through the values.
Split
Split divides the piano keyboard into two sections, and allows the player to assign different voices to
each of the sections. For example, by using Split the melody part on the right could be played in
piano voice while the accompaniment on the left sounding in acoustic bass voice.
q Choose the desired main voice(right part) first.
Refer to Page 14 for voice selection.
w Press SP IT.
The Split mode will be activated, indicated by the LE which shows current the Split voice (left part
voice) number.
e Choose the desired Split voice (that is, the left part voice).
Refer to Page 14 for voice selection.
☞ Default Voice : 8 -1 Acoustic Bass
w When you're done adjusting, press SETUP again.
This will allow the piano to return to performing mode.
Split Point determines the point by which the keyboard is divided when using Split.
While holding SP IT, press the key that you wish to set as the split point. A 'bell' sound will be heard,
indicating that a new Split Point has been set.
▼Split Point (Default F#3)
Available Split Point Range
(C2 - C7)
Adjusting Split Point

Basic Controls Twin Piano / Metronome
18
Metronome
Turning Metronome On/Off
Press METRONOME to begin hearing metronome beats.
Press METRONOME again to turn off the metronome.
Metronome provides clicks over a steady beat to help the player keep in time while playing.
Adjusting Tempo
The range of metronome tempo is from 40 to 250 bpm (beats per minute). It may be adjusted by
using the TEMPO buttons.
☞Keep a TEMPO button pressed to quickly increase/decrease the value.
☞The default tempo value is 120; pressing both TEMPO Up/Down buttons simultaneously will restore the default tempo.
☞Refer to Page 34 for setting the meter and volume of the metronome.
Twin Piano
Twin Piano divides the piano keyboard into two equal smaller ("twin") keyboards with identical range
of octaves. This allows two people to play the piano simultaneously on the same octaves.
q Select a voice.
Refer to Page 14 for voice selection.
w Press TWIN.
The button will be lighted, and the keyboard will be divided into two parts, with #4 as the point of
division. The two parts will play in same range of octaves.
e Press TWIN once again to quit using Twin Piano.
The button will turn off, indicating that Twin Piano is no more active.
☞When in Twin Piano mode, the Layer, Split, and Recording features may not be used.

Basic Controls Reverb / Effect
19
Effect
Effect adds digital sound effects to the voices, allowing the piano to produce more abundant and
unique colors of sound.
4 types of Effects are available: Chorus (C-1), Phaser (C-2), Tremolo (C-3), Rotary (C-4).
To disable the Effect, press EFFECT again. The button will turn off.
☞Effect does not apply to the Layer/Split voice and is not recorded.
☞The Effect is set OFF by default.
☞Refer to Page 36 for choosing the type of Effect.
☞When a rotary effect is set, the effect volume is not applied.
Using Effect
Press EFFECT. The button will turn on, indicating that the Effect is now active.
Reverb
Reverb recreates the decaying reflections of sound as experienced in a fully resonant concert hall,
making the piano sound feel more natural and realistic..6 types of Reverbs are available: Room1(r-1),
Room2 (r-2 : efault), Hall1(r-3), Hall2(r-4), Stage(r-5), Stage(r-6).
Using Reverb
Press REVERB. The button will turn on, indicating that the Reverb is now active.
To disable the Reverb, press REVERB again. The button will turn off.
☞The Reverb is set ON by default.
☞Refer to Page 35 for choosing the type of Reverb.
Effect Description Note
Chorus This effect changes the pitch slightly and makes the sound richer.
Phaser This effect adds a sense of space.
Tremolo This effect adds a tremolo effect.
Rotary This is a rotary speaker effect. When you select a rotary effect, you can use the left pedal to
adjust the speed of the rotary speaker.
On : Fast
Off : Slow
Table of contents
Other Dynatone Musical Instrument manuals

Dynatone
Dynatone SLP-210 User manual

Dynatone
Dynatone SLP-200H User manual

Dynatone
Dynatone SLP-360 User manual

Dynatone
Dynatone SDP-500 User manual

Dynatone
Dynatone SGP-500 User manual

Dynatone
Dynatone SLP-250H User manual

Dynatone
Dynatone DPP610 User manual

Dynatone
Dynatone SDP-600 User manual

Dynatone
Dynatone SLP-200H User manual

Dynatone
Dynatone SLP-50 User manual

Dynatone
Dynatone DPP-510 User manual

Dynatone
Dynatone DPR-3500 User manual

Dynatone
Dynatone SGP-500 User manual

Dynatone
Dynatone DPS-90H User manual

Dynatone
Dynatone UPRIGHT PIANO DPR2200 User manual

Dynatone
Dynatone DPR-1650 User manual

Dynatone
Dynatone DPP610 User manual

Dynatone
Dynatone SLP-150 User manual