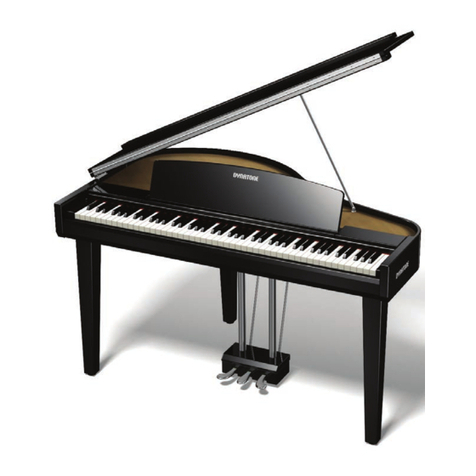
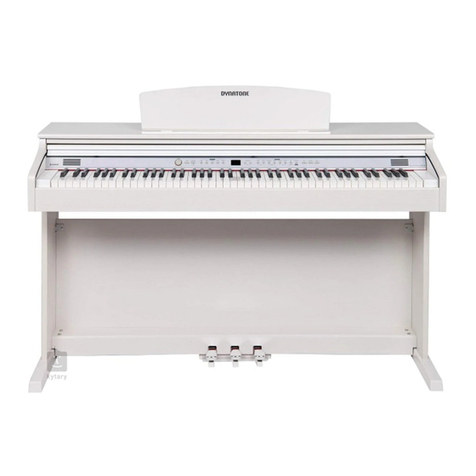
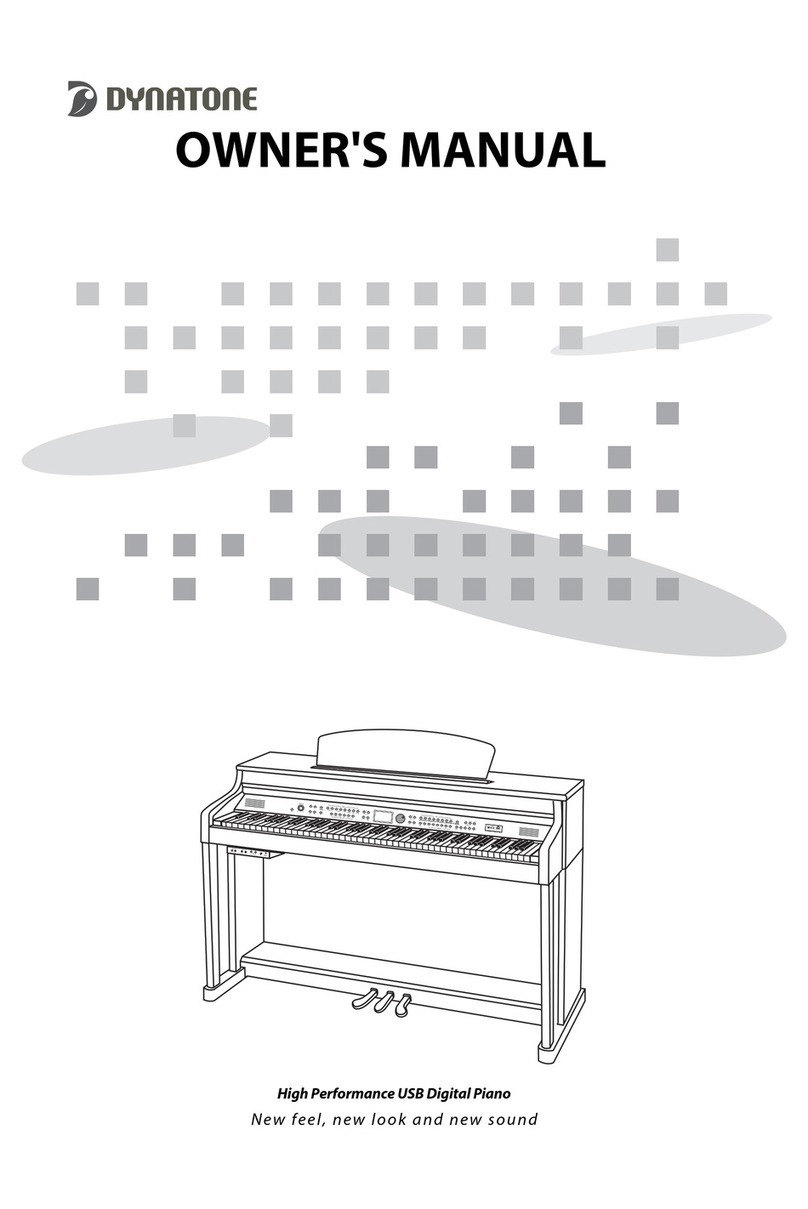
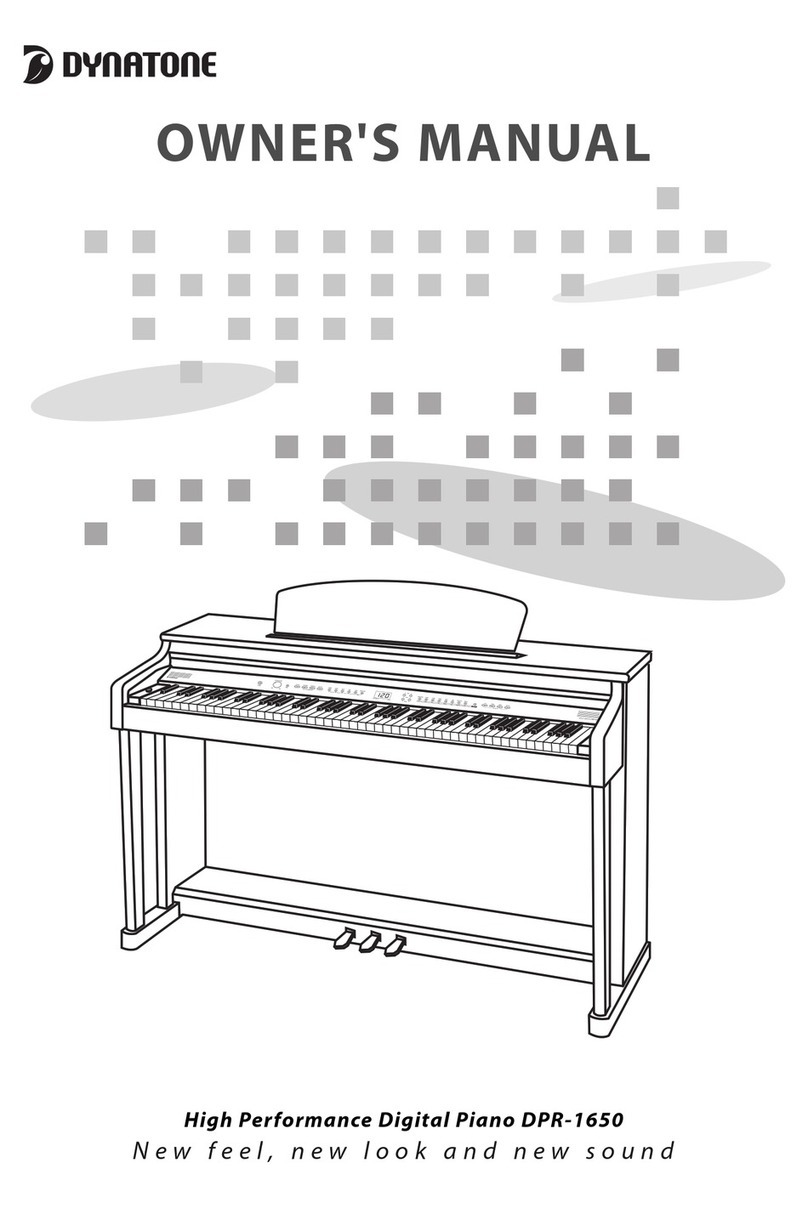
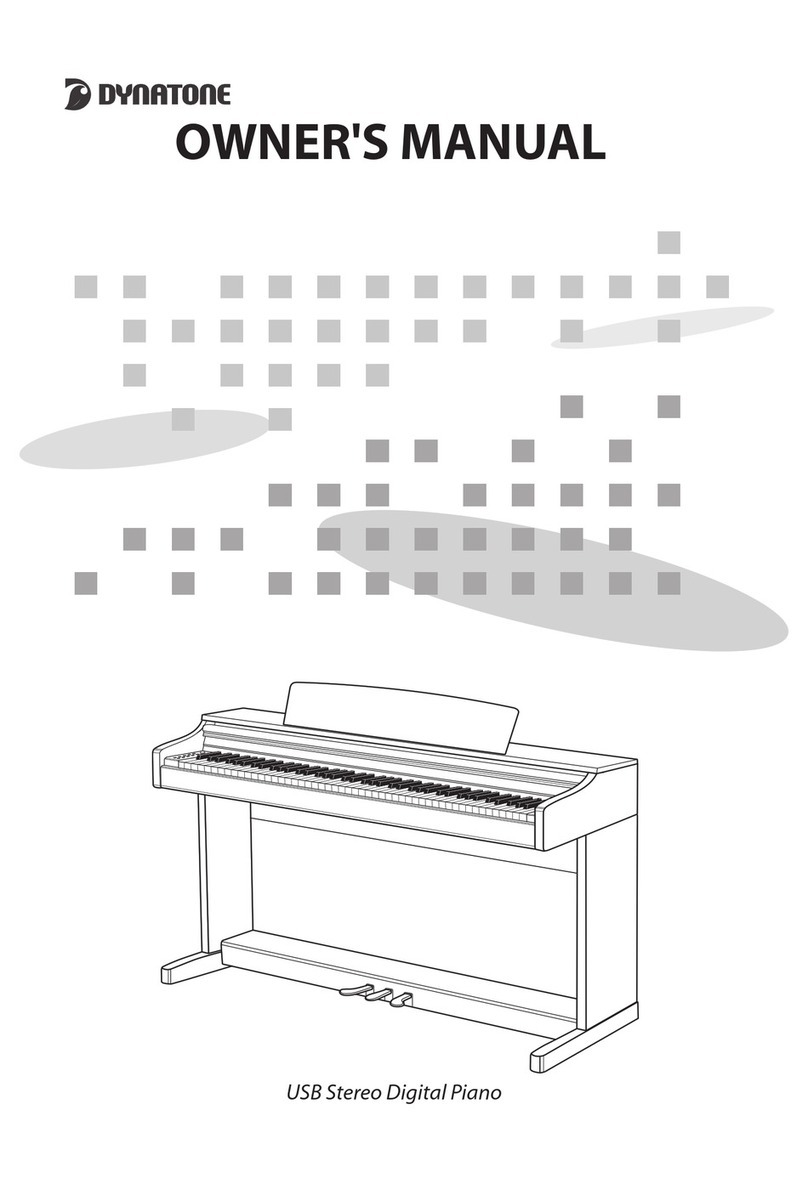
Dynatone SLP-210 User manual

OWNER'S MANUA
High Performance USB Digital Piano
New feel, new look and new sound

Before Reading Safety Instructions
1
Not following this caution may result in injury and/or financial loss!
Safety Instructions
Before Reading: This section is intended to ensure the user's safety and
prevent financial damage.
Please read this section carefully and use the product
properly according to it.
To avoid the risk of death or physical injury due to electric shock, short circuit, damage or fire,
please follow the fundamental safety instructions listed below:
ㆍNever open up this product or attempt to break
down or modify its inner parts. This product
contains no user-serviceable components. If it
seems to be malfunctioning, please immediately
cease use of the product and contact customer
service for repair.
ㆍDo not expose the product to rain. Do not use this
product under watery or wet environment, and do
not leave any liquid container on its top as it may
spill into the product. If any liquid is spilled into the
product, immediately turn off the product, take the
plug off the AC outlet and contact a designated
service center for inspection.
ㆍIf the power cable or plug is either worn off or
damaged, or the product suddenly stops sounding,
or any unknown smell or smoke seem to emerge
from the product, immediately turn off the product,
take the adapter plug off the AC outlet and contact
a designated service center for inspection.
ㆍAlways use the correct voltage for this product. The
voltage specification can be found on the name
label located behind this product.
ㆍAlways take the plug off the outlet prior to cleaning
the product. Never insert or take off the plug with
wet hands.
ㆍRegularly check the condition of the power plug,
and remove any substances or dusts that may have
accumulated on it.
WARNING:
Not following this warning may result in serious physical injury!
WARNING:
CAUTION:

Before Reading Safety Instructions
2
To avoid the risk of physical injury, damage of this product or other financial loss, please follow
the fundamental safety instructions listed below. This caution includes the following:
CAUTION
ㆍDo not place the power cable nearby heat
generators like heaters or radiators. Bending the
cable too much could damage the cable. Do not put
heavy objects on the cable, or leave the cable on a
location where others may step on or trip over it.
ㆍWhen removing the plug from either the product or
the outlet, always seize the neck of the plug. Seizing
and pulling from the cable could damage it.
ㆍDo not use multi-connectors to power the product.
Doing so may result in lowered sound quality
and/or overheat the outlet.
ㆍWhen not using the product for an extended period
of time, or during an electric storm, take the plug off
the outlet.
ㆍWhen connecting this product to another electronic
product, turn off the powers of both products
before connecting. Set the volumes of all products
to minimum before turning on the products. After
making sure that all volumes are set to minimum,
begin using this product and gradually increase the
volume until the desired level is reached.
ㆍWhen using USB or AUX in/out(RCA), use a cable
with ferrite cores.
ㆍDo not expose this product to excessive dust,
vibration, or locations/sources of extreme heat
(under direct sunlight, nearby heaters, inside cars
during daytime). Exposure to such environments
may result in external and/or internal damage.
ㆍDo not use this product nearby devices like TVs,
radios, stereo sound devices, mobile phones or
other electronic devices. Doing so could result in
excessive noise from either this product or the
TV/radio.
ㆍDo not place the product on unstable locations
where it may fall off.
ㆍAlways remove all cables from the product before
moving it.
ㆍWhen cleaning the instrument, always use soft and
dry or lightly wet cloth. Do not use cloth imbued
with paint diluent, solvent, cleansing agent or
chemical substances. Do not place any objects
made of vinyl, plastic or rubber on the product.
Doing so may alter the color of the keys or the
panel.
ㆍDo not place your weight or heavy objects on the
product.
ㆍDo not use excessive force while manipulating the
buttons, switches or connectors.
ㆍBe careful not to leave fingers below the key cover
when closing it. Do not insert fingers below the key
cover or into any other gap between the parts of
this product.
ㆍDo not insert or drop objects like paper or metal
substances on the key cover, panel, or in the gap
between keys. When done so accidentally,
immediately turn off the power of the product, take
the plug off the outlet, and contact a designated
service center.
ㆍMaintain 3 inches of space between the piano and
the wall or other nearby objects. Insufficient space
may interfere with air circulation and result in
overheat.
ㆍCarefully read the guide on assembling procedure
and follow the instructions. Not doing so could
result in damage of the instrument and/or injury of
the user.
ㆍAvoid using the product on volume high enough to
be disturbing to ears for extended period of time, as
doing so could affect one's hearing permanently. If
you experience hearing difficulty, or excessive
ringing on the ears, contact a physician.
ㆍDuring thunderstorms, take the plug off the outlet.
Product Features
Before Reading Product Features
3
We thank you for purchasing our digital piano!
This product contains a maximum polyphony of 81 notes and a sound data collection as much as
256Mbit to offer high quality voices.
There are the two-track recording system designed to aid the learning process, a USB terminal for
computer music and stereo audio terminals for audio devices like MP3 player.
Also, this piano has the pedagogical etude series of Beyer, Czerny, Burgmüller and selected sonatines
by many composers for playing reference.
To take full advantage of the wide range of features and utilities offered on this instrument, please
read and examine this owner’s manual thoroughly.
Please keep this owner’s manual for future reference.
Thank you.

Functions
Using Setup
Master Tune
Key Transpose
Brilliance
Touch
ixed Touch Velocity
Demo Volume
Play All Music
Metronome Volume
Reverb Type
Effect Type
Reverb Volume
Effect Volume
MIDI Local Control
Hybrid USB Audio
Reset
MEMO
MIDI Chart
GM Voice & Percussion
GM Voice
Percussion
Trouble shooting
Product Specifications
Table of Contents
Table of Contents
4
Before Reading...
Safety Instructions
Product eatures
Table of Contents
Product Components
Assembly
Parts
Power Switch
Headphone Jacks
Connections
Pedals
Control Panel
Basic Controls
Adjusting Volume
Choosing a Voice
Using PIANO
Dual Mode
Layer
Split
Changing the Split Point
Secondary Volume
Twin Piano
Metronome
Record
Recording
Playing
Erasing
Demo / Etude
Listening to Music
Adjusting Tempo
Adjusting Volume
Demo List
Beyer / Czerny Etudes
Burgmüller Etudes / Sonatines
1
1
3
4
5
6
8
8
8
9
10
11
12
12
12
12
13
13
14
14
15
15
16
17
17
17
17
18
18
19
19
20
21
22
23
23
24
24
24
24
25
25
25
25
25
25
26
26
26
26
26
27
28
29
29
30
31
32

Main Unit
Left/Right Legs(a, b) Pedal Plate(c) Backplate(d)
☞Keeping the original packing materials can be very useful in the event where you need to re-pack
the product in order to move it to a faraway location.
Product Components
After purchasing the product, carefully
unpack it and examine the existence and
condition of the items listed below. If an item
is missing or damaged, contact the place of
purchase.
Product Components
5
Pedal Plate ixers
(e) (M6 ×25)mm, 4EA
Backplate ixers
(f) (M3.5 ×25)mm, 4EA
(g) (M4×13)mm, 2EA
AC Adapter
Main Unit ixers
(h) (M6 ×15)mm, 2EA

Assembly
Assembly
6
Assembling the backplate
2
1Assembling the legs and pedals
1 Place the pedal plate (c) between the legs
(a, b) like the picture below and use the pedal
plate fixers (e) to fix the pedal plate.
2 Manipulate the pedal plate knob (see picture)
so that it would be in firm contact with the floor
on which the piano is installed.
1 Place the backplate (d) between the leg
by inserting it from behind.
2 Use the backplate fixers (f), (g) to fix
the backplate.
3 Make sure that the plate is maintaining
the right angle.
(g)
(g)
(d)

Assembly
7
3Assembling the main unit
4 Raise the scoreboard on the top of the main
unit and use the brackets on its back to keep it
standing.
1 Connect the pedal cable from the pedals to the pedal jack beneath the main unit. The pedal
cable is tied below the pedal box.
1 Place the main unit onto the assembled lower body by pushing it from behind so that the
screws (2EA) fixed under the main unit would fit into the rear holes of the brackets attached to the
legs.
2 Use main body fixers (h) on the other holes of the brackets to secure the connection between
the bodies.
3 irmly tighten all 4 screws to finish the assembly.
(
Pedal & Power terminals
Connecting the pedal & power cables
4
(

Power Switch
Parts Power Switch / Headphone Jacks
8
Parts
Headphone Jacks
Two headphone jacks are located on the left beneath
the main unit.
☞When a headphone is connected to the piano, the speakers of
the piano are muted.
☞Two headphone jacks exist, allowing up to two people to listen
simultaneously.
☞The type of headphones for use is limited to the stereo 6.35mm
(1/4 inch). If seeking to use the 3.5mm headphones, an extra
converter (3.5mm -> 6.35mm) will be required.
☞Headphones are sold separately.
Insert the DC plug of the AC adaptor into the
piano and AC plug into a household AC power
outlet, and press the Standby/ON switch to turn
on the piano.
☞When the piano is first turned on, the initial default voice is
‘Grand Piano 1(G.P1)’
☞Use the MASTER VO UME knob to adjust the volume.
All parameters and settings except for the recording are
initialized whenever the piano is turned off and on again.
Auto Power Off(APO)
This product features an auto power management system which turns off the instrument
automatically when left unused for 30 minutes.
Deactivating Auto Power Off(APO)
While holding down the first white key and first black key from the left, press the power switch to
deactivate APO.
Headphone Jacks
Power Switch (on the right of the keyboards)

Parts Connections
9
Connections
q Connecting to a Computer(USB TO HOST)
The piano features a USB-to-host terminal to allow connecting directly to a computer.
By using this jack, the piano and computer may exchange MIDI data via USB.
1 Use a USB cable (sold separately) to connect the piano to the computer.
2 To use the piano as a MIDI device, run the MIDI software installed on the computer, and set the
input/output device of the software to the USB audio device.
3 To use the piano as an audio device, go to ‘ unction’ menu and turn on the ‘Hybrid USB
Audio’.(Refer to Page 23) Next, connect the piano to the computer via USB and set the computer’s
audio device to the piano.
☞Some notes may be lost when connected via USB.
☞If you use the piano as an audio device, the piano sound is able to be recorded on the computer.
☞Usable on Windows XP or higher, and Mac OS X.
☞No extra driver is required since it utilizes the common Windows device driver.
☞If the device is not recognized, or the USB audio device is not seen on the list of the device setup menu, check the USB cable and
ensure proper connection.
☞If connecting the instrument to a computer causes the computer to crash or stop functioning, do not reattempt the connection
(doing so may damage the computer or the piano) and immediately contact customer service.
w AUX IN(RCA)
By connecting external devices to this jack the piano may play via its internal speakers soundtracks
provided by external sources such as smart devices or MP3 audio devices.
Connect the output terminal of laptops, smart devices, MP3 players and the AUX IN of the piano using an
audio cable (sold separately) to reproduce the audio data of the devices through the piano's speaker
system.
e AUX OUT(RCA)
This jack is used when the use of a more powerful external sound producer (amplifiers etc.) is desired
to reproduce the audio output of the piano.
Use an audio cable (sold separately) to connect the AUX OUT of the piano and the input jack of the
external device to hear the piano through the external device.
☞When connecting to an external device using the AUX IN/OUT terminal, always turn on the external device first before
turning on the power of the piano. When quitting the use of the external device, reverse the order and turn the piano
off first before turning off the external device.
☞The audio connection jacks are RCA connectors.
External Connection Terminals(on the bottom of the piano)
qwe

Parts Pedals
10
Pedals
Pedal Functions
1 Sustain Pedal (Right Pedal)
This pedal performs the same function as the sustain pedal of an acoustic piano; playing notes while
keeping this pedal pressed will sustain the notes even if the keys have been released.
2 Sostenuto Pedal (Middle Pedal)
This pedal performs the same function as the sostenuto pedal, which is the middle pedal of an
acoustic grand piano. It behaves similarly to the sustain pedal, but only the notes that are being
played at the moment the sostenuto pedal is pressed will be retained. Notes that are played after the
pedal was pressed will not be affected, even if the pedal is kept pressed.
3 Soft Pedal ( eft Pedal)
This pedal performs the same function as the soft pedal of an acoustic piano. Pressing this pedal
causes the sound of the piano to be muffled a little bit and softens its character.
Connecting the Pedal Cables
Retrieve the pedal cable tied below the pedal box, and connect it to the pedal input located below the main body.
The piano consists of three pedals that correspond to the three pedals of an acoustic piano.
1 Sustain Pedal
2 Sostenuto Pedal
3 Soft Pedal

Control Panel
Parts
11
ⓐ LED Screen
ⓑ DATA Down
ⓒ DATA Up
ⓓ PIANO
ⓔ DUAL
ⓕ REC/DEMO
ⓖ ▶/■/ENTER
ⓗ TRACK1/L
ⓘ TRACK2/R
ⓙ SETUP
ⓚ METRONOME
ⓕ
Page 12
Page 13
Page 17,18
Page 17,18,26
Page 17,18
Page 17,18
Page 23
Page 16, 19, 25
ⓗ
ⓖ
ⓓ ⓔ
ⓑ
ⓐ
ⓒ
ⓘ
ⓚⓙ
Control Panel
CONNECTIONS
qPEDAL
wUSB
eAUX IN/OUT
POWER
rDC IN
tPower Switch
Page 7,10
Page 9,26
Page 9
Page 7
Page 8
VO UME CONTRO
yMASTER VOLUME
PEDA S
uSoft Pedal
iSostenuto Pedal
oSustain Pedal
Page 8,12
Page 10
Page 10
Page 10
qwe r t y
uio

Using PIANO
Basic Controls Adjusting Volume / Choosing a Voice /
Using PIANO
12
Adjusting Volume
Basic Controls
Adjusting Master Volume
Use the MASTER VO UME knob to adjust the overall volume of the piano.
Choosing a Voice
This product is a high class digital piano which offers the refined deep sound of quality acoustic
grand pianos along with the sound of other diverse acoustic and electric musical instruments.
q Voice Types
The voices consist of 18 main voices, 1 percussion kit and 1 sound effect set.
The piano is capable of interpreting the MIDI standards, and once connected to a computer it is able
to exploit the full range of the 128 General MIDI voices.
w Selecting the voice
Press DATA buttons to select the desired voice.
☞This also affects the volume of headphones.
ED Voice ED Voice ED Voice ED Voice
G.P1
G.P2
E.P1
E.P2
HSC
Grand Piano1
Grand Piano2
Elec. Piano1
Elec. Piano2
Harpsichord
Vbr
P.Or
E.O1
E.O2
Acd
Vibraphone
Pipe Organ
Elec. Organ1
Elec. Organ2
Accordion
Str
SL.S
Lt
brS
S.Ld
Strings
Slow Strings
lute
Brass
Synth Lead
SAP
Gut
Ac.b
dru
S.E
Alto Saxophone
Nylon Guitar
Acoustic Bass
Drum Set
Sound Effect
☞When the piano is turned on, the initial default voice is ‘Grand Piano 1(G.P1)’.
☞The LED will display the choosen voice and change the voice with DATA buttons.
☞Hold down a DATA button to quickly run through the voices.
When the PIANO button is pressed, the ‘Grand Piano1(G.P1)’ is selected as
the main voice and the dual mode will be turned off.
☞When the PIANO button is pressed, it flashes 3 times.
☞It doesn’t work in the recording mode.
☞Refer to page 13 for ‘dual mode’ and page 17 for ‘recording’.
ist of Voices

Basic Controls Dual Mode / ayer
13
ayer
Layer allows the player to sound two voices simultaneously when playing a key.
Dual Mode
The Dual Mode consists of Layer, Split and Twin Piano. Choose the desired mode with pressing the
DUA button repeatedly. Each time pressing the DUA button, the mode changes.
q Choose the desired main voice first.
Refer to page 12 for voice selection.
w Press DUA button.
When DUA button is pressed, the layer mode is selected with displaying ‘LAr’.
After displaying ‘LAr’, the layer voice is displayed on the screen.
e Choose the desired layer voice.
Press DATA buttons to choose the layer voice.
Refer to page 12 for voice selection.
☞The default layer voice is Slow Strings(SL.S).
ayer( Ar) →Split(SP ) →Twin Piano(tn) →Quit
☞When the dual mode is turned off, the LED display returns to previous screen.
ayer Split Twin Piano
ayer Slow Strings
☞The layer volume may be adjusted. Refer to Page 15.
r Press DUA button 3 times to turn off the layer.
Layer(LAr) →Split(SPL) →Twin Piano(tn) →Quit

Basic Controls Split / Changing the Split Point
14
Split
Split divides the piano keyboard into two sections, and allows the player to assign different voices to
each of the sections. or example, by using Split the melody part on the right could be played in
piano voice while the accompaniment on the left sounding in acoustic bass voice.
q Choose the desired main voice first.
The main voice will be assigned to the right part. Refer to page 12 for voice selection.
w Press DUA button repeatedly.
Not in the dual mode, pressing the DUA button once will set the piano as Layer mode(‘LAr’) and pressing the
DUA button once more will set it as Split mode(SPL).
After displaying ‘SPL’, the split voice is displayed on the screen.
e Choose the desired split voice.
Press DATA buttons to choose the split voice.
Refer to page 12 for voice selection.
☞The default layer voice is Acoustic Bass(Ac.b).
Split Acoustic Bass
☞The split volume can be adjusted. Refer to page 15.
r Press DUA button twice to turn off the split.
Layer(LAr) →Split(SPL) →Twin Piano(tn) →Quit
Changing the Split Point
Split Point refers to the point where the keyboard is divided.
While holding DUA button, press the key that you wish to set as the split point. The LED displays the
octave and the pitch name of the selected key. (e.g. Gb3, A4)
☞The default split point is #3 (third # from the left, ‘Gb3’ in the screen)
▼Split Point (Default F#3)

Basic Controls Secondary Volume / Twin Piano
15
Secondary Volume
This determines the volume of the layer and split voice.
When the secondary volume is changed, the layer and split volume will be changed at the same time.
q Press SETUP button once, then press DUA button.
When SETUP button is pressed, the LED will show ‘---’, then press DUA button. The LED will show the
secondary volume. Press DATA buttons to adjust the volume.
w Press SETUP button to exit the secondary volume.
☞Press both DATA buttons simultaneously to restore its default value (70).
☞Range: 1 ~ 100 (Default: 70)
☞Keep a DATA button pressed to quickly run through the values.
Default volume
Pressing SETUP
Twin Piano
Twin Piano divides the piano keyboard into two equal smaller ("twin") keyboards with nearly identical
registers. This allows two people to play the piano simultaneously on the same range without running
into each other.
q Select a voice.
Refer to page 12 for voice selection.
w Press DUA repeatedly.
Not in the dual mode, pressing DUA button once will set the piano as Layer mode(‘LAr’) and pressing DUA
button twice more will set it as Twin Piano mode(tn).
After displaying ‘tn’, the twin(main) voice is displayed on the screen. The keyboard will be divided into two parts
with nearly identical registers, with D#4 as the point of division.
e Press DUA button once again to quit using Twin Piano.
Layer(LAr) →Split(SPL) →Twin Piano(tn) →Quit

Basic Controls Metronome
16
Metronome
Metronome provides clicks over a steady beat to help the player keep in time while playing.
Turning Metronome On/Off
☞Keep a DATA button pressed to quickly run through the values.
☞Pressing both DATA buttons simultaneously will restore the default tempo (120).
☞Refer to page 25 for adjusting the metronome volume.
Press METRONOME to begin hearing metronome beats.
Press METRONOME again to turn off the metronome.
Default Tempo
Adjusting Tempo
The range of metronome tempo is from 40 to 250 bpm (beats per minute). It may be adjusted by
using DATA buttons.
Adjusting Metronome Meter
q Press SETUP, then press METRONOME.
When SETUP button is pressed, the LED will show ‘---’, then METRONOME button is pressed, the LED will
show the meter. Press DATA buttons to adjust the metronome meter.
w Press SETUP button once again to quit setup mode.
☞ Pressing both DATA buttons simultaneously will restore the default meter (1).
☞Range: 1~12 (Default: 1)
☞If DATA buttons are not used for about 10 seconds, setup mode will be quitted automatically.
Default Meter
Pressing SETUP

Record Recording / Playing / Erasing
17
Recording
Record
This piano features an extensive recording
system to record the player's performance.
There are 2 tracks and each track may record up to
5,000 notes.
q Selecting Track
Select the desired track. After recording, both of the tracks are selected. Turn off the track you want to mute, then
the track won’t be played.
☞Selected tracks are not be able to be changed while playing.
☞ When playback, ▶/■/ENTER button will keep flashing.
w Press ▶/■/ENTER button.
q Press REC/DEMO button.
The button will be lighted, and the TRACK1/ button will begin flashing. The Dual
features may be used for recording.
w Record to Track1.
Play a key, or press ▶/■/ENTER button to begin recording.
e End recording Track1.
Press ▶/■/ENTER button to stop recording to track1. TRACK1/ button will turn on.
If desiring to hear what isrecordedin Track1, press ▶/■/ENTER button onceagain.
☞While recording, REC/DEMO button and ▶/■/ENTER button is flashing.
☞Recording will terminate if the piano is not played for about 5 minutes.
☞When the capacity limit is exceeded, the LED shows ‘ UL’ and recording will stop.
☞If the piano malfunctions when exceeded, turn the piano off and on again.
☞All settings are also recorded along. However, metronome clicks and tune are not recorded.
r Record to Track2.
Press TRACK2/R button, and thenTRACK2/R button willbe flashing.
If you want to mute track1 whilerecording to track2, press TRACK1/ button to turn itoff.
Record to track2 in the sameway as recording track1.
e Press REC/DEMO button again to quit recording and return to performance mode.
Press and hold down a TRACK button until a 'bell' rings to erase the corresponding track.The LED willdisplay ‘dEL’.
Playing
Erasing

istening to Music
Demo / Etude istening to Music
18
This piano features an extensive bank of
demonstrational recordings of 50 selected works all
performed by professional pianists. It also includes a
dedicated music data bank consisting of pedagogical
etudes by Beyer (106), Czerny (100/30/40), Burgmüller
(25) and selected sonatines for students (45).
Demo / Etude
q Press and hold down REC/DEMO button for 2~3 seconds.
The screen will show the first music group ‘Pno’ and REC/DEMO button will be lighted.
Piano group
w Select a music group.
There are 1 demo folder and 6 etudes folders.
Search the desired folder with DATA buttons and press ▶/■/ENTER button to enter it.
Display Pno br bur C10 C30 C40 Snt
Group Piano Beyer Burgmüller Czerny100 Czerny30 Czerny40 Sonatine
☞To move to a different folder, select ‘---’ on the first of the list and press ▶/■/ENTER button to move to the parent
folder, where you may choose another folder to enter.
e Select the desired piece to play. (Refer to page 20~22 for the music list)
Use the DATA buttons to reach the desired piece, then press ▶/■/ENTER button to play it.
r Play the music.
Except for ‘Pno’ folder, you can turn off one hand part.
Playing one hand part
When a piece begins playing, both TRACK1/ and TRACK/2 buttons are turned on. If you press
TRACK1/ button, it will be turned off and the left hand part will be muted. Press TRACK2/R button
to mute the right hand part.
Playing all pieces in succession
The player may play either all pieces in 1 folder in succession or just one piece.
Refer to page 25 for this setting.

Demo / Etude Adjusting Tempo / Adjusting Volume
19
Adjusting Tempo
Each piece has its own default tempo. Each tempo is adjustable.
Default Tempo
q While playing a piece, press METRONOME button.
If you press METRONOME button, you can hear metronome beats of each piece’s default tempo.
The screen displays the default tempo.
☞The pieces in ‘Pno’ folder are played freely by professional pianists. Its tempo is not mechanical but can be
adjusted.
w Use DATA buttons to adjust tempo.
If you stop playing, and then play it again or play another piece, the tempo will be set as its default.
Pressing both DATA buttons simultaneously will restore the default Tempo.
Adjusting Volume
The volume of the Demo/Etudes music may be adjusted.
Default Volume
q In Demo mode, press SETUP button once.
Pressing SETUP button will show the current music volume in the screen.
Use DATA buttons to adjust the volume.
☞ Keep a DATA button pressed to quickly run through the values.
☞ Pressing both DATA buttons simultaneously will restore the default volume (65) .
☞The volume also may be adjusted in the unction menu( 06). Refer to page 25.
w Press SETUP button to exit the adjusting volume.
☞ If DATA buttons are not used for about 10 seconds, setup mode will be quitted automatically.
e Press METRONOME button once again to exit the metronome.
The screen returns to the previous display.
Table of contents
Other Dynatone Musical Instrument manuals

Dynatone
Dynatone DPP-510 User manual

Dynatone
Dynatone SLP-150 User manual

Dynatone
Dynatone SLP-200H User manual

Dynatone
Dynatone SGP-500 User manual

Dynatone
Dynatone SLP-200H User manual

Dynatone
Dynatone DPS-90H User manual

Dynatone
Dynatone DPR-1650 User manual

Dynatone
Dynatone SLP-360 User manual

Dynatone
Dynatone SDP-600 User manual

Dynatone
Dynatone UPRIGHT PIANO DPR2200 User manual