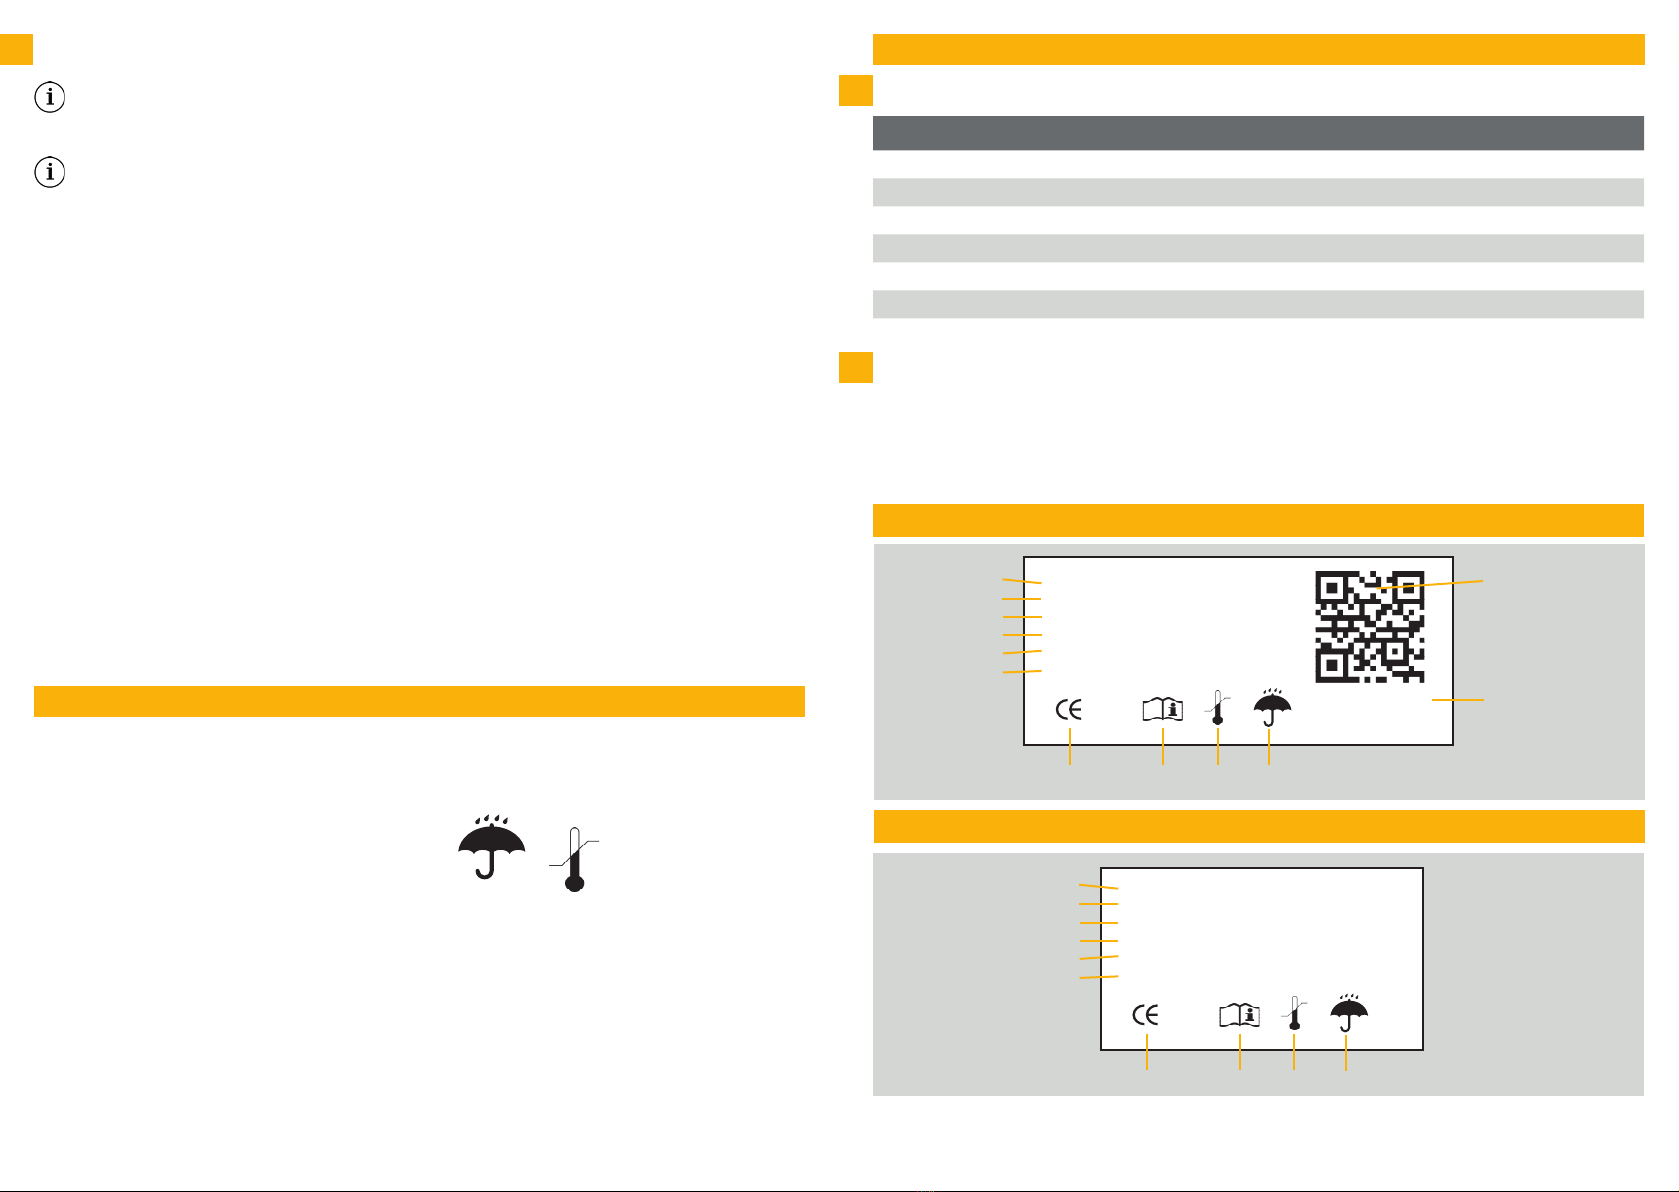
5.0 Anwendung / Gebrauch
Überprüfen Sie die Ausrüstung auf Vollständigkeit und eventuelle Transportschäden. Führen Sie eine Sichtprüfung
aller Komponenten durch, bevor Sie die Ware einlagern und vor Einsatz des Systems.
5.1 Auspacken / Sichtprüfung
5.2 Montage / Demontage e-Line für den Gebrauch
5.2.1 Montage / Demontage: Gurt und Tragesystem
Die Aufnahme für den Gurt bzw. das Tragesystem bendet sich an der Rückseite der Luftquelle.
Montage Gurt:
Bei der Nutzung eines einfachen Gurtes müssen Sie die Schnalle entfernen.
Fädeln Sie anschließend die Gurtseite ohne Schnalle durch die beiden Gurtaufnahmen. Achten Sie dabei darauf, dass
der Gurt nicht verdreht und die Vorderseite der Schnalle von der Luftquelle weg zeigt. Montieren Sie anschließend
die Schnalle, die Sie zuvor entfernt haben.
Demontage Gurt:
Entfernen Sie die Schnalle und ziehen Sie anschließend die Gurtseite ohne Schnalle durch die Gurtaufnahmen der
Luftquelle, um den Gurt zu demontieren.
Wichtig!
Für das Zubehör der Firma e-breathe sehen Sie bitte die Gebrauchsanweisung für das jeweilige Produkt ein. Um
Anwendungsfehler zu vermeiden, studieren Sie bitte sorgfältig die Gebrauchsanweisungen und sehen Sie sich
die Abbildungen genau an.
5.2.2 Montage / Wechsel: Atemluftschlauch
Lesen Sie die dem Kopfteil beiliegende Gebrauchsanleitung sorgfältig durch.
Prüfen Sie, dass der Schlauch keine Risse oder Löcher aufweist und vollständig intakt ist. Überprüfen Sie auch die
Dichtungen an den Anschlüssen des Schlauchs. Sollte der Schlauch nicht vollständig intakt sein, darf dieser nicht
verwendet werden.
Schrauben Sie den Rundgewindeanschluss des Atemluftschlauchs im Uhrzeigersinn auf die gelbe Überwurfmutter
des DRV-Adapters. Achten Sie dabei darauf, dass sich der Schlauch nicht verdreht.
Kontrollieren Sie, ob der Atemluftschlauch sicher und fest mit dem DRV-Adapter verbunden ist, sodass keine Um-
gebungsluft eindringen kann. Drücken Sie den DRV-Adapter in die Sicherheitskupplung des Druckluftregelventils.
Prüfen Sie ob die Verbindung sicher und fest ist.
Um den Atemluftschlauch zu demontieren, müssen Sie den Rundgewindeanschluss gegen den Uhrzeigersinn von
der gelben Überwurfmutter abdrehen. Um den DRV-Adapter zu demontieren, müssen Sie den DRV-Adapter in die
Sicherheitskupplung drücken und gleichzeitig die Sicherheitskupplung nach unten ziehen.
Prüfen Sie, dass der Druckluftschlauch keine Risse oder Löcher aufweist und vollständig intakt ist. Überprüfen Sie
auch die Kupplungen des Druckluftschlauchs. Sollte der Druckluftschlauch nicht vollständig intakt sein, darf dieser
nicht verwendet werden.
Drücken Sie die Sicherheitskupplung des Druckluftschlauchs an den Sicherheitsnippel des Druckluftregelventils. Prü-
fen Sie, ob die Verbindung sicher und fest ist.
Um den Druckluftschlauch zu demontieren, müssen Sie die Sicherheitskupplung auf den Sicherheitsnippel drücken
und gleichzeitig die Sicherheitskupplung nach unten ziehen. Vor dem Entfernen sollte geprüft werden, dass kein
Druck auf den Schläuchen ist.
5.2.3 Montage / Wechsel: Druckluftschlauch
5.3 Kontrolle vor dem Gebrauch
Die nachfolgenden Tätigkeiten sollten vor der Anwendung bzw. Einsatz der Luftquelle erfolgen.
1. Auswahl der System-Komponenten entsprechend der Tätigkeit und der erforderlichen Schutzklasse:
- Druckluftlter, Druckluftschlauch, Atemluftschlauch, Atemanschluss und Luftquelle
2. Durchführung einer gründlichen Sichtprüfung aller Komponenten und ggf. Ersatz der beschädigten Teile:
- Prüfen Sie, ob der Atemschlauch keine Risse aufweist und intakt ist. Überprüfen Sie auch die Dichtungen an den
Anschlüssen.
- Prüfen Sie, ob der Druckluftschlauch keine Risse aufweist und intakt ist. Überprüfen Sie auch die Kupplungen.
- Prüfen Sie, ob die Luftquelle intakt ist und diese keine Beschädigung aufweist.
Beachten Sie dabei auch die beiliegenden Gebrauchsanweisungen der Druckluft-Filterstation und des Atemanschlus-
ses.
3. Kontrolle Fälligkeit Servicetermin/Wartung:
- Kontrollieren Sie das eingetragene Datum des letzten Service bzw. der letzten Wartung.
4. Kontrolle Druckluft-Filterstation / Filterkapazität:
- Kontrollieren Sie, ob alle Filter intakt und montiert sind. Prüfen Sie die Einhaltung der Wechselintervalle der Filter
anhand des Datums auf den Filtern oder anhand der Filterrestkapazitätsanzeige.
5. Kontrolle der Luftversorgung / des Kompressors:
- Kontrollieren Sie die Intaktheit der Luftversorgung und die Einhaltung der Wartungsintervalle. Kontrollieren Sie, ob
die Luft Atemqualität nach EN12021 hat.
6. Prüfung Volumenstrom und der Warneinrichtung:
Eine Funktionsprüfung vor dem Gebrauch der Luftquelle kann mit einem Testrohr von e-breathe durchgeführt wer-
den. Dabei überprüfen Sie, ob der Mindestluftvolumenstrom noch erreicht wird und die Funktionalität der Warnein-
richtung.
Vorgehen:
- Schrauben Sie das Testrohr auf die Überwurfmutter des DRV-Adapters und stecken Sie diesen in die Kupplung der
Luftquelle.
- Schalten Sie die Luftversorgung bzw. den Kompressor mit dem richtigen Betriebsdruck ein. Halten Sie das Testrohr
vertikal und gerade nach oben. DasTestrohr darf nicht schräg sein. Warten Sie 60 Sekunden und lesen Sie amTestrohr
ab, ob der Mindestvolumenstrom (siehe Tabelle 4.1) eingehalten wurde.
Wichtig: Wird der Volumenstrom nicht erreicht, muss die Luftquelle durch den e-breathe Service überprüft werden.
- Um die Warneinrichtung zu überprüfen, senken Sie den Betriebsdruck langsam in kleinen Schritten ab, bis dieWarn-
pfeife an der Luftquelle ertönt.
Wichtig: Sollte die Luftquelle keinen Alarm auslösen, muss diese durch den e-breathe Service überprüft werden.