manuals.online logo
Brands
  1. Home
  2. •
  3. Brands
  4. •
  5. e-conolight
  6. •
  7. Outdoor Light
  8. •
  9. e-conolight E-E-MT6F421G User manual

e-conolight E-E-MT6F421G User manual

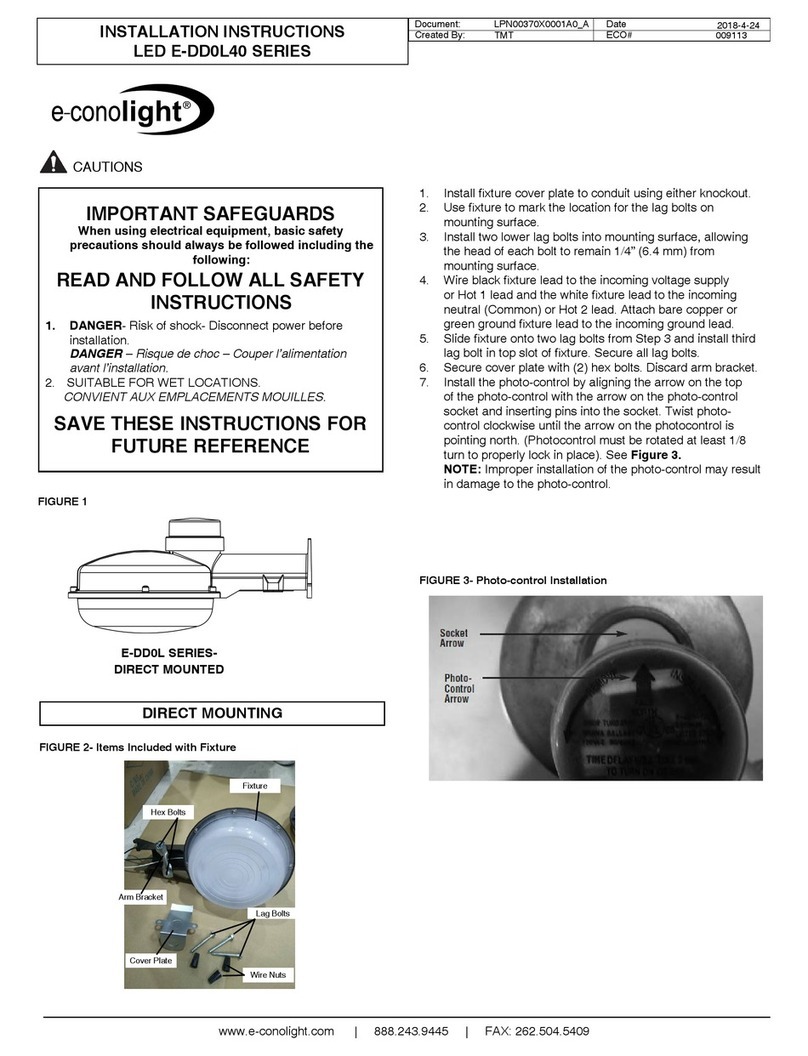
INSTALLATION INSTRUCTIONS
E-MT5, E-MT6, AND E-MT7 SERIES
IMPORTANT SAFEGUARDS
When using electrical equipment, basic safety precautions should
always be followed including the following:
READ AND FOLLOW ALL
SAFETY INSTRUCTIONS
1. Make certain power is OFF before starting installation or
attempting any maintenance.
2. Fixture comes standard with a HOT, COMMON and GROUND
wire or ground lug.
3. 90°C supply wire required for E-MT5A301G. All others require
60°C supply wire.
4. Mounting locations above 4 feet (1.2 meters), caulking of
canopy to mounting surface and fixture must not be used
without lamp shields
SAVE THESE INSTRUCTIONS
Turn off power supply to avoid the risk of electrical shock. This
product must be wired in accordance with the National Electrical
Code and applicable local codes and ordinances. Proper grounding
is required to ensure personal safety. A qualified electrician should
do all work.
CAUTIONS
1. Remove (3) screws connecting the pendant mounting/ballast
cover to the fixture housing.
2. Thread the pendant mounting cover onto the conduit.
3. Complete the wiring to the power source (refer to wiring
instructions)
4. Seal around the conduit using approved NEC procedures.
5. If necessary, align gasket with holes in fixture housing.
6. Reinsert and tighten (3) screws connecting the pendant mounting
cover to the fixture housing.
MOUNTING TO CONDUIT PENDANT MOUNTING
(E-MTA AND E-MT6 SERIES)
Document Date
Drawing/Page DCR#
CI308X10R1
JAD 10-162
08/02/10
www. e-conolight.com 888.243.9445 FAX: 262.504.5409
1. Remove (3) screws connecting the ballast cover to the fixture
housing.
2. Remove (2) screws connecting the ballast cover to the
Mounting Arm.
3. Remove (4) screws connecting the mounting arm to the J-box.
4. Attach the J-Box to the mounting surface.
5. Attach conduit to J-box and pull leads to the box.
6. Seal around the conduit using approved NEC procedures.
7. Complete the wiring to the power source (refer to
wiring instructions).
8. Reassemble fixture by reversing steps 1, 2 & 3.
NOTE: Make sure to properly align gaskets between the
mounting and ballast cover and between the ballast cover
and fixture when reassembling.
WALL MOUNTING (E-MT7 SERIES)
E-MT6A301G
E-MT7A301G
E-MT5A301G E-MT7F421G
E-MT7M07DG
E-MT7H151G
E-MT6F421G
E-MT6M07DG
E-MT6H151G
E-MT5F421G
E-MT5M07DG
E-MT5H151G
1. Remove (3) screws connecting the ballast cover to the
fixture housing.
2. Remove (2) screws connecting the ballast cover to the J-box.
3. Attach the J-box to the mounting surface.
4. Attach conduit to J-box and pull leads to the box.
5. Seal around the conduit using approved NEC procedures.
6. Complete the wiring to the power source (refer to
wiring instructions.)
7. Reassemble fixture by reversing steps 1 & 2.
NOTE: Make sure to properly align gasket between the ballast
cover and fixture when reassembling.
CEILING MOUNTING (E-MT5 SERIES)
1. Loosen guard set screws.
2. Remove globe and guard assembly.
3. Install recommended lamp only.
4. Re-install globe and guard assembly.
5. Tighten guard set screws.
LAMP INSTALLATION
INSTALLATION INSTRUCTIONS
E-MT5, E-MT6, AND E-MT7 SERIES
Document Date
Drawing/Page DCR#
CI308X10R1
JAD 10-162
08/02/10
www. e-conolight.com 888.243.9445 FAX: 262.504.5409
1. Turn power supply off.
2. Connect the black fixture lead (120V) to the HOT (usually black)
supply lead.
3. Connect the white fixture lead to the white supply lead
(COMMON).
4. Connect ground as appropriate. (NOTE: This fixture will have
either a “Green Ground lug” or a ground wire for grounding
the fixture.)
5. Cap and insulate all unused leads.
6. Be sure any unused wiring entrances are closed with closure
plugs provided.
INCANDESCENT FIXTURES
WIRING
1. Turn power supply off.
2. Connect the appropriate ballast voltage lead (120V or 277V) to
the HOT (usually black) supply lead.
3. Connect the ballast “Common” lead (usually white) to the
incoming “Common” lead (usually white).
4. Connect ground as appropriate. (NOTE: This fixture will have
either a “Green Ground lug” or a ground wire for grounding
the fixture.)
5. Cap and insulate all unused leads.
6. Be sure any unused wiring entrances are closed with closure
plugs provided.
HID FIXTURES
1. Turn power supply off.
2. Connect the black fixture lead to the HOT (usually black) supply
lead.
3. Connect the white fixture lead to the white supply lead
(COMMON).
4. Connect ground as appropriate. (NOTE: This fixture will have
either a “Green Ground lug” or a ground wire for grounding
the fixture.)
5. Cap and insulate all unused leads.
6. Be sure any unused wiring entrances are closed with closure
plugs provided.
FLUORESCENT FIXTURES

This manual suits for next models

10

Other e-conolight Outdoor Light manuals

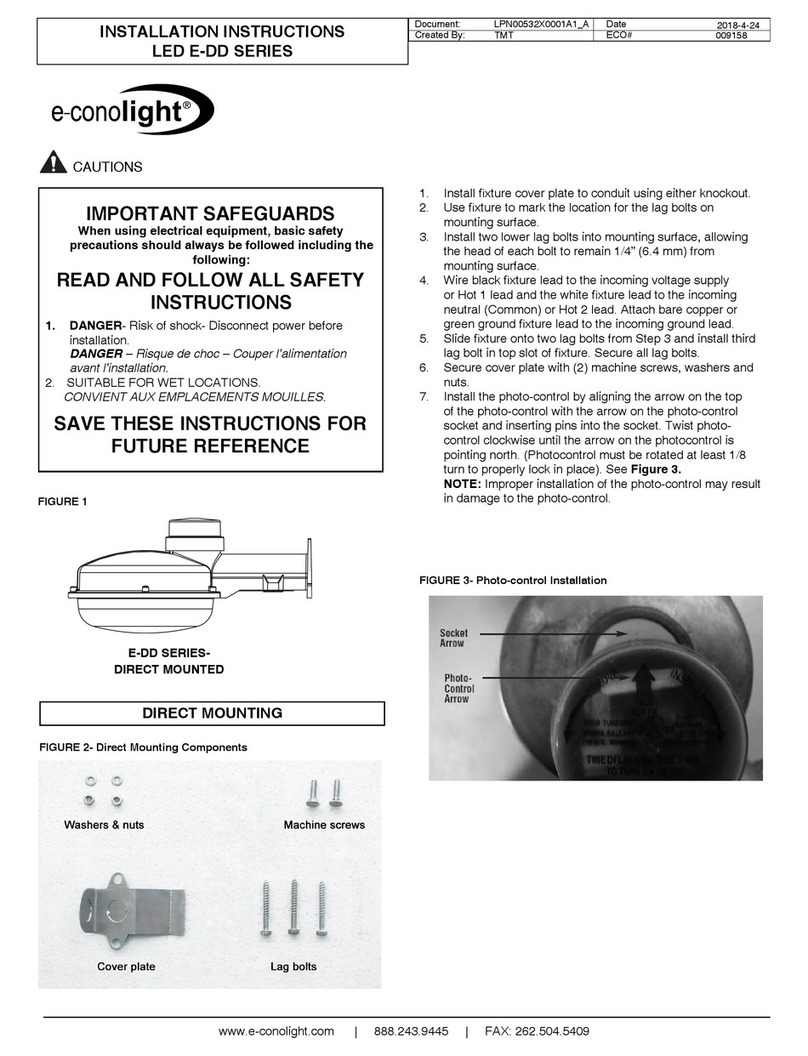
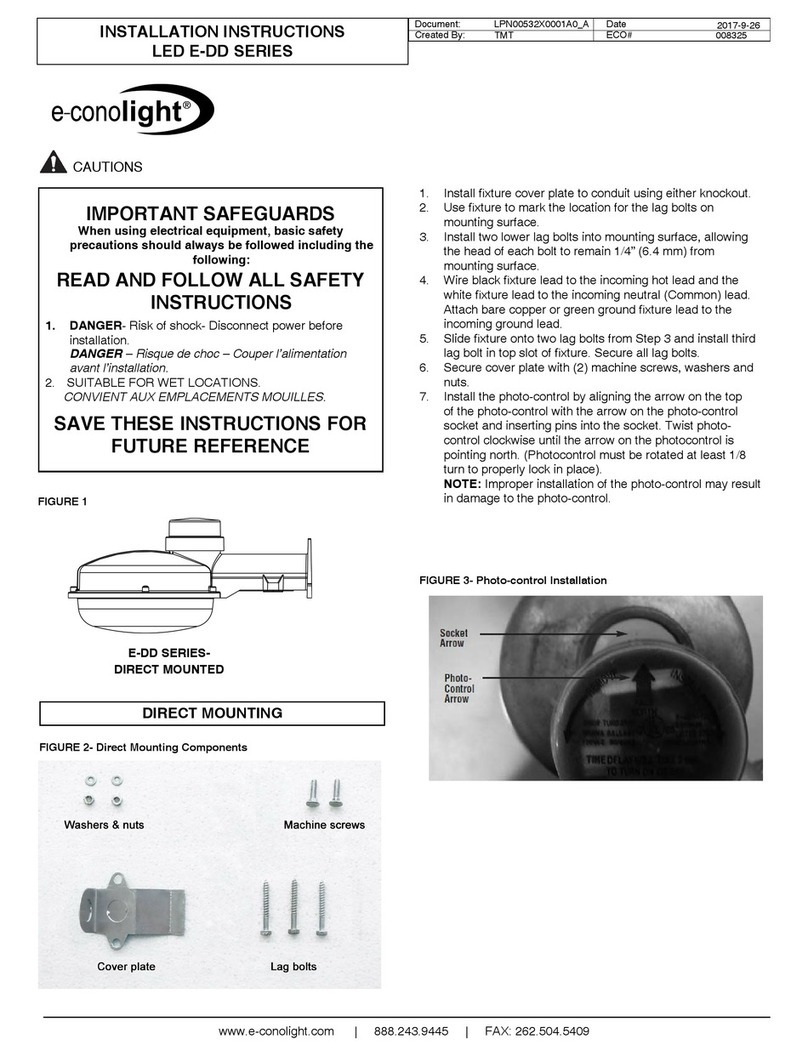
e-conolight E-DD0L40 SERIES User manual

e-conolight

e-conolight E-DD0L40 SERIES User manual

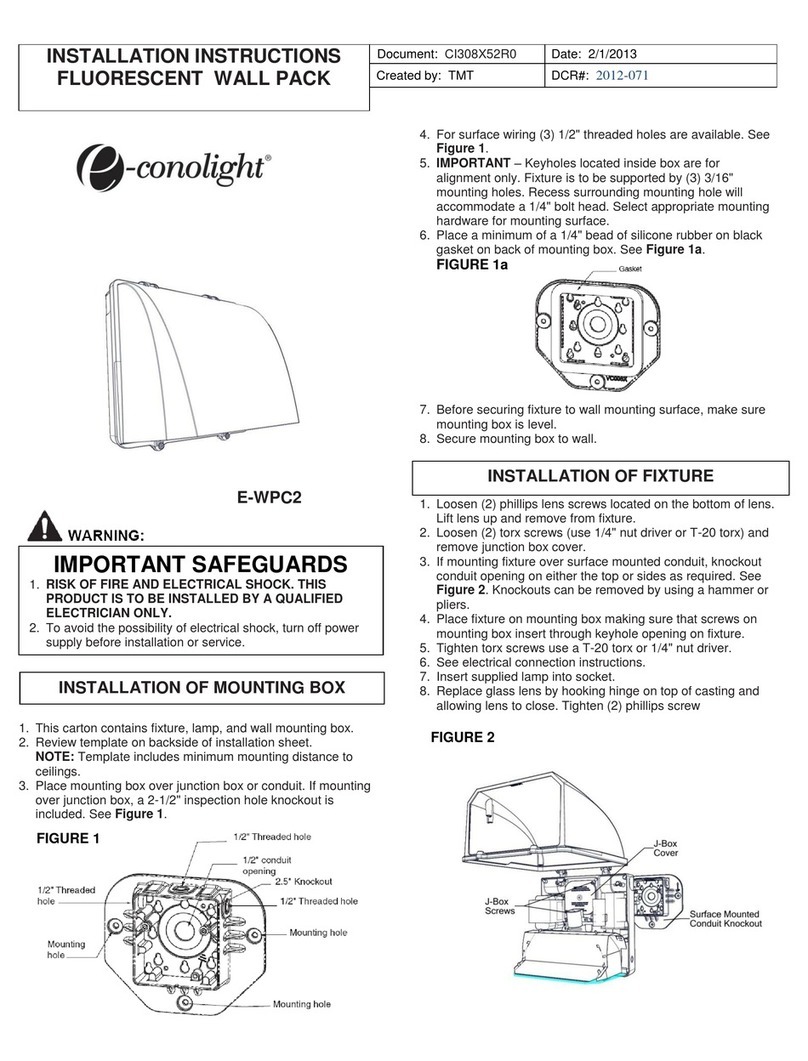
e-conolight E-WPC2 User manual

e-conolight

e-conolight E-WPC2 User manual

e-conolight E-DD1L66CU User manual

e-conolight

e-conolight E-DD1L66CU User manual

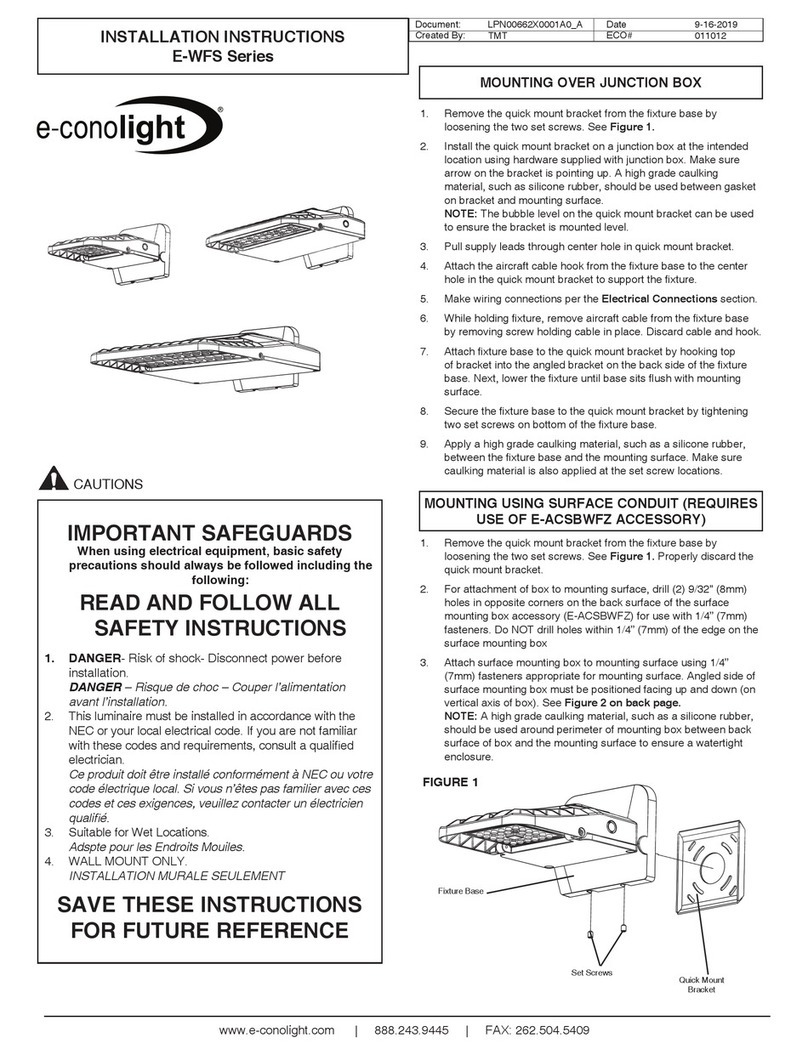
e-conolight E-WFS Series User manual

e-conolight

e-conolight E-WFS Series User manual

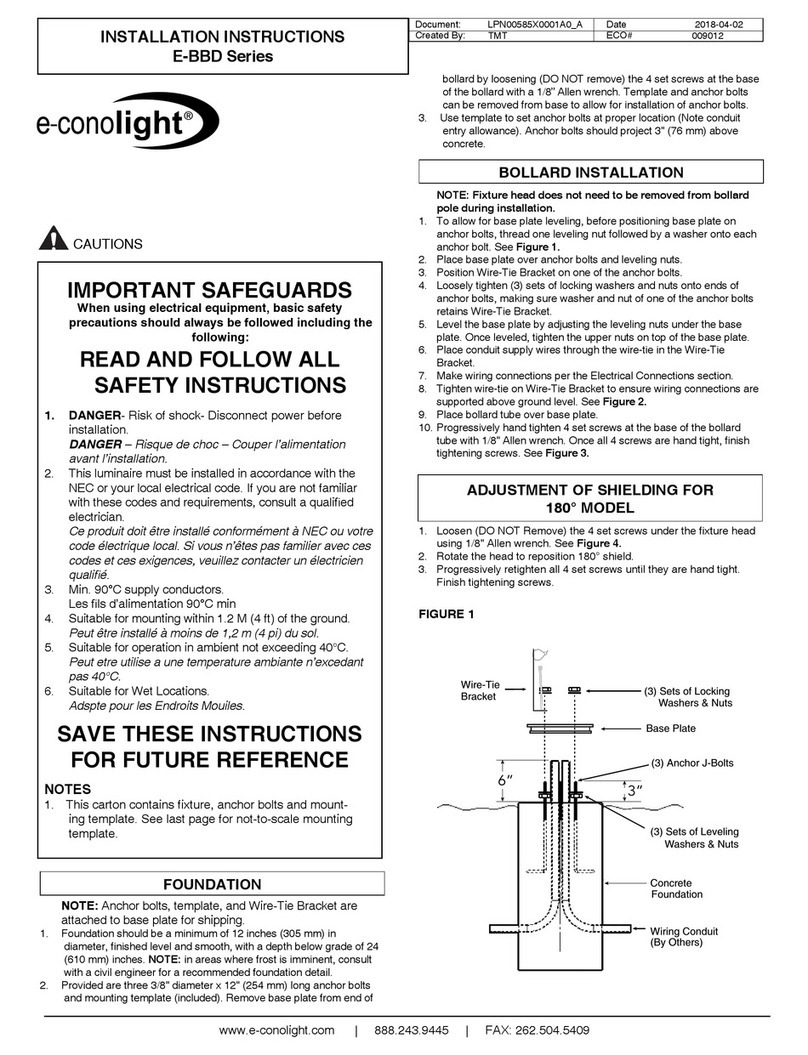
e-conolight E-BBD Series User manual

e-conolight

e-conolight E-BBD Series User manual

e-conolight E-BBA series User manual

e-conolight

e-conolight E-BBA series User manual

e-conolight E-DD Series User manual

e-conolight

e-conolight E-DD Series User manual

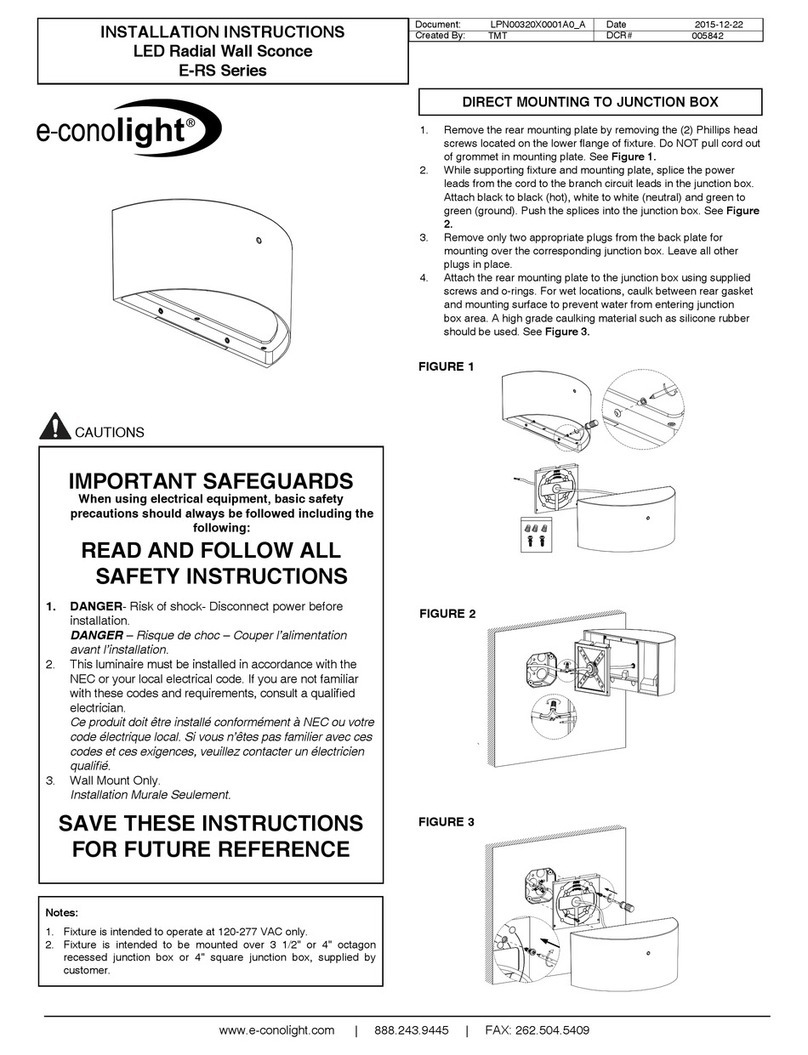
e-conolight E-RS Series User manual

e-conolight

e-conolight E-RS Series User manual

Popular Outdoor Light manuals by other brands

Style selections 13223 quick start guide

Style selections

Style selections 13223 quick start guide

ALLIANCE IT series quick start guide

ALLIANCE

ALLIANCE IT series quick start guide

Patriot Lighting SL2002 BLK quick start guide

Patriot Lighting

Patriot Lighting SL2002 BLK quick start guide

IDS BlancOne Arcus manual

IDS

IDS BlancOne Arcus manual

V-TAC OUTDOOR Series instruction manual

V-TAC

V-TAC OUTDOOR Series instruction manual

ring Pathlight manual

ring

ring Pathlight manual

LF Portfolio EL0327BK-6A installation instructions

LF

LF Portfolio EL0327BK-6A installation instructions

HerzBlut Leonora 10730 Instruction and installation manual

HerzBlut

HerzBlut Leonora 10730 Instruction and installation manual

JONATHAN Y JYL6614A manual

JONATHAN Y

JONATHAN Y JYL6614A manual

Westgate STL2-50W K Series installation instructions

Westgate

Westgate STL2-50W K Series installation instructions

IKEA STORHAGA manual

IKEA

IKEA STORHAGA manual

JONATHAN Y Cary JYL7606A manual

JONATHAN Y

JONATHAN Y Cary JYL7606A manual

Signature Hardware WHITBY 434145 quick start guide

Signature Hardware

Signature Hardware WHITBY 434145 quick start guide

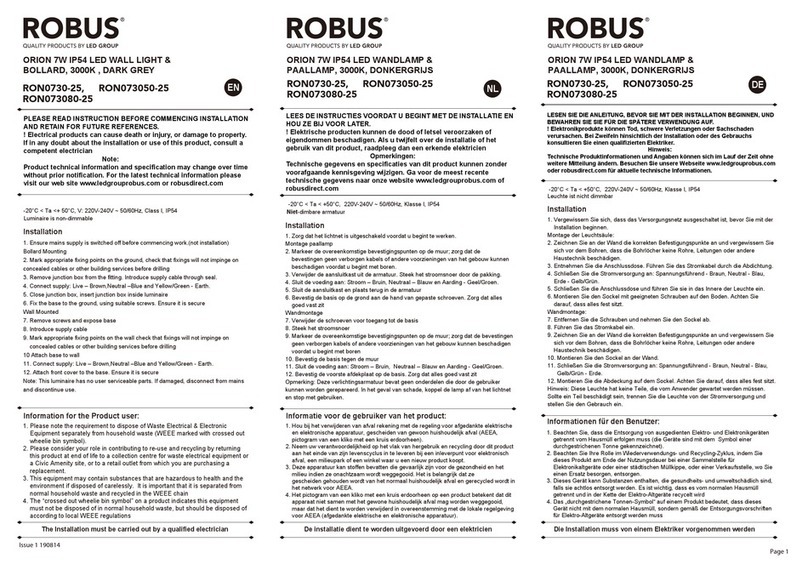
LED Group ROBUS ORION RON0730-25 quick start guide

LED Group

LED Group ROBUS ORION RON0730-25 quick start guide

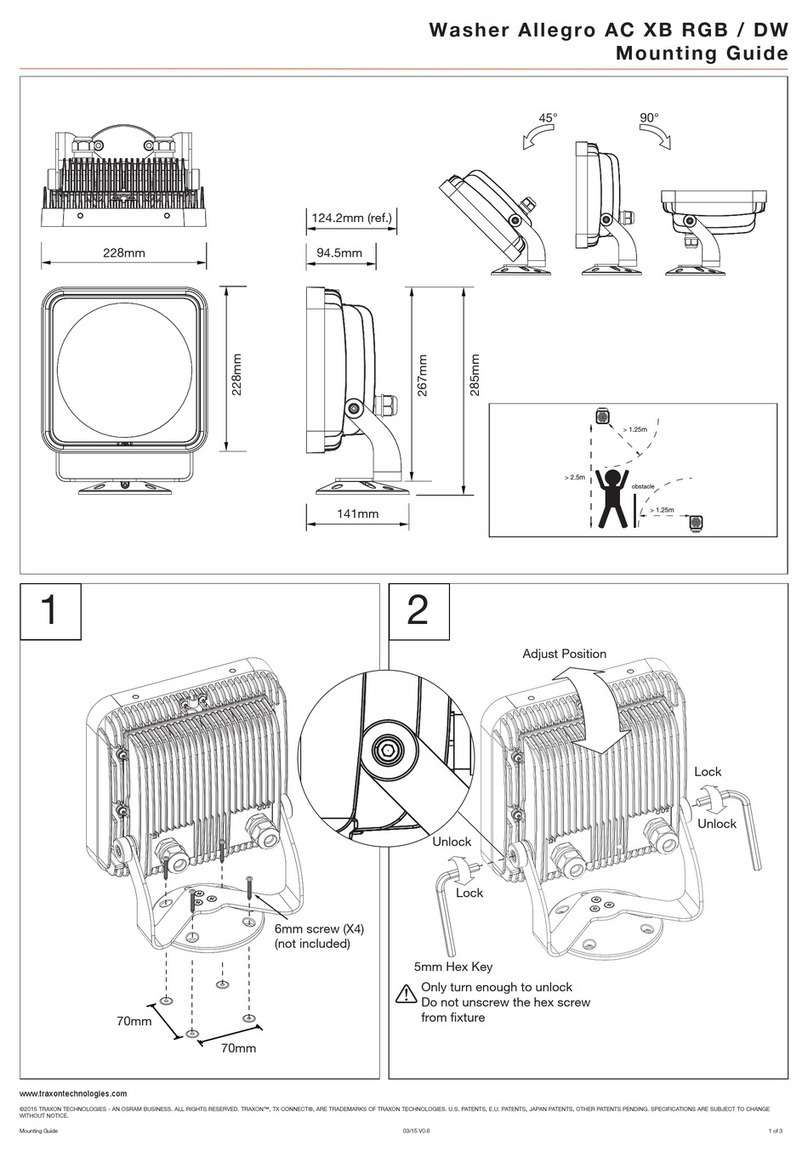
TRAXTON Washer Allegro AC XB RGB / DW Mounting guide

TRAXTON

TRAXTON Washer Allegro AC XB RGB / DW Mounting guide

muuto AMBIT WALL L37 installation instructions

muuto

muuto AMBIT WALL L37 installation instructions

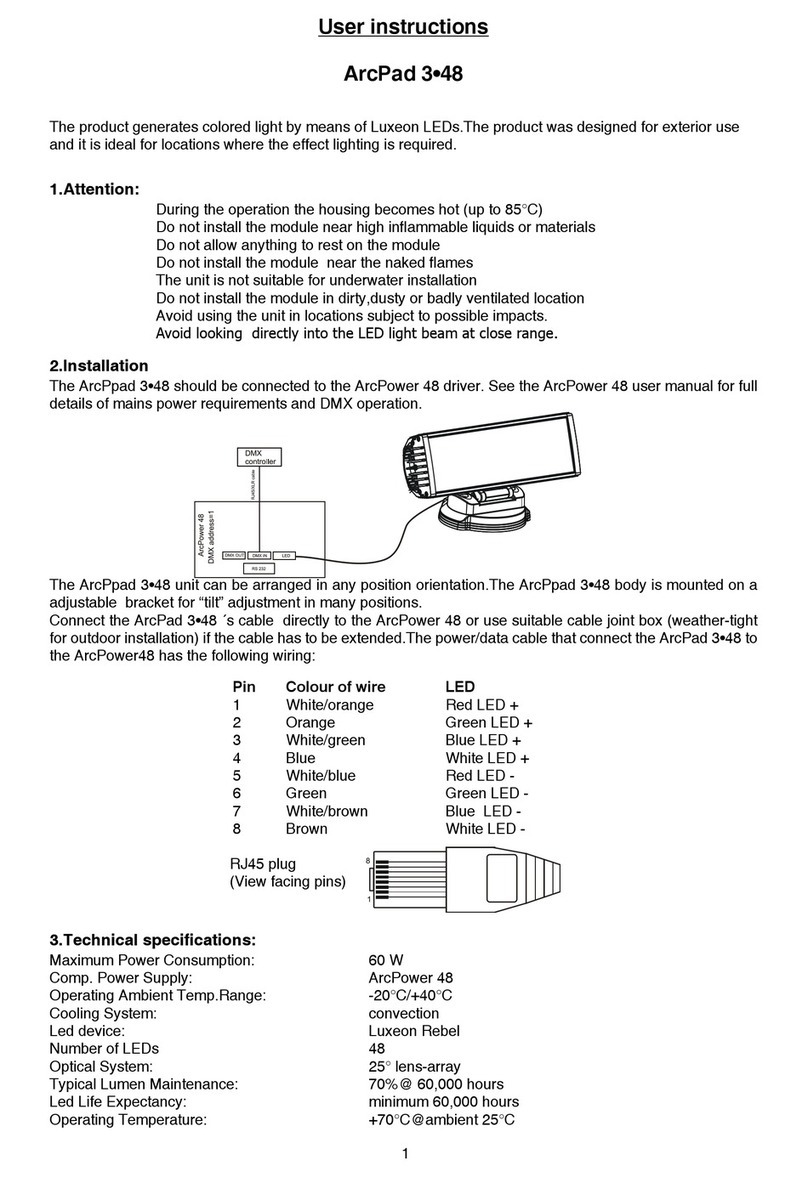
Anolis ArcPad 3-48 User instructions

Anolis

Anolis ArcPad 3-48 User instructions

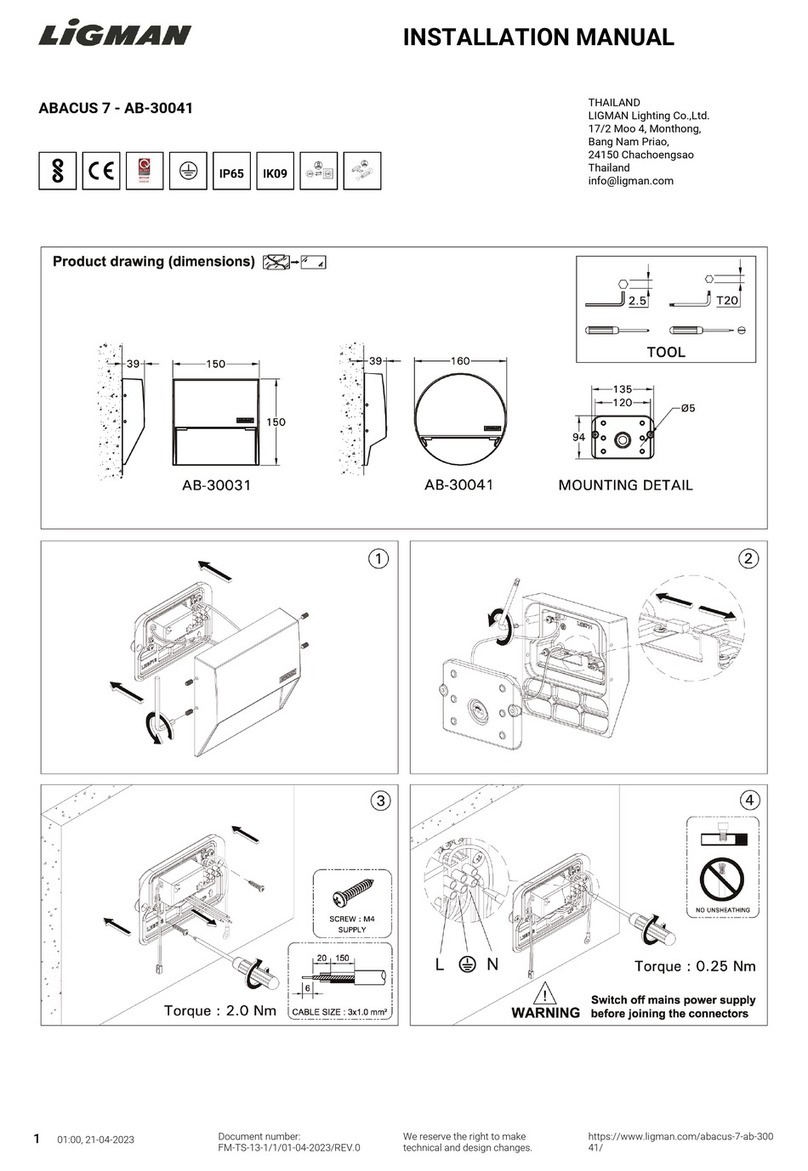
LIGMAN ABACUS 7 manual

LIGMAN

LIGMAN ABACUS 7 manual

manuals.online logo
manuals.online logoBrands
  • About & Mission
  • Contact us
  • Privacy Policy
  • Terms and Conditions

Copyright 2025 Manuals.Online. All Rights Reserved.