Earlex SS125 User manual

Steam
Wallpaper Stripper
OPERATING INSTRUCTIONS
MODEL SS125
PLEASE READ THESE INSTRUCTIONS CAREFULLY BEFORE USE
Thank you for purchasing a Steam Wallpaper Stripper. This is a highly versatile machine
for use all around the home. In order to obtain the best results please read the instructions
before commencing any work.
THE MANUFACTURER WILL ACCEPT NO RESPONSIBILITY FOR THE USE OF THIS
PRODUCT IF USED FOR ANY OTHER PURPOSES THAN THOSE DETAILED HEREIN.
Please also make a special note of the safety rules and
RETAIN FOR FUTURE REFERENCE

CAUTION !
Check the state of your plaster before starting work.
Steam can loosen weak, porous or poorly bonded plaster - which also loosens readily if cracked, holed or if the steam
plate is held in one position for too long after the paper is soaked.
Weak plaster can normally be detected by tapping a few areas of wall. A hollow sound indicates that you should
proceed only with extreme care - stopping immediately if you hear a cracking sound or plaster starts to break loose.
The steam stripper is safe for drywall/plaster board surfaces but whatever the material, it is always wise to check a
small area before starting work properly.
PROTECT YOUR HOME
The heat generated by the boiler unit can mark carpets, soft furnishings, table tops, cabinets etc. To prevent this we
recommend placing the unit on a wooden board, tray or other barrier - making sure it will not slip off one side or tilt
during use.
Dust sheets or newspapers are not suitable heat protectors for delicate surfaces.
PREPARATION
To achieve fastest paper removal always gently score the areas to be stripped.
With heavily embossed, vinyl coated or painted papers this is essential. Either use a proprietory
perforator tool or alternatively score the paper with the edge of a wall scraper in a criss-cross pattern
with 150mm (6 inch) spacing.
As with all decorating work be sure to protect carpets and furniture with covers.
OPERATION
STEAM IS HOT! The unit is designed for safe, fast removal of wallpaper but please be aware that steam is produced at
100oC - so be careful, wear protective clothing and protect your hands with heat resistant gloves or mitts.
FILLING:
Remove filler cap and fill unit to Max. level line or indicator with clean - preferably hot - water. Replace filler cap.
The capacity of 4 litres (7 pints) provides approx.70 mins. steaming time before the safety cut-out operates.
For a shorter steaming time use less water. Do not overfill the unit or hot water will be forced up the steam hose.
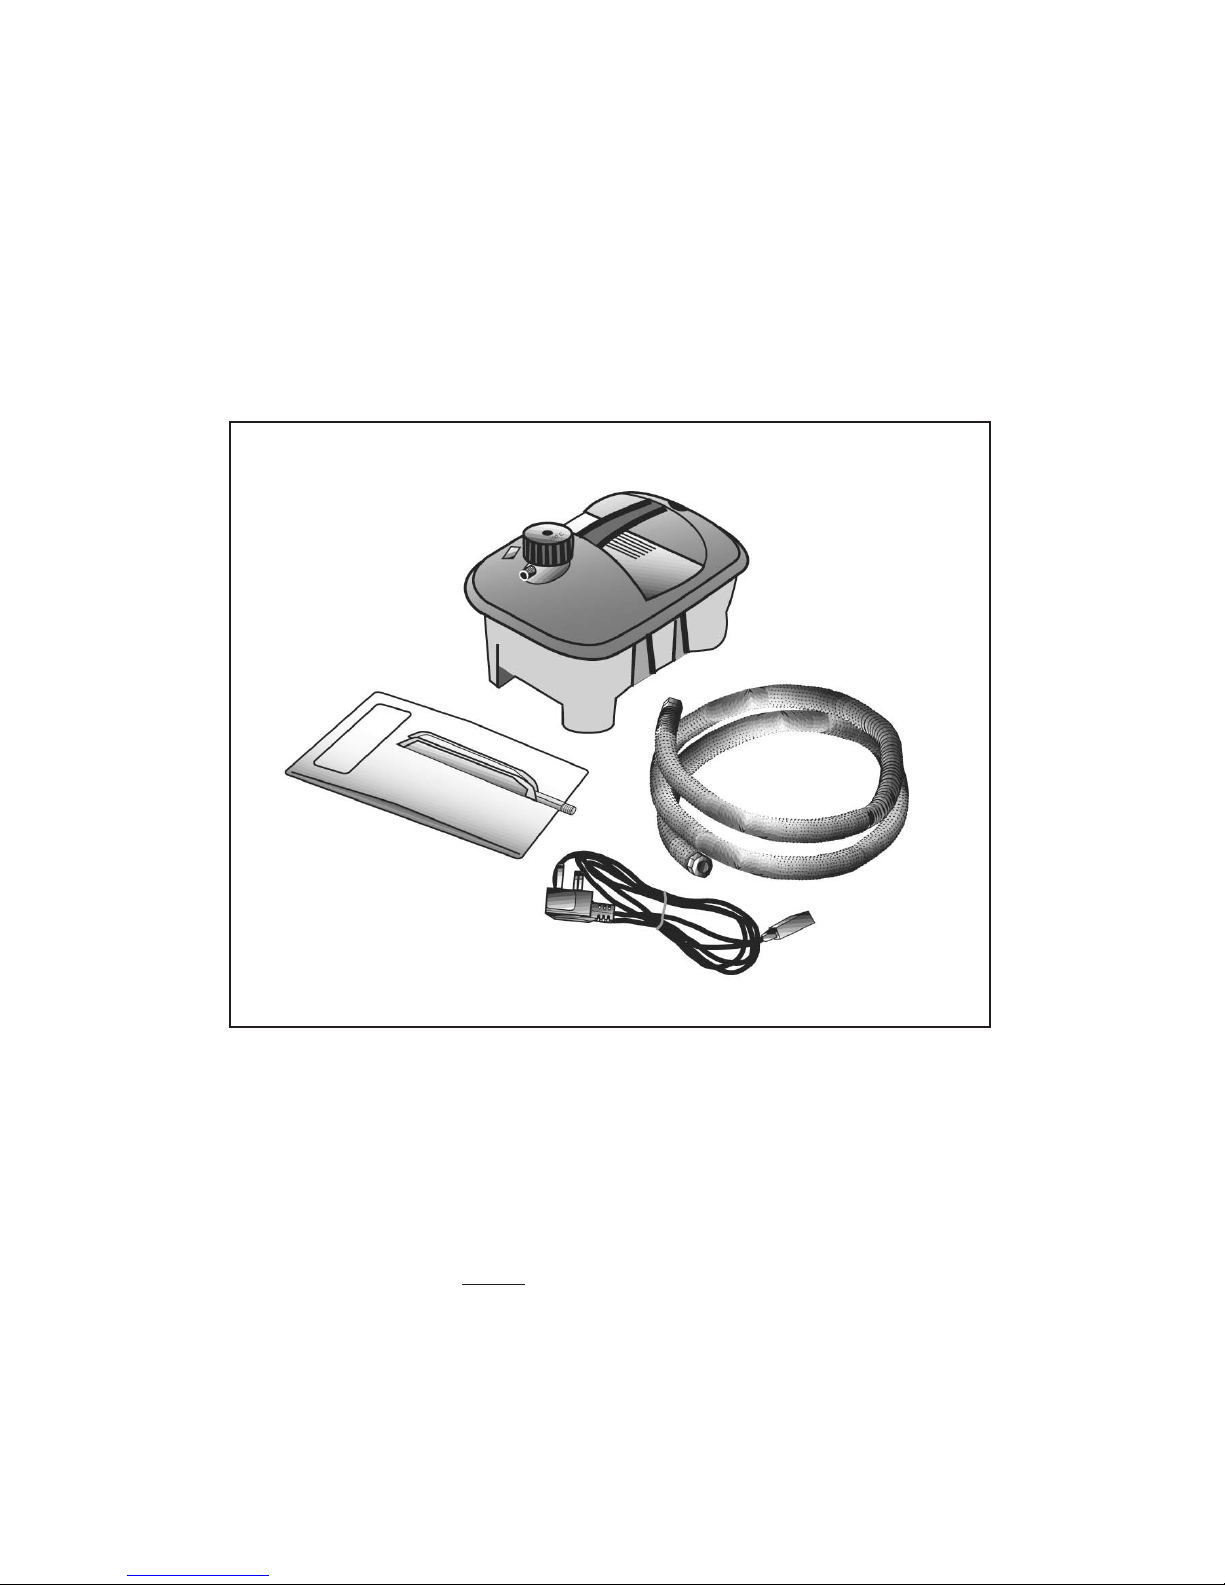
Screw hose onto threaded outlets of boiler and steam plate, hand tight is sufficient. Do not over tighten but do check
for hand tight fit from time to time during use.
Connect mains lead from unit to power socket and switch on. lt can take up to 15 mins (approx.) before steam is
produced - depending on fill water quantity and temperature.
Do not leave unattended and keep children & pets out of the room.
lKeep equipment away from children and pets.
lEnsure boiler is placed on a flat level surface, and
should the boiler become tilted in use - level again
immediately.
Failure to do so can result in severe overheating,
complete element failure and void of your
guarantee.
lBlock boiler unit securely if using on stairs.
lThe boiler becomes hot in use. Move only by using
the carrying handle.
lSteam is produced at 100oC. Be careful, wear
protective clothing and protect your hands with
heat resistant gloves or mitts.
lNever point hose or steam plate at anyone.
lAlways keep steam plate tilted away from face and
body, beware of hot drips and regularly empty
collected condensation from plate - especially when
stripping ceilings and high areas.
lNever remove filler cap or detach hose whilst unit is
operating.
lNever block the safety valve.
lNever use outside when raining.
lSwitch off and wait for 2 minutes before removing
filler cap to refill boiler.
lDo not overfill.
lAllow to cool completely before emptying boiler.
lDo not stand on boiler or hose.
lDo not drag or try to move boiler by pulling either
the hose or the mains lead.
lDo not allow water or steam to enter light switches
or power points.
lDo not leave unattended.
lUse only standard tap water. Never add detergents
or chemicals.
lExtreme care must be taken if the unit is used in
bathrooms. Always be aware of danger of
electrocution from stored water in baths and sinks.
lNever change tools when the unit is operating.
lAlways store upright.
lDo not overfill the reservoir.
lIt is recommended that a RCD (residual current
device) rated at 30mA is fitted into the mains supply
socket for added protection against electric shock.
lUse only genuine manufacturer parts.
SAFETY RULES
2

Just before full steam production a small amount of bubbling and water will occur at the steam plate.
Beware of hot water discharge prior to steam emission.
STRIPPING: Remember to check a small area first.
Operation is simple for both right and left handed people.
Simply hold the steam plate flat against the wallpaper for approx. 10 seconds. Now move the plate to
the spot immediately next to the one just steamed - from which the paper should now easily come
away with a little help from a wallpaper scraper.
Working this way should enable continuous paper removal although it may be necessary to steam for
longer periods with some papers, or if not completely removed first time.
Operate steamer until water level is low, then unplug unit and allow to cool for at least 2 minutes before removing filler
cap - Beware of steam - and re-filling unit.
When finished, allow to cool completely and empty unit. Always store unit empty.
SAFETY CUT-OUT
A safety cut-out is fitted to prevent overheating the element if the water boils low. If unit stops boiling during use this
may be the cause. Wait for 2 minutes before removing filler cap then re-fill with water. The cut-out will self reset and
steam be produced again within 5-15 minutes.
The cut-out will not protect the element if a part filled unit is tilted during use in a way which enables part of the
element to be out of the water for longer than 15-20 seconds.
OTHER USES FOR THE STEAM PLATE
Artex®
Normally Artex®can be removed using the same method as for wallpaper although the steaming time will be longer.
CAUTION: Some textured finishes may contain asbestos which may be hazardous to health and which are subject to
licensing controls operated by the HSE (Health & Safety Executive).
Vinyl Floor Tiles
Vinyl floor tiles can also be removed if the plate is left long enough for the heat to penetrate the adhesive. Once the
adhesive is hot it softens and the tile can be peeled from the floor.
Sterilising Soil
To sterilise soil in seed trays or greenhouses rake the soil to obtain a fine surface. Leave the
steam plate on each section, for 2 to 2.5 minutes which should ensure that the steam has
penetrated through the surface.
Killing Weeds
Steam will kill weeds on paths and patios without the use of chemicals. You will need to steam
the weeds for 1 to 1.5 minutes in order to kill them.
TROUBLE SHOOTING
Unit Fails to Boil
The unit has probably not been left for long enough to cool - refer to section on safety cut-out. Check the fuse in the
plug is sound and is rated at 13 amps.
If using an extension lead check that it is rated at a minimum of 10 amps and fully unwound.
Unit Leaks Steam from Pressure Relief Valve
The pressure relief valve is a special low pressure valve and cannot be replaced by any other valve. If steam is leaking
from the valve, the most likely cause is a blockage in the hose. Allow the unit to cool then remove the hose and check
for any blockage. Always check the inlet in the tool you are using.
UNDER NO CIRCUMSTANCES FORCE THE VALVE SHUT. THIS IS OPERATING FOR YOUR PROTECTION.
DESCALING
To maintain peak performance of the unit, particularly in areas of hard water, it may be necessary to descale
the element in the unit. Proprietary kettle descaling products can be used in your unit - always follow the
manufacturer’s instructions.
IF YOU REQUIRE FURTHER ASSISTANCE PLEASE CONTACT OUR HELPLINE ON:
Tel: 01483 454666 Fax: 01483 454548
Opening Hours: Monday - Friday 08.30-18.00 (Except Bank Holidays)
3

MAINS CONNECTION
Your unit has been supplied with a mains lead and a fitted plug. This is identified by the fuse holder in the base of the plug. Please read the following
safety instructions before use.
1. If the fitted plug is cut off from the mains lead then the plug must be disposed of safely. NEVER under any circumstances insert such a plug
into a 13 amp socket.
2.NEVER under any circumstances use the appliance or mains lead without the fuse cover fitted. This is the little cover fixed into the base of plug to
hold the fuse in place.
3. If you lose the fuse cover then please contact any electrical dealer for a replacement or ring our helpline.
4. A replacement fuse must be rated at 13 amp. These must be manufactured and approved to BS1362.
5.IF IN ANY DOUBT PLEASE CONSULT AN ELECTRICIAN.
If you need to fit a plug to the mains lead, this should be fitted in accordance with the wiring instructions below, and will need to be used with a 13
amp fuse. If in doubt consult an electrician.
WARNING - THlS APPLIANCE MUST BE EARTHED. If you are using an extension lead it must be rated at a minimum of 10 amps and fully
unwound. Do not operate with a lead rated at less than 10 amps as this will cause premature failure of the element which is not covered by the
guarantee.
As the colours of the wires in the mains lead of this appliance may not correspond with the coloured markings identifying the terminals in your plug,
proceed as follows:
The wire which is coloured green and yellow must be connected to the terminal in the plug which is marked with the letter E or
by the earth symbol, or coloured green or green and yellow.
The wire which is coloured blue must be connected to the terminal which is marked with the letter N or coloured black.
The wire which is coloured brown must be connected to the terminal which is marked with the letter L or coloured red.
GUARANTEE
This product is guaranteed for a period of 12 months against faulty materials and workmanship.
Whilst every possible care is taken by the manufacturer to ensure that our products leave the factory in good working order, the
manufacturer cannot under any circumstances accept liability for problems or damage caused by their subsequent use.
It is the responsibility of the user to ensure that surfaces to be treated, cleaned or stripped are suitable for steam.
This guarantee does not affect your statutory rights. This guarantee excludes the use for hire purposes.
EC Declaration of Conformity
We declare that the unit: SS125 conforms to: 73/23/EEC, BSEN60335-1, BSEN60335-2-15 & 89/336/EEC, EN55014-1,
EN55014-2, EN61000-3-2, EN61000-3-3.
Tim Hopper-Technical Director
4
© 2004 B40 12/04
Table of contents
Other Earlex Kitchen Appliance manuals

Earlex
Earlex Pro-Steam LCS176 User manual

Earlex
Earlex SS200 User manual

Earlex
Earlex Super Steamer SS100 User manual

Earlex
Earlex STEAM DYNAMO PRO User manual

Earlex
Earlex SS76 User manual

Earlex
Earlex STEAMmaster LMB User manual

Earlex
Earlex VAP75 User manual

Earlex
Earlex SS76 User manual

Earlex
Earlex Steam Master LMB110V User manual

Earlex
Earlex SS76 User manual
Popular Kitchen Appliance manuals by other brands

Küppersbusch
Küppersbusch EEH 650.0 Instructions for use and installation instructions

Bosch
Bosch MS 6 user manual

Kalorik
Kalorik FT 44845 manual

Metos
Metos RG-250 Installation manual and operating instructions

Tricity Bendix
Tricity Bendix SIE326 Operating and installation instructions

TEFAL
TEFAL Ultracompact Sandwich SM155283 manual