EARLY RIDER BELTER 16 URBAN User manual

User Manual
3Y
–
6Y
45CM+
105CM
BELTER 16 URBAN TRAIL

The Early Rider Explorers are a group of adventurers
who love getting out on their Early Rider bikes.
They also get special discounts on Early Rider
products and you’ll activate your bike’s warranty.
Thank you for choosing one of our awesome bikes!
They are brought to you by a small team of passionate
life-long bikers based in Henley-on-Thames, UK.
We simply love what we do and we hope that shows in the
amazing Belter 16 bike you have selected. If you have any
questions simply speak to your retailer or drop us a line at:
info@earlyrider.com
Hey !
thank you...
REGISTER ONLINE
earlyrider.com/explorers
IT’S EASY TO JOIN
1
ENJOY THE BENEFITS
Discounts, ideas and freebies!
2
Brake Lever
Headtube
Headset
Crank
Front Sprocket
Belt
Rear Sprocket
V Brake Arm
Seatpost Clamp
Saddle
Seatpost
Stem
A
B
C
D
E
F
G
H
I
J
K
L
Your Early Rider will be fully assembled when purchased
from an Early Rider authorised dealer. These instructions
are intended to detail some important points vital for
the safe and efficient running of your bike and to run
through the adjustment of the bike to accommodate
your child’s development.
Please retain these instructions for future reference.
Know your bike
EARLY RIDER BELTER 16
REgister your bike So, you’re ready for your first adventure.
Why not tag us on Instagram and share
it with the world?
#earlyrider @earlyriderbikes
EARLYRIDER.COM/MANUALS
BELTER 16 URBAN
A
B
C
D
E
F
G
H
I
J
K
L
BELTER 16 TRAIL

SEttING UP YOUR BELTER
ADJUST THE SADDLE
Sit your child on the bike. Adjust the saddle position
so that your child can support themselves with their
feet on the ground, and their legs slightly bent.
They need to be comfortable and stable when they
are getting started on the bike. Once familiar with the bike,
you can begin to raise the saddle height to enable a little
extra pedal power, but be sure to do this only as your child’s
confidence develops.
Encourage your child to pedal with the ball of their foot.
In time you can get them to a riding position where the
leg is slightly bent at the bottom of the pedal stroke for
optimum efficiency.
1ADJUST THE HANDLEBARS
The handlebars can be adjusted to suit the
rider. Both the height and reach can be altered
to find the most comfortable riding position
for your child.
STEM HEIGHT
Your Belter has “threadless” headset system which uses a
series of spacers that can be placed above or below the stem
to alter the handlebar height (see maintenance - ‘headset’ for
adjustment information).
BAR REACH (URBAN ONLY)
Your handlebars also have a rise allowing them to be rotated
to either increase or decrease the length of the reach.
2
Your seat post is marked to indicate the maximum
permissible height of the saddle. For safety reasons,
do not exceed the minimum insertion mark.
Important Stuff
GET READY FOR YOUR FIRST RIDE

GET READY FOR YOUR FIRST RIDE
CHECK YOUR WHEELS & TYRES
TYRES
Check your tyre pressure before riding, either by
hand or by using a pressure gauge. Your tyres
should be inflated to the pressure indicated on
the tyre sidewalls. Under inflated tyres will increase traction
but will be harder to drive and will increase the chance
of punctures.
WHEELS
Spin the wheels and make sure that the brake blocks remain
clear of the wheel at all times. Rubbing can usually be fixed
by adjusting the brake balance. Interference between rim,
tyre and the brake blocks caused by a more substantial
buckle in the wheel needs to be fixed by an experienced
wheel builder. Please be aware, a brake block rubbing on
the tyre sidewall will cause a sudden and dangerous blow
out if not corrected.
CHECK YOUR BRAKES
You can adjust the reach to the lever using
the Allen head screw as shown in the picture
adjacent to find the perfect reach for your
child’s hands.
Squeeze the brakes before setting off on a ride. It’s easy to
forget to reconnect brake cables after transporting the bike
or repairing a puncture. Ensure the brake blocks are not worn
and contact the rim uniformly when the brake lever is pulled.
If in doubt, ask your dealer.
Your Belter is equipped with two short reach, high
performance V-brakes. Encourage your child to pull the
brake lever smoothly and gradually. Remember that braking
will throw the rider’s weight forward and so when the brakes
are applied, extend or tense the arms to resist this motion.
Regularly inspect the brakes for adjustment and wear.
A worn or loose brake pad won’t work well and may be
more dangerous than no brake pads at all.
34
SEttING UP YOUR BELTER

GET READY FOR YOUR FIRST RIDE & EVERY RIDE
Safety first
When riding a bicycle, a child should wear a correctly
fitted helmet at all times. Failure to do so may result in
serious injury. There, we’ve told you twice.
IMPORtant stuff
RIDING IN THE DARK
Your Early Rider Belter comes with a full set of reflectors.
Keep them on the bike and keep them clean; they will help
your child to be seen by others.
If you and your child will be riding in dull or dark conditions
we strongly recommend that you use a set of reliable battery
powered lights. We also strongly recommend your child
wears reflective clothing when riding, but especially in low
light conditions.
BAD WEATHER
Always be aware that brakes do not work as efficiently in wet
weather as they do in the dry. Even well maintained brakes
will require more pressure on the lever and a longer distance
to stop.
Make sure to remind your child to familiarise themselves with
braking when they ride in variable conditions. Also remember
that visibility is reduced in the wet.
NOT FOR ADULT USE
The Belter 16 is a child’s bike. As such, it is not indended for
use by an adult. An adults weight on the bike could result in
damage to parts on the bike including, but not exclusive to,
the frame, forks, cranks and wheel set.
ALWAYS WEAR
A HELMEt!
PLEASE RIDE WITH CARE!
No matter how experienced your child is,
it’s worth spending some time allowing your
child to get used to riding their new bike in
a quiet, open area, free from traffic.
The Early Rider Belter 16 is a performance
bicycle, built for speed and awesomeness.
Ensure that your child is properly
protected at all times and above all...

ENJOYING YOUR BELTER EVERY RIDE
Your Early Rider Belter is uniquely designed to be low maintenance but it will still benefit from care and attention.
CLEANING
Cleaning your bike regularly means you are more likely
to notice any loose or worn components and possible
frame damage. A clean, well lubricated bike will also run
more smoothly.
We recommend using a bicycle or car shampoo, a sponge
and a brush. Wash, rinse and dry before lubricating it.
DO NOT JET WASH as this may damage your bike’s
cartridge bearings.
LUBRICANTS
NOTE: Your bicycle uses a belt to drive the sprockets
and not a chain. Your belt does not require lubrication.
Lubricating your belt will only attract dirt in the same
way a chainset does.
After cleaning your bike, it is advisable to spray with a water
dispersant, let it dry and then lubricate key pivot points.
Brake arms, brake levers and brake cables are all
components that benefit from lubrication. Your wheels
have sealed cartridge bearings and will run without
maintenance however it is worth periodically checking the
condition of the bearings by spinning the wheels and
making sure they are running freely and smoothly.
simple maintenance
BELT TENSIONING
Unlike a chain your belt will not suffer from stretching,
meaning no reduction of performance. Occasionally however,
you may need to tension the belt, for example after having
repaired a puncture. Tensioning the belt is made very simple
with ‘tensioners’ located in the front of the rear dropouts on
either side (between the chain stay and seat stay).
To tighten the belt loosen the four dropout-plate bolts (A),
loosen the lock nuts on the tensioner screws (B), and turn
the belt tensioner adjustment screws using a 3mm allen key
clockwise as shown right. Alternate adjusting the left and
right belt tensioners to ensure the rear wheel remains aligned
centrally with the frame of the bike. Your belt should have
no more than 20mm vertical movement when pressed in the
middle point of the drive train. Do not over-tighten the belt
as this will affect performance. Turn the pedals/cranks and
watch to ensure the belt is running correctly centred on the
front and rear sprocket.
If for example the belt is running too far to the right on
the rear sprocket then turn the right tensioner adjustment
screw clockwise or the left tensioner screw anti-clockwise
dependant on what is required to maintain optimum belt
tension. Once correct alignment and tension have been
achieved tighten all four drop-out plate bolts to 6nm,
re-check alignment and then secure tensioner screw
lock nuts.
B
A

ENJOYING YOUR BELTER EVERY RIDE
HEADSET & STEM
Although the bearings of a headset don’t rotate as frequently
as the other bearings on a bike they are among the most
important as they control the accurate steering of your bike.
A loose headset can quickly damage the bike making it hard
to control. Check your headset every time you ride. To check
headset tightness, put the front brake on and rock the bike
back and forth. If you feel movement tighten the headset.
THREADLESS HEADSET
Your Early Rider Belter uses a ‘threadless headset’.
Threadless headsets use a stem that clamps around an
unthreaded steerer tube of a fork. Adjustment of these
headsets (or re-tensioning after re-positioning of spacers
to adjust the stem height) is relatively straightforward –
threadless headsets can be adjusted with a simple Allen key.
If the headset is loose, first loosen the stem bolts so that it
can move on the steerer. Tighten the bolt in the centre of the
top cap that sits on top of the stem until the play is taken up.
Do not over tighten this top bolt. Rock the bike back and
forth with the front brake on to check for play and tighten
a quarter turn until the play is eliminated. Then tighten the
stem bolts correctly ensuring that the stem is lined up with
the front wheel.
Correct tensioning of these bolts involves adding a half
turn to each bolt in turn until the correct level of torque is
reached. Rotate the bars from side to side – the headset
should feel smooth, not lumpy or stiff. If it is undo the
stem bolts and loosen the top cap bolt a quarter turn
and try again.
Bearing damage caused by lack of maintenance or by riding
the bike with a loose headset may mean that a smooth feel
is not possible – in this case please consult your local dealer
for advice.
simple maintenance
WARNING! A loose headset can cause a serious
accident – ensure that any play here is eliminated
before the bike is ridden. Consult a dealer if in doubt.
IMPORtant stuff

ENJOYING YOUR BELTER EVERY RIDE
V-BRAKES
To disconnect the brakes (to remove the wheel for example)
you need to release the curved metal tube (the lead pipe or
noodle) from it’s retainer connected to the brake arm. Grab
both brake arms with one hand and squeeze the brakes onto
the rim. There should now be enough slack in the cable to
unhook the lead pipe. If not, use the barrel adjuster on the
brake lever to add a little slack, but remember to take up
this slack before riding.
The brake pads on V-brakes have grooves in them to clear
water from the rim, replace pads before the pad is worn to
the bottom of these grooves. The pads can be simply
unbolted to replace. When unbolting be sure to keep the
washers and shims in the correct order. Slip these onto the
post of the new pad.
Hold the bed flat against the rim and tighten up the Allen
bolt. Double check the pad hits the rim squarely without
overlapping the edge of the rim and give the Allen key
fixing bolt one final turn or partial turn to ensure the pad
is totally secure.
To reconnect the brakes, squeeze the brakes against the rim
and hook the lead pipe back into the retainer. Make sure that
the lead pipe is correctly located and that the outer cable is
properly seated in the brake lever. As the pads wear, you can
take up additional cable slack with the barrel adjuster on the
brake lever. Keep an eye on the pads though, make sure that
they still hit the rim squarely. It only takes a few moments to
correct and may avoid problems later.
simple maintenance
WHEELS
The condition of your wheels is key. The best maintenance
for a wheel is preventative maintenance. Watch for these
potential usage-created problems:
DIRTY RIMS
Dirty or greasy rims can render your brakes ineffective. Do not
clean greasy rims with solvents. Wipe your rims with a clean
rag or wash with soap and water, rinse and let air dry. When
lubricating your bike, be sure not to get oil on the braking
surfaces. If this happens, use a bike specific degreaser to
remove any traces of lubricant before riding or operating the
brakes as it’s easier to remove lubricants from the rims than
the pads.
BUCKLED WHEELS
Bike wheels withstand great forces and weight. Watch for
bent, loose or broken spokes that can cause your wheel to
go ‘out of true’. If your wheels rub noticeably on the brake
pads or you feel a pulsing or juddering when you brake,
your wheels may need truing. Because wheel truing is a
complicated procedure we recommend you take your bike to
an authorised Early Rider dealer if you feel the wheels need
some attention. This is always better done sooner rather
than later, as once a wheel looses it’s ‘balance’ or even spoke
tension, it will deteriorate to a point where it is not possible
to repair it.

ENJOYING YOUR BELTER EVERY RIDE
SPROCKET, CRANK & FREEWHEEL
These are components that come under significant stress.
The crank and front sprocket fit onto the bottom bracket
of your bike and is held on at either side by a bolt. These are
among the most important bolts to check regularly – once a
week. Make sure you have the right size tool (8mm Allen key)
to fit the bolt. Tighten to 35nm. It is not uncommon for the
cranks to settle on the axle of the bottom bracket during the
first few rides. This can cause the cranks to loosen (indicated
by a once a revolution creak or clicking sound under
pressure) and could permanently damage the cranks.
simple maintenance
Never ride your bike with loose cranks as this could
damage your cranks which will never tighten up properly
again. The bolts on both cranks tighten clockwise. Use
the right sized socket and make sure the bolt is tight.
IMPORtant stuff
PEDALS
It is important to ensure your pedals are tight in the crank
before every ride. Using the bike when loose would result in
damage to the crank arm and possibly yourself!
NOTE: Remember that pedal threads are different from
left side and right side. The right side pedal has a right-hand
thread (removes counterclockwise, installs clockwise). The
left side pedal has a left-hand thread (removes clockwise,
installs counterclockwise). Our pedals are printed ‘L’ and ‘R’
for left and right.
TIGHTEN PEDALS
Using a 6mm Allen Key and following the direction guide
above, locate the hex hole at the crank end of the pedal and
tighten the thread so it is locked in.

limited warranty
THE SERIOUS STUFF
Warranty coverage on your Belter frame and components
extends for ONE YEAR from the date of purchase while
owned by the original retail purchaser.
This warranty does not cover:
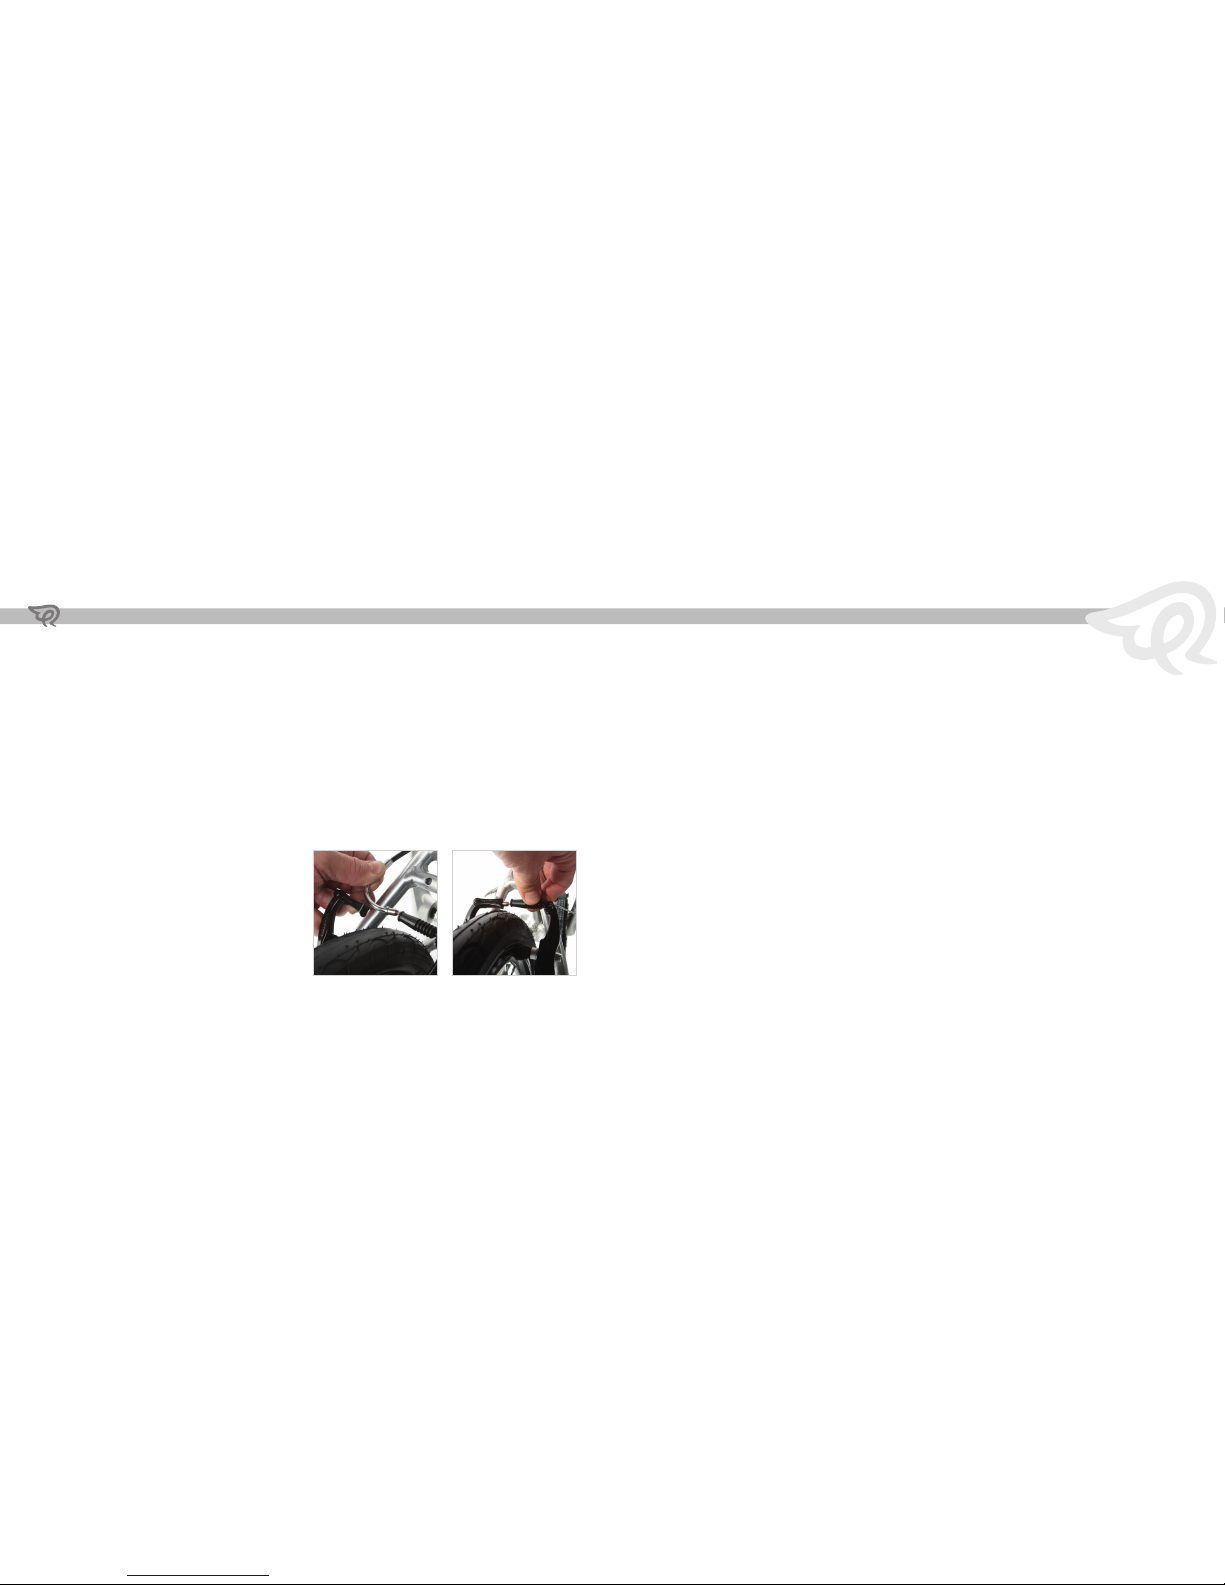
1. Normal wear and tear. Including consumables such as tyres,
grips, inner tubes and cables.
2. Any damage, failure or loss caused by accident, misuse, neglect,
abuse, failure to follow instructions or warnings in the owners’
manual or manuals supplied with the bike referring to original
equipment fitted.
3. Any damage, failure or loss caused by use of bicycles for stunt
riding, acrobatics or other similar activities or in any other
manner for which they were not designed. Bending of frames,
forks, handlebars, seat posts or wheel rims can be a sign of
misuse or abuse.
4. The original owner shall pay all labour charges connected with
the repair or replacement of all parts. Under no circumstances
does this limited warranty include the cost of shipment or
transportation to or from an authorised Early Rider distributor
or retailer.
Limitations
Only bikes sold, assembled and collected from an authorised Early
Rider dealer will be eligible for warranty. The foregoing warranties are
in lieu of and exclude all other warranties not expressly set forth herein,
whether express or implied by operation of law or otherwise, including
but not limited to any warranties of merchantability or fitness for a
particular purpose. Early Rider shall in no event be liable for incidental
or consequential losses, damages or expenses in connection with its
bicycle products. Early Rider’s liability hereunder is expressly limited
to the replacement of goods not complying with this warranty or, at
Early Rider’s discretion, to the amount equal to the purchase price of
the product in question.
Procedures
• Warranty service will be performed by Early Rider or an Early Rider
authorised dealer. Proof of purchase must be provided.
Transportation to and from Early Rider, an Early Rider distributor
or an Early Rider authorised dealer is the responsibility of
the purchaser.
• Early Rider will have the option of either repair or repayment of an
amount equal to the purchase price of the product.
• In the event Early Rider elects to replace a defective frame, a new
frame of equal or greater value will be provided. The new frame
may not be the exact model purchased. Early Rider is not responsible
for dealer labour charges for component changeovers when a frame
is replaced.
• If you elect to repair a defective product yourself or use the services
of someone other than an Early Rider authorised dealer, Early Rider
will not be liable for any damage, failure or loss caused by the use of
such unauthorised service or parts.
Useful product life cycle
Every Early Rider bike and frame set has a useful life cycle. The
useful life cycle is not the same as the warranty period. The warranty
identifies the period of time that Early Rider will replace the product
if this becomes necessary, this does not guarantee that the product
will last forever. The length of the useful life cycle will vary depending
on the type of bike, riding conditions and care the bike receives. Any
non-standard use can substantially shorten the useful product life cycle
of an Early Rider bicycle or frame set. All Early Rider bicycles and frame
sets should be annually checked by an authorised Early Rider dealer
for indications of potential failures including cracks, corrosion, dents,
deformation, paint peeling and any other indications of potential
problems, inappropriate use or abuse. These are important safety
checks and very important to help prevent accidents, bodily injury to
the rider and shortened useful product life cycle of an Early Rider
frame set.

WWW.EARLYRIDER.COM
@EARLYRIDERBIKES
INFO@EARLYRIDER.COM
+44 (0) 1264 356 008
HENLEY•ON•THAMES, UK
© 2016 EARLY RIDER LIMITED
All other trademarks are the
property of their respective owners.
Specifications are subject to change without notice.
This manual suits for next models
1
Table of contents
Other EARLY RIDER Bicycle manuals