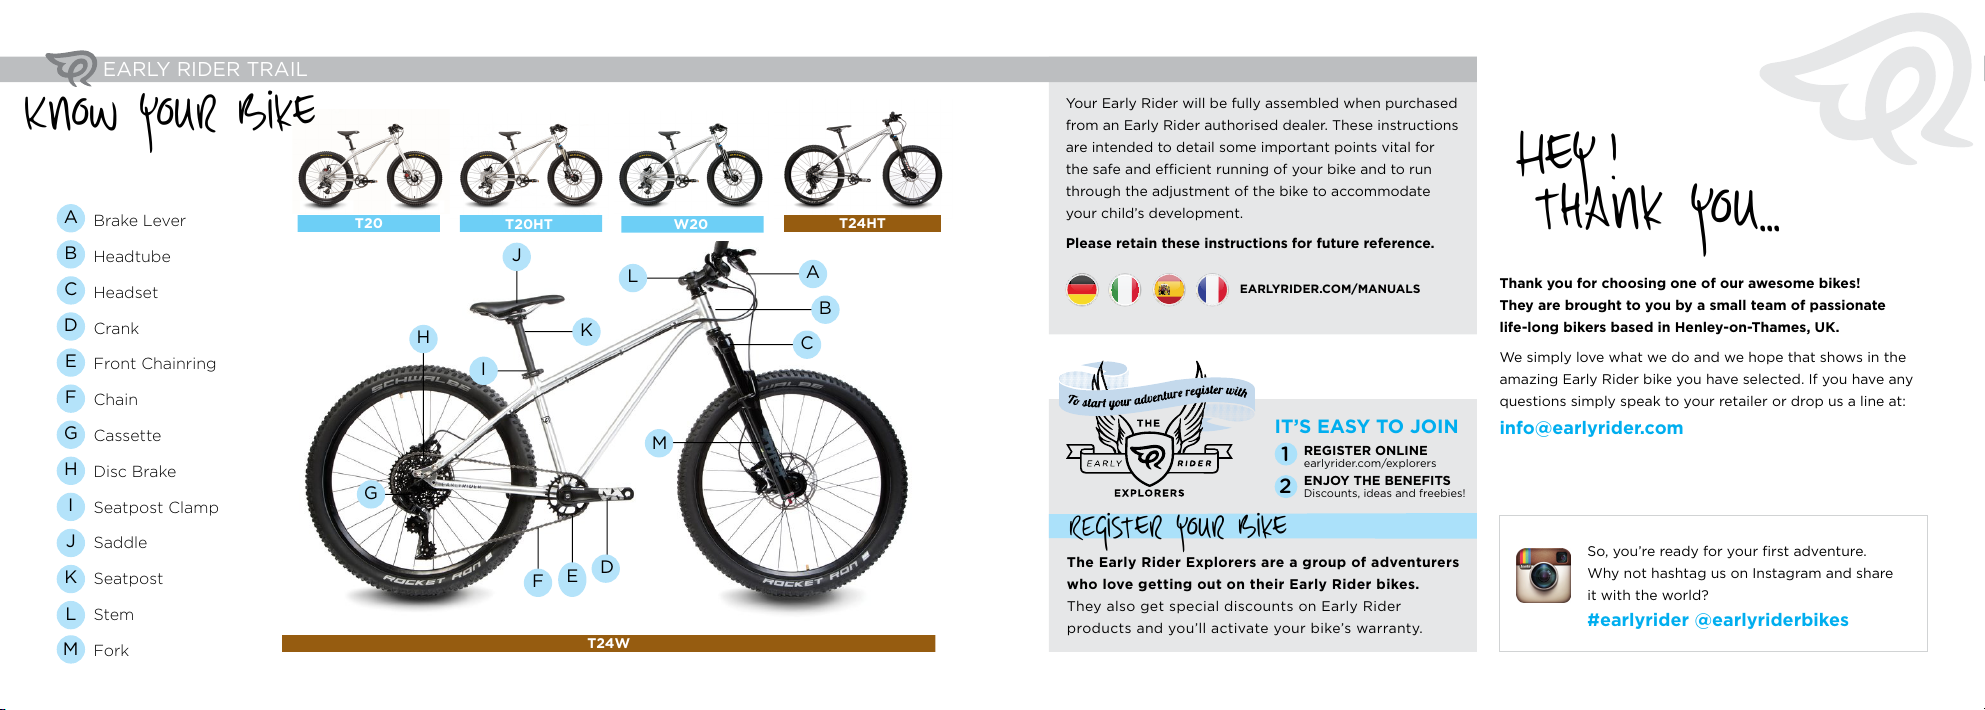
GET READY FOR YOUR FIRST RIDE
SEttING UP YOUR bike
FOR FURTHER INFORMATION AND MAINTENANCE TIPS,
PLEASE DOWNLOAD SUSPENSION USER GUIDES FROM
EARLYRIDER.COM/MANUALS
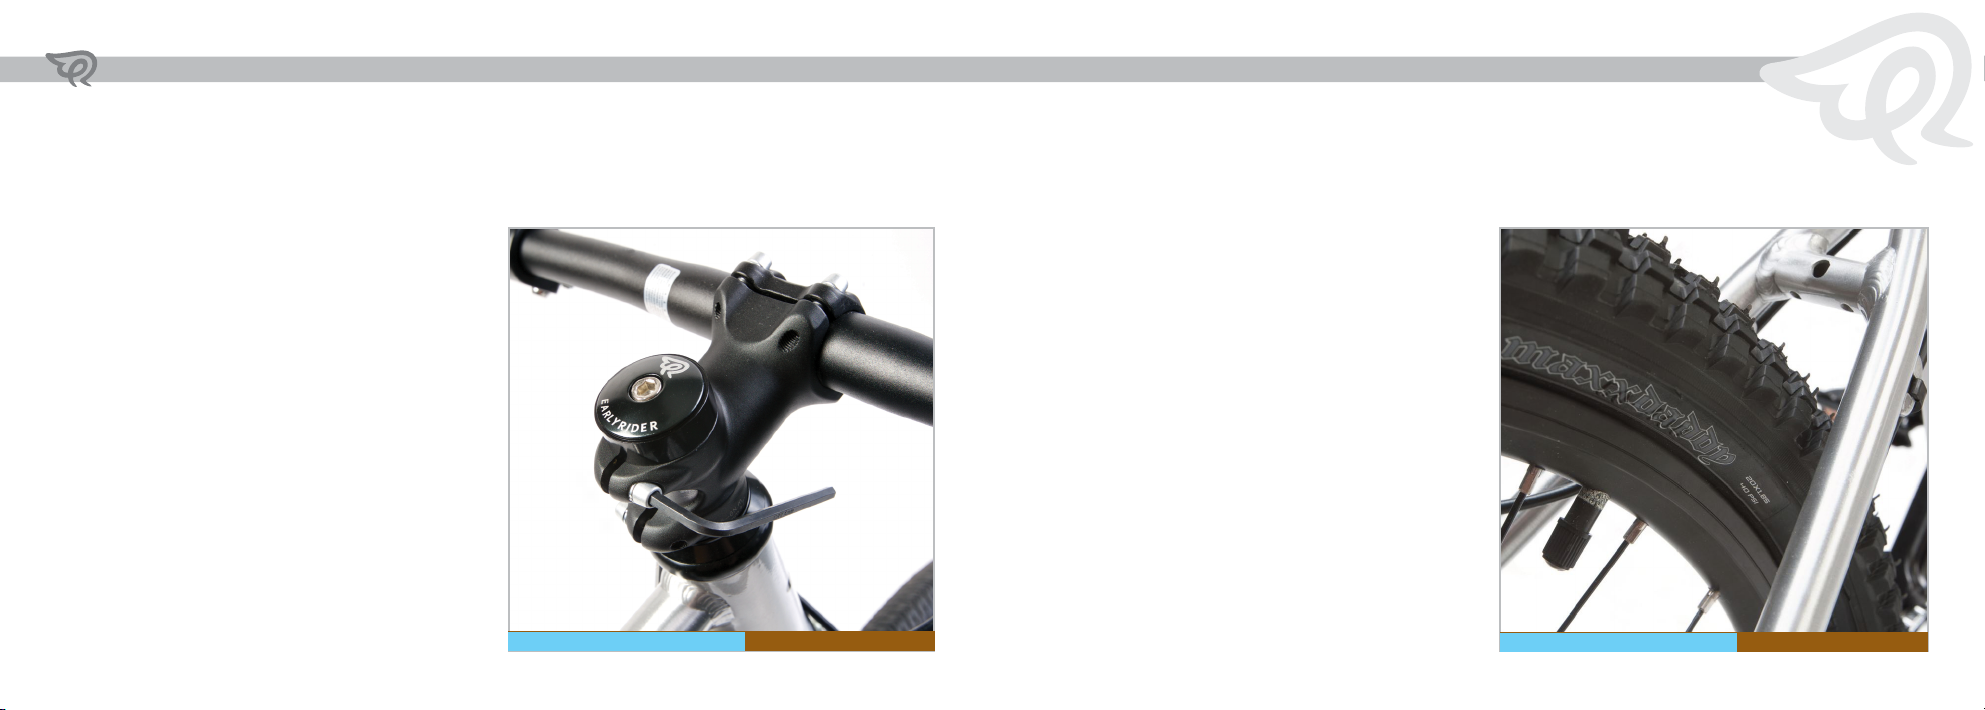
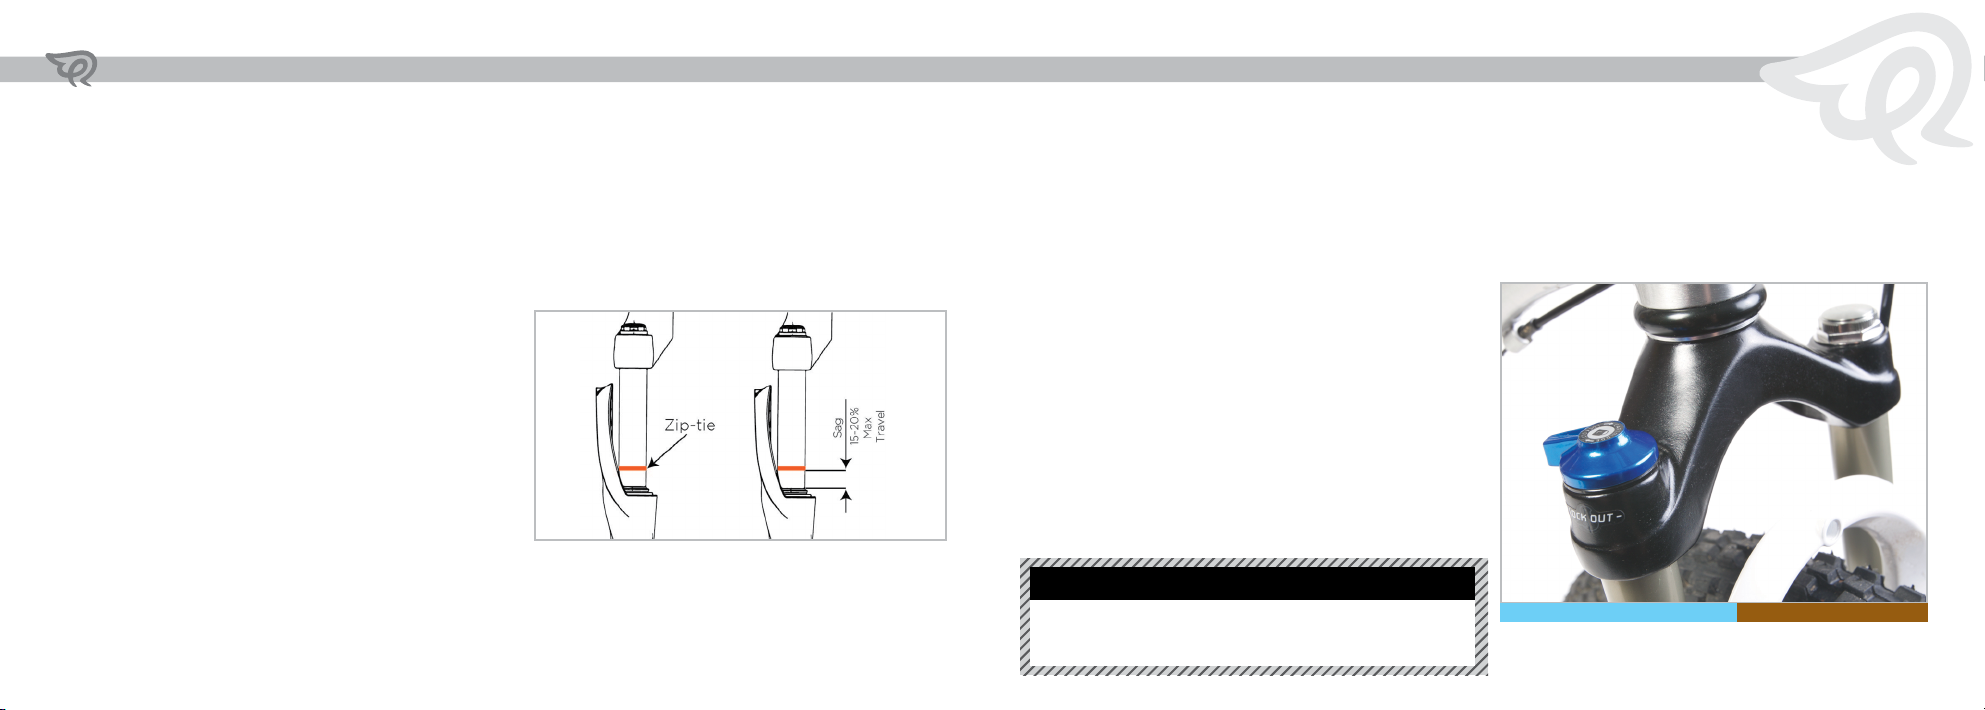
SUSPENSION FORK
Your Early Rider is fitted with a Suspension
Air fork. They’ve had the Air-pressure set
to suit the average weight of rider. At the top
you will see two adjustment knobs – Lock-out
and Pre-Load. You can use these to find the
best set up for your child and riding environment.
LOCK-OUT ADJUSTMENT
Use this for when road riding or smooth paths. This will ensure
that energy isn’t wasted through compression of the forks when
not needed.
PRE-LOAD ADJUSTMENT
This determines the compression of the fork when the rider
sits on the bike, together with the amount of force required
before the fork begins compressing. The easiest way to measure
this sag is to put a zip-tie around one stanchion and sit on the
bicycle in the normal riding position. Hop oagain and measure
the distance the zip-tie has moved up.
5AADJUSTING AIR PRESSURE
Consult the table on the rear of the
air chamber fork leg for a suggested
air pressure. Make sure the bike is level
and follow the instrcutions below:
1. Unscrew the valvecap on the left hand (pre-load) leg
and set aside.
2. Use a shock pump (not supplied), to pressurize the
fork to the desired level (upon removing the pump
you may loose air- this is air escaping from the pump
and doesn’t aect the pressure in the fork.
3. To decrease the air pressure, we would recommend
using the shock pump as the air chamber volume is
small and will allow better control.
5B
Ideal sag is when the fork compresses between 15-25% of
max travel when seated on the bike. If the distance is shorter
than 15%, It means the fork is too sti(You need to decrease
the air pressure). If the distance is longer than 25%, It means
the fork is too soft (You need to increase the air pressure).
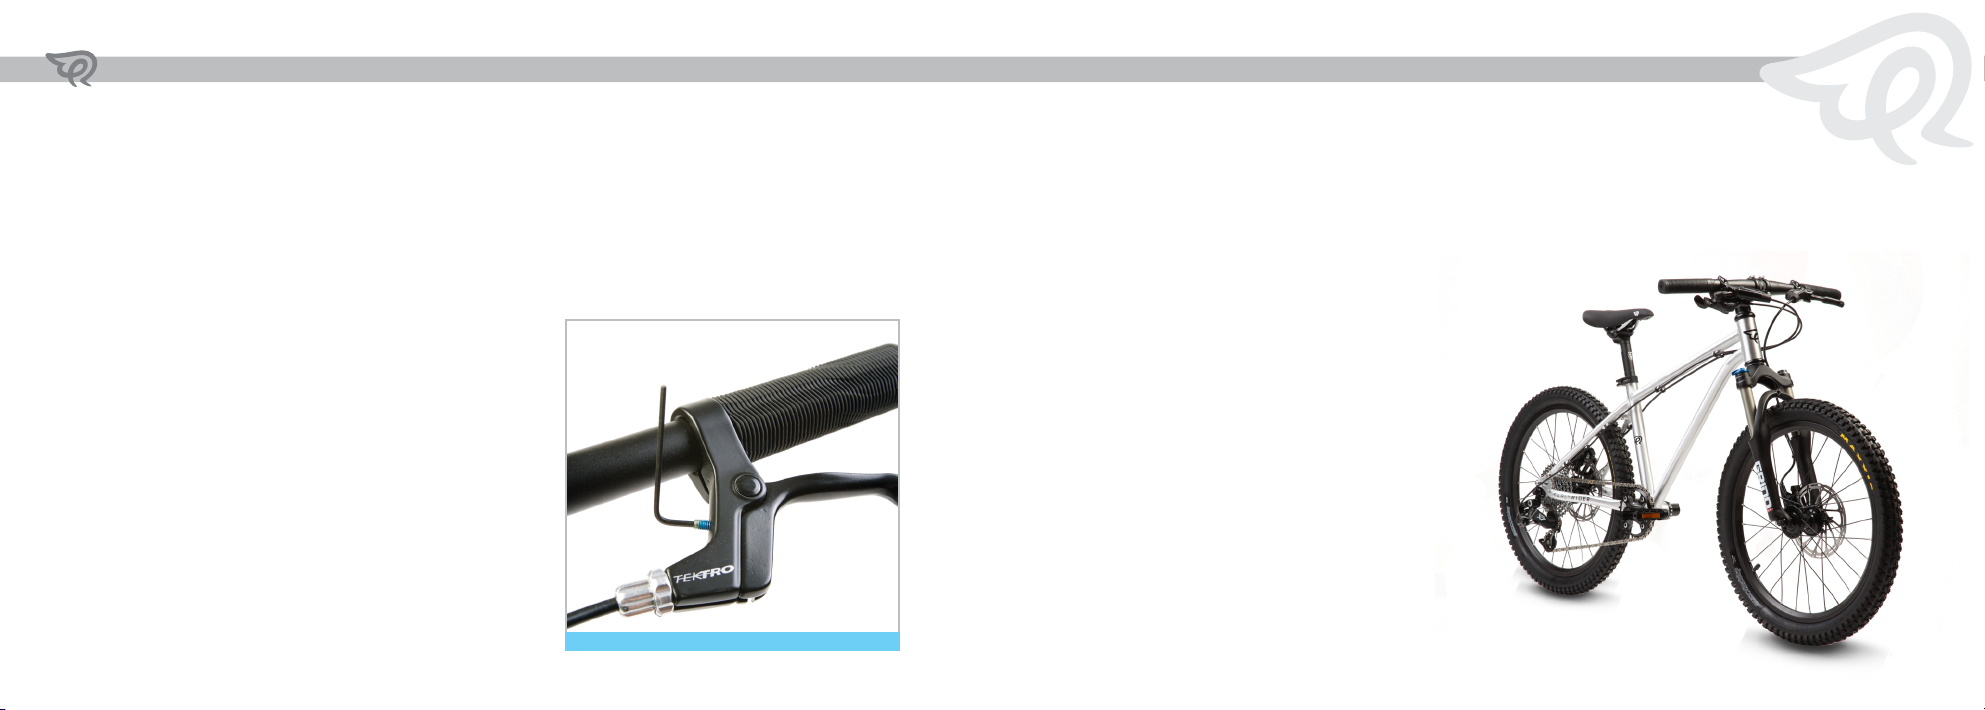
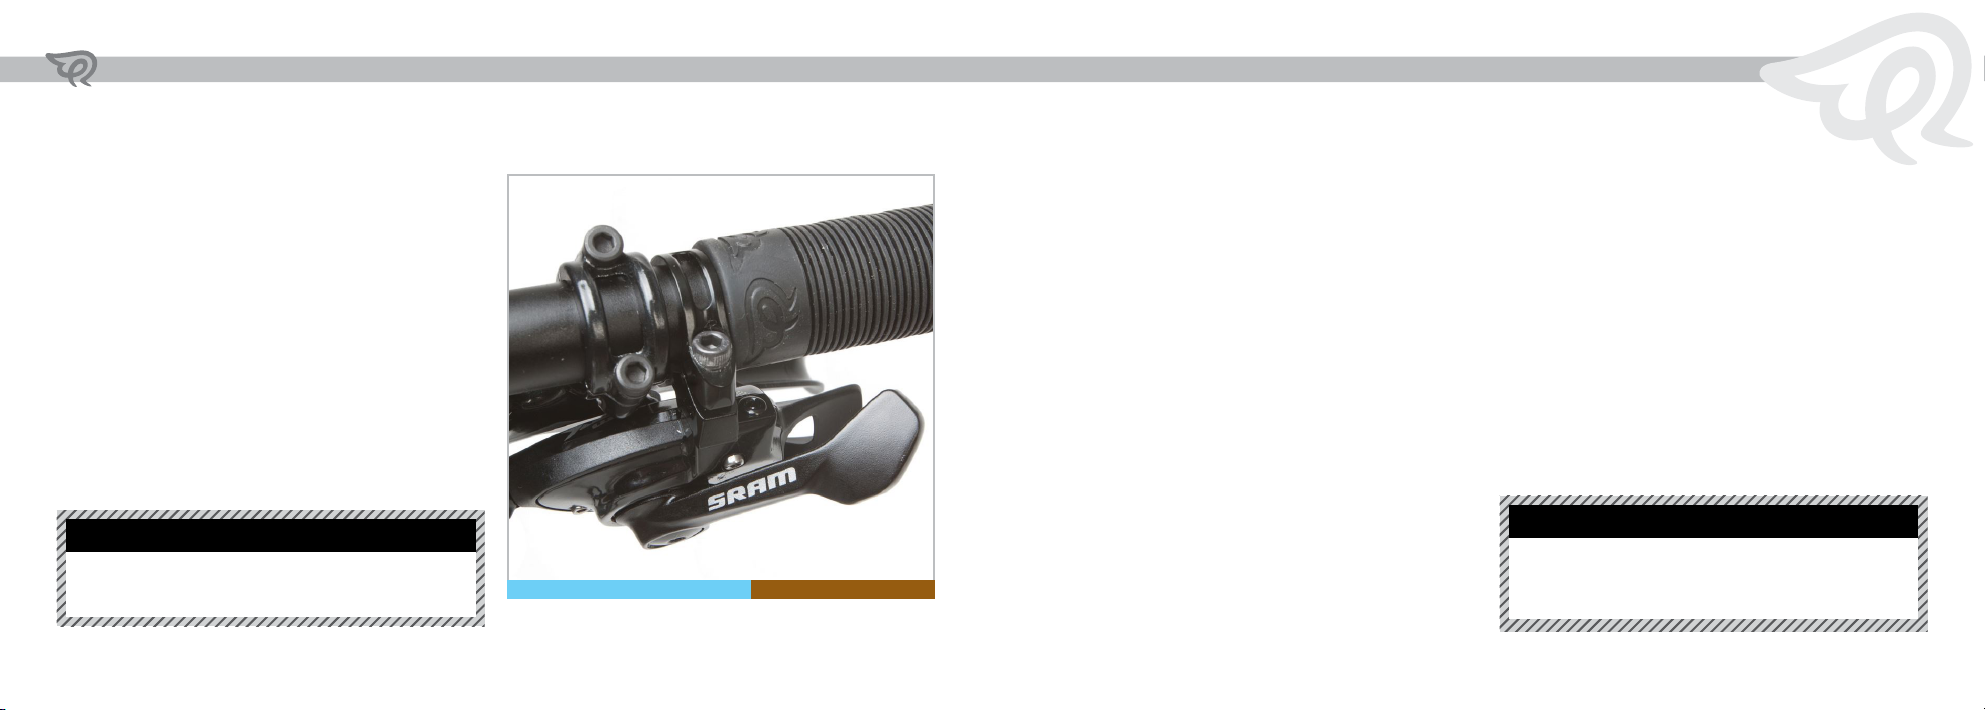
REBOUND ADJUSTMENT (T24W)
The T24W uses an RST fork which has an additional rebound
adjustment located on the bottom of the damper leg. Adjust
this to control how quickly the fork springs back after
compression.
Changing suspension settings on the fork can change the
handling of the bike. Always check for changes in handling or
braking by taking a careful test ride after each adjustment
IMPORtant stuff
T20HT T24HT T24W