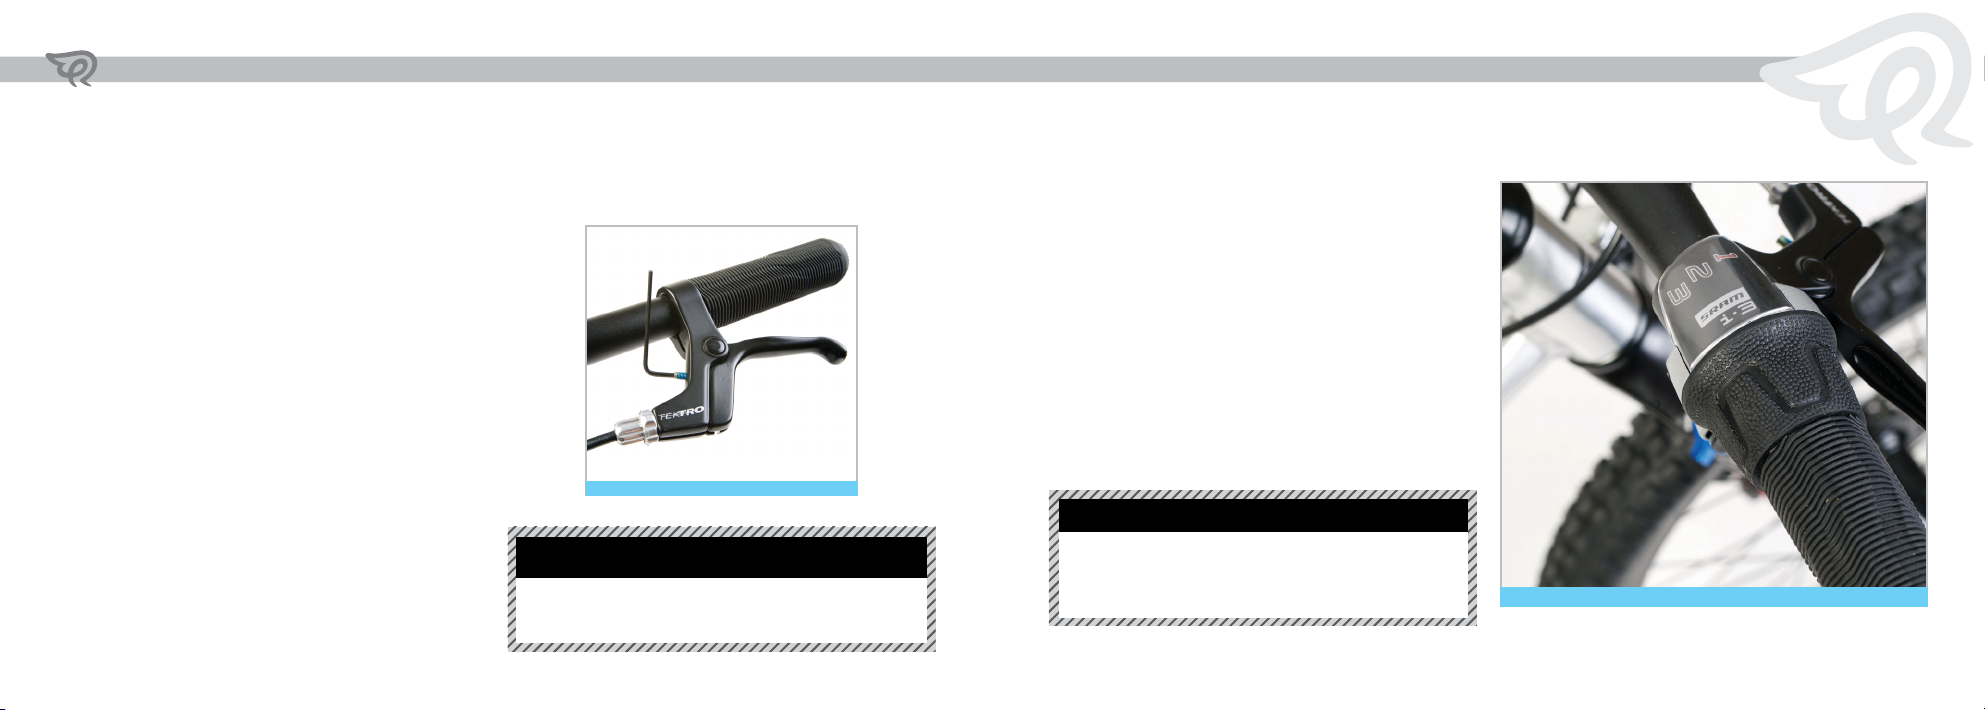
ENJOYING YOUR BIKE EVERY RIDE
BELT TENSIONING (U20FBR)
Unlike a chain your belt will not suer from stretching,
meaning no reduction of performance. Occasionally however,
you may need to tension the belt, for example after having
repaired a puncture. Tensioning the belt is made very simple
with ‘tensioners’ located in the front of the rear dropouts on
either side (between the chain stay and seat stay).
To tighten the belt loosen the four dropout-plate bolts (A),
loosen the lock nuts on the tensioner screws (B), and turn
the belt tensioner adjustment screws using a 3mm allen key
clockwise as shown right. Alternate adjusting the left and
right belt tensioners to ensure the rear wheel remains aligned
centrally with the frame of the bike. Your belt should have
no more than 20mm vertical movement when pressed in the
middle point of the drive train. Do not over-tighten the belt
as this will aect performance. Turn the pedals/cranks and
watch to ensure the belt is running correctly centred on the
front and rear sprocket.
If for example the belt is running too far to the right on
the rear sprocket then turn the right tensioner adjustment
screw clockwise or the left tensioner screw anti-clockwise
dependant on what is required to maintain optimum belt
tension. Once correct alignment and tension have been
achieved tighten all four drop-out plate bolts to 6nm,
re-check alignment and then secure tensioner screw
lock nuts.
U20FBR
B
A
simple maintenance
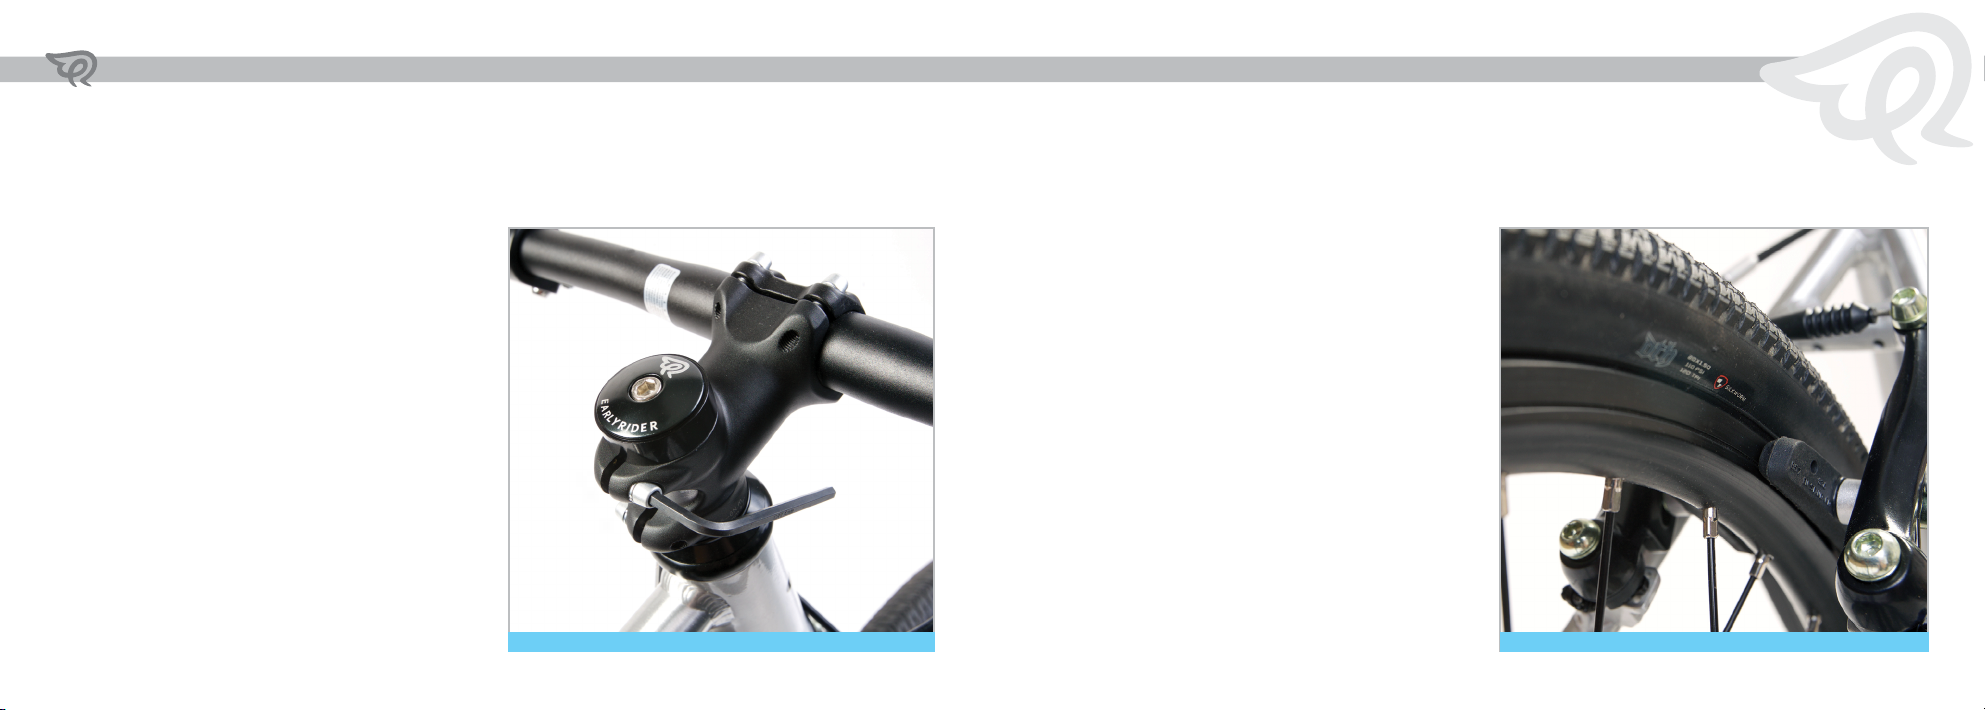
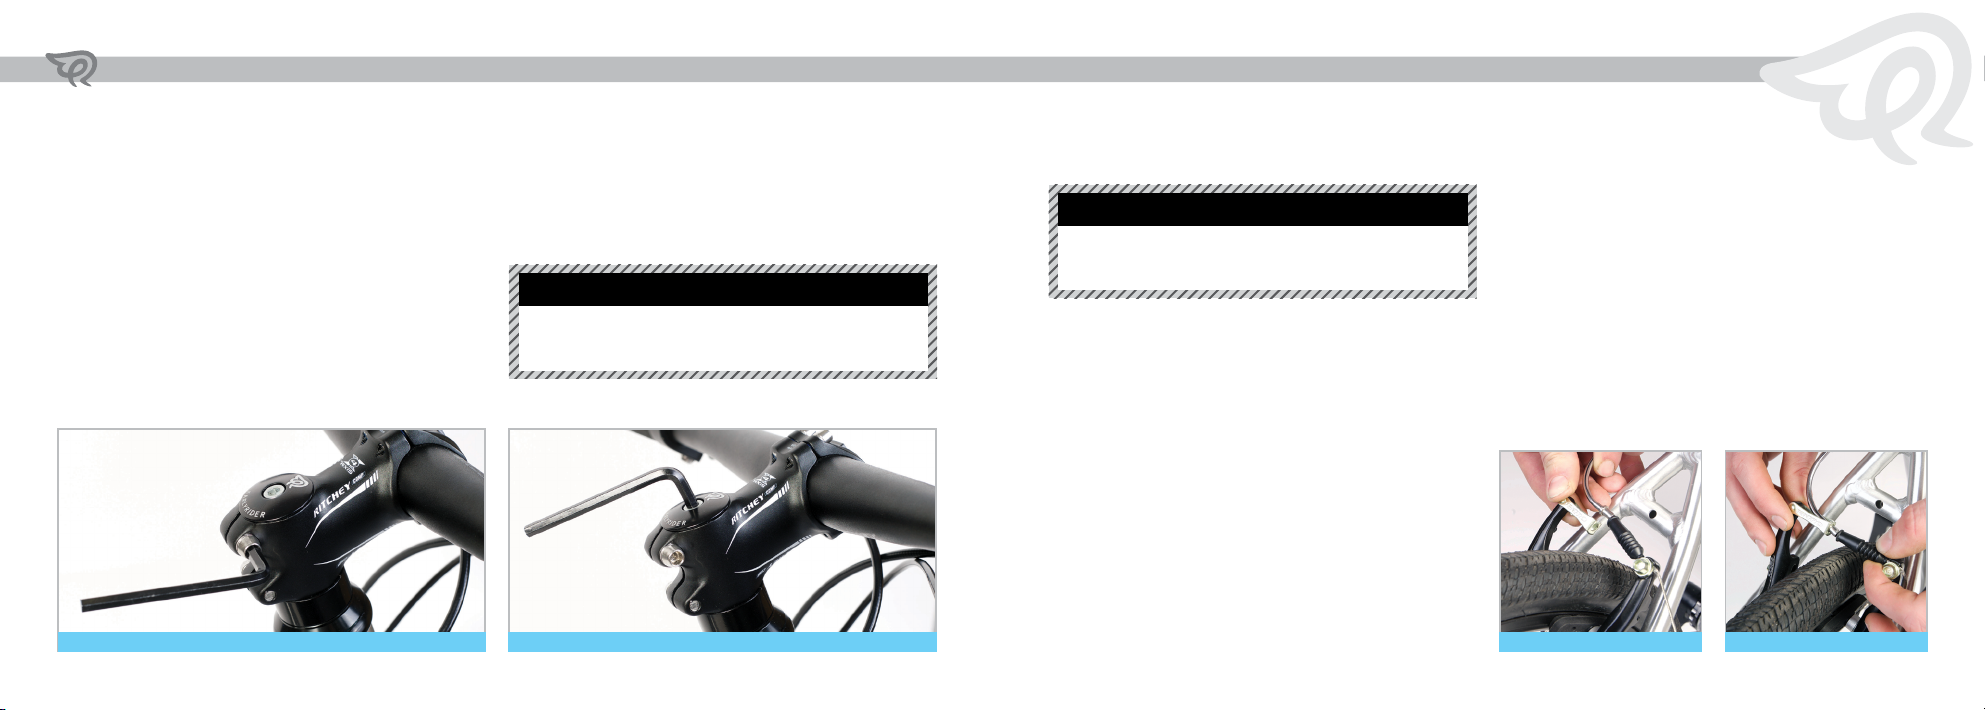
THREADLESS HEADSET
Your Early Rider Belter uses a ‘threadless headset’.
Threadless headsets use a stem that clamps around an
unthreaded steerer tube of a fork. Adjustment of these
headsets (or re-tensioning after re-positioning of spacers
to adjust the stem height) is relatively straightforward –
threadless headsets can be adjusted with a simple Allen key.
If the headset is loose, first loosen the stem bolts so that it
can move on the steerer. Tighten the bolt in the centre of the
top cap that sits on top of the stem until the play is taken up.
Do not over tighten this top bolt. Rock the bike back and
forth with the front brake on to check for play and tighten
a quarter turn until the play is eliminated. Then tighten the
stem bolts correctly ensuring that the stem is lined up with
the front wheel.
Correct tensioning of these bolts involves adding a half
turn to each bolt in turn until the correct level of torque is
reached. Rotate the bars from side to side – the headset
should feel smooth, not lumpy or sti. If it is undo the
stem bolts and loosen the top cap bolt a quarter turn
and try again.
Bearing damage caused by lack of maintenance or by riding
the bike with a loose headset may mean that a smooth feel
is not possible – in this case please consult your local dealer
for advice.