GENERAL INSTRUCTIONS TO SET UP EARTHPULSE TM
(NOTE -- Specific Settings pertaining to different Modes are given beneath in sections pertaining
to each Mode)
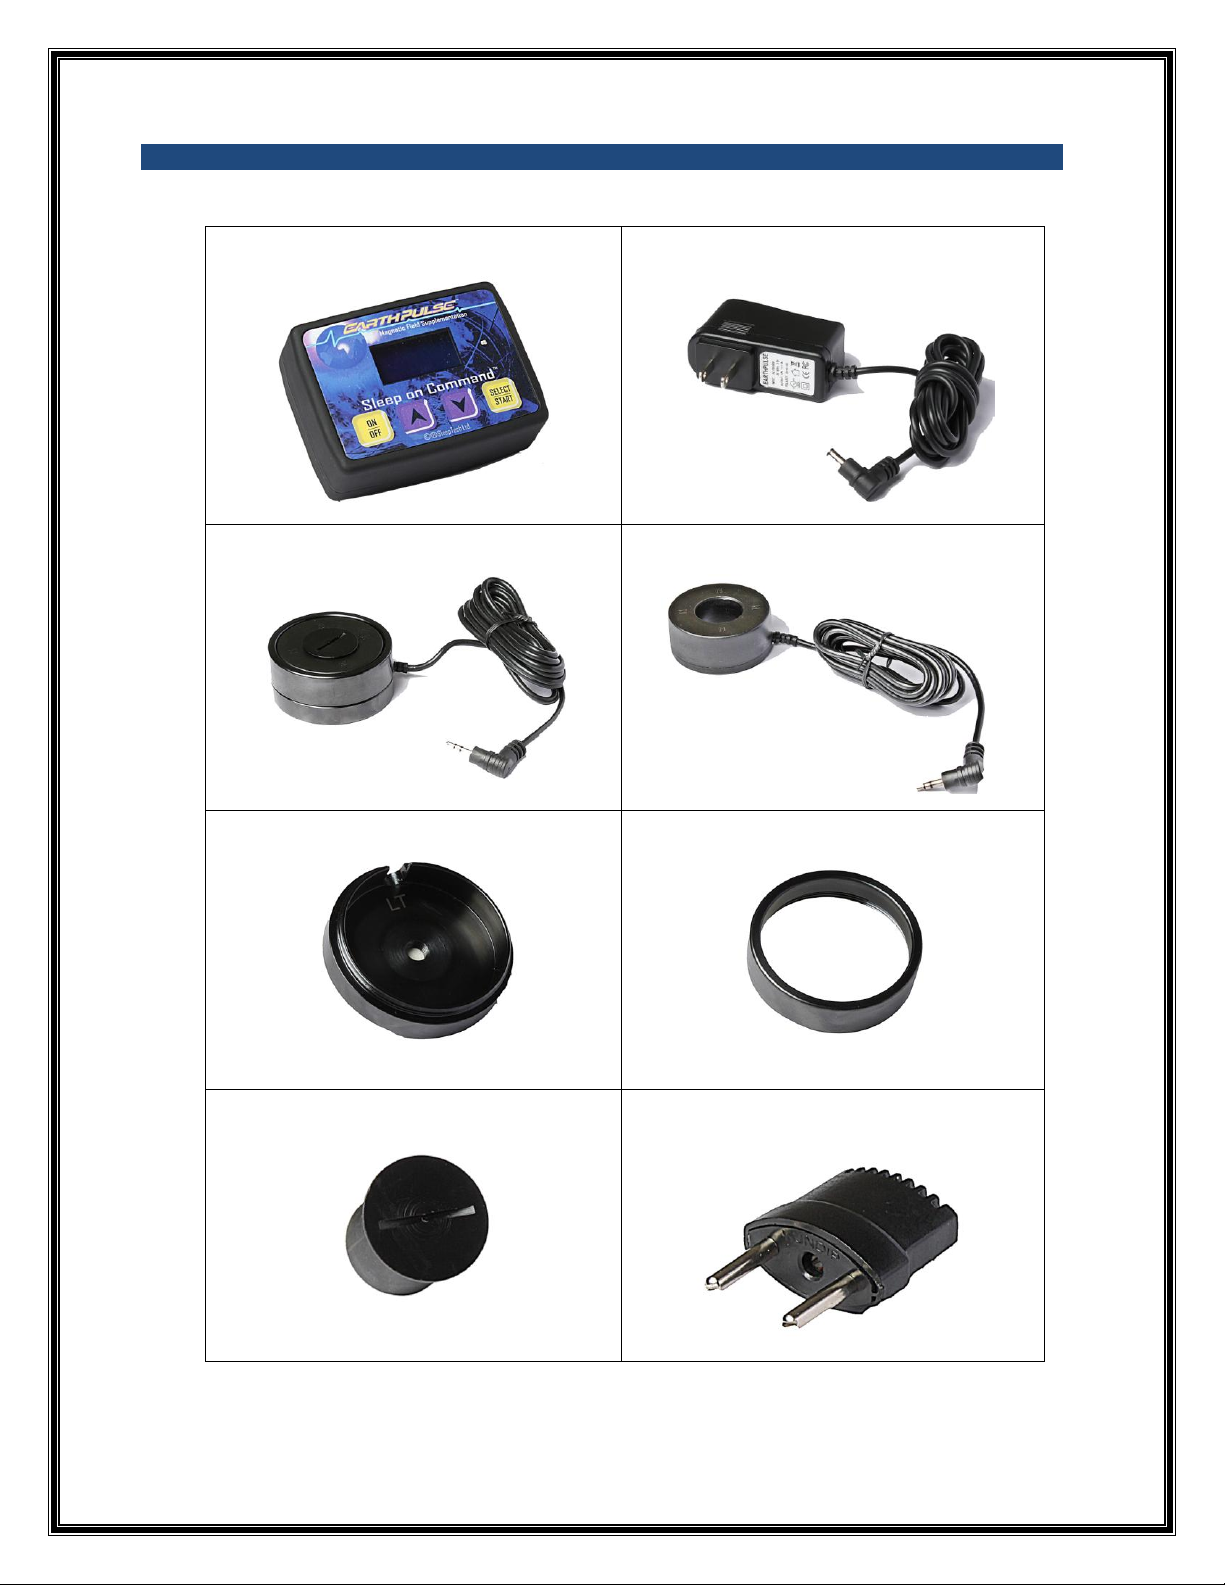
Step 1 –Plug Power-Supply Cable into the large jack at back of Program Controller.
Step 2 –Plug Power Supply Adaptor into the electricity outlet on the wall (100-240 volts AC). Use
International Pin Adaptor if required.
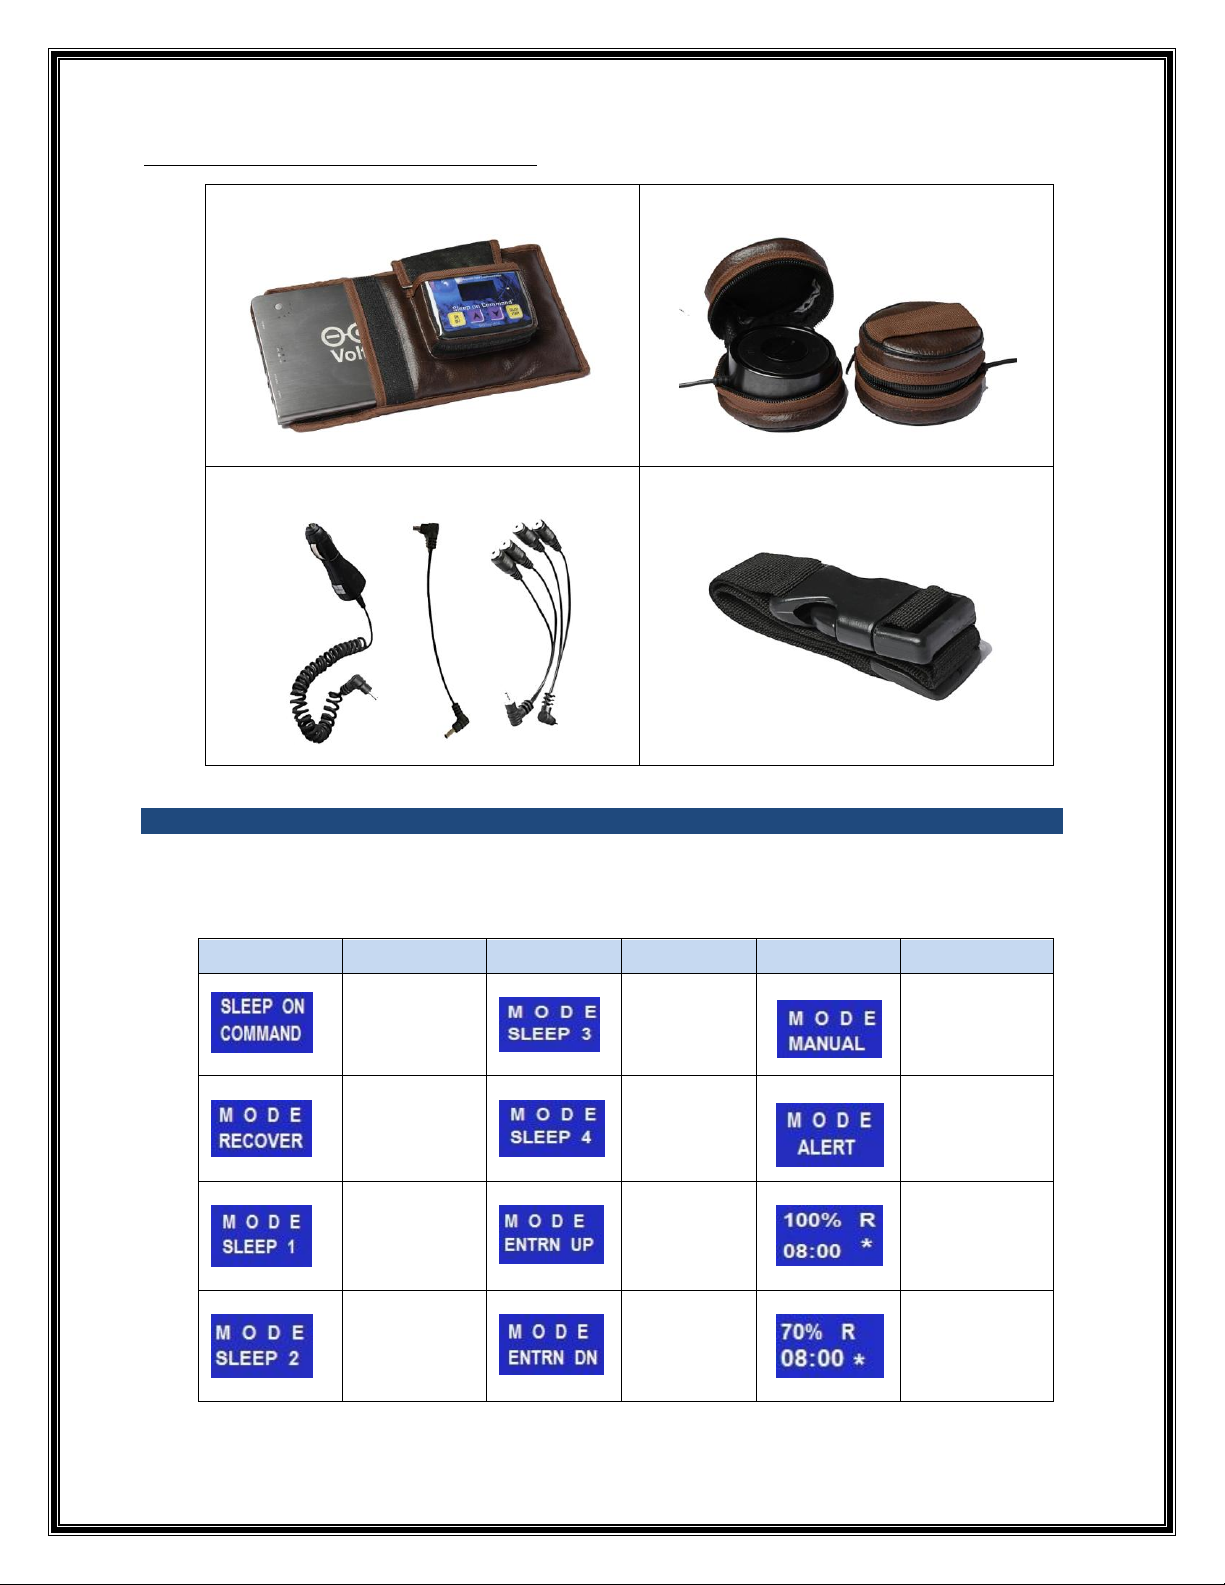
Step 3 -- Plug the 2 Coil Sets into the remaining 2 jacks at the back of the Program-Controller.
Step 4 -- Press “On/Off” button on the Program-Controller. The display shows “Sleep On
Command” and instantly boots to “Recover” Mode.
Note: Your system is now ready to use and you need to select and set up the Mode, Timer and
Amplitude.
Step 5 –For arriving at the desired Mode, Press “Up” / “Down” Arrow key.
Step 6 –Once you are at the desired Mode, Press “Select/Start” key. The display now shows the
Mode and the timer set to 8.00 Hours.
Note: You now need to set the Time Duration and the Amplitude.
Step 7 –Press “Up” or “Down” Arrow to set the time duration for which you wish to use
EarthPulseTM. Time can be set from 15 minutes to 12 hours with changes in multiples of 15
minutes.
Step 8 –Press “Select/Start” button. EarthPulseTM begins to function. This is established by the
blinking of the * in the display and the blue LED light on the Program Controller.
Note: The display now shows the Mode selected and the duration for which the timer is set.
At the end of this time duration, the device will automatically shut down.
Step 9 –Amplitude: The display also shows the Amplitude which has, by default, been set at
70% for all Modes, since it is best suited to a normal user. You can change the amplitude if you
wish. Press “Up” or “Down” Arrow to change the Amplitude between the programmed range of
10% to 100%. Once you arrive at the Amplitude % of your choice, it automatically gets set.
EarthPulse is now operative for the desired Mode, Time and Amplitude.
Note -- If you make a mistake anywhere in the steps defined above, press “Select/Start” button, and then
restart from
Step 4.?
(What is Amplitude? The amplitude defines the gauss density. The Controller, by default,
boots to 70% amplitude for all modes, because we have found this to be the best suited to a
normal user. It can be decreased or increased within a range of 10 to 100 based on the
user’s comfort level. You can best do this by experimenting with different levels. If at a given
setting you are not getting the desired results, increase the amplitude; and if there is any
discomfort, then decrease the amplitude).