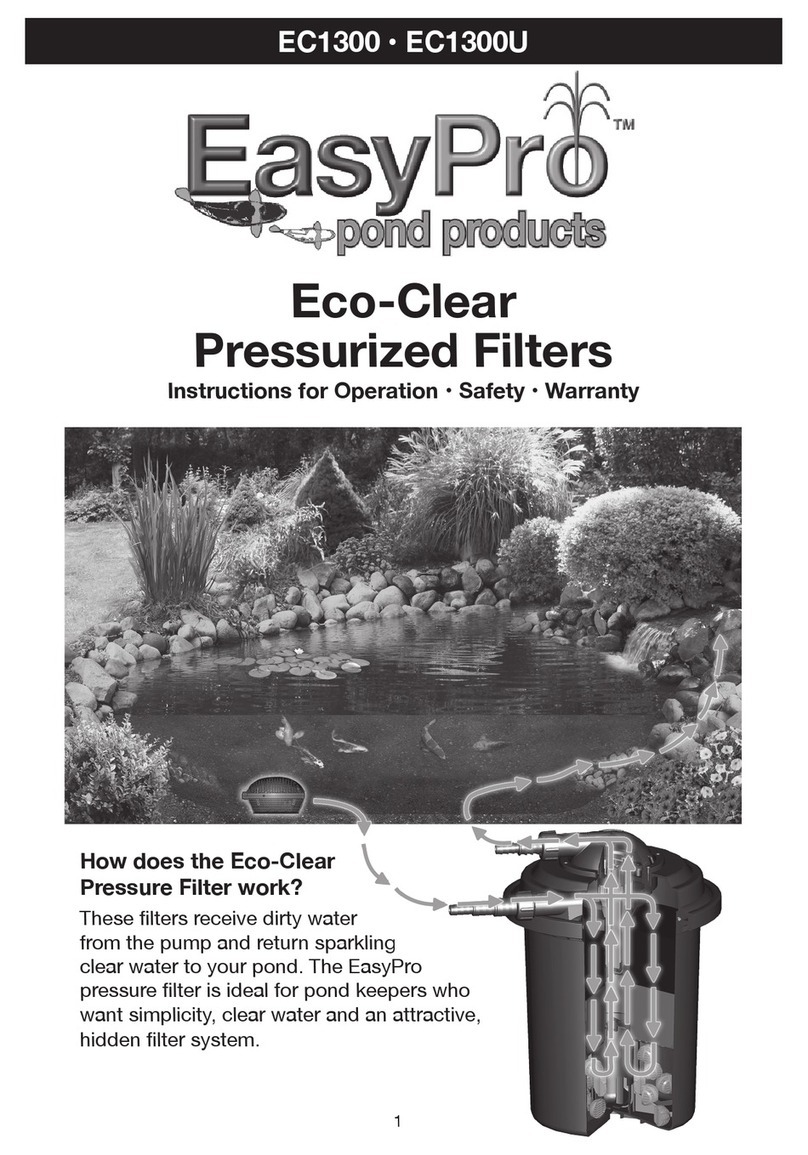
EasyPro EPU18N Use and care manual

Thank you for purchasing the EasyPro UV Clarier.
Used with care this product should provide years
of service. Ultraviolet light is a wavelength of light
which inhibits algae growth from reproducing.
Ultraviolet light is not designed to kill string algae.
Safety & Electrical Connections
1. Always disconnect the electrical supply
before handling, maintaining, repairing or
installing any pond equipment.
2. This product is not submersible and should be placed where it cannot fall into the water or become
water logged. However, the design is weather proof, and Easy Pro UV Clariers can be safely
installed outdoors.
3. Direct exposure to Ultra-Violet light can damage eyes and skin. Do not attempt to view the lamp
when lit, except through the clear barbed tting.
4. Connect this product only to a receptacle protected by a Ground Fault Circuit Interrupter.
5. All electrical work must be performed by a qualied technician. Always follow the National
Electrical Code (NEC) or the Canadian Electrical Code as well as all local, state and provincial
codes. Code questions should be directed to your local electrical inspector. Failure to follow
electrical codes and OSHA safety standards may result in personal injury or equipment damage.
Failure to follow manufacturer’s installation instructions may result in electrical shock,
re hazard, personal injury or death, damaged equipment, provide
unsatisfactory performance and may void manufacturer’s warranty.
Unpacking and Installation
1. Before unpacking the UV unit, visually check to see that the
product is not damaged in the packaging.
2. The UV bulb and the UV sleeve come already installed in the unit.
3. Carefully remove the UV unit from the package.
Figure 1
EPU18N • EPU36N
Dual Outlet, High Quality
UV Clariers
Instructions for Operation • Safety • Warranty
1
3 Year
Warranty!

4. Remove the small parts bag.
Remove the three large o-rings
from the parts bag and install
inside the nuts for the three barbed
ttings. Either opening on the end
of the unit can be used for the
inlet. (gure 1)
5. On the end with two connections,
install one black barbed tting
and install the nut with the frosted
glass. Then install the second
black barb tting on the end with
the single connection. (gure 2)
6. The frosted glass tting is used to visually see if the UV light
is working.
7. To attach the tubing, nd the correct size on the barbed
tting. Cut o what you do not need and attach tubing.
8. The UV unit must be installed horizontally on its mounting
brackets, on a secure
platform. Use the provided
screws to attach the
mounting brackets. (gure 3)
Bulb Replacement
1. Always disconnect the
power supply to the UV
clarier and the water
pump before servicing.
2. Remove the large threaded
cap, and carefully pull
the UV bulb out of the UV
unit. (gure 4)
3. Gently pull bulb out of
the socket and discard.
Using a clean soft cloth
remove the new bulb
from its package and
gently push the bulb into
the socket. Do not touch
the UV bulb with your
ngers. (gure 5)
4. Make sure you install the clear plastic grommet back on the
end of the bulb. (gure 6)
5. Carefully slide the bulb back into the unit and screw the
threaded cap back on. (gure 7)
Figure 3
Figure 4
Figure 6
Figure 7
Figure 5
Figure 2
2

Part # EPU18N EPU36N
Maximum Pond Size (gallons)* 4000 7000
UV/Watts 18 36
Inlet/Outlet Sizes
3
/
4
", 1", 1
1
/
4
"
3
/
4
", 1", 1
1
/
4
"
Recommended maximum GPH 2100 3900
*Fish load, amount of sunlight, etc. all aect actual maximum gallons.
Replacement Parts for the UV Clarier
Sleeve Replacement & Cleaning
1. To replace or clean the sleeve follow steps one through
three from bulb replacement section.
2. Gently pry up on two sides of the UV sleeve shoulder,
carefully pull the sleeve out of the main body. (gure 8)
3. Wipe the sleeve with a clean damp cloth to clean the
sleeve. (gure 9)
4. When replacing the sleeve, make sure the red o-ring is
seated properly in its groove in the main body. (gure 10)
5. Gently push the UV sleeve back into the main body, slide
the UV bulb back into the sleeve and screw the threaded
cap back on. (gure 7)
6. Connect the power to the UV light and the water pump.
Figure 9
Figure 8
Figure 10
Performance and Specications for UV Lights
Part # EPU18N EPU36N
UV Bulb Part # EP18BN EP36BN
UV Sleeve Part # EP18SN EP36SN
Inlet/Outlet Hose Barb Part # BARB3 BARB3
3

800-448-3873 • Grant, Michigan
www.EasyPro.com
9818 • 10/19
EasyPro Pond Products Limited Warranty
EasyPro Pond Products (“EasyPro”) warrants to the purchaser that this product ("Product") will be free from any
mechanical or material defects for a period of three years from the date of purchase.
UV bulbs and sleeves are
considered wearable items and are not covered under this limited warranty
This warranty only covers properly installed
and maintained Products sold by authorized EasyPro Sellers who are subject to and follow EasyPro’s quality control
standards. Please note that because EasyPro is unable to control the quality of Products sold by unauthorized sellers,
unless otherwise prohibited by law, this warranty does not cover Products purchased from unauthorized sellers.
This warranty does not cover normal wear and tear, nor any deterioration suered through overloading, improper
use, negligence, improper installation, acts of God or accident. Similarly, any modication made by the purchaser to
the Product will cause the warranty to be null and void. This warranty does not cover any cost associated with the
installation or removal of the Product subject to a warranty claim.
All returned items will be inspected to determine cause of failure before a warranty claim is approved.
The exclusive remedies provided hereunder shall, upon EasyPro’s inspection and option, be either repair or replacement
of the Product or parts covered under this warranty.
Making a Claim: A Return Authorization (“RA”) number must rst be obtained by calling EasyPro at 800-448-3873 or
via email at [email protected]. It is the purchaser’s responsibility to pay the return shipping charges. Be sure to
include the RA number, original receipt (in the form of an invoice or sales receipt), your name, your return address and
your phone number inside of the package. No warranty claims will be honored without the original receipt that shows
that your purchase was made from an Authorized EasyPro Seller. Ensure the product is properly packaged and insured
for the replacement value. Damage due to improper packaging is the responsibility of the sender.
ALL OTHER EXPRESS OR IMPLIED WARRANTIES INCLUDING MERCHANTABILITY OF FITNESS FOR A PARTICULAR
PURPOSE ARE HEREBY LIMITED IN DURATION TO THE DURATION OF THE WARRANTY AS DESCRIBED ABOVE.
Some States do not allow limitations on how long an implied warranty lasts, so the above limitations may not apply to
you.
EasyPro shall not be held liable for any damages caused by defective components or materials of this Product; or for
loss incurred because of the interruption of service; or any consequential/incidental damages and expenses arising from
the production, sale, use or misuse of this Product. Some States do not allow the exclusion or limitation of incidental or
consequential damages, so the above limitation or exclusion may not apply to you.
EasyPro shall not be held liable for any loss of sh, plants or any other livestock as a result of any failure or defect of this
Product. This warranty gives you specic legal rights, and you may also have other rights that vary from State to State.
This manual suits for next models
1
Table of contents
Other EasyPro Water Filtration System manuals
Popular Water Filtration System manuals by other brands

PureEffect
PureEffect ULTRA-UC installation instructions

Darkoff
Darkoff KPS3 Claris F088 quick start guide

Tetra
Tetra EX 400 Plus instruction manual

Water Factory Systems
Water Factory Systems SQC3 Series owner's manual

Ideal Living
Ideal Living AQUATru AT2020 owner's manual

NSF
NSF Kasco CertiSafe PM-100 Assembly & installation manual

OfiTE
OfiTE 171-00-2S instruction manual

Culligan
Culligan SY-2650 Installation and operating instruction manual

Du Pont
Du Pont WFQTR13000 Series installation instructions

Emerald
Emerald HOME 60 operating manual

UV Dynamics
UV Dynamics 8.40C Installation & operation manual

emaux
emaux SSCnano Installation and operation manual