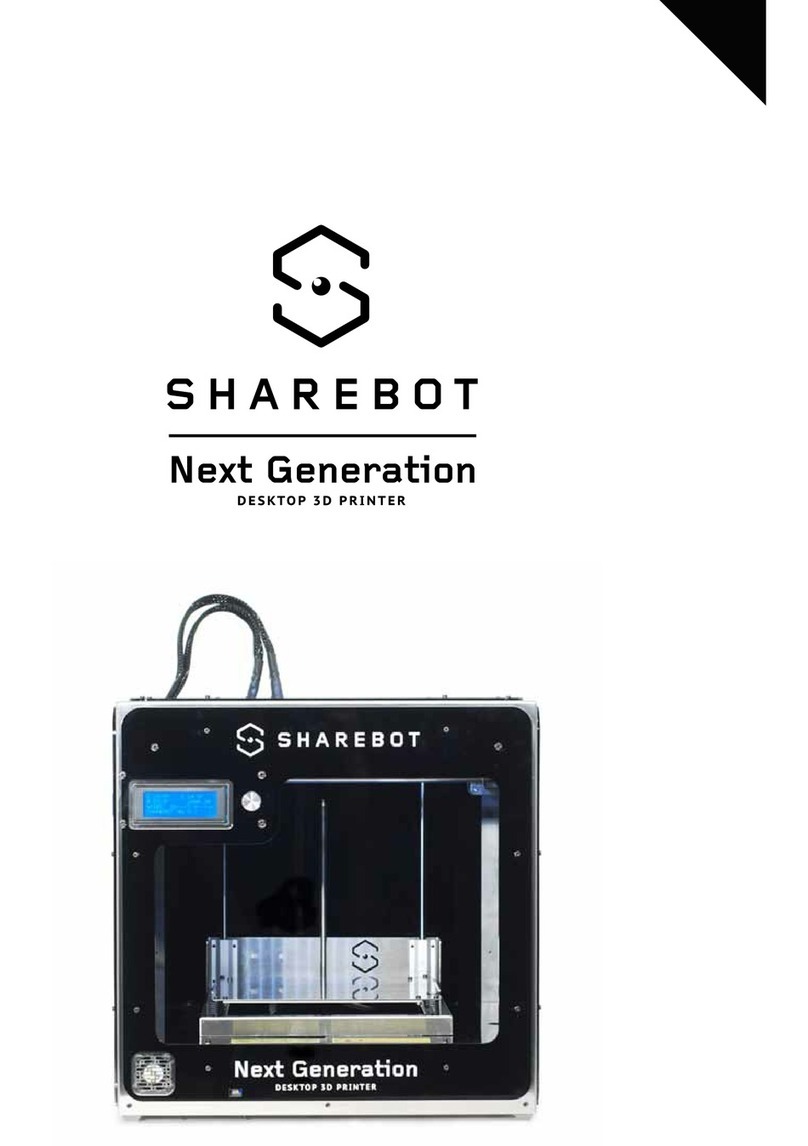
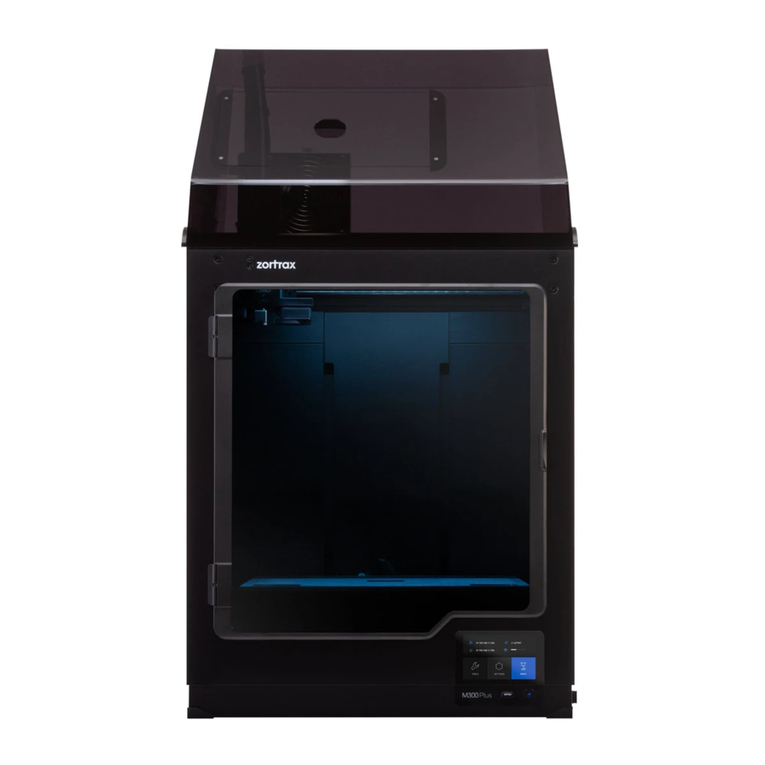
SHAREBOT 42 User manual

Index
Your new Sharebot 42..........................................................................................................................3
Safety guidelines..................................................................................................................................4
Extruder...........................................................................................................................................4
Heated printing plate........................................................................................................................4
Personal protective e uipment.........................................................................................................4
Moving parts....................................................................................................................................4
Package contents..................................................................................................................................5
Welcome Kit....................................................................................................................................5
Sharebot toolbox..............................................................................................................................5
Test material.....................................................................................................................................5
Working with your Sharebot 42............................................................................................................6
Extruder unpack...............................................................................................................................6
Insert filament into the extruder.......................................................................................................6
The first object.................................................................................................................................6
Machine...........................................................................................................................................7
The display...........................................................................................................................................8
Home................................................................................................................................................8
Print..................................................................................................................................................8
Settings.............................................................................................................................................9
Prepare........................................................................................................................................9
Tune...........................................................................................................................................10
File operations...........................................................................................................................10
Configurations submenu...........................................................................................................11
Changing the “Probe Offset”.....................................................................................................11
Software operations.......................................................................................................................11
Network configuration........................................................................................................................13
Web interface – Sharebox 3D........................................................................................................13
Dashboard.................................................................................................................................14
File manager..............................................................................................................................14
Warranty.............................................................................................................................................16
Moving parts..................................................................................................................................16
Packaging.......................................................................................................................................16
Resources............................................................................................................................................17
Online.............................................................................................................................................17
Technical assistance.......................................................................................................................17

Your new Sharebot 42
Sharebot 42 introduces a lot of new features compared to the product base on FFF technology
previously made by Sharebot srl:
•Printing area 250X220X200 mm
•New magnetic printing support, with metal plate
•New extruder with interchangeable nozzle
•New web-based software interface for controlling and starting the printing process remotely
•Touch-screen display
•Real-time monitoring of the print job via web cam
•Loading files from USB, internal memory and web interface
•Additional USB socket for future expansion, inside the 3d printer
•Automatic Z levelling with with proximity probe sensor
•Real-time calibration of the printing plate on the Z
•Automatic Calibration on Y1 and Y2 axes every time the printing process is starting, for a
perfect square
•Filament detection sensor
•Magnetic support for customizable spools 300/750 gr
•Accommodation inside the machine body of the spool
•Housing equipment in the machine base
© 2016 Sharebot S.r.l. - All rights reserved
1

Safety guidelines
Extruder
In FFF technology 3D printers, the thermoplastic filament is melted in the nozzle (the terminal part of
the extruder) at a temperature varying between 190 and 280°C.
During the printing process you mustn't touch the nozzle with hands.
The contact even for a very short time causes burns.
In case of routine maintenance or for replacing the nozzle, you have always to use protection items
required for hands and eyes protection.
The extruder temperature is always visible on the main display screen.
Heated printing plate
Under the magnetic plate, it is placed the heated plate which is used to improve adhesion of the model
during the printing process. The heat generated by the heated plate is also transmitted to the magnetic
printing support.
The heated surface reaches a maximum temperature of 90°C and remains high even after the end of
the printing job, also when the machine is turned off.
The contact with the plate at high temperatures causes burns.
Personal protective equip ent
You have always to use the machine in safe condition, adopting the appropriate Personal Protective
Equipment of Category 1, in accordance with Legislative Italian Decree no. 475/92 on safety in the
workplace.
In particular, always use gloves and goggles during maintenance of hot parts.
Moving parts
During the printing process don't touch with hands the moving parts in the inner part of the machine or
any other items.
In case of failure of the printing, stop the printing process and proceed in the maintenance of the printer.

Package contents
Fist of all, check that there are no damages to the machine and that all items listed below are included
in the package or in the Sharebot toolbox.
Your package should contain:
–a box with the welcome kit;
–3D printer Sharebot 42 with the 0.4 mm nozzle.
Welco e Kit
The Welcome Kit contains:
–a Sharebot toolbox;
–PLA filament;
–magnetic printing support for the printing plate;
–magnetic support for the spoon 300 / 750gr;
–adapter for the magnetic support;
–a folder containing the quick start guide and warranty;
–power cable.
Sharebot toolbox
The Sharebot toolbox contains:
–Nippers
–Cutter
–Allen screwdriver size 2.5
–Allen "L" key
–Gear grease
–Hair spray
–"Unlocks nozzle" tools
Test aterial
In the Kit there is a test spoon of PLA.
The test material is guaranteed by Sharebot srl.
Spoon from other suppliers can be used under the fully responsibility of the end user.
Any damage to the machine coming from the use of a filament not certified by Sharebot will lead to a
lack of warranty.
© 2016 Sharebot S.r.l. - All rights reserved
3

Working with your Sharebot 42
Before starting to use your printer it is necessary to:
–place the machine in a wide and appropriate area;
–connect the power cable C13 - IEC 60320 into the socket on the side of the machine;
–power on the machine with the ON / OFF switch;
–verify that the display works;
–position the spoon of filament on the magnetic support, adding any size adapter;
–place the filament spoon into the compartment, pay attention to the filament direction;
Extruder unpack
Before starting the printer process you must unpack the extruder by following these steps:
1) cut the straps that keep together the hard black polyethylene panel;
2) move the carriage of the extruder at the back along Y axis;
3) remove the polyethylene panel carefully;
4) cut the cable tie to release the extruder carriage on axis X.
Insert fila ent into the extruder
Now you can insert the filament into the extruder:
–cut the head of the filament from the spoon with an angle of 45° or more;
–insert the filament in the movement sensor and push it until filament arrives to the extruder;
–from the printer menu select “Settings” - “Prepare” - “Change filament”, wait for the heating of
the extruder then click the “Confirm” button on the screen;
–if necessary remove the Teflon tube and insert in the second pusher device the filament by
hand;
–wait until the nozzle works, pushing out the material and click on the confirmation button to
finish the operation;
And remember to keep the supplied tools near the machine.
The first object
In the internal memory of the machine is preloaded a file .GCODE to build your first object.
Tostart the process follow this procedure:
–press the “Print” icon;
–select “File from memory”;
–select the file.
We recommend observing the printed object, in particular paying attention to the main characteristics:
–the first layer;
–the initial layer (bottom) and final (top);
–filling (infill).

With the use of slicing software you can change the parameters that determine these characteristics
and the final print quality.
Machine
The machine is delivered calibrated and ready to use (Plug and Play).
The plate is the surface on which the object production will take place . Sharebot 42 print area is about:
X axis 250 mm
Y axis 220 mm
Z axis 200 mm
© 2016 Sharebot S.r.l. - All rights reserved
5

The display
Sharebot 42 display is touch and color.
The display is the main interface to manage printing process, select files and set the parameters to
optimize the process.
Ho e
The “Home” or “Main screen” is the default screen displayed by the machine when it's turned on.
The main information available are:
–A: status bar with the object name, elapsed time and last message;
–B: percentage of the running process;
–C: actual extruder temperature (green) and target temperature (black);
–D: actual printing bed temperature (green) and the target temperature (black);
–E: command execution speed, 100% means use the gcode values.
In the F area you have the commands to pause and stop the running process.
Touch the C,D or E areas to change the corresponding parameter. The values can be adjusted by
setting the variation range (0.1; 1; 10; 100) and setting the desired value using the + and – controls.
OFF resets the full scale value.
Totemporarily stop the printing process, select “Pause”. The machine will not stop immediately but it
will execute all the commands already stored in the internal memory and after the latter have been
executed it will stop.
Use the “Resume” command to let the printing process restart.
Do not press the “Resume” button until the machine has stopped.
You can return to the “Main screen” pressing the Sharebot icon usually available in the upper left corner
of the screen.
Print
Using the “Print” icon:
you will be able to select the gcode file containing model to be build.
The gcode contains instructions for moving the machine axes, the extruder and other print parameters.
A gcode file is generated using a slicer to convert a 3D object in STL or OBJ format; the use of an
unsupported slicer or an unofficial profile can damage your printer.

After pressing the button you can select the device that contains your file:
Selecting theA or B area because you can print an object taken from the internal memory of the
machine (A) or from the connected USB key (B).
The machine display shows only files with gcode (* .gcode, .gco *) extensions.
Toload a print file in Sharebot 42, you can use the USB port, located in the front of the machine. In this
case the machine copies the file into his internal memory before starting the printing process, so that
you can remove the USB stick without interrupting it.
Settings
This menu contains the commands to set and modify the operating parameters. It contains the
“Prepare” and “Tune” options that are mutually exclusive and will be shown based on the printer status.
The “Prepare” submenu is available only before the starting of the print to set the working parameters.
The “Tune” submenu is available only during the printing process to change the process parameters in
real time and optimize the prints.
Prepare
COMMAND FUNCTION
Disable Stepper Deactivation of all stepper motors
Auto Home Extruder move to the home position
preheat Heat the extruder
Cool down Cooling of all heated components (extruder and
heated plate)
Move axis Axis movement
Move filament Moves filament through pusher
Change filament Start the filament change cycle
© 2016 Sharebot S.r.l. - All rights reserved
7

Calibrate bed man Activating the manual calibration process, for a
mechanical flatness of the printing plate
Enable Filament Detection Enabling the sensor of the filament motion
Disable Filament Detection Disabling the filament motion sensor
Tune
COMMAND FUNCTION
Speed Speed variation of all print parameters
(percentage)
Bed Variation of the temperature of the heated floor
Change filament Change the filament process
Fan Speed Speed variation of the extruder fan
Enable Filament Detection Enabling the filament motion sensor
Disable Filament Detection Disabling the filament motion sensor
File operations
COMMAND FUNCTION
Copy files Copying a file from USB memory to the internal
memory (also inverse operation)
Delete files
Delete files Deleting a file from the USB memory or internal
memory
Configurations sub enu

COMMAND FUNCTION
Network Configuration IP address configuration of the machine (DHCP or
manually)
Probe Offset Adjusting the Probe offset from the nozzle
Changing the “Probe Offset”
The “Probe Offset” option allows you to adjust the distance of the printing plate from the extruder.
After selecting this option you can change the value choosing a variation step ( 0.05, 0.1 or 1 ) and then
increasing or decreasing it with the “+” and “-” buttons.
This procedure needs to be performed in case of:
–the use of a different printing magnetic plate (more or less thick);
–replacement of the extrusion nozzle
You need a gauge to measure the thickness of the new printing plate and calculate the difference from
the original one (0.85mm).
Insert the obtained value in the Probe Offset menu.
In general:
increase the offset value in the case of thicker plate
(Eg new plan 1.2mm ---- Calculation 1.2 - 0.85 = 0.35 mm)
decrease the offset value in the case of more thinner plate
(Eg new plan 0.5mm ---- Calculation 0.6 - 0.85 = -0.25mm)
In case of replacement of the nozzle you have to check the amount of extruded material in the first
layer:
➔decrease the offset value in case of poorly adherent to the plate or just resting extrusion,
➔increase the offset value in case of nothing is extruded (nozzle attached to the platen) or poor
extrusion.
Software operations
It contains the commands to bring the machine to the initial software conditions.
COMMAND FUNCTION
SW Reset Switching off the functionality of the machine and
reset the firmware to factory conditions
Statistics Display the data related to total and partial worked
hours. The partial data are resettable.
© 2016 Sharebot S.r.l. - All rights reserved
9


Network configuration
Sharebot 42 can be configured as a network client by assigning a static or dynamic IP address (via
DHCP).
Sharebot42 is accessible via browser in order to manage some features.
For network configuration is recommended the intervention of the administrator of your company
network.
A) Network setting: MANual / AUTOmatic
B) Current IP address (*)
C) Address of the network mask (*)
D) Gateway address (*)
(*) changeable only if “Manual” is selected for “Network settings”
E) Save current configuration
The grey color of the font indicates the automatic configuration of the network parameters.
Procedure for the network configuration
By connecting the Ethernet cable, the DHCP automatically assigns an IP address to the machine. You
need to configure the machine only to specify a manual configuration.
After having modified the “Network setting” parameter to manual (“MAN”), the displayed addresses
become editable and you need to enter triplets address:
Web interface – Sharebox 3D
Sharebox 3D is the web interface created by Sharebot to monitor and manage remotely the prints and
file uploads. The web interface is designed with responsive features and viewable on the display of
each mobile device.
You can access to Sharebox 3D via the configured IP address of the machine using the URL:
http://<machine ip>
Using the settings of the above screen shot you have to use this URL to connect to the printer:
http://192.168.1.100
The Sharebox 3D main menu has two options:
–Dashboard, to monitor the parameters and the print job via web cam;
–File Manager, uploading of files Gcode and the launch of the print job.
© 2016 Sharebot S.r.l. - All rights reserved
11

Dashboard
The Dashboard is the first page loaded when accessing the machine via a web browser:
The Dashboard displays the main information of the running process:
–A: machine status, the “Online” label means that all is working correctly and the next label
“Printing” means that a printing is running;
–B: filename of the object;
–D: elapsed time from the start of the building process;
–E: percentage of the file processed;
–F: printing process streaming video, your webcam is highlighted in the foreground when it is
selected;
–G: the actual and target temperatures of the extruder and of the heated bed.
Using the buttons in C you can:
–pause/resume the building process; as for the pause command from the display the machine
will stop moving only after it has executed all the commands already in memory so the pause
isn't immediate;
–stop the running build;
–reset the machine.
File anager
The “File manager” section is accessible via the “FILE MANAGER” - “G-CODE” menu.
The main commands available allow to:
–view the machine status in (A);

–upload a file into the machine's internal memory using the “Uploading GCODE” button (B), note
that the file needs to have a gcode extension ( .gcode );
–delete a file from the internal memory (G);
–start a new printing process (F) using a file from the internal memory;
© 2016 Sharebot S.r.l. - All rights reserved
13

Warranty
Moving parts
All the moving parts of the machine are excluded from warranty.
Parts with obvious damages in manufacture or assembly are covered by warranty.
The spare parts are available for five years from the date of placing the machine on the market
For every need of spare parts, please contact the authorized centres Sharebot or use the dedicated
form on the website sharebot.it .
Packaging
The original packaging should be kept for the entire duration of the warranty.
Machines without the original packaging may not be accepted by technical assistance.

Resources
Online
The network is rich in resources concerning three-dimensional modelling, creative projects, unpublished
tips and solutions to work smarter.
You can take something from these resources, but Sharebot srl disclaims any liability on the procedures
or contents on sites unrelated to the company.
Technical assistance
For any technical problem refer to the Sharebot's network of authorized dealers, you can find the
complete list on www.sharebot.it
Before each request for assistance, check the FAQs and “How to” section.
In any case you can contact our support by filling the form available in the “Support” section of our
website.
© 2016 Sharebot S.r.l. - All rights reserved
15
Table of contents
Other SHAREBOT 3D Printer manuals


