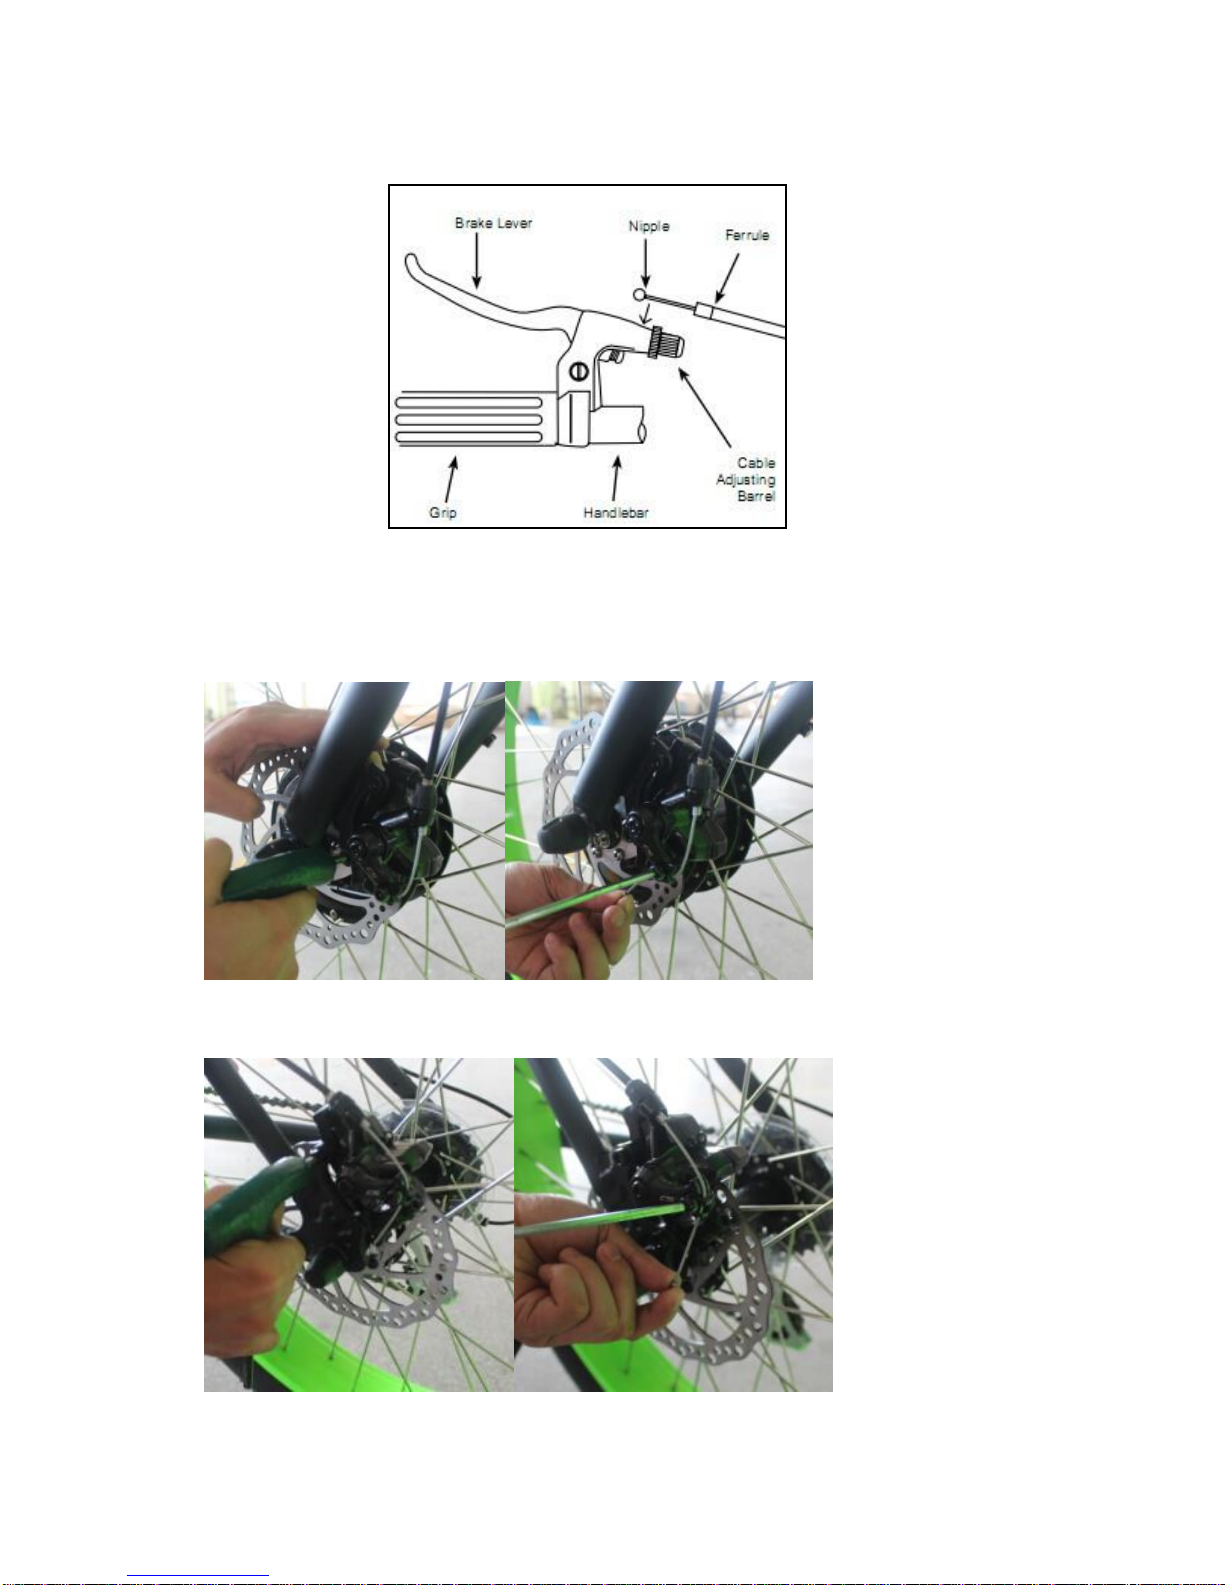
eBike Viper User manual

1
INSTRUCTION MANUAL
IMPORTANT:
This manual contains important safety, performance and service
information. Read it before you take the first ride on your new bicycle,
and keep it for reference.
Content
SAFETY WARNING
Ⅰ. Mechanism
Ⅰ-1 Derailleur
Ⅰ-2 Stem
Ⅰ-3 Direction Adjustment of
Front Wheel
Ⅰ-4 Brake
Ⅰ-5 Seat, Seat Post
Ⅰ-6 Tyre
Ⅰ-8 Battery Holder
Ⅰ-9 Pedal
Ⅱ. Electrical Equipments
Ⅱ-1 Electric Motor
Ⅱ-2 Battery Charger
Ⅱ-3 Battery
Ⅱ-4 Electric Schematic
Diagram of Whole Vehicle
Ⅲ. Assembly
IV. USAGE
IV-1.Safety
IV-2.Inspect
IV-3:Wet weather riding
IV-4:The permissible total
weight
V. Maintenance
Ⅳ.Postscript
Ⅳ-1. Correct application
Ⅳ-2. Driving
Ⅴ. Quality Warranty

2
Safety Warnings
1. Do not operate your E-Bike before reading this user manual thoroughly.
2. Do not disassemble the battery pack and modify the unit or your warranty will be
void and you will be responsible for the modification.
3. Wear a helmet and safety equipment. An unprotected head is highly susceptible to
injury, even from the slightest contact, but wearing a helmet that meets
Australian safety testing standards may help prevent injury.
4. Check the tire pressure of front and rear wheels. Pressure to be around 50PSI
before riding.
5. Make sure that the battery pack has been fully charged before first use, and
remove the charger after fully charging .Turn the main battery switch off while
charging or not using.
6. Check that all electrical connections and mechanical parts are securely locked and
fastened before using your E-Bike.
7. Your E-Bike is not recommended for competition, stunt, any aggressive or
off-road riding. Refer to your warranty terms and conditions.
8. The performance and mileage of the unit will be varied with the battery condition,
temperature, terrain, wind speed, tire pressure, rider weight and the maintenance.
9. Adjust the height of the saddle to fit your body size. Take heed of the maximum
height markings on the post of the saddle. Your authorized dealer will give you
assistance if requested.
10. Refer to the instruction sheet for the SHIMANO 7 Gear to switch 7 stages of
gears for a more comfortable riding at different slopes.
12. Always consult your doctor for advice on your physical condition and follow
traffic rules while riding.
13. Ensure you wear safe footwear and keep loose articles of clothing clear of
moving parts on your E-Bike while riding.
14. Always handle the battery pack with care and do not drop it.
15. Do not connect the terminals of battery pack with any foreign object.

3
Whole Vehicle Mark
1. tyre
2. rim
3. spoke
4. motor
5.disc rake
6. fork
7. brake lever
8. Handle bar
9. stem
10. frame
11. battery
12. controller
13.seat post
14.seat
15.discbrake
16. fly wheel
17.kick stander
18. derailleur
19. Chain
20. Crank
21. Pedal
Product Definition: Power Assisted and Throttle Two-wheeled
Vehicle
Power Assisted Two-wheeled Vehicle is working with continuous rated power of
0.35KW and top speed in 20MPH(32km/h) with PAS or Throttle.

4
Ⅰ. Mechanism
Ⅰ-1. Derailleur
7 gears derailleur
Ⅰ-2. Angle & Height Adjustment of Stem
Step one: put the stem nuts on the top of fork
Step two: put on the stem
Step three: screw the nuts

5
Step four: screw top nuts on stem, tighten, but do not over tighten.
Ⅰ-2.1 Angle Adjustment of Tool-adjustable Stem
Loosen adjusting screw anticlockwise with internal hexagonal wrench, and then
adjust the angle. Handlebar can be adjusted to proper angle by loosing lock screw.
Ⅰ-2.2
HorizontalAngle & HeightAdjustment of
Tool-adjustable Stem
Take out the rubber plug,Insert a 5mm internal hexagonal wrench in the hole to
loosen the tightened front fork anticlockwise. Loosen the bolt according the
aforesaid method, hold the handlebar by two hands and turn the handlebar left and
right as well as lift it higher or lower to get the proper height. After finishing the
procedure, tighten it clockwise.
Ⅰ-3. Direction Adjustment of Front Wheel
Make stem in horizontal and adjustable status as above. Face the vehicle and
stand right in front of the vehicle. Hold the front wheel by two legs and turn the
handlebar. Adjust the center of front wheel vertically to the center of handlebar.
Ⅰ-4. Brake Adjustment
Ⅰ-4-1. Disc-Brake Adjustment
The city bike uses the Australian style of the brake system. The right brake
lever is for the front wheels while the left for rear wheel.
Important:
Brake pad wear limit: replace the brake pads before the friction material has
been worn down to less than 2.5 mm.
1. Open the brake lever and place the nipple end of the short brake cable into the
lever, then close the lever. Secure the ferrule against the lever using the cable
adjusting barrel.

6
2. Depress the brake lever about 10 times as far as the grip to check that
everything is operating correctly and that the shoe clearance is
correct before riding the bike.
Front disc brake assemble and adjust.

7
Rear disc brakes assemble and adjust
Ⅰ-5. Saddle Adjustment
1. Loosen the lock bolt to adjust cushion angle with a 5mm internal hexagonal
wrench as shown in the figure. Range of adjustment is -15°~15°.
Note: it is commonly better to adjust the cushion horizontally to the ground line.
2. As shown in Figure 1, loosen the lock bolt with a 5mm internal hexagonal wrench
to adjust saddle height to a proper position. If a quick-release seat post clamp is
used, pull the quick-release lever only.
Hint: What is proper height? Heel can be freely put on pedal with leg straight. When
cycling pedal action is done, knees can be slighted bent (show in Figure 3). Feet
can touch the ground without standing.
Note: When adjusting seat post upwards, safety line cannot be exceeded. Safety
line (11111111) should be in the frame tube (as Figure 2). Tightening torque of
seat post clamp should not be less than 18N.m

8
Figure 1 Figure 2
Figure 3
3. Cushion with Shock Absorption/ How to adjust soft or hard effect of shock
absorption Rotate to loosen the bolt of seat post clamp and pull the whole seat post
out according to Article 2. Rotate the bolt with 8mm internal hexagonal wrench
anticlockwise to make the shock absorption softer and clockwise to make it harder.
I-6. Tires
Bicycle tires are available in many designs and specifications, ranging from
general-purpose designs to tires designed to perform best under very specific
weather or terrain conditions. If, once you’ve gained experience with your new bike,
you feel that a different tire might better suit your riding needs, your dealer can help
you select the most propriate design.

9
The size, pressure rating, and on some high-performance tires the specific
recommended use, are marked on the sidewall of the tire .The part of this
information which is most important to you is Tire Pressure.
WARNING: Never inflate a tire beyond the maximum pressure marked on the
tire’s sidewall. Exceeding the recommended maximum pressure may blow the
tire off the rim, which could cause damage to the bike and injury to the rider
and bystanders.
The best and safest way to inflate a bicycle tire to the correct pressure is with a
bicycle pump which has a built-in pressure gauge.
Tire pressure is given either as maximum pressure or as a pressure range. How a tire
performs under different terrain or weather conditions depends largely on tire
pressure. Inflating the tire to near its maximum recommended pressure gives the
lowest rolling resistance; but also produces the harshest ride. High pressures work
best on smooth, dry pavement. Very low pressures, at the bottom of the
recommended pressure range, give the best performance on smooth, slick terrain
such as hard-packed clay, and on deep, loose surfaces such as deep, dry sand.
Tire pressure that is too low for your weight and the riding conditions can cause a
puncture of the tube by allowing the tire to deform sufficiently to pinch the inner
tube between the rim and the riding surface.
Tire Valves
The tire valve allows air to enter the tire’s inner tube under pressure, but doesn’t let
it back out unless you want it to. There is American Valve . The bicycle pump you
use must have the fitting appropriate to the valve stems on your tire.
The tires use a American valve, which is like the valve on a car tire. To inflate a
American valve tube, remove the valve cap and push the air hose or pump fitting
onto the end of the valve stem. To let air out of a American valve, depress the pin in
the end of the valve stem with the end of a key or other appropriate object.

10
1. Check whether rim is deflected or loosened and whether spoke is loosened or
broken before riding. If any unusual condition, ask professional technician for
adjustment or change.
2. Please change the tyre if cover tyre grain is worn and torn.
3. Please guarantee proper PSI. When inflating, please take nominal value of cover
tyre as reference. Never inflate over the pressure or under the pressure.
Caution: Please make sure the contact area of tyre and ground should not be less
than 10cm while riding.
I-8. Battery Holder
Batteries Installation: open the lock of the battery box, support the side of the battery
box , and pull it out (as left picture); Remove the battery out: put down the end of
the battery box aligned to the card slot, and then press down the end handle, and
then lock (as right picture).
Fuse of battery protection
Charging the position: To connect the charger interface in this location.

11
I-9. Change of Pedals
Left pedal and right pedal should be clarified when changing. Pedal spindle is
usually engraved with “R” and “L”.
Tool: 15mm open end wrench
When changing Right side, clockwise rotation is to lock and anticlockwise rotation
is to disassemble.
When changing Left side, clockwise rotation is to disassemble and anticlockwise
rotation is to lock.

12
Tightening torque should be more than 18N.m
Ⅱ. Electrical Equipments
Ⅱ-1. Electrical Motor
External Dimension of Electrical Motor & Diagram of Coil-out
Ⅱ-2 Technical indicators and structural of Changer

13
Ⅱ-2-5. Maintenance &Attentions:
2.1 Charger should be used with designated battery strictly according to
requirements. It is forbidden to charge non-original battery with this charger.
2.2 Charger is dangerous due to the high voltage it contains. If any faults or failures
are found, please contact the dealer or the manufacturer for help. User or
non-professional servicemen of the Company are forbidden to open the charger.
2.3 Charger and battery should be in indoor environment with good ventilation and
heat dissipation when charging. Places within 1m around battery and charger
should be free of inflammables. Never use the charger in the environment which
is with moist, high temperature, inflammables and explosive gas.
2.4 Never take the charger along with the vehicle so as to avoid damage caused by
vibration.
2.5 Carefully read the contents before application. Manufacturer assumes no liability
or responsibility for any damages caused by misuse of abnormal operation.
Ⅱ-3. Technical Data & Structure of Battery
Ⅱ-3-2. ProductApplication
1. Battery Charging
Battery should be charged timely after riding the electric fat bike. Lithium battery of
the Company should be charged with designated charger. Connect the output plug to
the charger and then connect the charger to100V-240V smart alternating current
power supply. Battery can be used after charging 6-7 hours until the charging
indicator light turn from red to green.

14
2. Battery Discharging
Riding process of the power assist vehicle is the process of battery discharging.
Users are not permitted to over discharging the battery. Over discharging may cause
severe damage to battery life. When instrument displays that the battery is under
voltage, the controller will stop power supplying at any time.
3. Battery Storage &Additional Charging
Reserve of electricity will somewhat lose when storing or during the
transportation process. Battery should be additional charged before use.
Charging method is as above.
4. Battery Use, Maintenance &Attention
4-1 Never put battery close to heat source of high temperature;
4-2 Charging environment is better to be below 37℃;
4-3 Avoid charging under direct sunlight;
4-4 Resolutely use designated charger to charge the battery;
4-5 Short circuit is not allowed at battery charge port;
4-6 Never put battery in wet places or in water;
4-7 Never randomly dismantle the battery or do any unauthorized modification;
4-8 Never impose external forces on the battery or drop it from high places;
4-9 When battery is not in use, it should be fully charged and stored in a dry and

15
cool place. Places within 1m around the battery should be free of
inflammables and is insulating. Battery should be kept away from heavy load
and children. Complete additional charging should be conducted every 2
months.
5. Warranty Period: 2 years since the date of leaving factory.
Special Warning:
○
1. Never clean the vehicle with hydraulic monitor which may cause damage to
electrical components due to water intake.
○
2. If the product smokes or burns when damaged by external forces, put it out with
dry-chemical fire extinguisher or sandy soil.
○
3. Although lithium battery is environmental friendly product, it also contains
various kinds of chemical substances. When it is broken due to aging, it may
pollute the environment. Therefore, please discard it as useless within 36 months
since the date of purchase, and give it to skilled company for professional
treatment.
5. Disclaimers of Manufacturer
a. no responsibility for any damages caused by nonconforming the requirements in
application instruction;
b. no responsibility for any damages caused by any unauthorized modification
c. no responsibility for any damages caused by force majeure.
Ⅱ-5. Cycle wiring diagram

16
III.Assembly
1. Pedals are marked “L” and “R” for left and right respectively. Screw in
clockwise for the “R” pedal and counter-clockwise for “L”. Tighten both with a
wrench firmly but not excessively as the crank threads are made of aluminum
alloy.

17
2. Align the handlebar assembly perpendicular to the front fork. Tighten using the
5mm wrench with 15-18n.m.
3. Turn the handlebar to the desired angle and tighten using the 4mm wrench with
8-10n.m
4. Seat Post Do not adjust the seat post beyond its maximum extension mark.
Always keep a minimum of 3 1/2” of the seat post in the seat tube.
Brakes are the most important safety feature on the bicycle. To minimize the risk
of injury, it’s vital to ensure they are correctly adjusted. For more information about
the Shimano rear roller brakes can be found in the manuals that come with the bike.
As on any bike, the front brakes provide almost all of the stopping power. We
recommend you keep the front disk clean and free of dirt. Clean the disk weekly
with a cleaning rag and Windex or other non-harsh cleaner. This will help keep the
brakes from squeaking. Periodically check the tension of the screws holding the

18
brake disk to the motor.
5. Front and rear hub assemble
Front wheel hub assemble with 30-35 n/m with a 18# spanner.
Rear wheel hub assemble about 30-35n/m with 15# spanner.
IV: USAGE
IV-1:SAFETY
The E-Bike is best described as an urban bike and is best suited for usage in an
urban environment and paved roads. While cycling, it is your responsibility to be
attentive of your surroundings and traffic rules.
a. Always wear a cycling helmet which meets the latest certification standards and is
appropriate for the type of riding you do. Always follow the helmet
manufacturer’s instructions for fit, use and care of your helmet. Most serious
bicycle injuries involve head injuries which might have been avoided if the rider
had worn an appropriate helmet.

19
b. Wear shoes that stay on your feet and grip firmly to the pedals. Do not wear
sandals or ride barefoot.
c. Dress to be visible on the road and avoid loose clothes that will tangle with
moving parts of the bicycle.
d. Keep your speed at levels appropriate to road conditions
e. Be aware of wet weather conditions, as these affect braking distance. Brake
earlier than you normally would on dry roads.
f. Familiarize yourself with the traffic rules in the state you are riding in.
g. Avoid cycling in poor weather and visibility conditions such as fog, night,
heavy rain and snow. Keep your lights on in such conditions.
h. Familiarize yourself with the usage of the bike and how to maintain it.
IV-2: Inspect
Before every ride, make a quick inspection of your bike’s mechanical and
electronic features. Be safe, not sorry.
Frame and fork: Visually check for damage, do not ride if bent or fractured.
Wheels and tires:
Make sure tires are correctly inflated. Check by putting one hand on the saddle,
one on the intersection of the handlebars and stem, then bouncing your weight on the
bike while looking at tire deflection. Compare what you see with how it looks when
you know the tires are correctly inflated; and adjust if necessary.
Tires in good shape ? Spin each wheel slowly and look for cuts in the tread and
sidewall. Replace damaged tires before riding the bike. Wheels true? Spin each
wheel and check for brake clearance and side-to-side wobble. If a wheel wobbles
side to side even slightly, or rubs against or hits the brake pads, take the bike to a
qualified bike shop to have the wheel trued.
CAUTION: Wheels must be true for the brakes to work effectively. Wheel truing is
a skill which requires special tools and experience. Do not attempt to true a wheel
unless you have the knowledge, experience and tools needed to do the job correctly.

20
Wheel rims clean and undamaged? Make sure the rims are clean and undam-
aged along the braking surface, and check for excess rim wear.
Handlebar and stem: Tightened firmly in the ‘face forward’ positions.
Brakes Squeeze, brake levers: Brake cables should remain unobstructed by other
cables or accessories.
Chain Turn crank arms: to ensure chain runs smoothly. Keep the chain lubricated
and clean.
Gearing: Your bike has a 7 speed Shimano shifting system. For your initial ride, we
suggest you put the bike in 4th gear and get used to riding the bike before shifting
gears. Use the upper lever to shift up, and use the lower lever to shift down. You do
not have to be moving to shift gears.
IV-3: WET WEATHER RIDING
WARNING: Wet weather impairs traction, braking, and visibility for both the
rider and for other vehicles sharing the road. The risk of accident dramatically
increases in wet conditions. Wet brakes and wet rims dramatically increase
braking distance. Ride more slowly and brake sooner when riding in wet
conditions.
Under wet conditions, the stopping power of your brakes (as well as the brakes of
other vehicles sharing the road) is dramatically reduced and your tires do not grip
nearly as well. This makes it harder to control speed and easier to lose control. To
make sure that you can slow down and stop safely in wet conditions, ride more
slowly and apply your brakes earlier and more gradually than you would under
normal, dry conditions.
IV-5: The permissible total weight (bicycle + rider): 130Kg
V: Maintenance
Table of contents
Other eBike Bicycle manuals